Don't wanna be here? Send us removal request.
Text
How to Organize Photos on Your Computer: A Step-by-Step Guide

Organizing your photos on your computer can save you time and frustration when searching for specific images. Here's a comprehensive guide to help you effectively manage your digital photo collection:
1. Create a Folder Structure:
Start by creating a clear folder structure on your computer. Consider organizing your folders by year, then by month or event. For example:
Photos
2024
January
February
March
2023
2022
...
2. Rename Your Files:
Rename your photo files with descriptive names to make them easier to identify. Use keywords related to the content of the image, such as location, event, or people's names. For instance:
"family_vacation_beach.jpg"
"birthday_party_john.jpg"
"landscape_mountains_sunset.jpg"
3. Utilize Subfolders:
Within each month or event folder, create subfolders if needed to further categorize your photos. For example, within a "Family Vacation" folder, you could have subfolders for "Beach Day," "Hiking Trip," and "City Sightseeing."
4. Delete Unwanted Photos:
Regularly go through your photo collection and delete any duplicate, blurry, or irrelevant photos to free up space and keep your collection streamlined.
5. Use Metadata:
Take advantage of metadata to add additional information to your photos, such as the date taken, location, and tags. This makes it easier to search for specific photos using keywords.
6. Backup Your Files:
Ensure you have a reliable backup system in place to prevent the loss of your precious memories. Consider using external hard drives, cloud storage services, or both for added security.
7. Use Photo Management Software:
Consider using photo management software like Adobe Lightroom, Google Photos, or Apple Photos to help you organize, edit, and manage your photo collection more efficiently.
8. Regular Maintenance:
Set aside time regularly to maintain your photo organization system. This includes deleting unwanted photos, organizing new additions, and updating metadata.
9. Share and Enjoy:
Once your photos are organized, don't forget to share and enjoy them with friends and family. Whether it's creating photo albums, slideshows, or digital galleries, sharing your memories can bring joy to others as well.
By following these steps, you can create a well-organized digital photo collection that's easy to navigate and enjoy for years to come. Happy organizing!
0 notes
Text
How to download and edit images?

Downloading and editing images is a straightforward process. Here's a step-by-step guide:
Downloading Images:
Find the Image: Locate the image you want to download. This could be from a website, social media platform, or any other online source.
Check Usage Rights: Before downloading, make sure you have the right to use the image. Check the website's terms of use or licensing information to ensure you're not infringing on any copyrights.
Download the Image: Once you've confirmed you can use the image, look for a download button or option provided by the website. Click on it to initiate the download process. Alternatively, you can right-click on the image and select "Save image as" to save it to your computer.
Choose a Location: Choose a location on your computer where you want to save the image. You can create a new folder for downloaded images or save it to an existing folder.
Save the Image: After selecting the location, click "Save" or "Download" to save the image to your computer. Depending on your browser settings, the image may be automatically saved to your default downloads folder.
Editing Images:
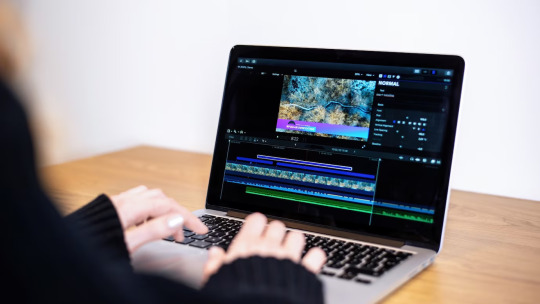
Open Image Editing Software: Launch your preferred image editing software on your computer. This could be Adobe Photoshop, GIMP, Affinity Photo, or any other software you have installed.
Import the Image: Use the software's menu to open the image you downloaded. Go to the "File" menu and select "Open," then navigate to the location where you saved the image and select it.
Edit the Image: Once the image is open in the editing software, you can begin making edits. This can include basic adjustments like cropping, resizing, and rotating, as well as more advanced edits like color correction, retouching, and adding text or graphics.
Save Your Edits: After making your desired edits, save your changes. Use the "Save" or "Save As" option in the software's menu to save the edited image. Choose a file format (e.g., JPEG, PNG) and location on your computer to save the edited image.
Export the Image (Optional): If you're editing the image for web use or sharing online, you may need to export it in a specific format or size. Look for an option in your software to export the image, where you can specify settings like file format, compression, and resolution.
Close the Software: Once you've saved or exported the edited image, you can close the image editing software. Your edited image is now ready to use or share as needed.
By following these steps, you can easily download and edit images on your computer using image editing software.
1 note
·
View note