
Don't wanna be here? Send us removal request.
Statistics
We looked inside some of the posts by jesellepulido and here's what we found interesting.
Average Info
Notes Per Post
1
Likes Per Post
1
Reblog Per Post
0
Reply Per Post
0
Time Between Posts
2 days
Number of Posts By Type
Link
1
Text
16
Last Seen Tumblr Blogs


Fun Fact
Tumblr has 16.74 million mobile monthly users in the US.
Text
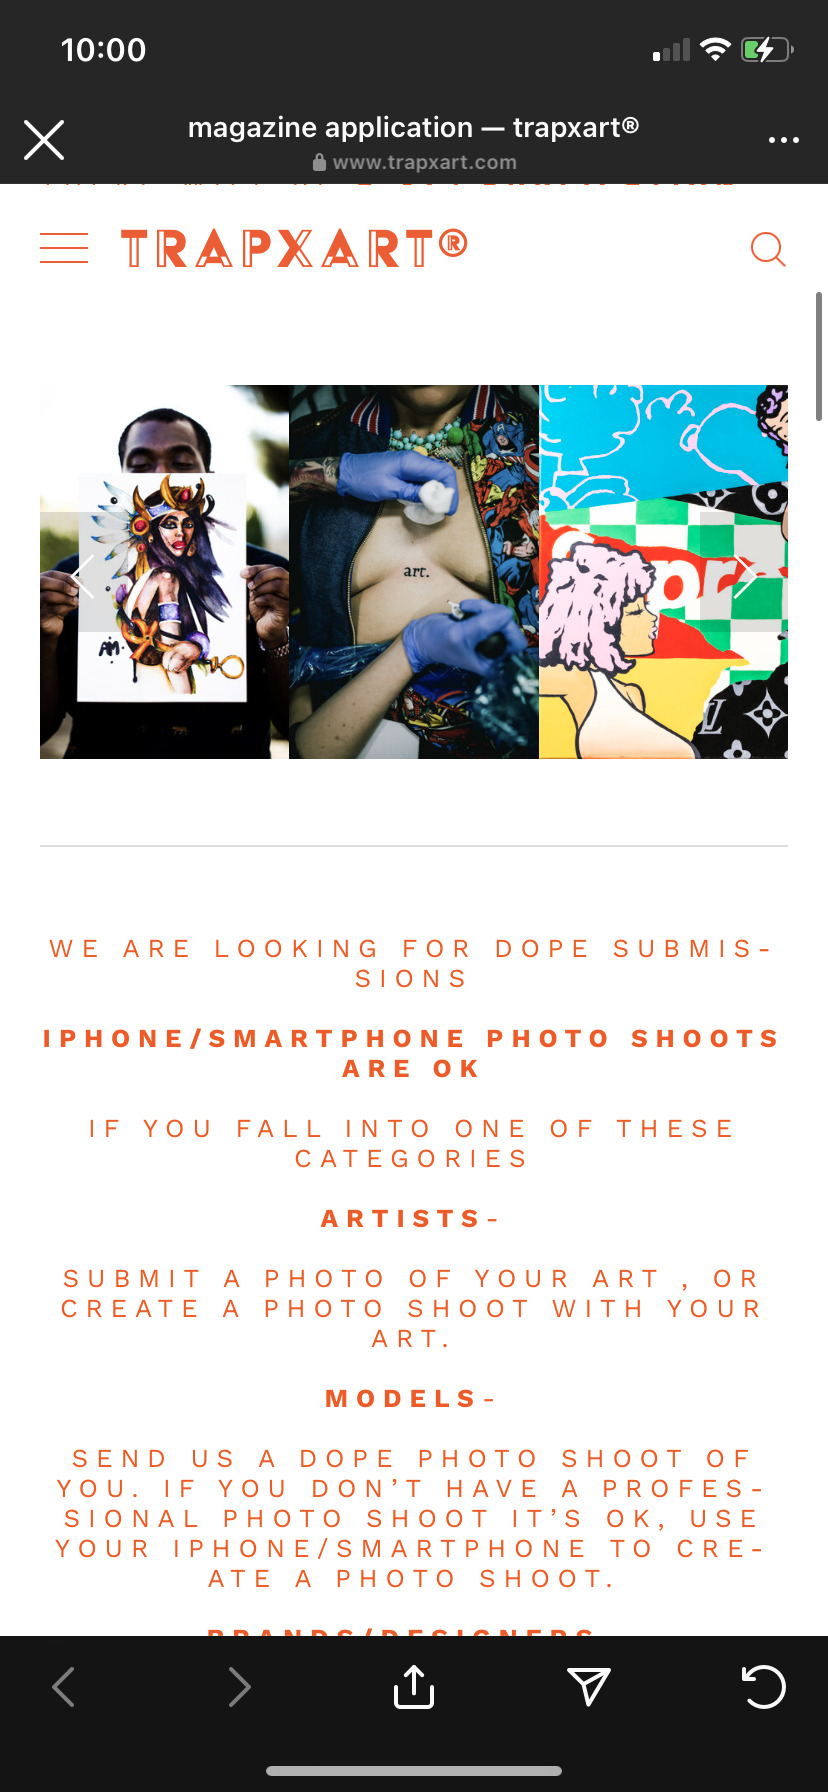
I wanted to thank you professor! I’ve posted photos of my t shirt work on instagram and someone from this local art magazine trapxart wants to add my shirts :)! This is the submition link she sent me I’ll post how it goes !
1 note
·
View note
Text
I did this in a zoom meeting 😂😂😂 not enough Vaseline!!!! It ripped off harshly
0 notes
Text


I absolutely loved how this cool toned body came out but I still favor the warm toned design over this one
0 notes
Text


The second t shirt design they ordered was the same stencil but cool toned on a white shirt, again this is the layering and swiping and drying process
0 notes
Text


This is unrelated to my project I just thought it was funny to share. I plaster casted my face for a sculpture class lol #hacks
0 notes
Text


These are the photos I used to advertise on insta, Twitter, and snap & Im very excited to fill these orders as well as create new ones according to this theme. And this shirt nor it’s collection would be possible without the help of the person who ordered in this class so thank you !
0 notes
Text


This t shirt is a first draft, to test out how well the layering went in case I made mistakes and needed to edit my stencils, therefore I kept this shirt for myself and used it to advertise online and it did really well so I will be now doing more different kinds of body types to promote body positivity. I need models so I posted about asking for volunteers and I actually have a few people who want to contribute to this design to support body positivity :)
0 notes
Text


This is a design someone in our class actually ordered from me ! And I was so excited for this piece because I hadn’t done a multi-layered design with this many stencils before. Four in total that layer over one another in colors. This is the process of swiping and layering and drying. I think these photos were great because I was able to get some action shots of the screen being swiped
0 notes
Text


This is the second layer of fabric screening yellow ink, as you can see this makes a HUGE difference in the design, creating a nice solid graphic. After wards I very carefully, go over the design to work any little details that the screen didn’t capture. This is because little details cannot be screened. The black ink on my positive blocks the sun, making the uncured areas easy to spray away which creates the stencil. However small designs don’t burn into the stencil unless they have a certain thickness, for this reason lots of miniature designs need to be worked by hand and then cured immediately with a heat gun. The hand painted designs must not be clumpy or thick or else they will wash right off in the wash. This is why designs are swiped thinly with pressure and flattly with a squigie and screen.
0 notes
Text


The first photo shows me using a positive that I created in order to create a stencil. The following photo uses this ink painted positive to mark the emulsion. I do not have the money to afford the expensive lamp nor do I want to use so much energy from a lamp, so I take advantage of the sun California gets by using sun exposure to burn the design into the emulsion. I added the first layer of fabric ink, then I dried it with my heat gun. Since yellow is such a light color it needs way more coats than any other t shirt ink. As you can see in the last photo, the cured yellow ink is almost transparent because it needs more layers of ink
0 notes
Text
PROJECT PROPOSAL
Because the theme I had before, no longer applies to now, I had to decide on a new theme. I thought of projects that I currently had going on for my other classes that would be really cool to photograph (one being a sculpture of an avatar and one being a butter fly chandelier) and although my projects for other classes would’ve been interesting, I really wanted to photograph my t shirt business and the process of making a t shirt as well as photographing finished pieces that I can also upload to my insta account for that business. So because I felt most passionate about photographing my shirts, I decided I would go with that topic as I feel more driven to photograph something when I really want to do it. Photographing this process is going to be really interesting because not only am I going to take photos of me printing the shirts, but I am also going to show the process of how I make screens for stencils that’s allow me to print. This process involves me: cutting mesh, stretching mesh, attaching mesh to frames using special glue or staple guns, applying emulsion to the frame, allowing the frame to dry in a dark place over night, painting my design with ink on a transparent paper to make a homemade positive, taking the dried screen out at noon to burn the positive into it, washing out the screen, prepping a t shirt, measuring where to put the screen, adding paint to the screen, swiping the screen, revealing the design, heat gun setting, thank you note process( I use wax seals and stamps) and finally, folding/packaging the product. This is just a daily thing I started up in August and I think showing the process would be very interesting because when I first started doing screen printing it was so incredibly hard to find directions on how to do emulsion, positives, and sun exposure especially because people who do screen printing typically use heat lamps. I can’t afford the standard lamp and the amount the electricity bill would be from using one, so I value sun exposure but it can be very hard to find videos that use it because the time of exposure changes based on the sunlight where you live. After this project I hope this will be a great step by step tutorial and I might upload this as a tutorial to help people who are getting into screen printing.
0 notes
Text
Jeff Koons has been labeled as one of the most controversial figures in the art world and he is known for his huge artworks. Jeff Koons is an American artist who was born January 21st of 1955 in York Pennsylvania. He is known for his very large sculptures of everyday objects like huge balloon animals made of reflective stainless steel. Critics are split in their views of Jeff’s artwork, they are either very much in love with his work and consider it to be of historical importance to the art world, or they consider it to be only about self merchandising as Jeff has states his artworks hold no hidden meanings. In the 1970s Jeff had begun creating sculptures using inflatable toys. Hey took a premade inflatable rabbit which he casted in stainless steel that created “Rabbit” (1986) shown below.

the “Rabbit” is currently residing at the Museum of Contemporary Art in Chicago.
Jeff Koons has described his reasons for doing balloon animals by stating that “I’ve always enjoyed balloon animals because they’re like us. We’re balloons. You take a breath and you inhale, it’s optimism. You exhale, and it’s kind of a symbol of death.” One of his most beloved works are a series of balloon dogs, this image is 1 of 5 existing balloon dogs. Every balloon dog is created from precision engineered, mirror-polished, stainless steal that is finalized with a translucent color coating. His first balloon dog is an orange dog, but he has also created red, green, blue, and pink balloon dogs.
Balloon dog (blue) 2002

while he did do a series of balloon dogs, these are not his only balloon sculptures, he has many other sculptures of balloon animals.but even at that, balloon sculptures are not all he is limited to in his artwork, he has many other successful large scale works of art made from different mediums, and his “Puppy” (1992) is a fantastic example of that. His “Puppy” is 43 ft tall and was created as a commission for three art dealers to create a large sculpture for the Arolsen Castle in Bad Arolsen Germany. The “Puppy” is a sculpture of a White Terrier puppy created from a variety of all kinds of flowers on a transparent color-coated chrome stainless steel substructure. these flowers grew for the length of time this piece was on exhibition. This puppy held 20,000 plants.
Puppy 1992

0 notes
Text
Monday Artist
I chose David Hockney as my Contemporary Artist, he is considered one of the most popular British artists of the 21st century because he is seen as an important contributor to the Pop Art movement of the 1960s,and I focused on a gallery in Tate Britain that celebrated his work over 6 decades in honor of him approaching his 80th birthday. David Hockney is an LGBTQ+ artist who was born July 9, 1937 in the UK and he focuses on Pop art and Cubism primarily; he is an english painter, draftsman, printmaker, stage designer, and photographer. The gallery consists of Davids most famous artworks to celebrate all that he achieved in not only painting, but in drawing,print,photography, and video. Throughout the exhibit it’s easy to see the way his style changes as he changes with the times (mostly by utilizing new technology). The focus of this exhibition is to show change, the gallery shows his artwork changes but uses the roots of an artwork he made that came before.
A Bigger Splash 1967

Pool With Two Figures 1972

Afternoon Swimming 1980

Pacific Coast Highway 1990

Garden #3 2016

0 notes


