not-an-elfmaid
Blau's cosplay and art blog
This blog contains mostly cosplay and art related things. Currently I'm working on Sauron's armour and I expect that lotr/hobbit/silmarillion will be the the dominant fandom here.
Feel free to ask anything^^
My main blog is made-in-rivendell, and you can...
703 posts
Don't wanna be here? Send us removal request.
Last Seen Blogs

plyana
Untitled

hopefulsaladcherryblossom-blog
Untitled

hydrogenandhelium
the things stars are made of
yourmeninadefe
Romanos 10
de4d-but-sk1nny
I Just Wanna be Thin
Text
You know what’s some crazy $hit?
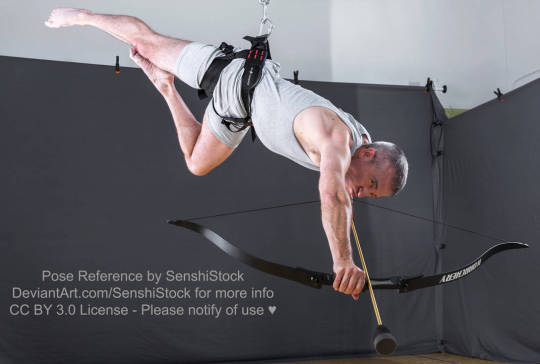
This fabulous bitch

She makes a shit ton of poses (like 16,000 or some crazy nonsense). I used this lovely lady to draw so much as a teen. Whether it was some nerdy pose for my Mary Sue as fuck OCs
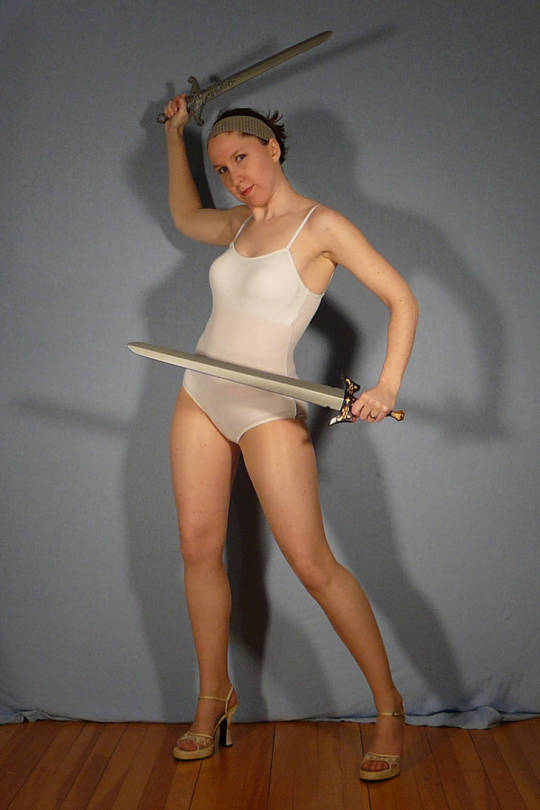
or for full on fight sequences

or for tragic deaths of my OCs in the arms of a totally OOC main protagonist.
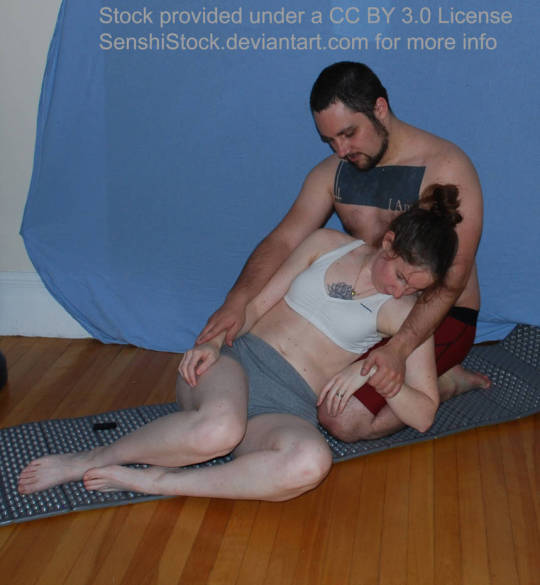
this bitch hooked me up.
And with the wildest, craziest stuff that you could see in your head but had no way or resources to reasonably draw like

or this
or this

DUDE! INASNE SHIT!! So I was using her for a pose reference and decided, you know what, I owe this bitch some cash. Lemme dole it out for her. BUT then, I looked and saw she only has 286 fucking patrons!! This chick gives out free shit and spends countless hours arranging these shoots and setting this stuff up.
I’ll fork up the cash, SenshiStock. You’re worth it.
Check out this amazing woman’s stuff, and get knowledged: https://www.deviantart.com/senshistock
217K notes
·
View notes


Photo
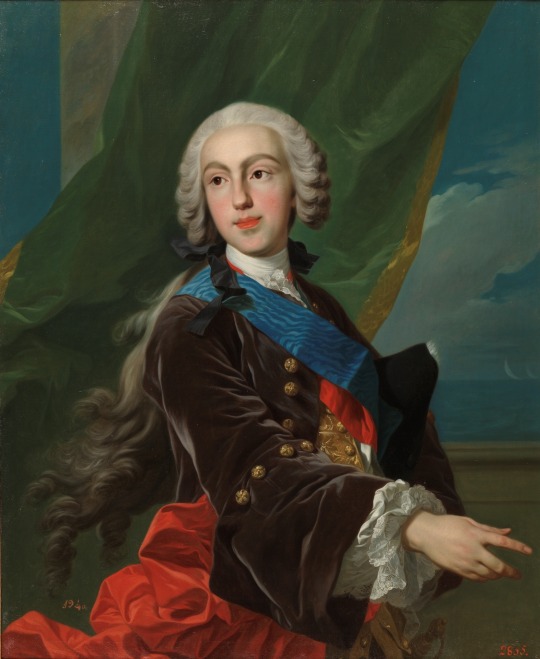
1739-1742 Louis-Michel van Loo - Felipe de Borbón y Farnesio, Infant of Spain, Duke of Parma
(Museo del Prado)
259 notes
·
View notes
Text
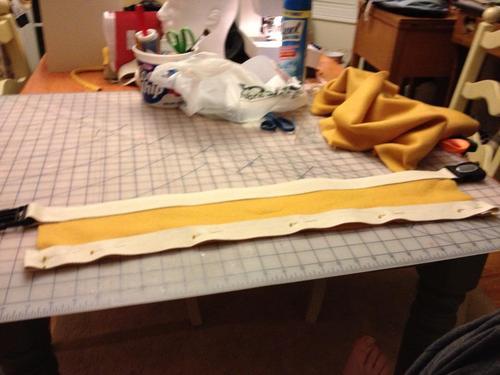
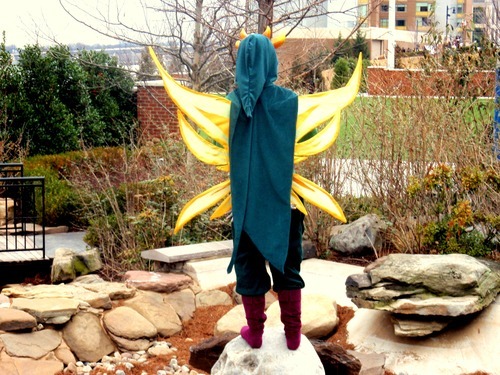
God Tier Wing Harness Tutorial
I’d seen several god tier wing guides, but none with a harness design I really liked. So I made my own based of a back brace my boss had.
Supplies
1 3/4” belting material. Enough to wrap around your waist twice, and over your shoulders twice plus a good bit extra for details. I used 5-6 yards I believe
around ½ a yard of fleece, or similar material
two parachute buckles
tubing that fits your wire from your wing
This tutorial is the second half of my wing making tutorial. It works best with that one as it depends on you using wire to make your wings.
Begin
First cut a length from belt material that is enough to go around you waist and add a little extra to that to attach the belt buckle. Do this again with a length for your chest.
Stick the belt through the buckle then use a zig-zag stitch to firmly attach the buckle to the belt. Repeat this on both waist and chest belts. Make sure that the rough edge is inside on both belts
Next measure out the distance between these belts. Take that measurement then add the width of both belts to it.
that measurement X the length of the longer belt= the fleece you need to cut out
Attach the fleece to the belts, allowing the fleece to fully go under the belt. This keeps you from having a rough belt rubbing you all day. Sew a strong zig-zag on each side of the belt. Do this on both belts.
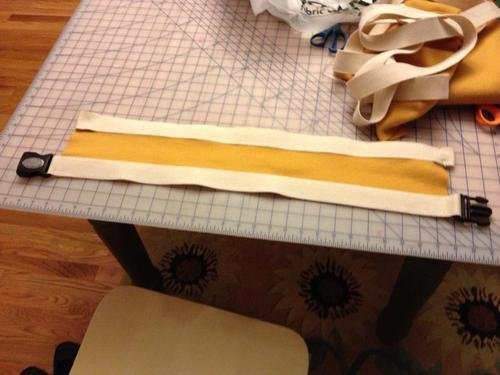
(There’s only one buckle in these picture because the store ran out and I didn’t have it when I started. But if you have them they should already be both attached early on.)
Shoulder Straps
Now try on your wide belt. I would suggest using a measuring tape and finding the length of the shoulder straps based on where you want them to lay. This step it VERY important as where the shoulder straps are determines where the wings will lay on you back. Be very sure of where they will lay.
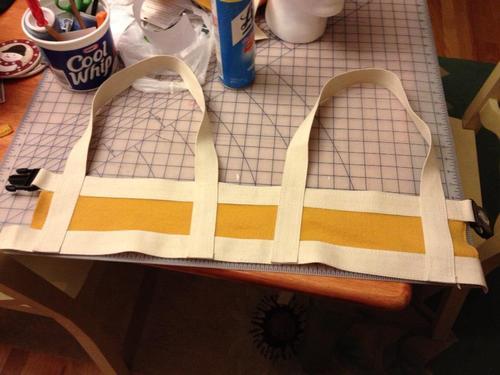
Cut out that length of strapping for the shoulder straps, plus an extra ½ inch to fold under on each end. To prevent fraying fold under each end of the strapping and do a quick zig-zag to make a smooth hem Next pin the straps on (this is your last chance to adjust positioning). Sew the strap to the wide belt. I made a little square at each end where it met the belt straps, and then did two lines along the middle section on each edge.
Now take your tubing and figure out how long you want it to be. I went from the middle of the shoulder blade to the bottom of the waist belt. This is the attachment area for the wing. Make sure it meets in the right spot to get the look you like, and make sure it’ll be long enough to hold the weight of the wing. snip the tube to that length.
Now use a drill to make a tiny hole a little bit up from one end. Place the bottom end of the tube just a little bit up from the bottom (to allow for a seam) and using that hole attach the tube to the harness. This will keep the tube from sliding away when you take the wings on and off.
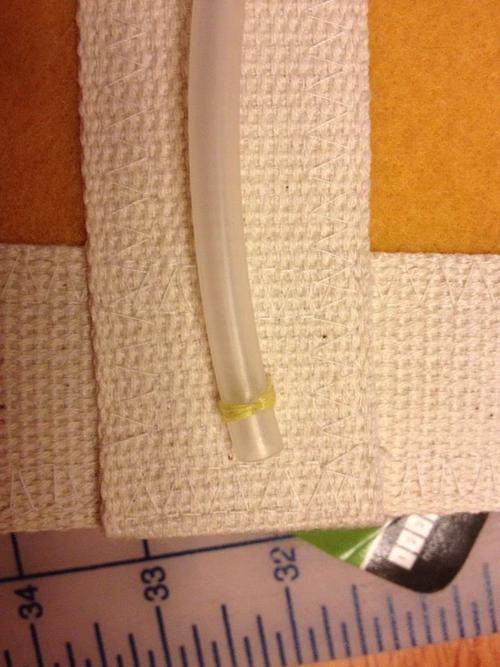

I unfortunately don’t have a picture for the next step. Take more strapping and get enough to fully cover the entire length of the tube. we don’t want any of it sticking out at all. Finish one end of the strap with a hem. For the bottom end (which we didn’t hem) lay it down so the rough end is touching the bottom of the tube. Sew a zig zag stitch to attach it. Then flip the strap back up so that it is now covering the tube. Pin the sides of it it over the tube, like a little cover, and sew up the sides. Now your tube is all covered up. You want the stitch to be as close to the tube as it can get, without hitting it. VERY snug.
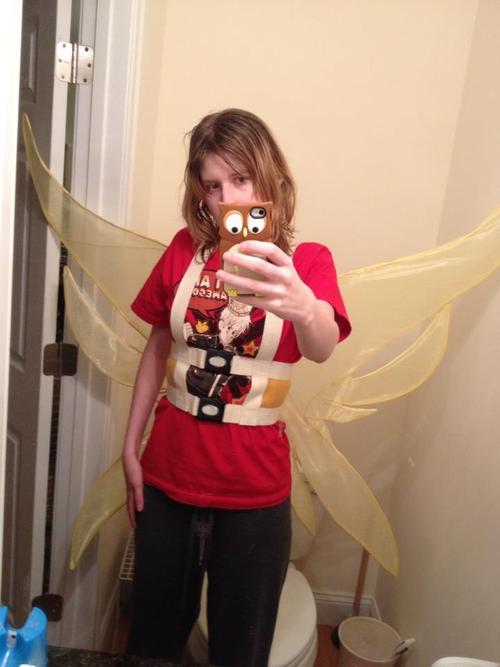
Now you have a harness. If the harness needs more support you can add little straps on the back. My wings weren’t sticking up enough, so I took two short lengths and added them between the shoulder straps around my shoulder blades. It provided more support and kept the wings from flopping in.
As a note this will show if you are wearing a very tight shirt. It works best with a shirt with a little give. If you want to show off your curves, you can take the waist in a little bit, but in my case I used the shape it gave me to look more like a boy and eliminate some of my curviness.
With this method you can take your wings on and off, and the attachment point only requires two tiny holes in your shirt.

493 notes
·
View notes
Text
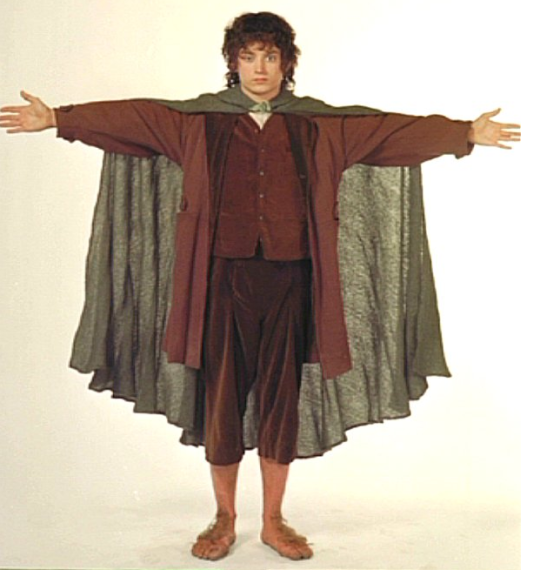
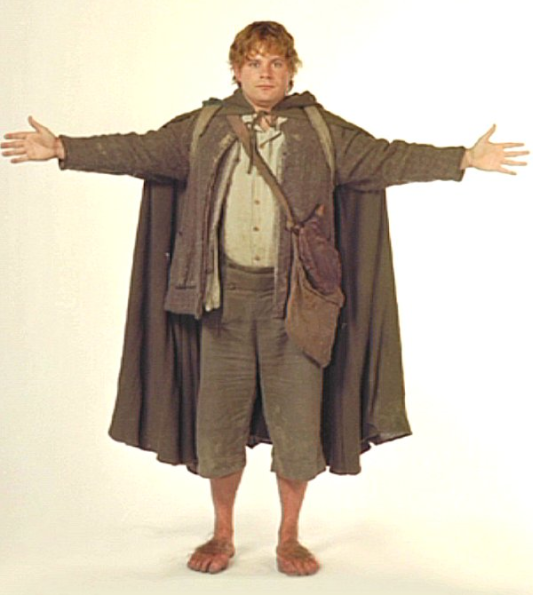
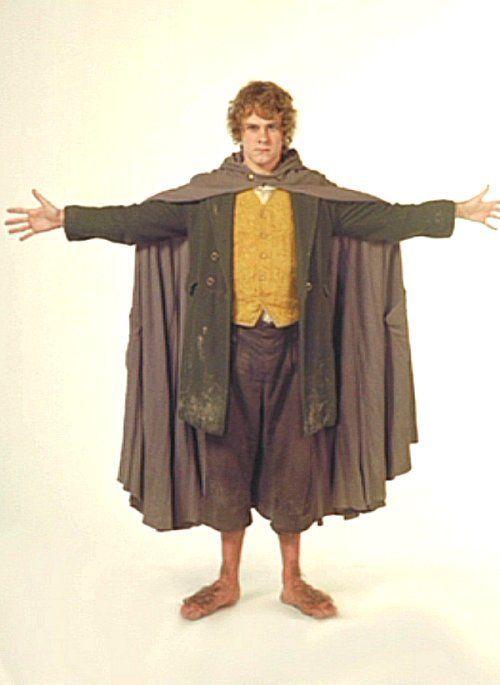
bring out the t posing hobbits

43K notes
·
View notes
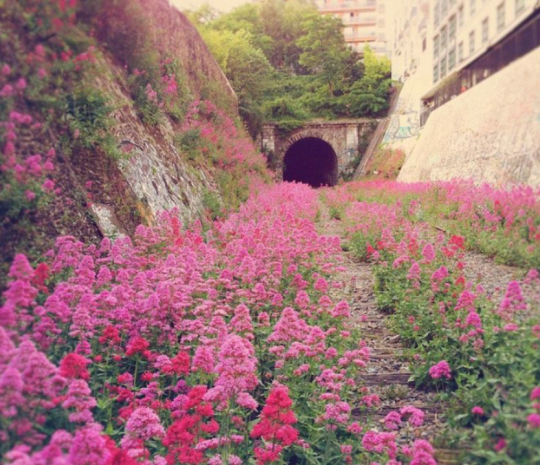
Photo

Chapel ruins at Cypress Gardens
38K notes
·
View notes


Photo

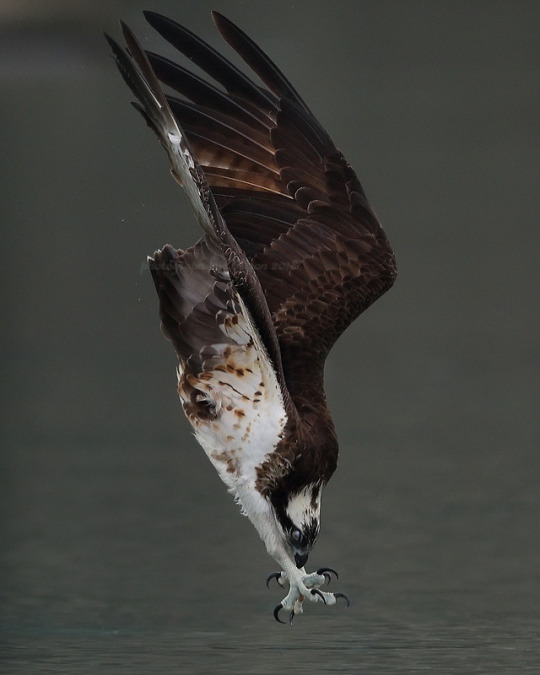
Osprey by Wilson chen
58K notes
·
View notes
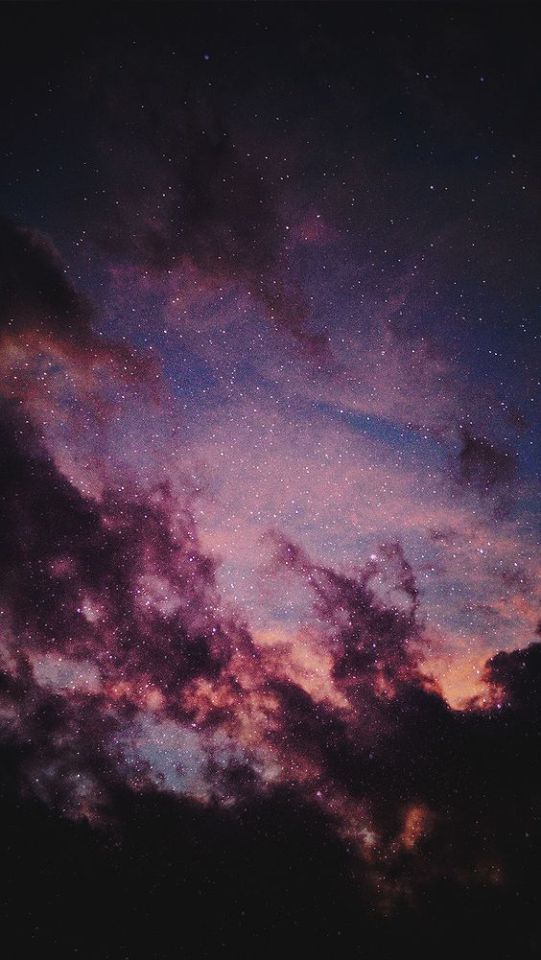
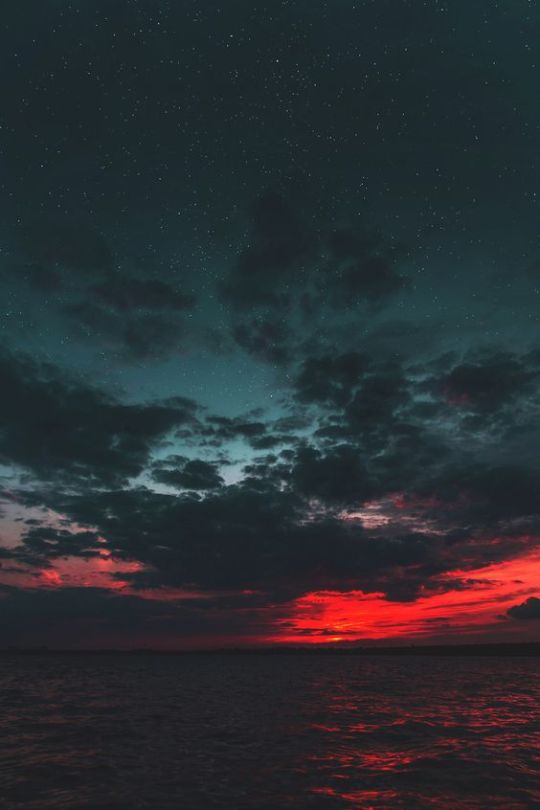
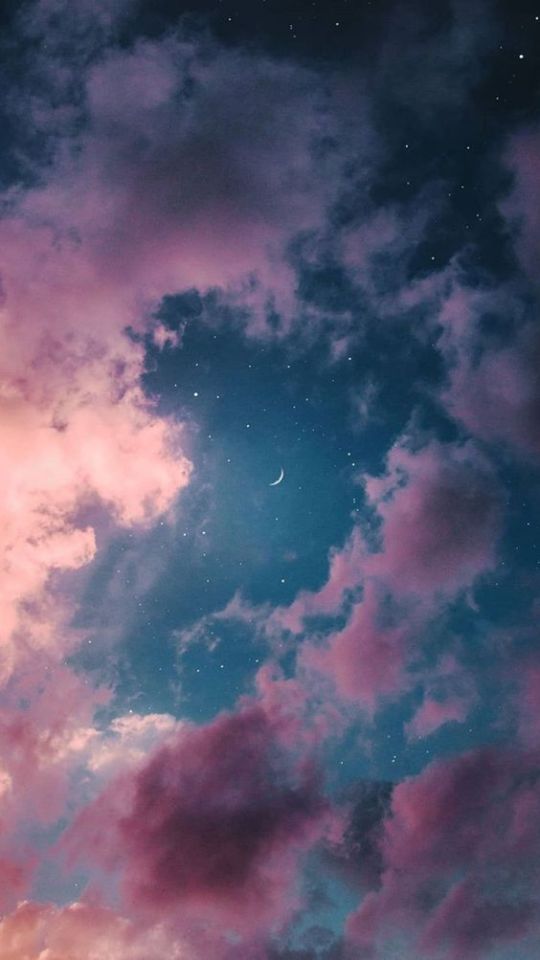
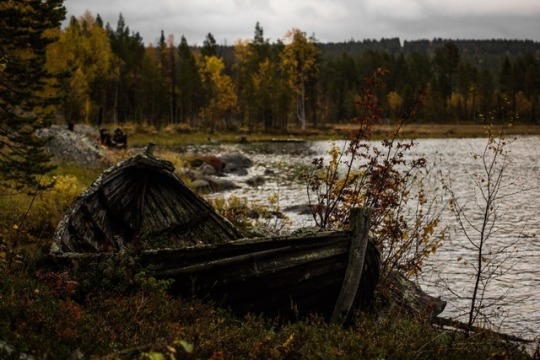
Text
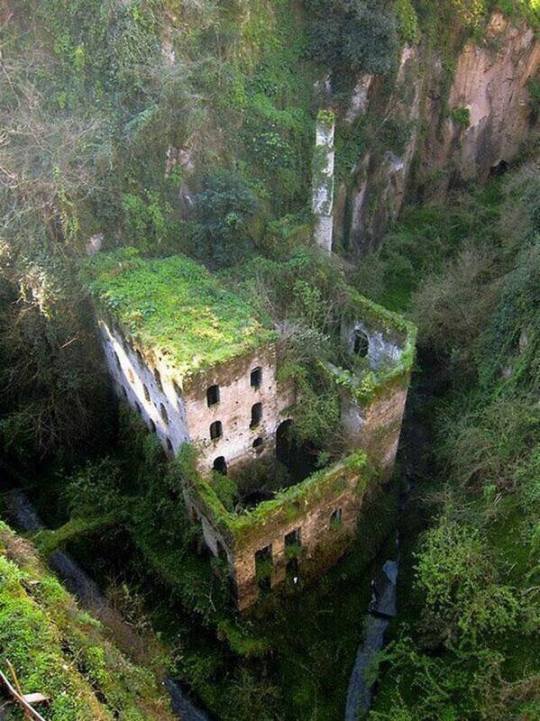
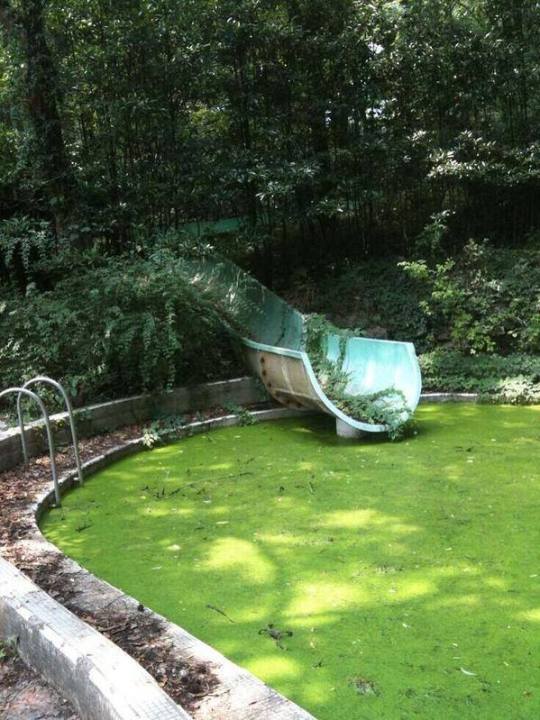
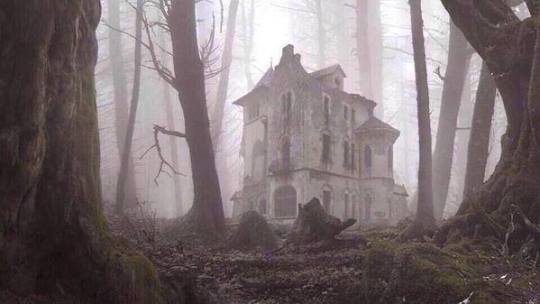
You know whats one of my favorite aesthetics?
Nature taking over abandoned places

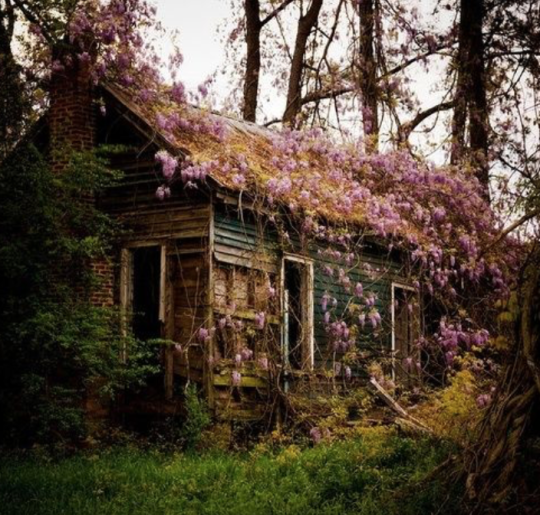

Hauntingly beautiful
64K notes
·
View notes
Photo
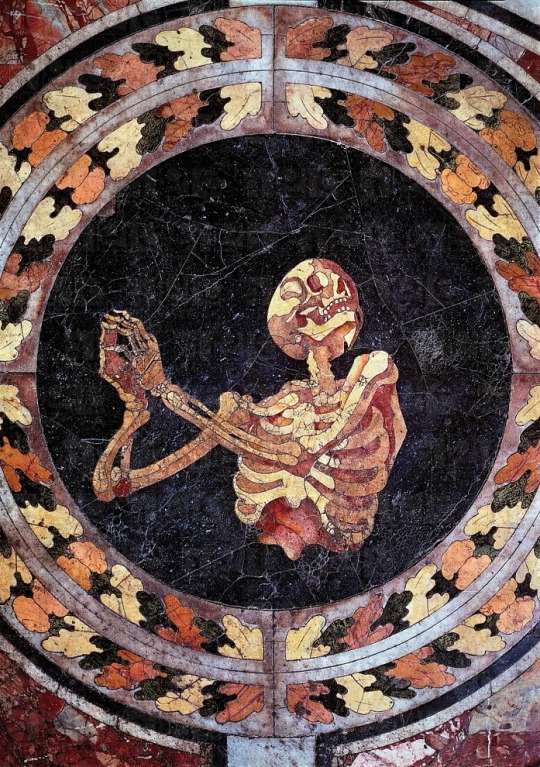
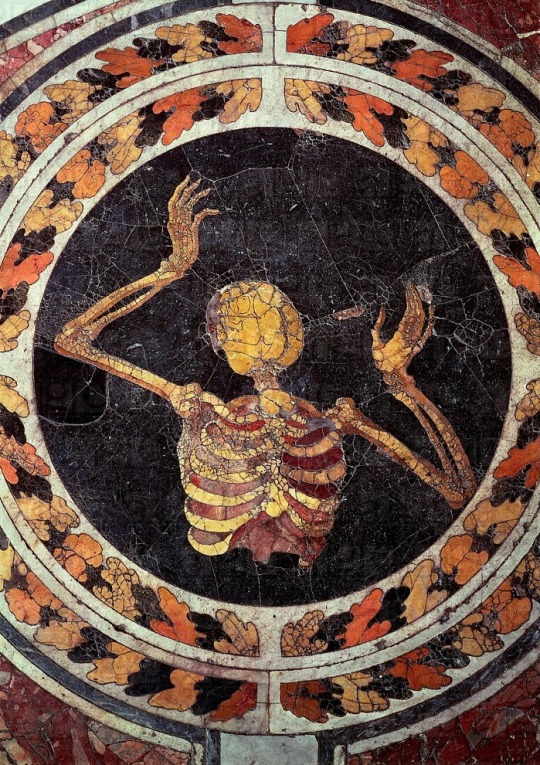
Skeleton Praying (c. 1600s)
Skeleton Pleading (c. 1600s)
Marble floor of the Cornaro Chapel
150K notes
·
View notes
Text
bring out the t posing hobbits
43K notes
·
View notes
Photo
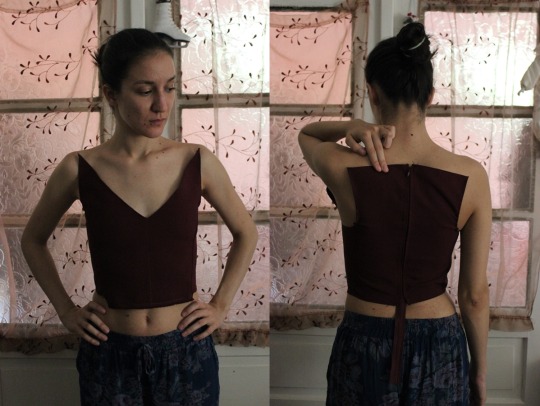

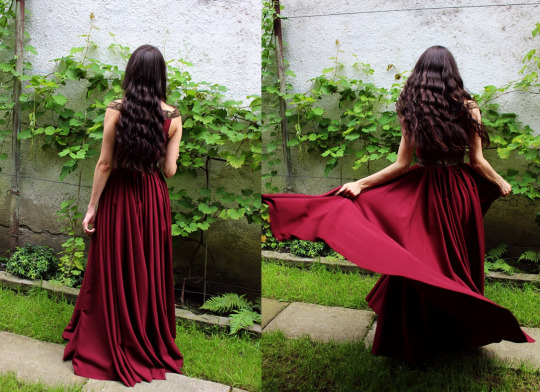
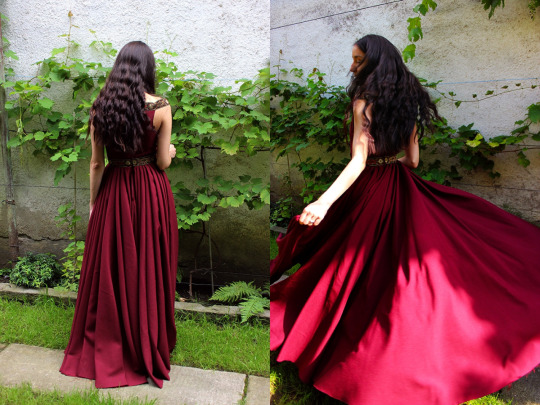
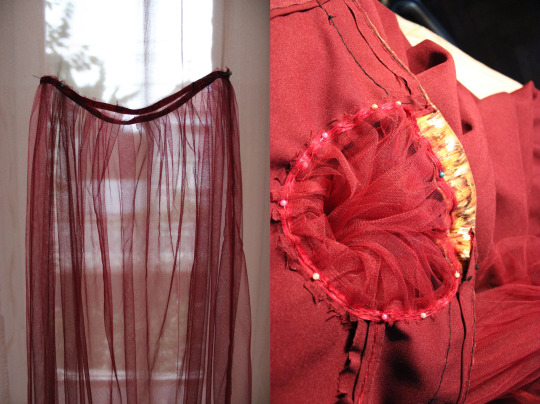

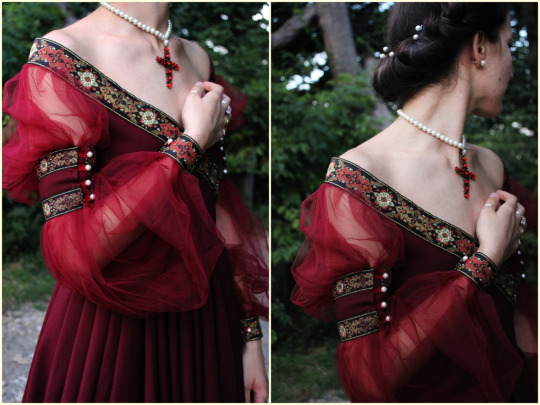
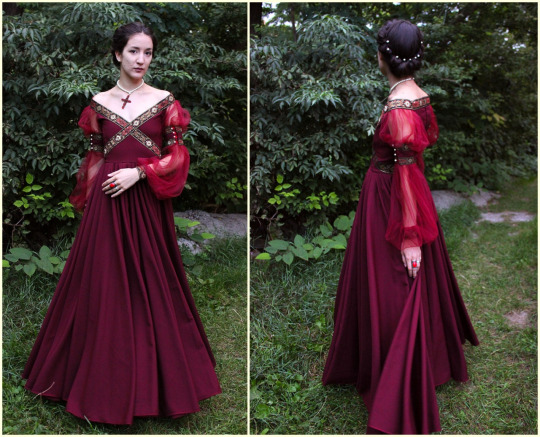
Making the burgundy dress.
Design, patterns and sewing made by me. The dress is renaissance inspired, with some personal modifications. The whole dress was hand sewn, including the hems. More pictures of it and a tutorial can be found on my blog.
142K notes
·
View notes
Text
some resources for people who want to start animating
free animation programs
the 12 principles of animation
51 animation exercises (from beginner to expert)
glen keane animates a scene
my advice: have fun and play–play is learning | always be watching real life to see how things move | also be watching cool animations to learn from them | don’t wait until you’re ‘good at art’–animating will help you improve | it’s hard but so worth it when things turn out well, good luck!
65K notes
·
View notes