
reviewinglemons
Reviewing the Lemons Life Gives
Scratch that, we're going full on indoor jungle instead!
43 posts
Last active 3 hours ago
Don't wanna be here? Send us removal request.
Last Seen Blogs

gabrielasanchezherreracupcackes
Corazón

wallowfiower
Mel

sexdevil669
Male 42
White
Red Head
feathers-fangs
Feathers & Fangs

8mavka8
Untitled
Text


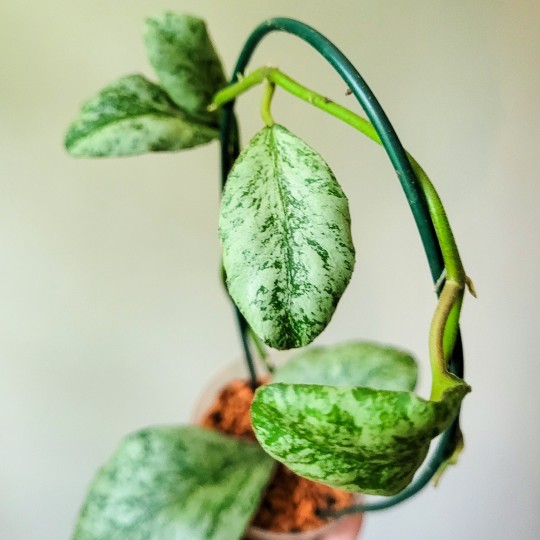

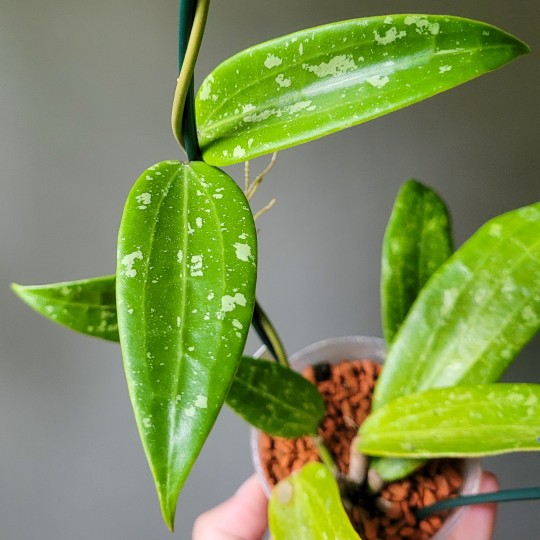


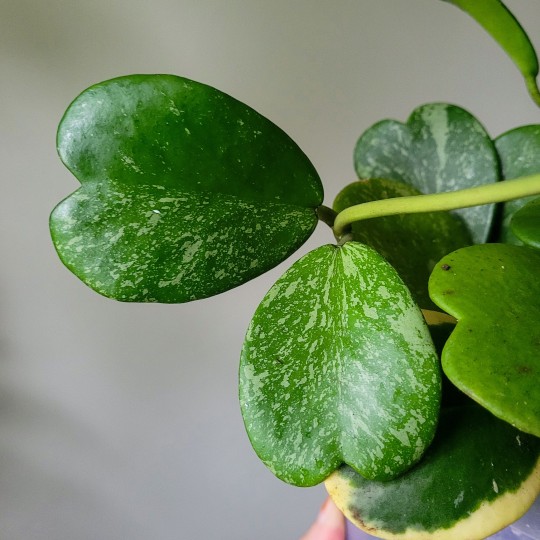
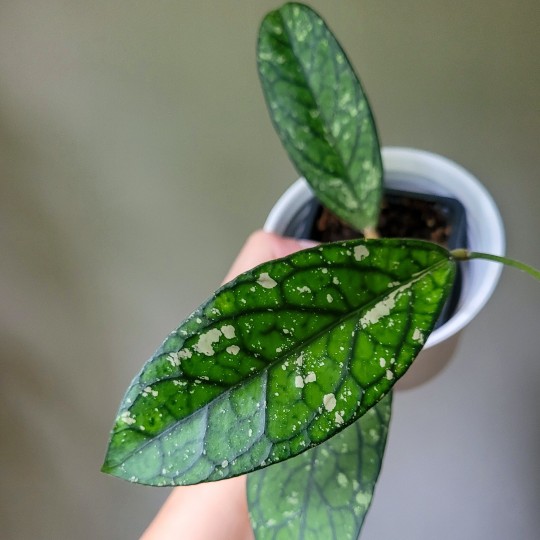
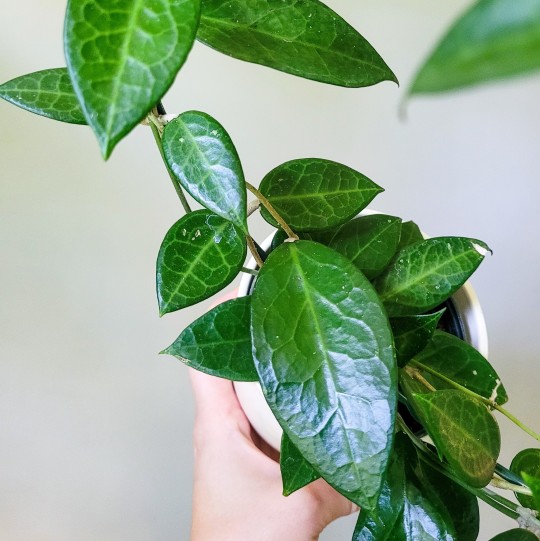
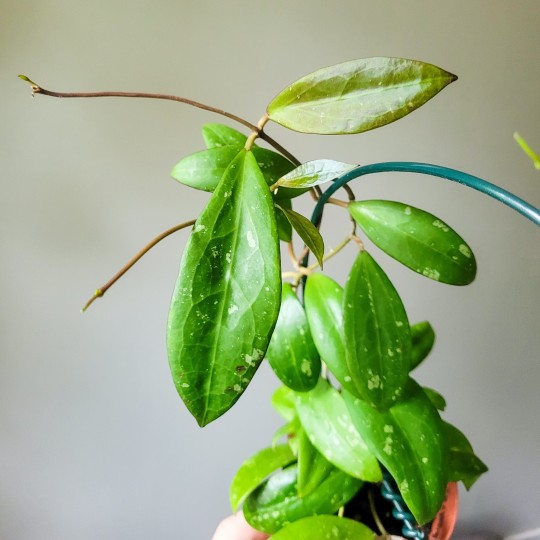
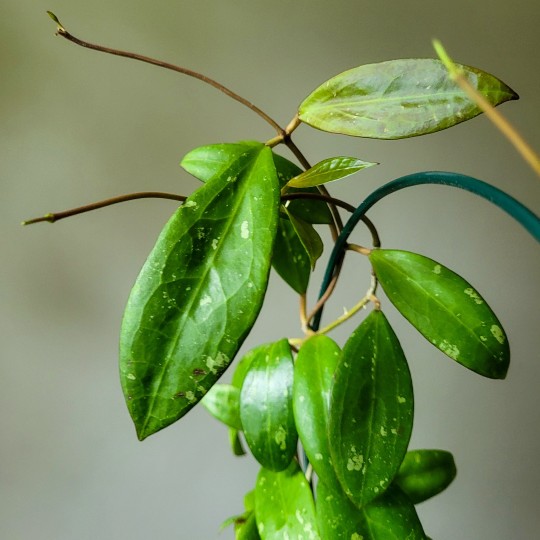
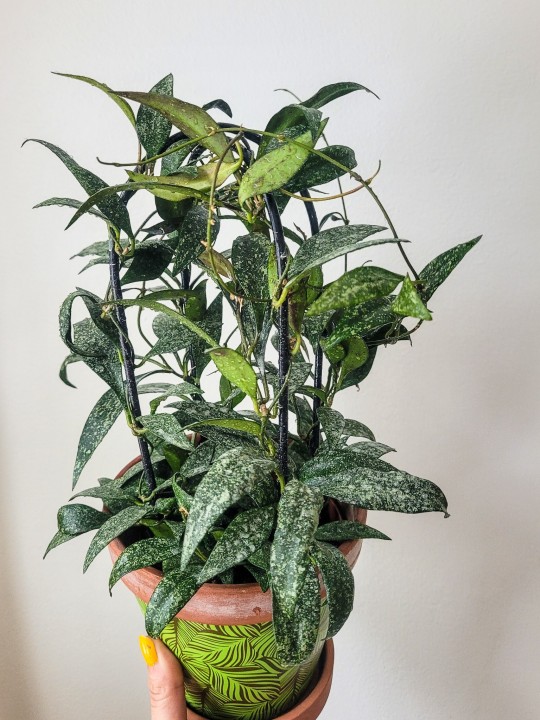
Splashy hoyas: biakensis ALS1, crassipetiolata (splash) (Vietnam), waymaniae (Kapuas) 'Cloudy Sky', mathilde (splash), sp. Loei Province, rundumensis (splash), rintzii (Borneo), verticillata (formerly parasitica) (heart leaf splash), kerrii (splash), and sp. Tanggamus (splash)
#indoor plants#plantblr#plants#houseplants#hoyas#Hoya biakensis#hoya crassipetiolata#hoya waymaniae#hoya mathilde#hoya sp. loei province#hoya rintzii Borneo#hoya verticillata#hoya tanggamus#splashy hoyas
2 notes
·
View notes


Text

10 notes
·
View notes

Text


34 notes
·
View notes
Text


0 notes
Text


Verticillatas, pt. 1: sp. Pati & EPC-269
0 notes
Text

44 notes
·
View notes
Text
DIY Project: The Thingy, Part 6
I've had to take a bit of a break from the project, but now I'm back to it.
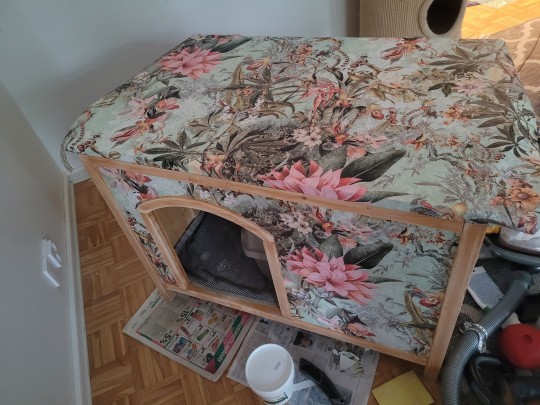
The lacquer layers are done. There was a bit of a mishap when I was doing the lid and put masking tape around it to stop the lacquer from spilling down. When I took it off, it took some wallpaper with it.
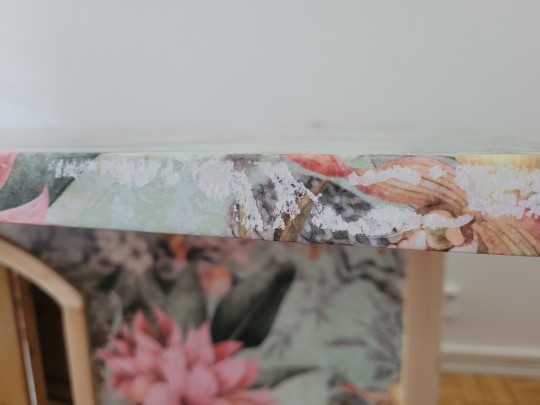
So, to mask that, I went to get some wood trim to cover that.
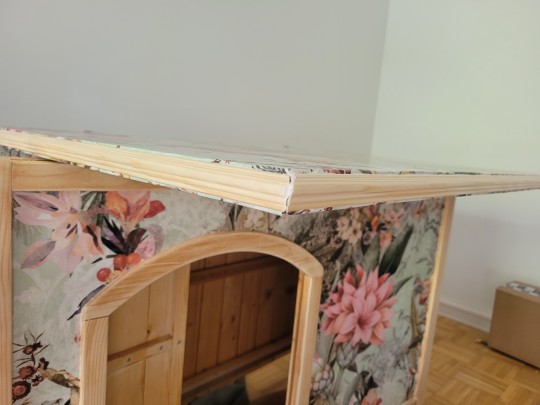
That is what it is looking like now. The corners are a shit show and I don't know if I can make them any neater looking. I guess I could get a bit of wood filling and try if that'll help?
I'm also planning to cover the bits where wallpaper meets the frame, but I'll have to get some more round wood trim.

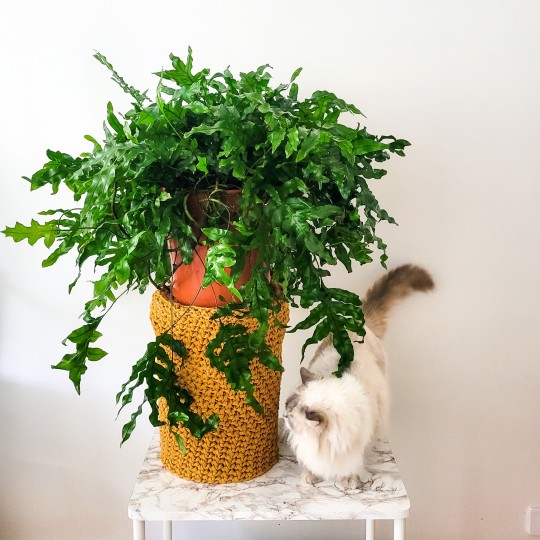
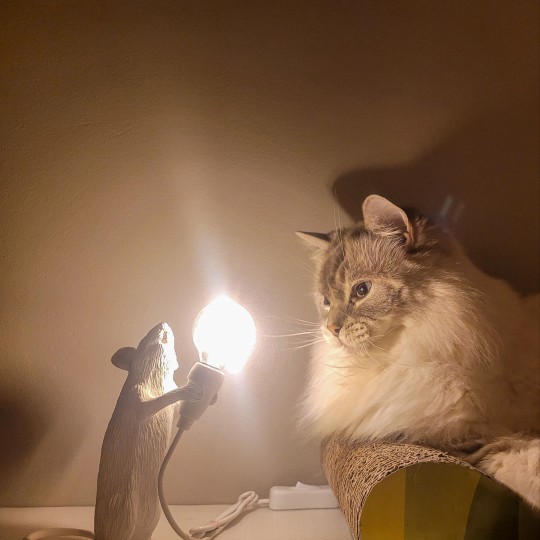
A ragdoll for size.

The trim that I got isn't quite enough to cover all the edges, so I'll have to go buy some more.
4 notes
·
View notes
Text
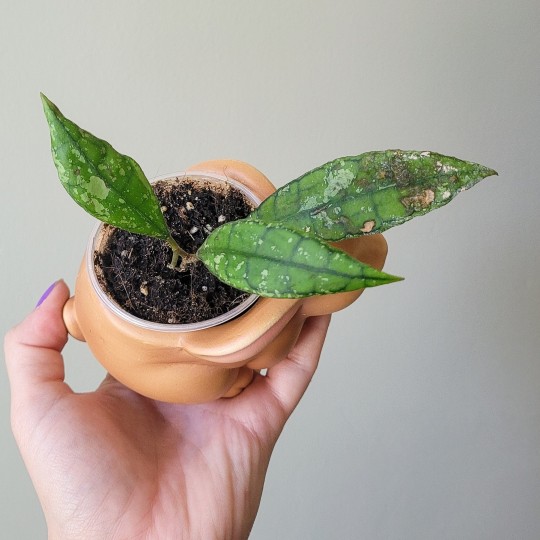
H. AH0734
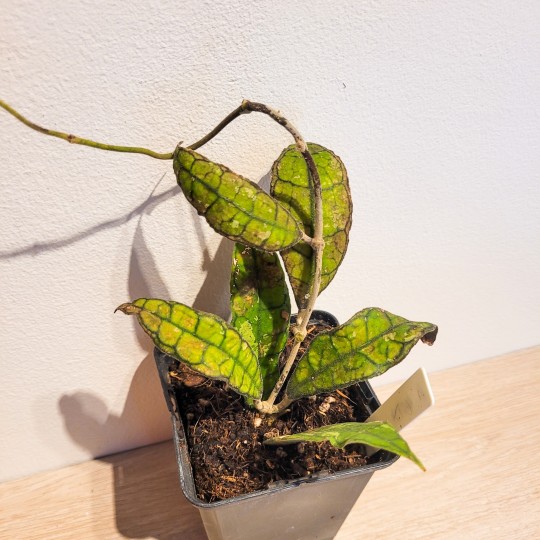
I got this hoya last autumn. It wasn't looking great when I got it and it slowly started to die back.
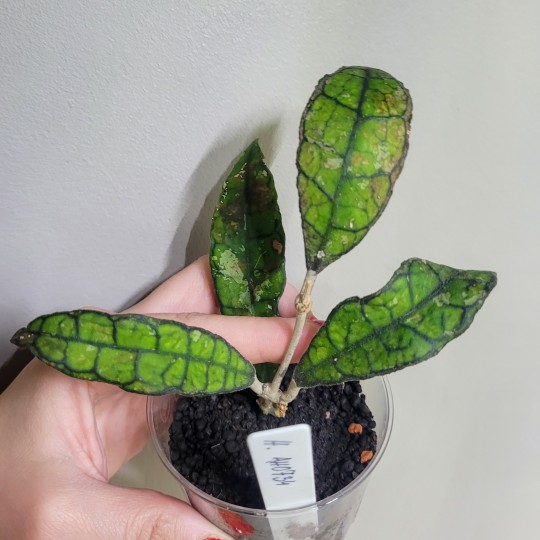
This is what it looked like a little before I chopped it into cuttings during the winter.
It didn't have flat mites, mealies, thrips... No pest that I could detect. I still got no idea what caused it, but what ever it was is not affecting the cuttings. The original plant kicked the bucket, but these two are doing alright.

2 notes
·
View notes
Text
DIY Project: The Thingy, Part 5
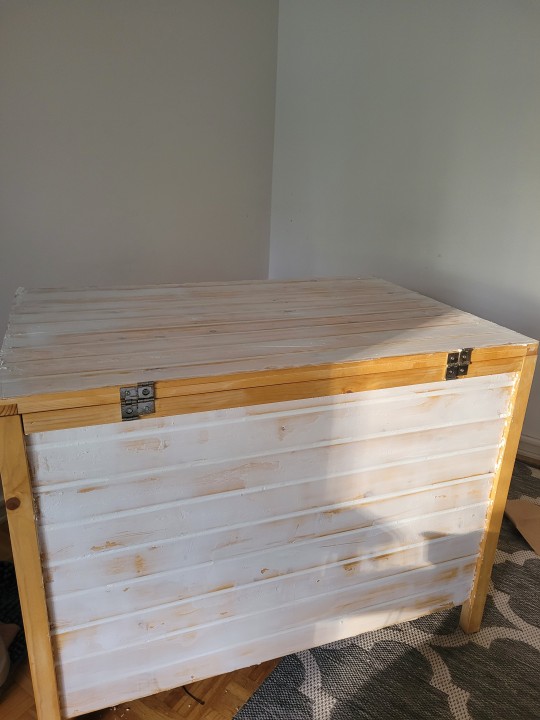
That is where I got yesterday (and yes, the living room looks like a tornado went through). Today I've turned and glued the flaps on the sides of the lid. I've got the sides down to three layers of lacquer and will probably add at least two more.
What comes to lessons learned, the lid bent up from the lip. I'm trying to fix it by putting leftover glue on below the lid and weighing down the front of it.
Lacquer makes all the difference, it's much livelier looking. This is three layers of it. I'm thinking one more today, then sanding down tomorrow so that it's as smooth as possible, and adding one last layer.
The lid does not have but the wallpaper yet, for obvious reasons. Come what may, but I'll take the weighs off tomorrow and start on the lid's lacquer layers. It won't be horrible even if it doesn't correct, but obviously I hope it will at least partially.
0 notes
Text
DIY Project: The Thingy, Part 4

Here's my test piece. It started as a basic old, off-white chair. I covered the seat part and painted the rest with "yellow satin" spray paint. Then I touched up the edge of the seat with titan white, cut the middle of the seat part out of the sample wallpaper I had, used wallpaper adhesive to put it in place, and lastly, today I put on a layer of lacquer on it.
What did we learn of this?
First, take more care to cover everything you want with the spray paint. Also, if you sand off some of the old paint, make sure to then cover the wood with same colour paint before the final colour. Even if it's "full cover" paint, the wood will be visible.
Second, use a lot of wall adhesive! You think it's enough? Probably ain't. Once it dried some of the seat part's wallpaper came off the surface so there's bubbles. We'll see if I'll manage to hide them.
2 notes
·
View notes
Text
DIY Project: The Thingy, Part 3
Okay, I ended up cracking open the all-purpose filler for the big one because there just wasn't enough of the wood filler. I hadn't realised how shoddy work the thingy is. There's no even surface on that thing, the lid being the worst. But now it should be even-ish. Tomorrow, after it's fully dry, I can run through it with sandpaper. I'm pretty sure I'll also get to the actual wallpaper part, which I'm equally nervous and excited about.
I did the test with the lacquer, so I know the colours won't bleed, but I'm trying to come up with something that I can use to test how the wallpaper will react to the lacquer after it's on a surface. My fear is that it will bubble, and that would, pardon my French, fuck it all up.
Actually, I think I got something to test on... TBC.
0 notes
Text
DIY Project: The Thingy, Part 2
Okay, quick update. First, I didn't mention that I got another, slightly smaller "thingy" coming in the mail, and I decided I will be giving a makeover to that one as well.
Yesterday, after spending almost two days deciding on the looks I want and calculating how much I need of everything, I made an order of wallpaper and some mosaic tiles.
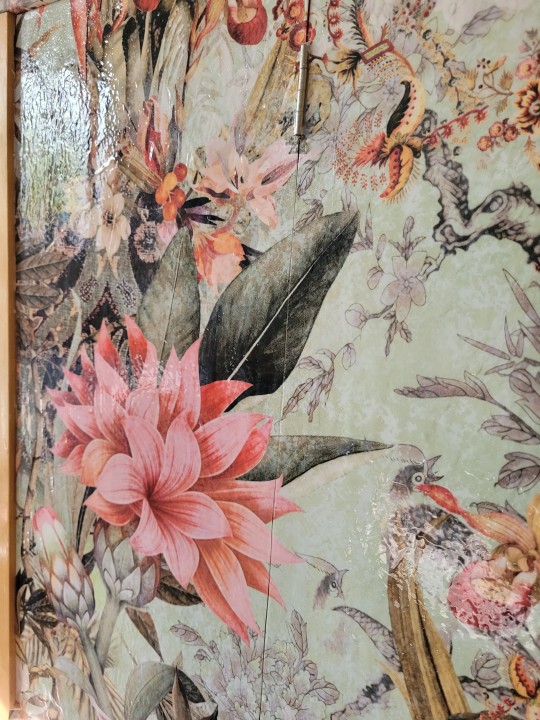
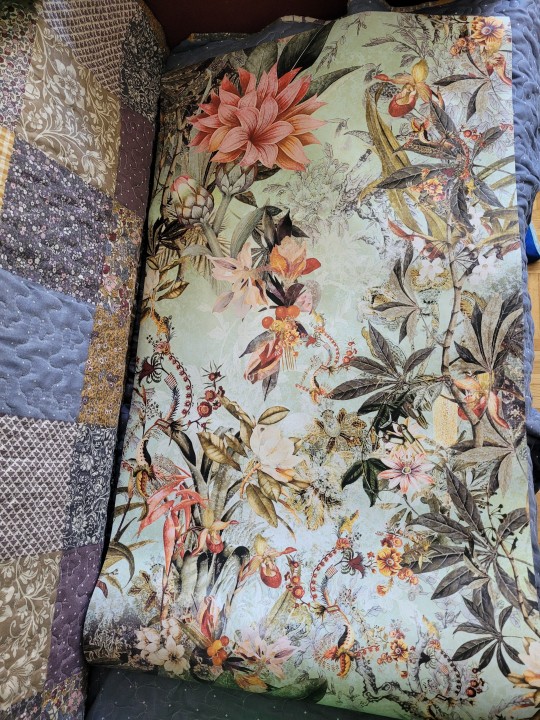
The old thingy is in the living room, and the vibe I'm going for there is warm and colourful. So, I'm sticking with the wallpaper I shared in the first post. I will be doing the top of it with the wallpaper, partially because the surface area is so big that it'd end up being unpractically heavy if I put some tiling on it (it's 90 x 60cm) I'm just putting some extra layers of lacquer on the paper to make sure it's splash proof.
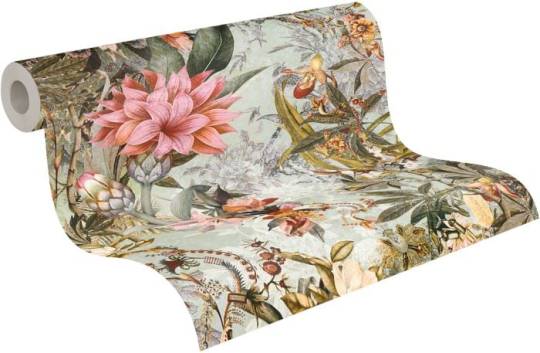
As a reminder, this is the wallpaper for the old one.
Now, the new thingy will be switching between balcony (warm seasons) and my bedroom. Where as it doesn't matter what it looks like while it's on the balcony, bedroom is another matter. The colour scheme is mainly yellow and white, with some grey and wood accents.

I found this wallpaper, and even though I had to get it from a different online store, it didn't matter because I fell in love with it and none of others fit my vision as perfectly.
For the new one, my plan is to cover the lid with mosaic tiles.

The store I got the aqua wallpaper from had these 30 x 30cm tile squares on '4 for the price of 3' sale, and I just had to get them. While the bedroom does not have gold, the kitchen does and a couple of plant pots around the apartment have it, so it's not that out of place. I also think the pattern of the tiles goes together nicely with the patterns of the leaves on the wallpaper.
The new one's lid is 75 x 51cm, so it'll still be heavy, but not unbearably so. Because one set of four wouldn't be enough to cover it, I now got excess 3,75 of those mosaic tiles. Pretty sure I'll figure something to do with them.
While I'm filling the gaps on the wood with wood filler on the old one, I think I'll use an every-purpose white one for the new. That way I can use a clear silicone fix for the seams but have a bit of white come through.
Now I just need to go pick up the wallpaper and tiles, and while at it, get some silicone, some sandpaper (almost typoed that as sadpaper), and wallpaper adhesive.
0 notes
Text
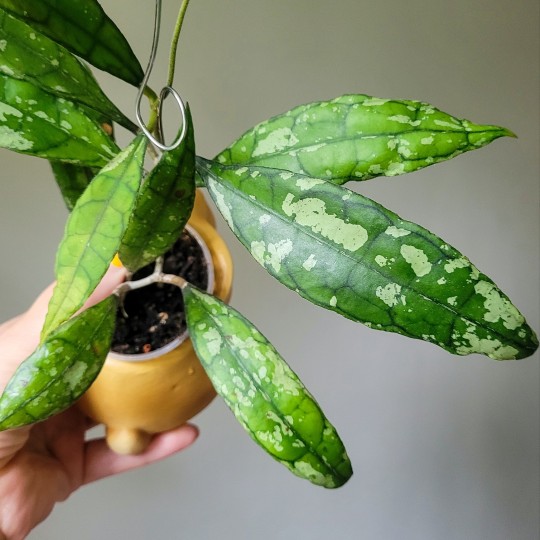
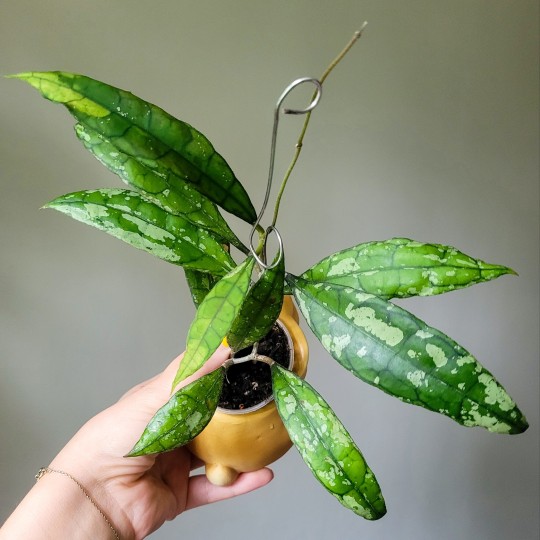
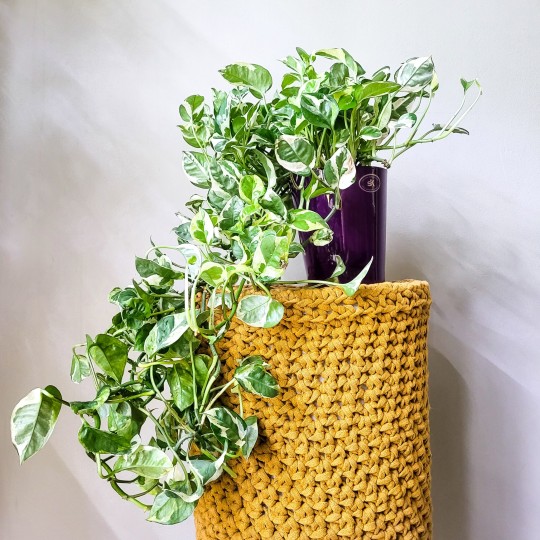
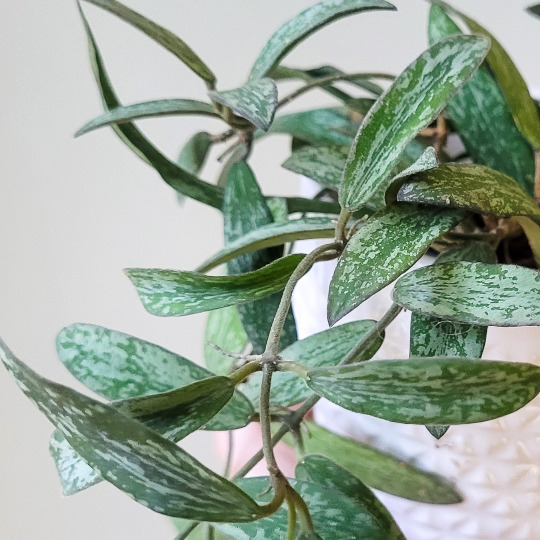
A Bit of Silver and Splash
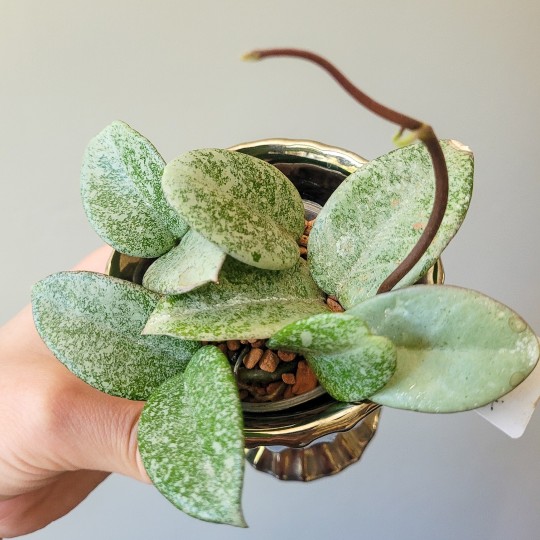
H. carnosa 'Nova Ghost' (a.k.a. reverted 'Argentea Princess') and H. parviflora (splash)

H. biakensis 'ASL1' was a surprise in how much silver it has, and how happy a grower it is.


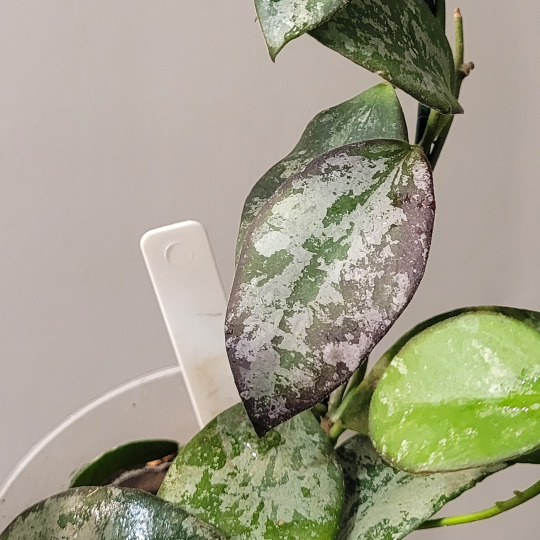
Two similar ones H. verticillata (heart leaf splash) (formerly parasitica) and H. latifolia 'Snow Queen'. I don't know which I'd pick of I could only keep one. Verticillata has that gorgeous splash that turns pink in high light, but 'Snow Queen' has nice splash too, and it's always been one of my easiest and fastest growing hoyas. So, good thing I don't have to pick, huh.

These two pictures have been taken a while ago. H. rangsan looks better these days, and H. sigillatis worse.
#plantblr#plants#houseplants#indoor plants#hoyas#hoya#hoya plant#Hoya Nova Ghost#Hoya carnosa Nova Ghost#Hoya parviflora#Hoya biakensis#Hoya biakensis ASL1#Hoya verticillata#Hoya latifolia Snow Queen#Hoya latifolia#Hoya rangsan#Hoya sigillatis
8 notes
·
View notes
Text
DIY Project - The Thingy, Part 1
Okay, so I occasionally GET on this DIY kick. The most recent victim of it is my cat's litter box... Box? Cabinet? Chest? Lets just go with "thingy".... There, now it's in the header.
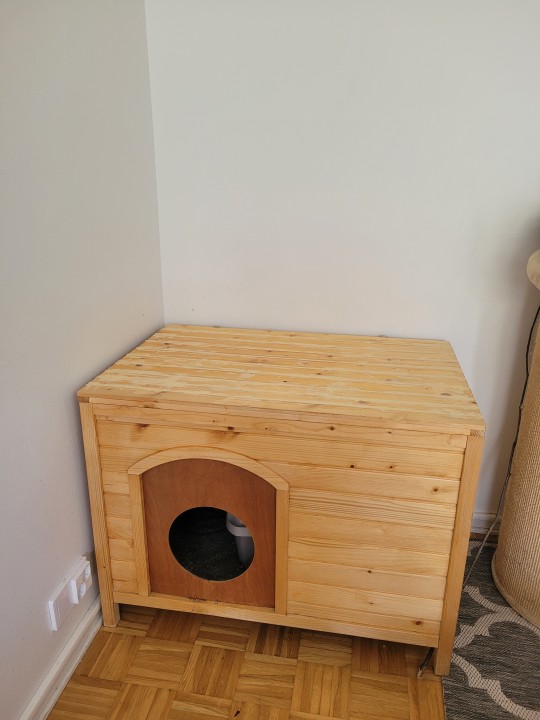
The thingy.
I'm mainly writing this for myself as a project diary. I got the litter box thingy a year or so ago. It's plain wood colour, and when I got it, it had no lacquer and no oil. I went over it with a couple of layers of protective oil meant for soft wood.
While it's a nice neutral piece, I want something with colours and prints. So, makeover time it is. The plan right now is to cover the sides with print wallpaper and the top either with the wallpaper or mosaic tiles. To protect the paper (coz kitty eats on the thingy), I'm going to coat it with clear, high shine lacquer.
Today I started with the lid, using wood filler to make it flat.
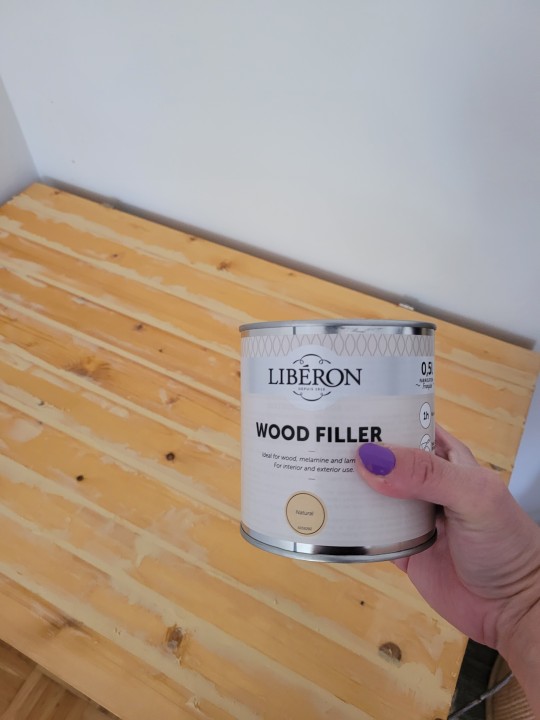
After it dries, the next step will be sandpapering it smooth.
They were out of the wallpaper I picked, but I got a sample piece, and now I'm using it to check the colours won't bleed when I apply the lacquer.
Test piece of the wallpaper.
I hope the wallpaper passes the test, because I've become fond of it. I don't have any aqua colour anywhere, especially living room, but it does have terracotta, red, and green so I think it'll be good.
0 notes