#(i dont have the energy rn to add alt text to all these images so if anyone wants to add thats totally fine)
Text
Quick tutorial on how to paint still water?
Whatever idk i just gotta document what i have learned recently before i forget and the best way is to explain it.
What you will need:
- Any art software that have layers and especially some sort of layer mask feature. (i use clip studio paint)
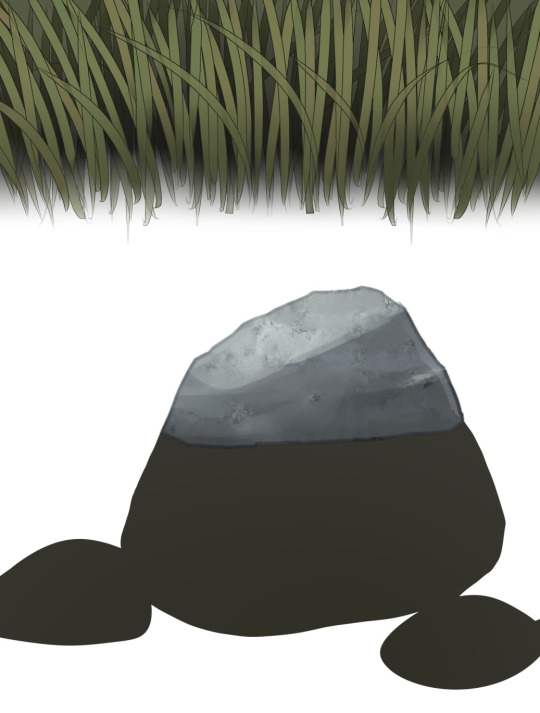
1: (first image) You can start by first adding the core objects of the artworks before adding any water. You can start on a gray or dull brown canvas if thats your thing. The rock here is going to be half-submerged in the water so thats why only the top part is more rendered here. But depending on the setting and your own style you pribably can render the lower half too, just remember to have the submerged part in a separate layer since the reflection of the water will be placed between the top-rock layer and above the bottom-rock layer.
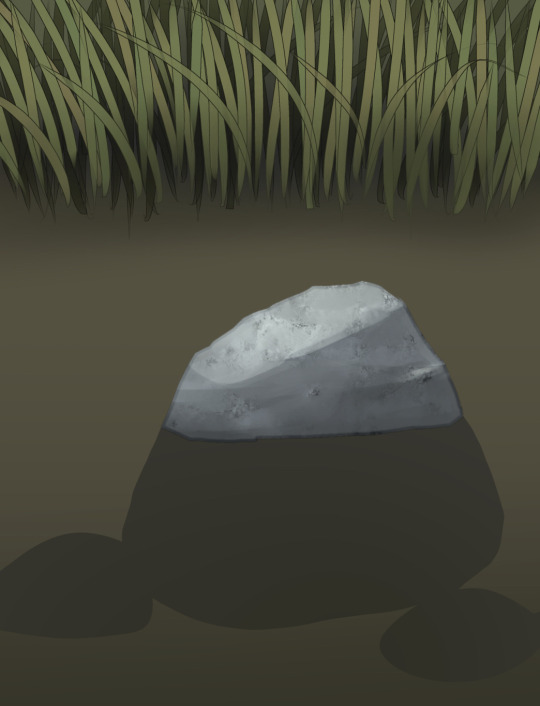
2: (second image) Now you add the color of what the bottom of the river is. Most rivers where i live have muddy bottoms so im going with a brown color. Depending on how deep or shallow the river is, the more objects is visible. Note how i added a darker shade close to the grass but also at the bottom of the canvas. It’s not mandatory but i’ve noticed that it helps to give more depth.
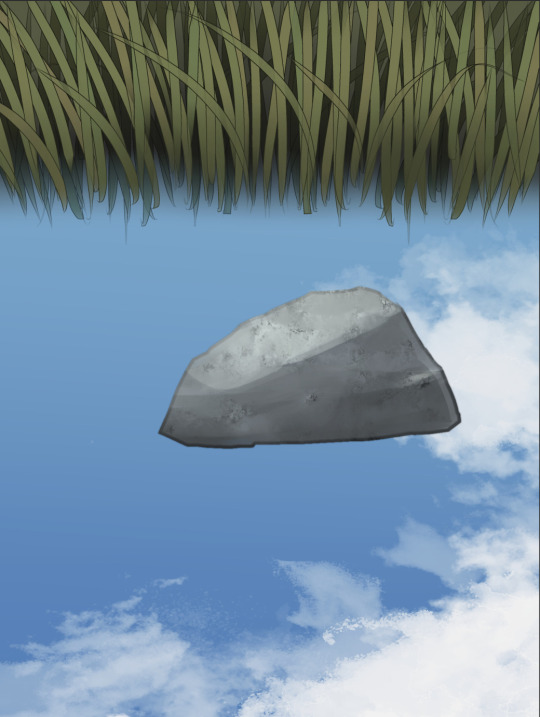
3:
Now i make a new layer (or in my case a layer folder because i never end up using just one layer) and just add a sky! You can make it daylight or evening or lit up by the moonlight probably. Use either your favourite brushes, the default round brush, or some weird custom brushes for the clouds - whatever suits your style and fancy! Just keep in mind that the angle of the clouds should match the angle the overall painting has - but you can also just give the cloud an unspecific shape that works in any angle.
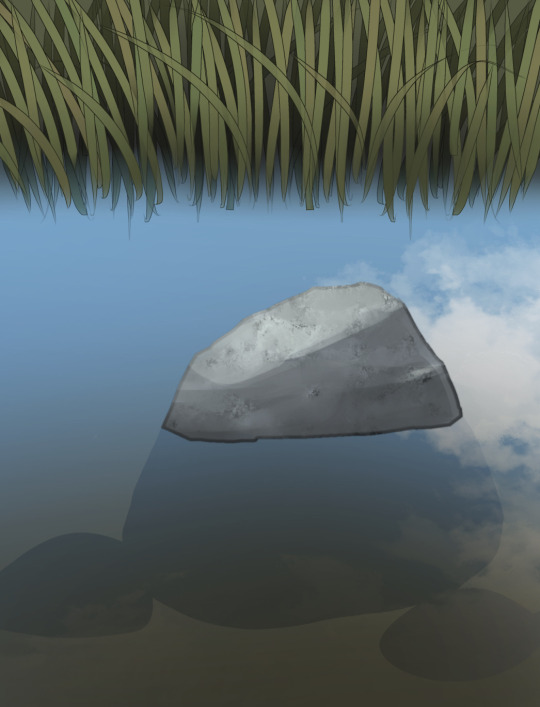
4 and 5:
Okay so this is where the layer masks are your friend. You can probably be brave and just use the eraser but that method is quite unforgiving imo.
In the first image i used a big soft airbrush eraser (you can use a gradient tool as well) to lower the opacity on the bottom part of the water. I have noticed that, in certain angles, the sky reflection on water is more faint the closer it is to the viewer.
This isn’t necessary but i used two layer masks here, the first gradient one is on the layer folder. The second layer mask is on the blue sky layer. I know that not all art programs might have this, so you can just do all of this on one layer mask if thats all you got.
Now technically these are reflections of the rock and the grass that i am masking away. But since theyre so close to the water we dont get much visible details and mostly just the silhouette. If i had just added a 100% mirror-like reflection here it probably would make the water look like liquid metal or something. However, reflections in water can vary a lot depending on the setting, so look up references that match the setting you wanna go for and take notes.
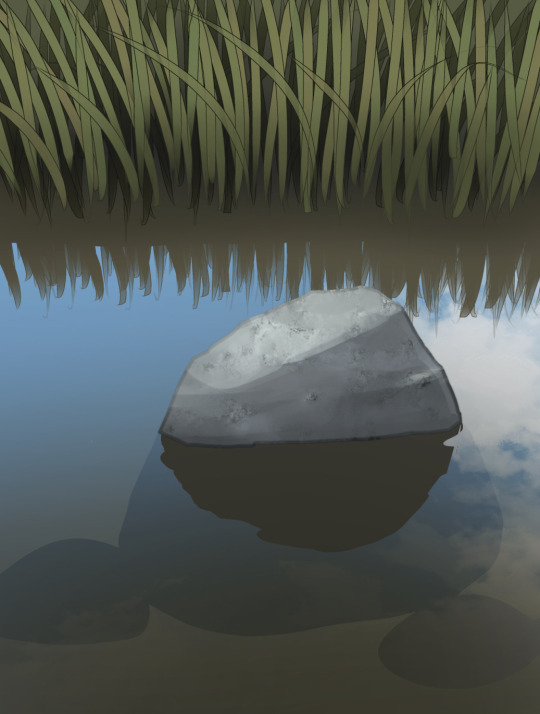
And this is essentially it!! Yes i know the example image isnt a masterpiece, but i didnt wanna expand this post even further and wanted to keep this simple. You can absolutely go further with this and add more vegetation or animals or droplets or rim light or 50000 overlay layers. I hope this made sense and is of any use or help for y’all out there!
#protip#art tutorial#tutorial#digital art#undescribed#(i dont have the energy rn to add alt text to all these images so if anyone wants to add thats totally fine)
726 notes
·
View notes
Last Seen Blogs

nursingandhealthstudies
Welcome to Dakota's Blog!


curious371
Curious371

chrisevansfp
✨ chris evans fp ✨

riddlemall
Jobe-Chan~