#I folded and sewed the last section wrong and didn't notice -_-
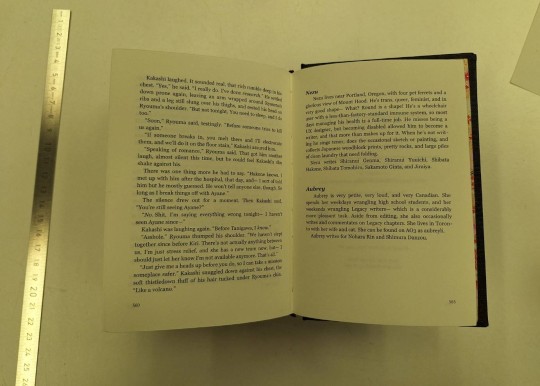
Text

So, what happened was, I was rushing a step. Simply as that.
Printing was already weird, because for some reason printer simply decided to stop printing before the last 2 sections were printed. (There was paper and toner a plenty.)
I noticed as I was building sections/signatures (and after I had to literally had to fold back EACH sheet because I somehow had folded them all the wrong way, but it was fine, no harm done. Easy fix.)
I took extra care to fold the last sections correctly, got to sewing, finished the book and only on reading noticed... the very last section was folded the wrong way.
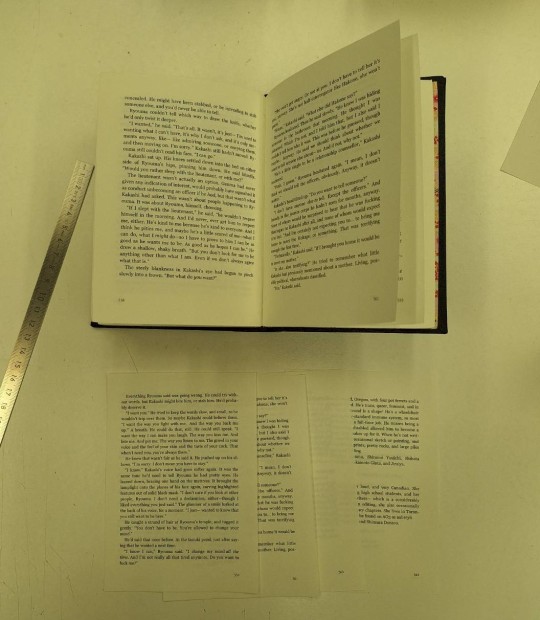
All present and accounted for, but each sheet was out of order which made reading a hustle.
Luckily this is an easy fix.
I printed the last section again. Folded and cut in half so I had single sheets
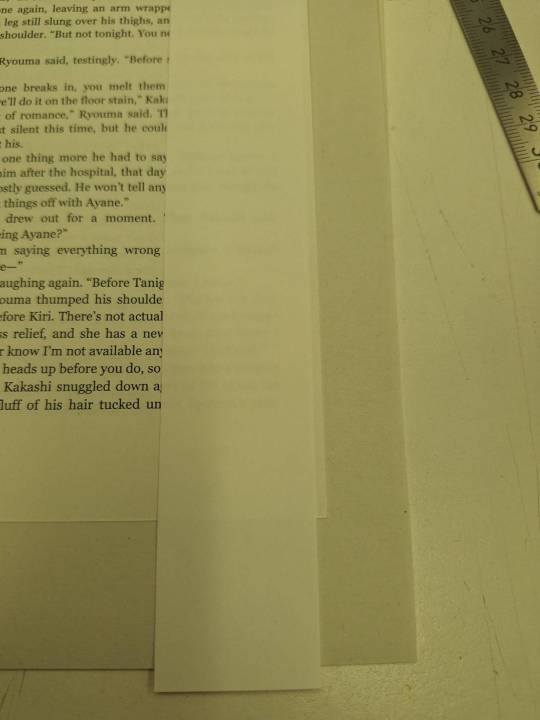
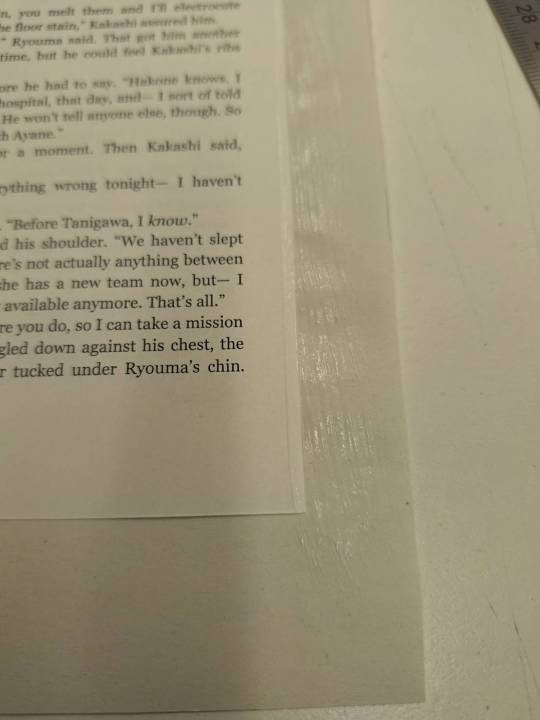
In the next step, I cut out the pages in the wrong order and left over a small ledge, about 3-4mm. I used the cut out pages to adjust my book height. (I trim my books so the newly printed sheets were not the same height anymore as the trimmed book block).


I applied a small strip of glue on the freshly printed sheet that was next in order and pushed it under the first small ledge.
(A piece of paper helps with getting a clean line and really just gluing a small strip without too much glue on it.)
I did the same with each new sheet and pushed it under the next empty ledge until they were all glued in. Now in correct order.
Last I put some blotting paper and something (it's silicon paper, I use silicon paper for that, but really, a sheet of plastic sheet protector does the job just the same) to prevent any possible excess glue from gluing the papers to each other instead of just the ledge and let that dry between boards and with a weight on top
Last I trimmed the front edge again so the added sheets were the same length as the ones in the book block.

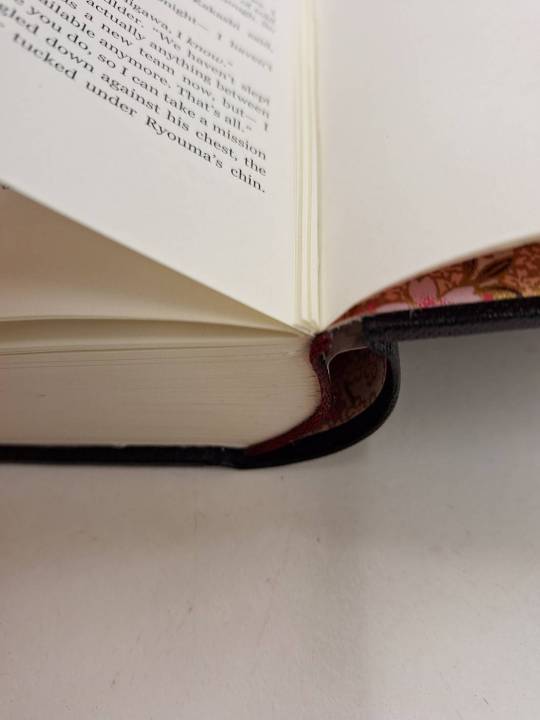
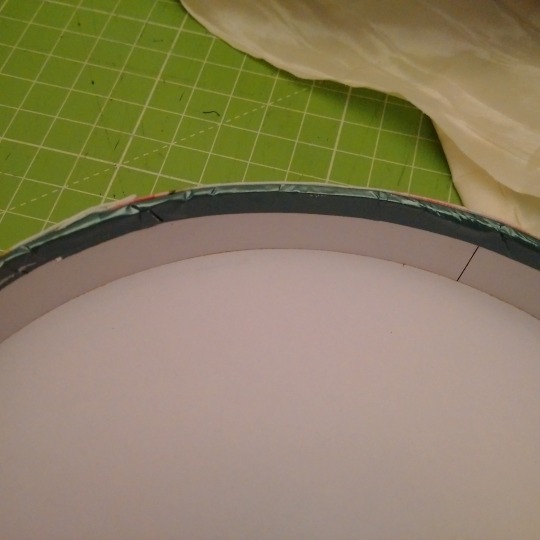
(Oh, and have a peek at this too narrow oxford hollow that got pulled loose.)
#bookbinding#book repair#replacing single pages in a finished book#I folded and sewed the last section wrong and didn't notice -_-#oxford hollow is too narrow too#nothing to be done about that though
26 notes
·
View notes
Text
Fabric covered boxes tutorial (Part 1/3)
(This one uses a no-sew method, round boxes only)

Things you'll need:
-some boxes of course
-scrap fabric (just how much depends on the size of your box)
-fabric scissors
-fabric or napkin glue (napkin glue worked better for me, it also dries matte, so it's not as noticable if a little bit of glue comes through the fabric)
-a sponge brush or wide flat paintbrush
- acrylic paint (depending on the base colour of your box and the fabric you're using you may need to prime the boxes in a neutral colour first. I used a beige)
-some patience
Each box is covered with four pieces of fabric:
1. lid top
2. lid side
3. box bottom
4. box side
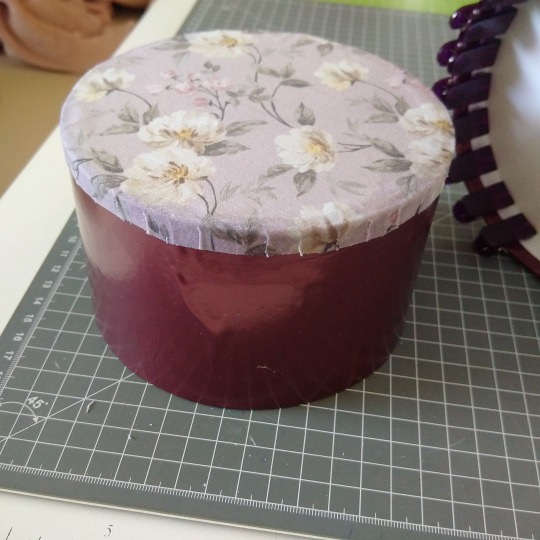
First cut out the lid top and box bottom pieces by placing them onto the fabric, drawing all around and adding 1cm* to the circumference.
* I added that 1cm extra because I didn't want any raw edges showing. That's a personal preference! It's also possible to leave the raw edges (the glue will prevent them from fraying!). This also reduces bulk at the lid side, as you'll see later on.
It is important to cut out the fabric pieces for top and bottom seperately as the lid is slightly wider than the bottom!
Then coat the top and bottom of the box with napkin glue and press them down onto the wrong side of the fabric like this:
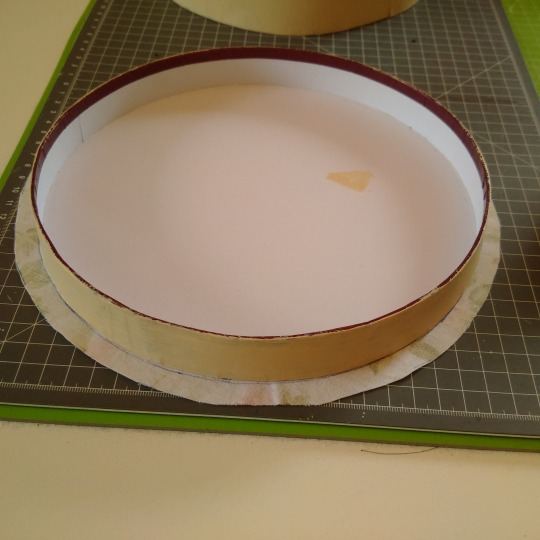
Press down with your hands gently, then flip it over and smooth the fabric out from the right side. It will the look like this:
Let it dry for a couple of minutes!
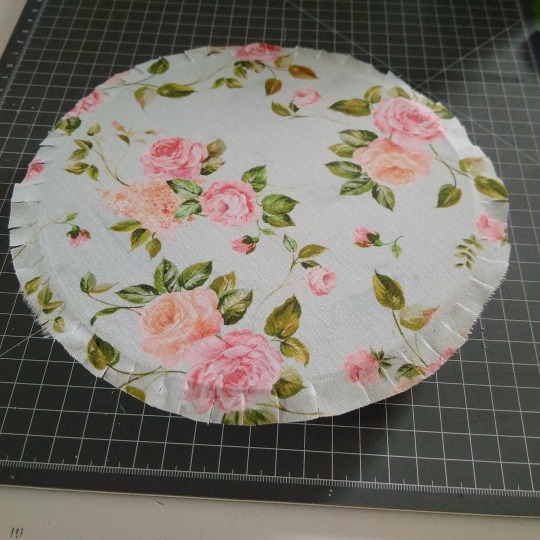
After the glue has dried for several minutes you'll need to clip into that extra 1cm of fabric all around, then smooth it down the side with glue. This doesn't need to be super tidy as it will be covered with fabric later but it's best to smooth it out as much as possible.
This step is the same for lid top and box bottom. You can use fabric clips on the lid and an elastic around the bottom to keep things in place while they dry. Again you'll have to give it some time before moving onto the sides.

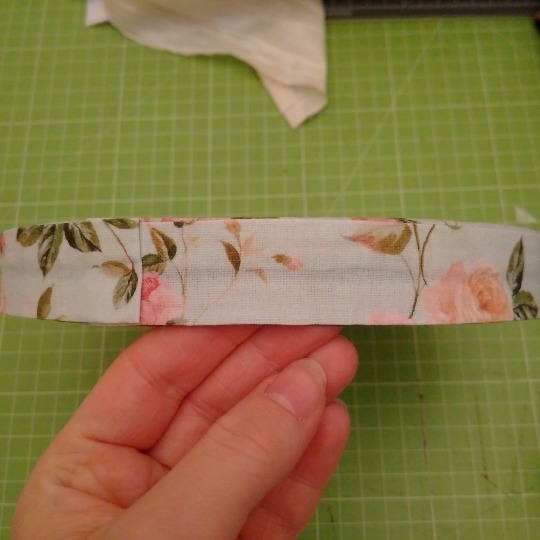
Lid side and box side are both covered in fabric strips with length = circumference of the box side/lid side (again the lid will be slightly wider!) + ~3cm for overlap.
However the strip for the box side is cut 2 centimeters wider than the height of the box (1cm will be folded over the edge towards the inside of the box, the other cm will be folded under and glued flush to the box bottom side with no raw edges showing), the strip for the lid side needs to be cut 2x the height of the lid, as it gets folded like bias binding (but doesn't have to be cut on the bias).
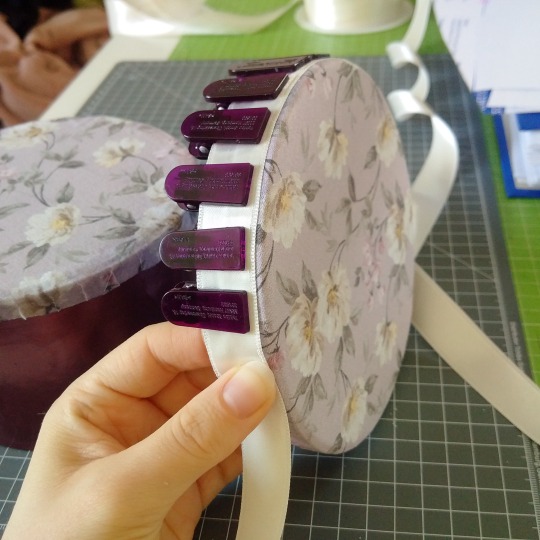
Start applying the fabric strip (shown here with satin ribbon, 0/10 do not recommend!) to the lid side. Work in sections, lettings them dry on before moving on! This is key to keeping everything smooth and glued securely! Again you can use fabric clips to keep things in place.
When you reach the end your strip, fold fabric over by ~1.5cm and overlap onto the beginning.
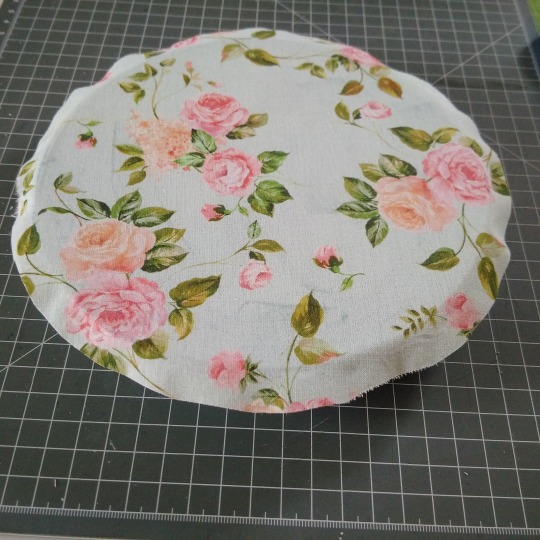
Here's what the lid side looks like when finished:
You can see some bulk where the fabric is folded inwards but again I prefer this over having any raw edges
Because my lid was very snug I chose to not fold the lower edge of the fabric onto the inside of the lid. It sits flush against the edge of the lid instead:
(If your boxes close more loosely this won't be a problem!)
You go about the box side the same way you did for the lid side. Applying the strip of fabric in sections. Before that you should iron 1cm at the bottom of the fabric strip inward. This will later sit flush against the edge of the box bottom (as shown for the lid).
Your fabric strip should now overlap at the top of the box by 1cm, which will later be clipped and then folded inward like this:

And that's it!
I have two more tutorials on fabric covered boxes coming!
One for the quilted top boxes and one for rectangular boxes. That way I can be more thorough and add lots of pictures for each one.
Last but not least: I hope you find this tutorial helpful and if anything is unclear feel free to ask!
#handmade#crafting#diy#tutorial#how to#craft tutorial#fabric covered boxes#fabric covered boxes part 1#upcyling#cardboard box upcycling#jenrenfieldhandmade
35 notes
·
View notes
Last Seen Blogs

thinrosestem
The Most Beautiful Flowers Blossom On Thin Stems

anki07
Untitled

a-garden-lizard
Eat your greens

madmanwonder
The Madman Wonder

jaemxrs
jaemxrs