#lighttutorial
Explore tagged Tumblr posts
Visit Tumblr Blog
Explore Tumblr blogs with no restrictions, modern design and the best experience.
Last Seen Tumblr Blogs


Fun Fact
In February 2021, Tumblr had 518.6 million blog accounts.
Text

i made a tutorial on X, i hope it helps you here too!
link: here on my X/twitter account: @/noelscr3t
#the sims 4#sims 4 cc#sims 4 simblr#sims 4 screenshots#my sims#sims 4#sims 4 gameplay#ts4 simbrl#the sims community#simstutorial#sims4#ts4#lighttutorial
4 notes
·
View notes
Text
COLOUR TUTORIAL
Hello! back with another tutorial for you guys ! This one is a bit different since there are a few ways to change the colour of an image.We will go through a bunch of them:
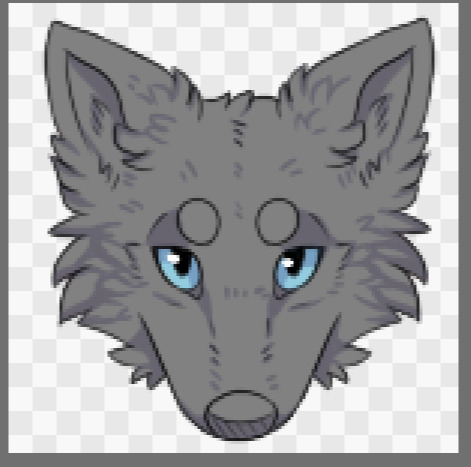
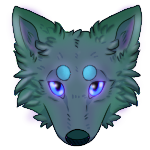
step 1 : Get your image ready. In this case I am using an image from a wonderful artist by the name of Magicmudcat! (She does incredible art creating creatures; mostly wolves) You can find her art at the following too if you want to check it out! https://www.deviantart.com/magicmudcat
step 2: colour
Select the colour layer or use the selection tool/magic wand/ wand tool to select the areas you want to colour or you can select the layer from the opacity/ select all to get that line boarder around it.
After you have done this you can do the following different ways to colour:
way 1 : hue change .
select the hue option on your art app and if the image is just black and white there will not be a colour change but you will have the option to darken or brighten the image.

Let’s pretend this wolf was already green. If it was already green then you can do the hue change to any colour you wish.
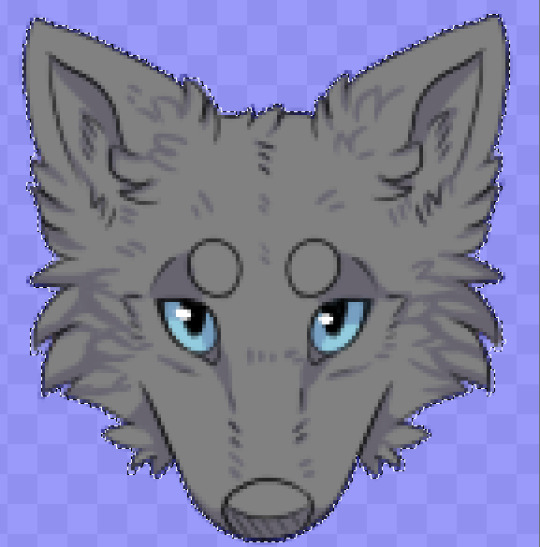
way 2: Overlay colour
You can create a new layer and set that layer to “OVERLAY”(or which ever other option you would like to do).
See below my layer has been selected and I have chosen my colour from the colour palette/colour wheel and I just throw it all on top.

After you do this you can create a new layer and keep adding layers to it so it looks the way you want it to look. I usually also add white where light is and dark colours where dark is. (It doesn’t have to be black it could be any dark colour or a complimentary colour.
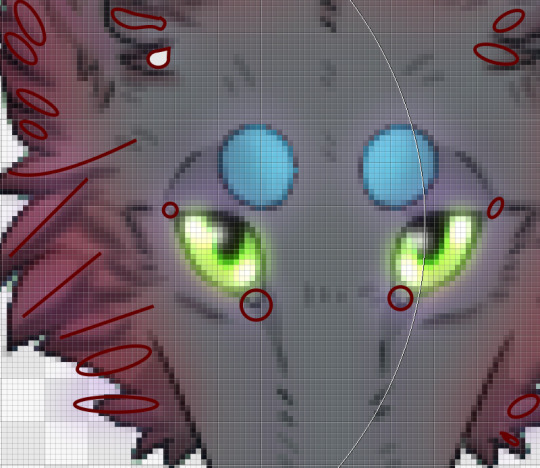
Highlighting and shading :
Take white and put it in all of the areas you think light would be. (circled below is where all of the light would be in my image). So I use a very thin spray paint or smoke brush and make a line where the light would be . Then a simple gaussian blur (it should still be white but sort of cloudy) and you lower the opacity on that layer. You can do overlay, screen, add etc which ever you think looks best.


After you lower the opacity you should get something like this :

You would do the exact same thing but for the shadow shade areas. And after that you are done !
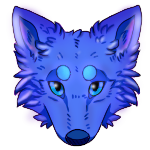
Here’s what my finished product looks like :


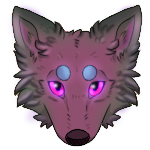
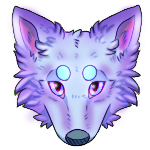
Remember you can do multiple hue/colour changes and experiment with the settings to get different results like so shown below. They are all just hue changes on different layers ( eyes , fur, lighting layers, dark layers ) :


And congrats!!! You finished the tutorial <3
0 notes