Don't wanna be here? Send us removal request.
Statistics
We looked inside some of the posts by tevyafaed and here's what we found interesting.
Average Info
Notes Per Post
23K
Likes Per Post
17K
Reblog Per Post
6K
Reply Per Post
56
Time Between Posts
5 days
Number of Posts By Type
Text
17
Last Seen Tumblr Blogs


Fun Fact
The Tumblr office adopted Tommy, an 11-year-old Pomeranian.
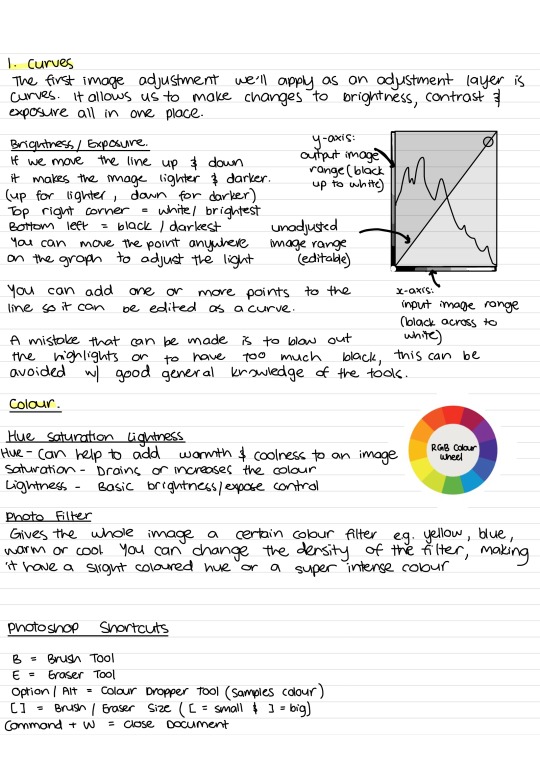
Text
Book Design
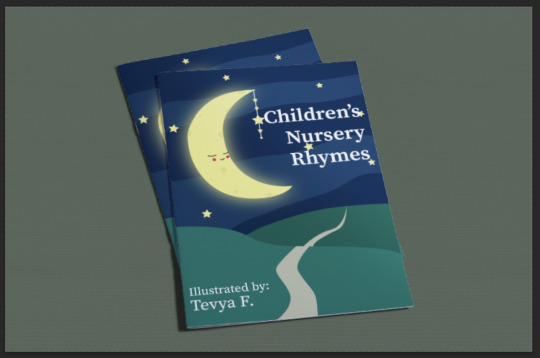

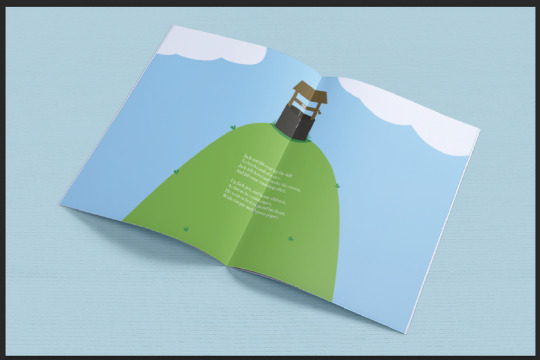


This is the mockups for my final book design.
I really like how they turned out and I think I did a good job. It wasn't that hard for me to do since I've already used Illustrator, Indesign and mockups on Photoshop before.
I would like to learn more about the end papers, I think they're really cool and that was a new thing for me.
These skills will be really good for me when I design books in the future.
0 notes
Text

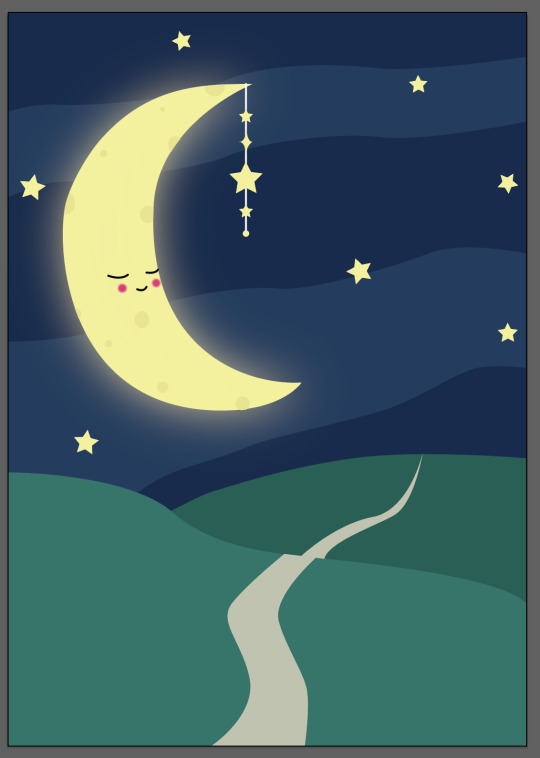


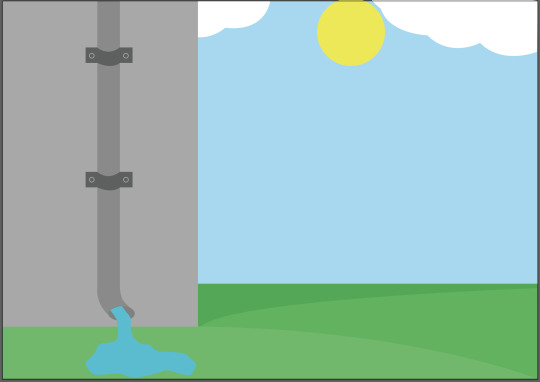
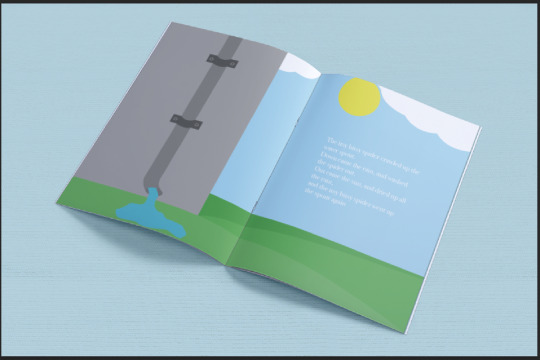
These are the illustator backgrounds I made for my nursery rhymes book.
I used the pen tool to make these along with other tools. I was really surprised how quickly I went from sketching these to then finishing them in Illustrator.
I could add to them if I had more time but for how quickly I made them I am very happy with the outcome.
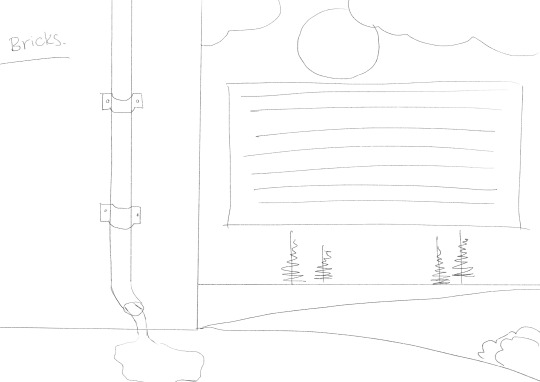
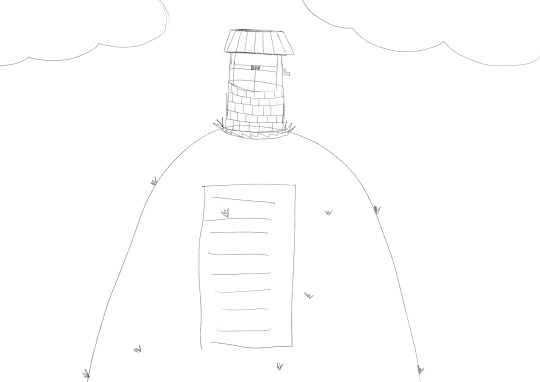
These are the rough sketches that I did of them on my Ipad before I went into Illustrator, it is very helpful to do a sketch before so you know what shapes you need to make.
0 notes
Text
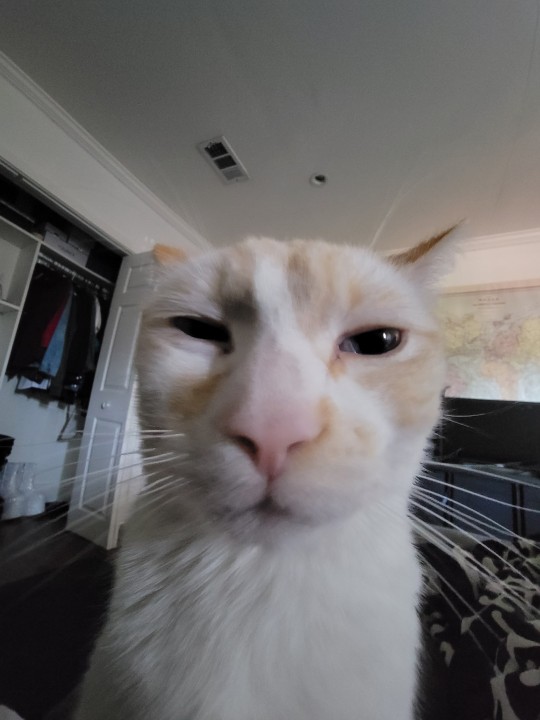
Silhouette


The first photo is my final outcome
The second photo is my guess at the anchor points and handles.
The third photo is the anchor points
The last photo is the sketch I did on my Ipad
First I sketched the cat on Procreate on my Ipad, I then added what I thought the anchor points and handles would look like in Illustrator. Then I drew it with the pen tool on illustrator and highlighted the handles to compare.
I think I did well on this and I enjoyed it a lot.
0 notes
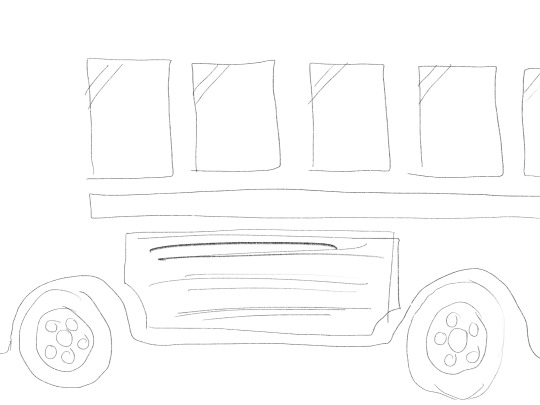
Text
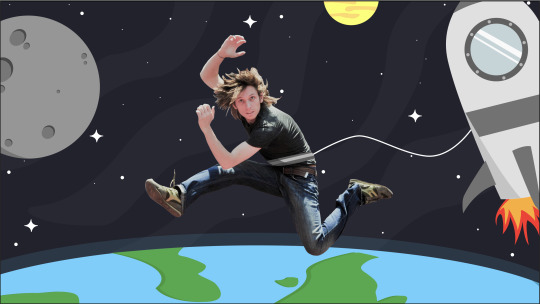
This is Mr. Jumpy Space Man.
I cut him out of his old life jumping in front of a concrete wall, and now he is happily jumping around space with no spacesuit because he is an alien.
He has to be kept on a leash, otherwise he will jump away, as Mr. Jumpy Space Man does, it is his talent, jumping away from responsibilities.
So for this, in class we were learning how to cut out this jumping guy from his previous background. I listened in for a bit and then once I knew exactly how I needed to do it, I ended up doing off and adding in the background in Illustrator.
I used the pen and ellipse tool for every piece of the background.
It would take ages to go through every little thing I did since there is a lot of small pieces throughout the background. But I roughly did all of the shapes, then added colour and the man, then I just was touching up all of the little details throughout the piece.
0 notes
Text
Penguin
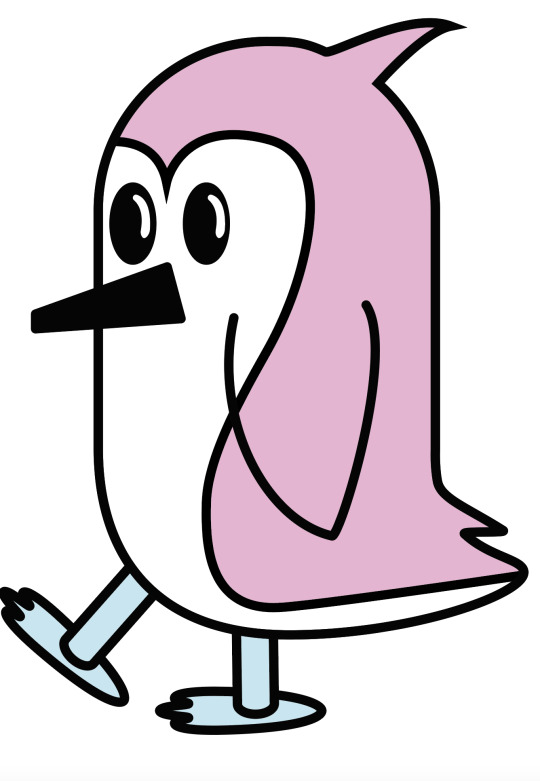


penguinpenguinpenguinpenguinpenguinpenguinpenguinpenguinpenguinpenguinpenguinpenguinpenguinpenguinpenguinpenguinpenguinpenguinpenguinpenguinpenguinpenguinpenguinpenguinpenguinpenguinpenguinpenguinpenguinpenguinpenguinpenguinpenguinpenguinpenguinpenguinpenguinpenguinpenguinpenguinpenguinpenguin.
This is my penguin that I made. I did this in Adobe Illustrator with the pen tool. I liked making it.
We followed along with Toby in the class which I think made it easier.
First we made the body of the penguin, then added the tufts and the little top feather using the pen tool and anchor points.
The feet took a while as we tried to make them look 3D, I did end up making 3D feet but the 2D ones looked better in my opinion.
We added the eyes and the beak along with the line down its body and its wing.
And then from their it was colouring the penguin and final touchs to make it how we wanted.
I really liked doing this project, I think I did quite well. It was super easy for me since we were going at a reasonably slow pace but that just meant I had more time to make it how I wanted it to look.
Next time I would add more detail into the penguin.
0 notes
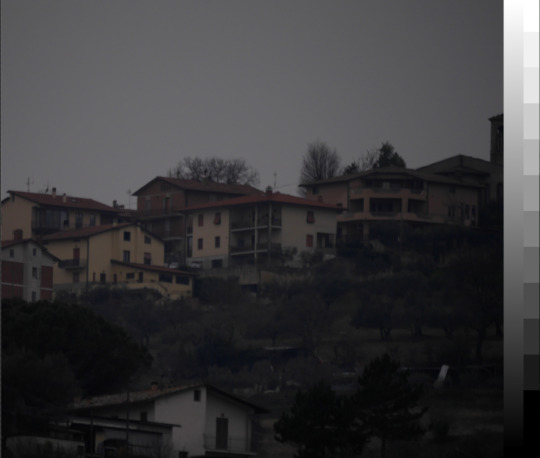
Text
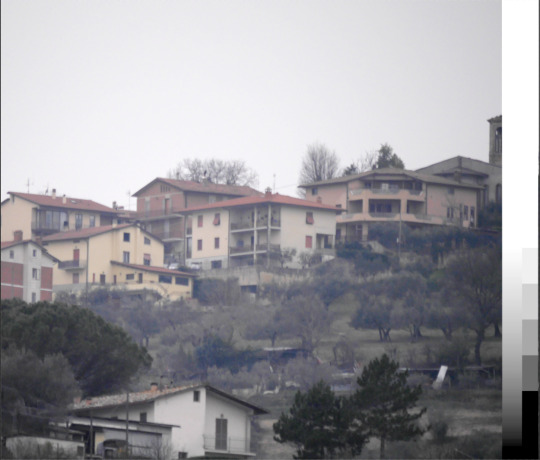
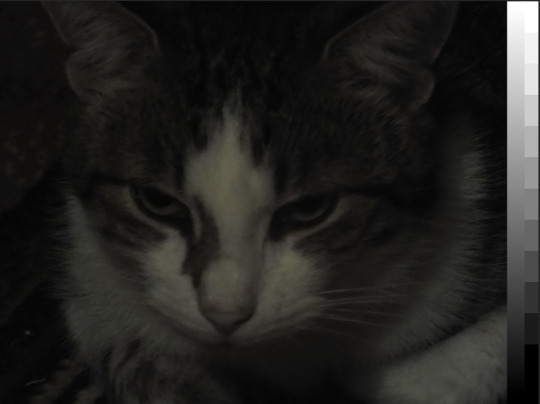
Over and Under Exposed Practice Images
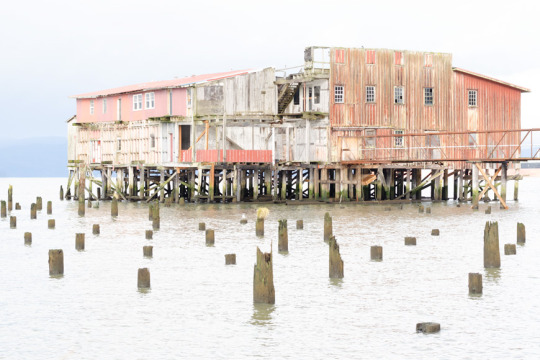


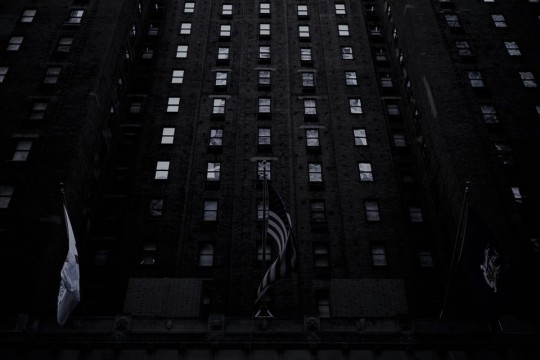

I got 2 over exposed and 2 under exposed images, 1 image from each is monochromatic.
I fixed the over/under exposed images by changing the curves in Photoshop.
I think I did pretty well, very happy with the after photos.
0 notes

Text
Reflection
I am enjoying the Adobe Photoshop work that we are currently doing in class. It is good to know how to edit over/under exposed photos, or photos that don't look that aesthetic because of lighting or colour issues. This will help a lot in photography and I am learning a lot that I didn't previously know.
0 notes
Text

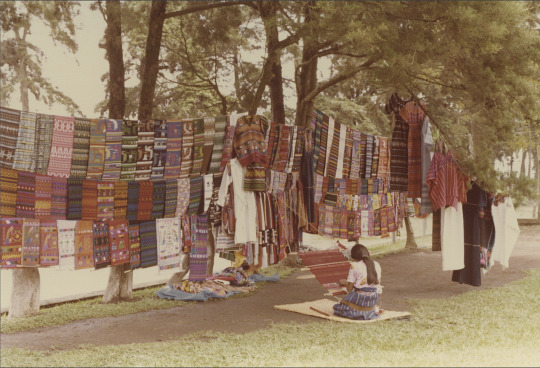


These are 2 photos that I corrected today using Photo Filter, Hue/Saturation, Curves and Colour Balance.
I think I did well, I liked changing the colours to make the photos look more realistic.
0 notes
Text

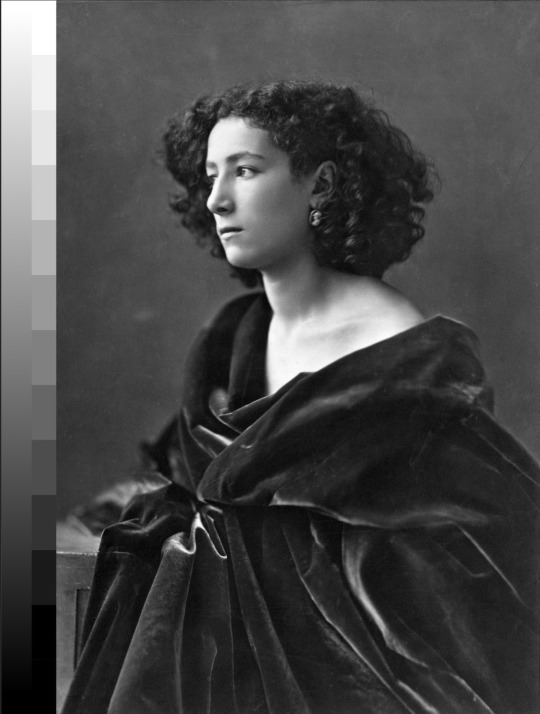


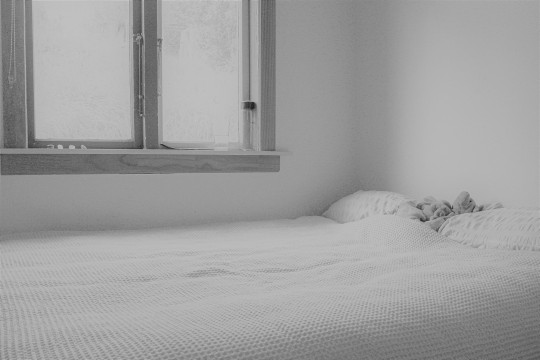
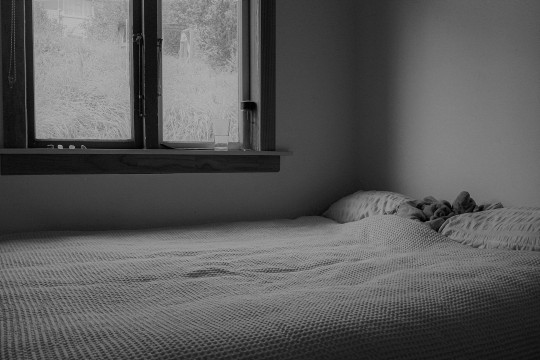
.This is todays work on light low end, low high end and under exposed images. The left photos show the original and the right is the corrected version.
The curves were quite easy to pick up and were fun to learn about
I also just realised that my curves layer was above both the image and greyscale tones area. Which means that both of them changed when I corrected the images.
I think that I did quite well with making the pictures look nicer.
0 notes
Text
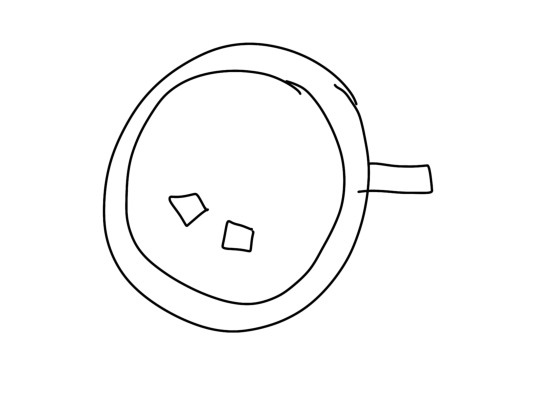

Last week we had to pair up with someone in the class. The task was to recreate an object that they had drawn and vice versa. I drew Poppy an apple to recreate, and she drew me a coffee cup with marshmallows.
This is a good task to help our creative abilities by getting a rough sketch of something and turning it into a proper image with Illustrator.
For this, I created different shapes using the pen tool in Illustrator, then I added colours to match.
First I made the basic shape of the cup using the ellipse tool and the pen tool for the handles.
Then I used the ellipse tool again to make the lighter brown colour on the outside.
I used the ellipse tool again for the mid brown colour of the foam and then duplicated it and changed its colour to the deep brown in the middle.
For the bubbles, I used the ellipse tool to create the basic shape and then the line tool to add in the 'shine', I then duplicated these and changed their size to make it look like actual bubbles.
For the shadow, I made two ellipses, placing one where the other ellipses are (in the middle of the cup) and one where I wanted the shadow to sit. I then used pathfinder and the minus tool to make the shape that I wanted.
I then coloured that shape the same as the dark coffee colour and turned it's opacity down to 50%, then I used the hard light blending group to make it a more realistic shadow.
Once the middle was done then I added the marshmellows using the pen tool to create their shape along with the shadows and coloured then accordingly.
Then I added the shadow for the cup also using the pen tool and added the background colour.
I really enjoyed doing this and playing around with shapes and colours.
My strengths was the prior knowledge that I have for the pen tool, and there were a few things that were quite new to me, like figuring out how I needed the layer to sit for everything to work and using the hard light blending mode as an easier option for the shadow in the cup.
0 notes
Text
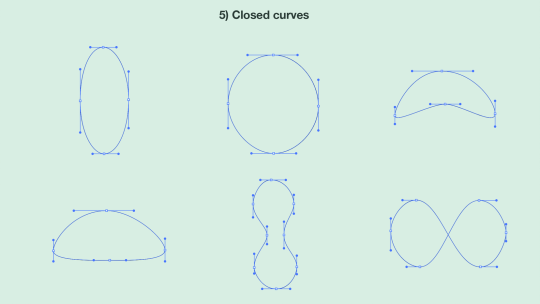
This is Toby's linework compared to mine. (I couldn't make it so you can see all of the handles but all of the anchor points are visible)
There are a few of the shapes where I have placed anchor points in different places, this could be why not all of my lineworking is as smooth as Toby's.
0 notes
Text
What I enjoy about this course.
This course is fun for me because it means I can refine my software skills even more and learn little tricks that will help me later on in my degree and career.
0 notes
Text
Reflection
I am quite confident with the methods that we are currently learning in our lectures, as I have done them before. But since I am self taught, there are a few small techniques that are new to me.
0 notes
Text


These are some designs that I have done and also the sketches and planning that lead up to them.
1 note
·
View note
Text
How to fix lines.
There are many different ways to fix lines in Adobe Illustrator. I will be going over a few.
You can add anchor points to gain more control over a path, or delete them. This can make it easier to contort your lines, by making them simple or complex, depending on what your design calls for.
You can also change what type of anchor point it is, through the control panel, you can change an anchor point to either a smooth or corner point. This can help with the look and shape of your lines.
With the path eraser tool, you can erase sections of your path that you don't want. This is helpful when you only need a certain part of a path that you made.
Splitting a path (line) is also helpful. You can use the scissors tool to slice at 2 points along the path, so you can easily manipulate it to how you want.
0 notes