
Wepa! I’m Nova and this is my makerspace blog (I’m kind of all over the place) Chances are I’m starting a new project and ignoring the other dozen ones
Don't wanna be here? Send us removal request.
Statistics
We looked inside some of the posts by thedilettantedragon and here's what we found interesting.
Average Info
Notes Per Post
685K
Likes Per Post
376K
Reblog Per Post
309K
Reply Per Post
443
Time Between Posts
14 days
Number of Posts By Type
Photo
12
Text
5
Last Seen Tumblr Blogs


Fun Fact
Kazakhstan’s Minister of Communications and Informatics has blocked the Tumblr site because it contained 60 sites of terrorism, extremism, and pornography in 2015.
Photo

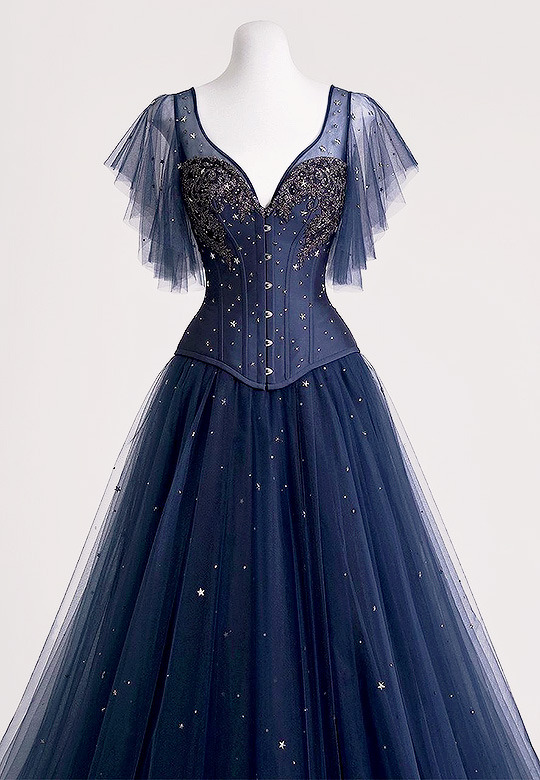

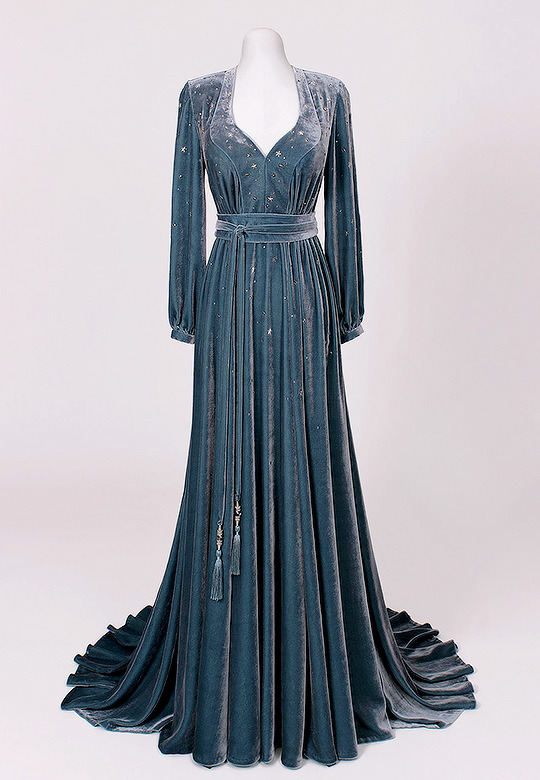


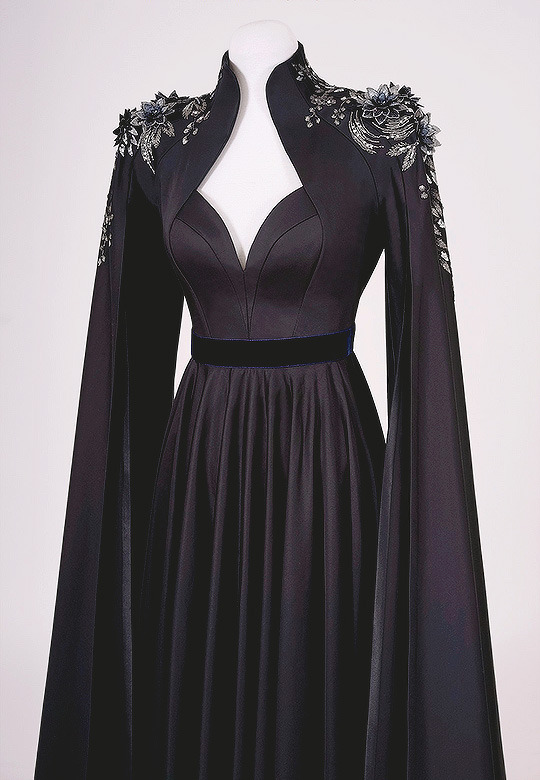


Linda Friessen Haute Couture Gowns
121K notes
·
View notes
Photo

Halloween Witches Shoes by MilestonesInMem
1K notes
·
View notes
Photo
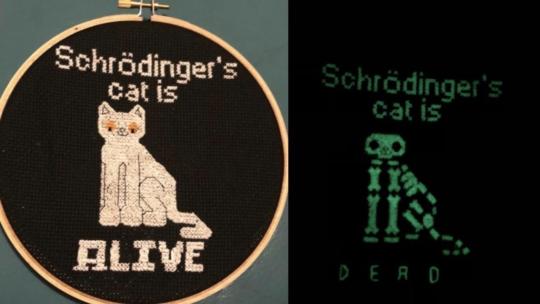
Schrödinger’s Cat stitched by crossstitchwizard. Pattern ($3.21) designed by Cassandra Armstrong of KookyCrossStitch.
13K notes
·
View notes
Photo
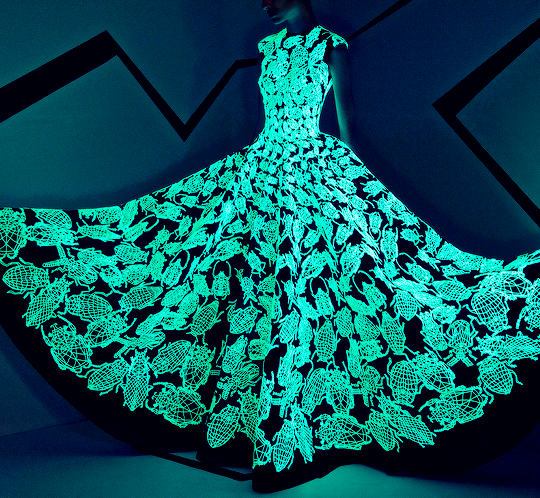


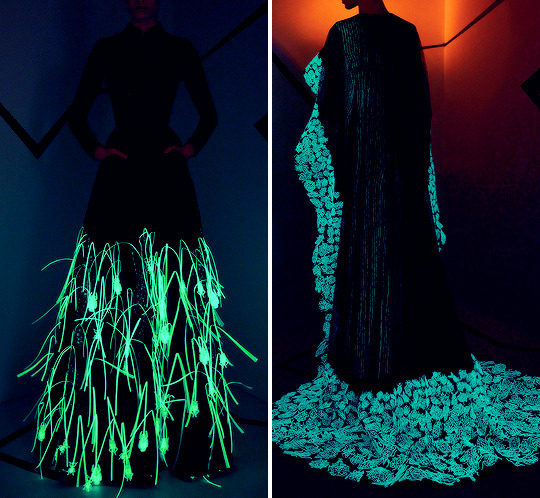
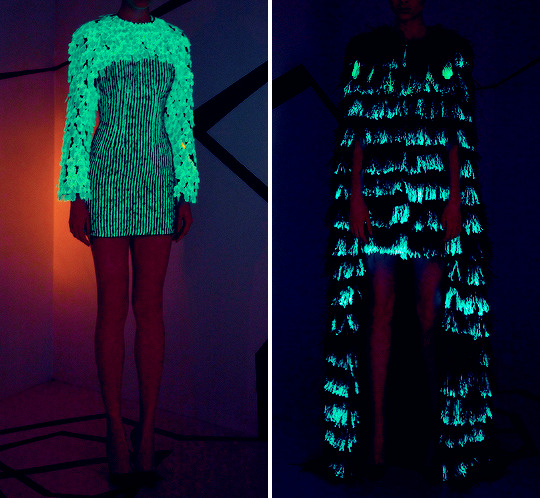
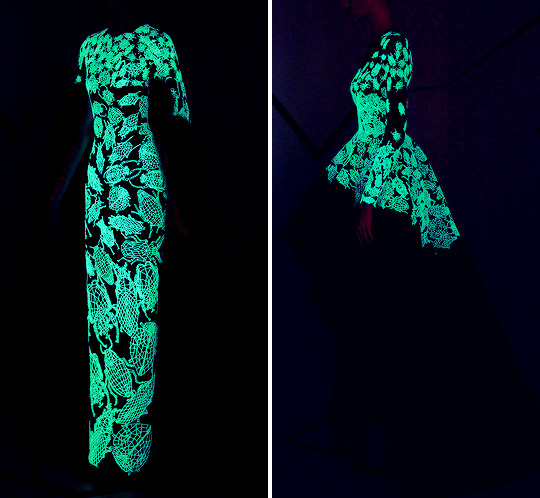
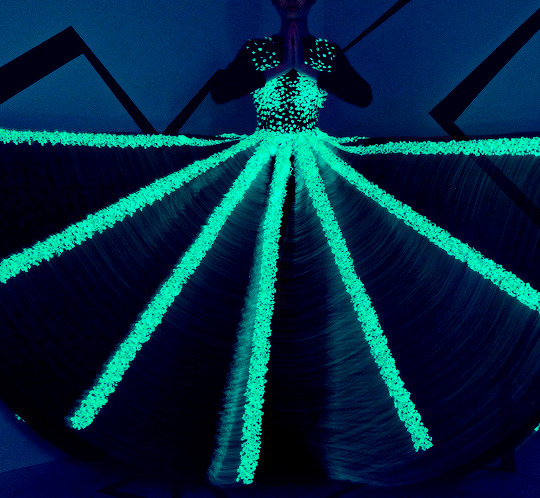
RAMI KADI Couture Fall/Winter 2016 – Light / Dark
140K notes
·
View notes
Photo


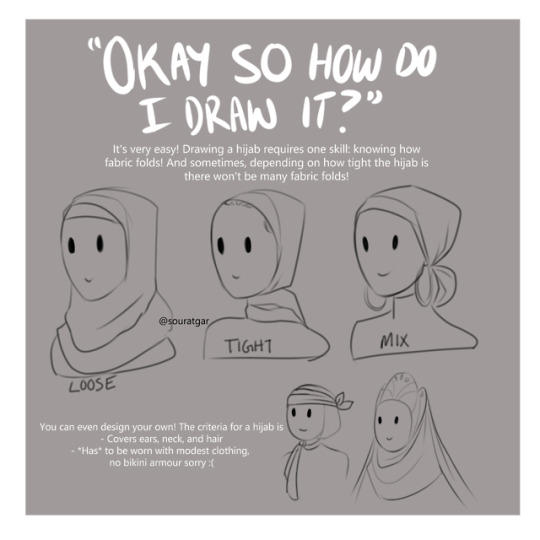

I made an art tutorial on how to draw hijab and hijabis!
52K notes
·
View notes
Text
This British 25-Year-Old Doesn’t Own Or Wear Any Modern Clothing


IG: @pinsent_tailoring
31K notes
·
View notes
Photo


Tarun Tahiliani Couture Collection 2020
5K notes
·
View notes


Photo


Reem Acra Fall 2018 Ready-to-Wear Collection
9K notes
·
View notes
Text


Ayama and the Thornwood Cosplay
Character from The Language of Thorns by @lbardugo
434 notes
·
View notes
Photo


Vienna State Ballet // 2020 New Year’s Concert Vienna Philharmonic Orchestra
2K notes
·
View notes
Text
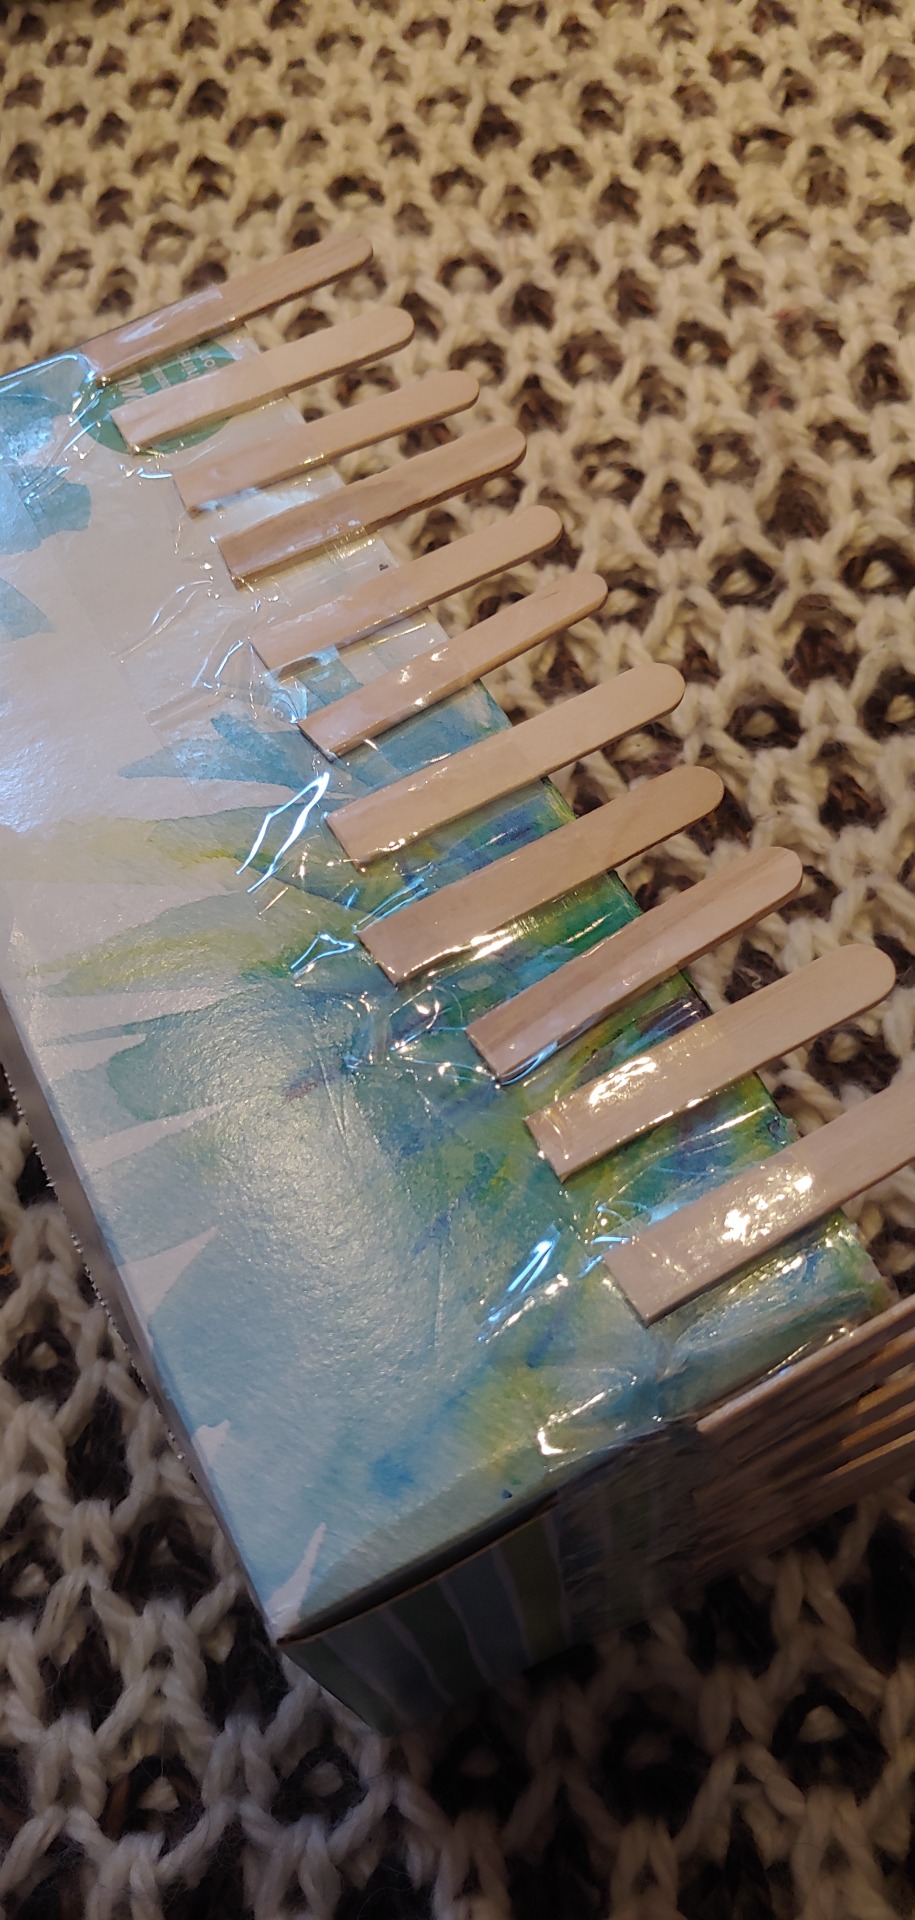
How to make a knitting loom out of a tissue box
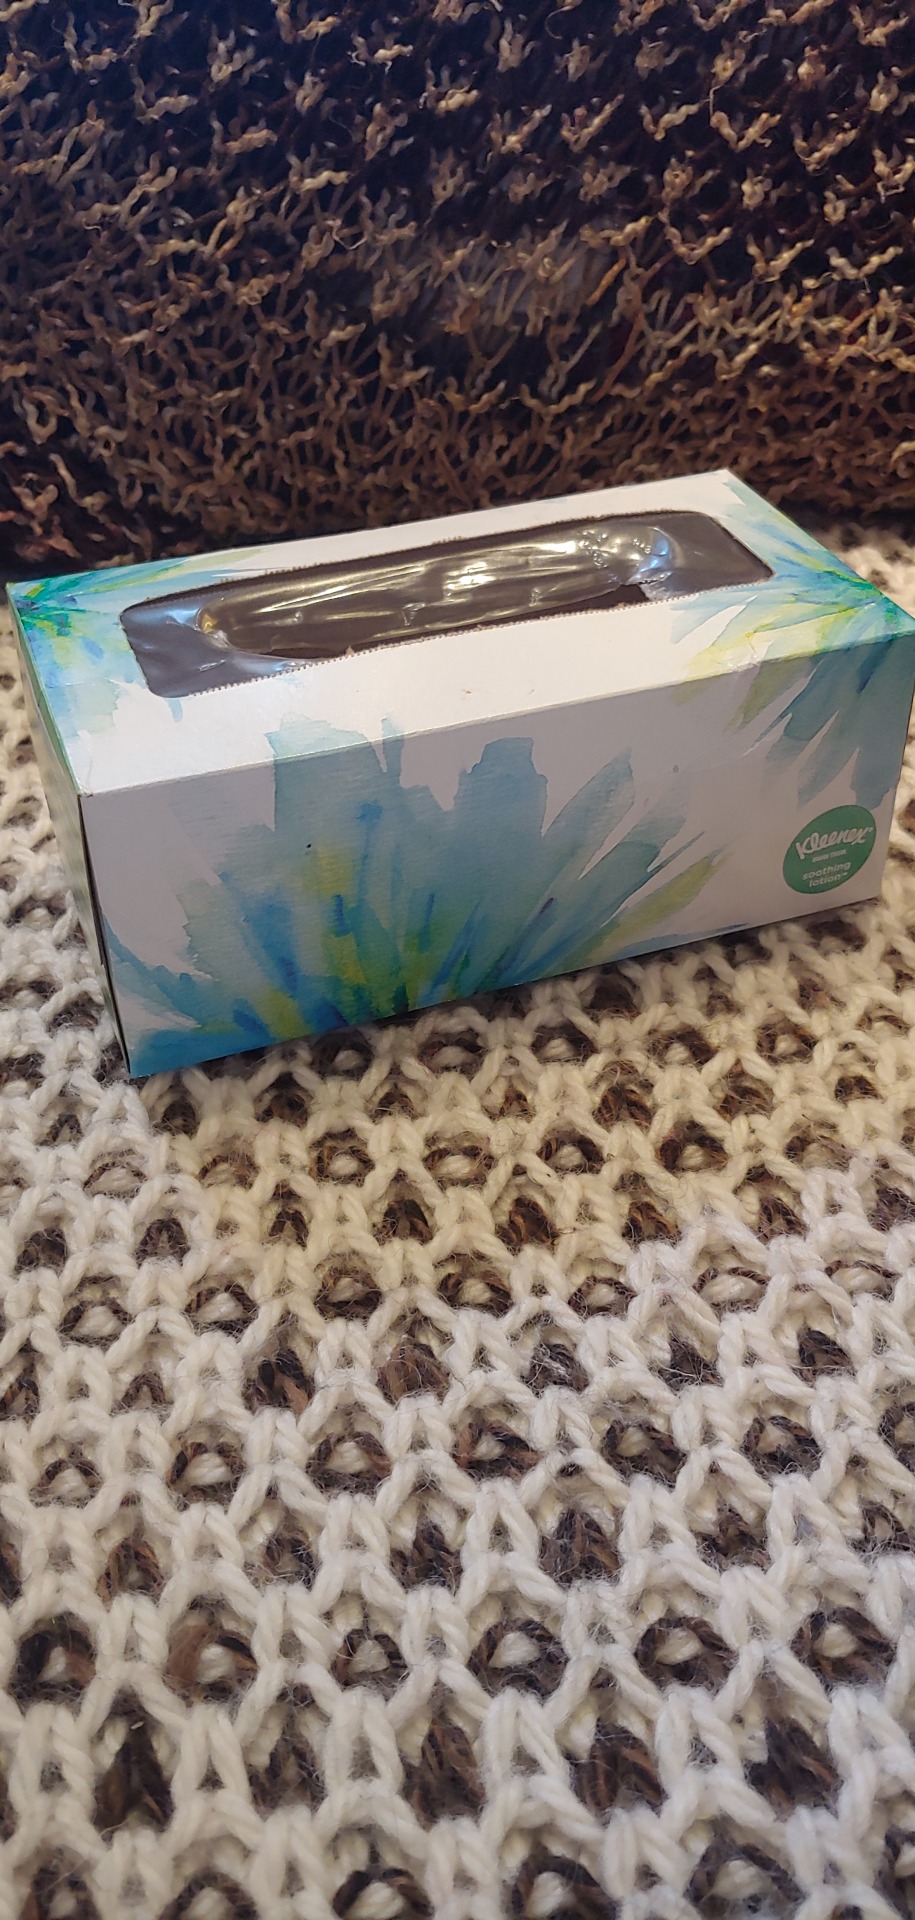
A knitting loom can be a fun way to make your own stuff, but they can be expensive and hard to fix when they break. This version is made with cheap and easy to find materials, and while it's not any sturdier than the retail version it is much easier to fix and cheaper to replace.
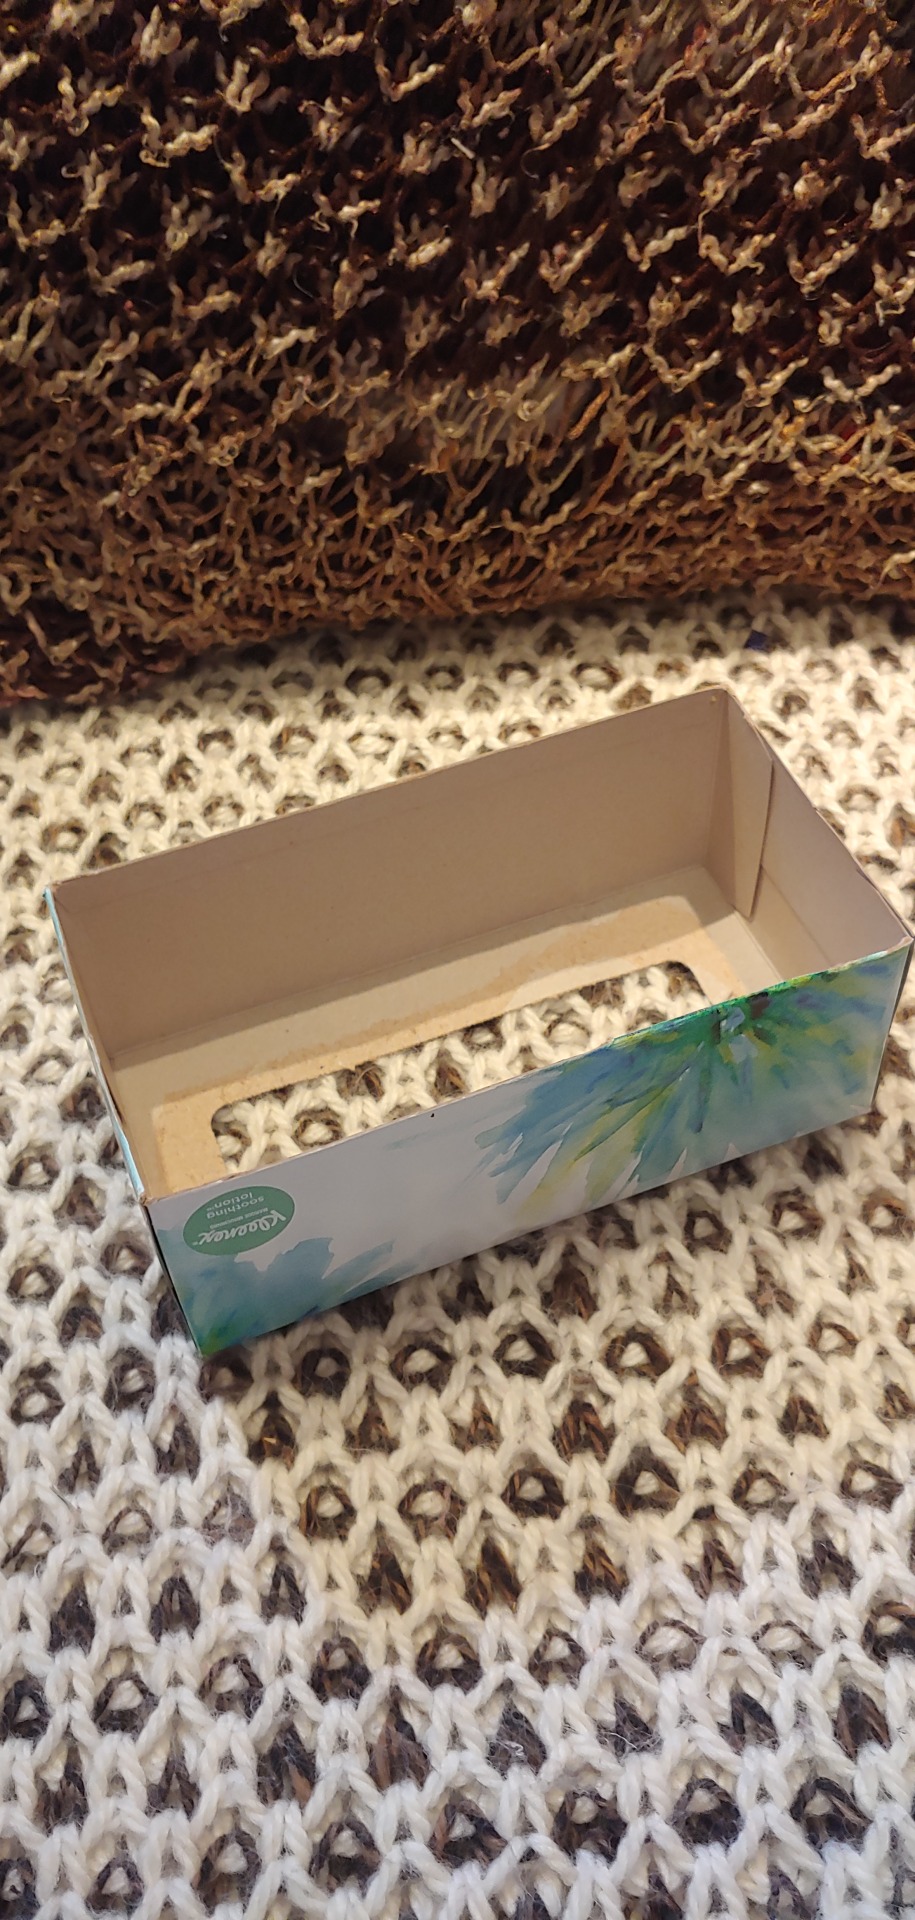
Step 1: Cut out the bottom of the box and remove any plastic film.
Step 2: Cut a bunch of popsicle sticks in half, you can use whole sticks but you will have to use twice as many.
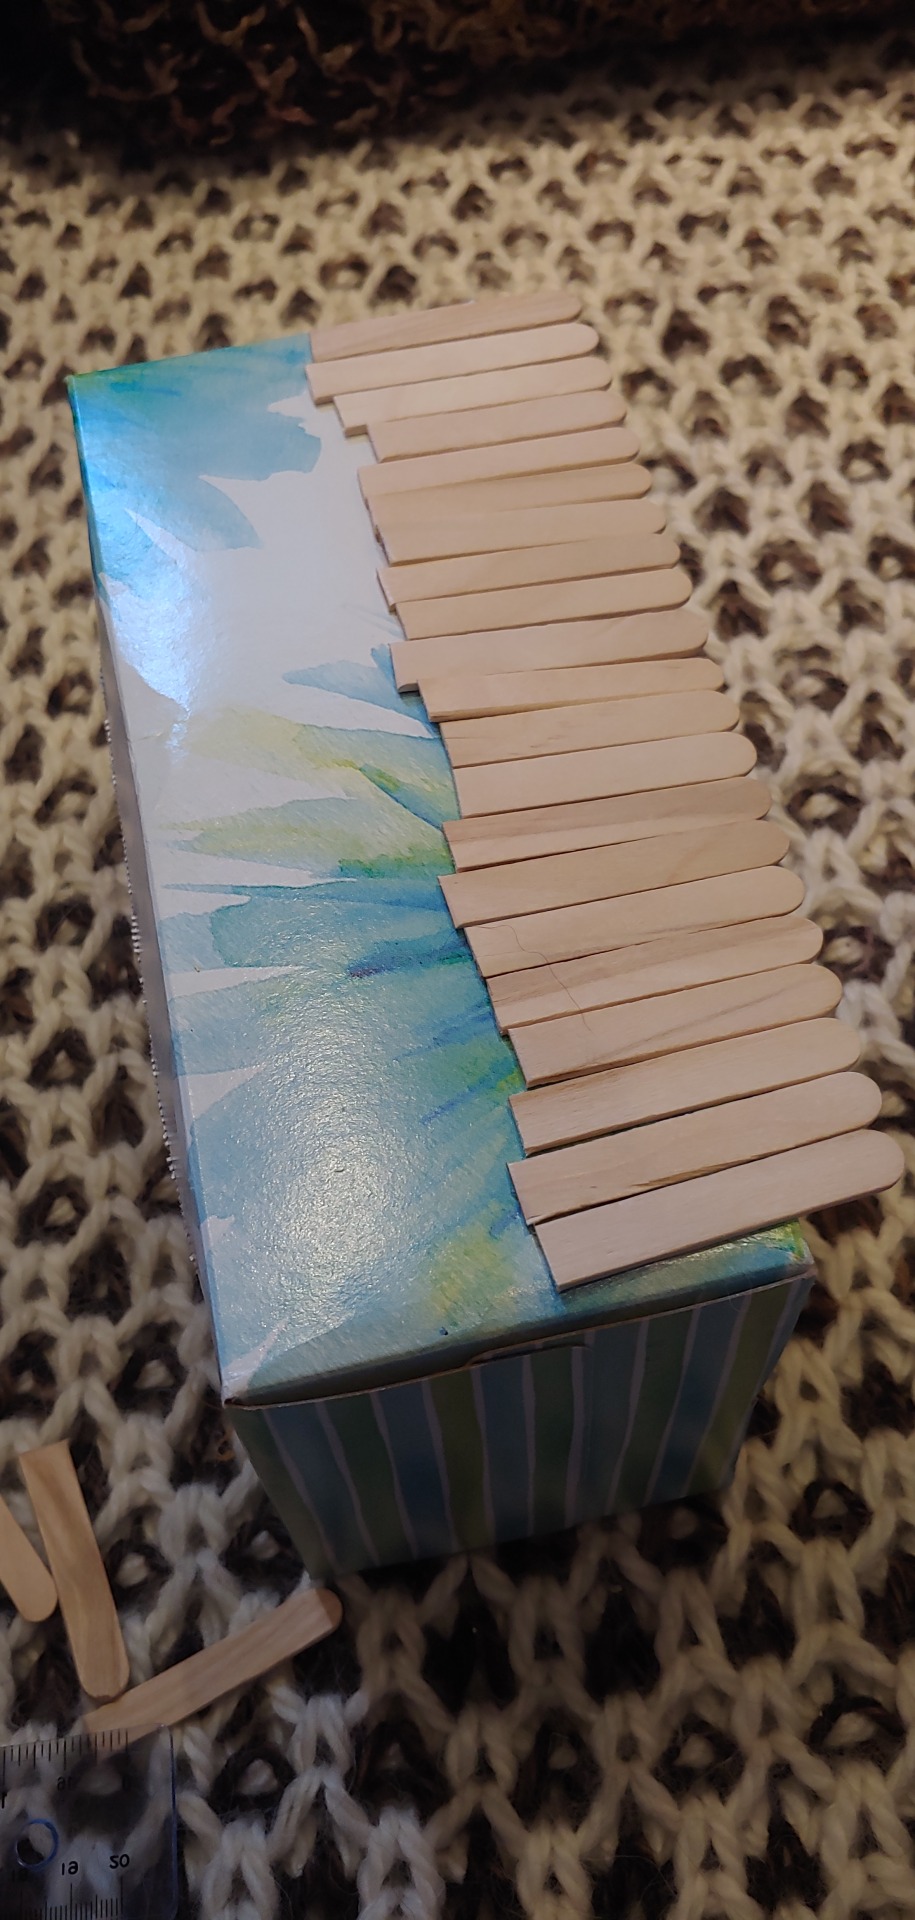
Step 3: Space out the popsicle sticks on one side along what used to be the bottom of the box. Make sure they stick over the side of the box by a couple centimeters, you will want to be able to wrap each stick in a couple strands of yarn with out the string slipping off. I spaced them out by laying them out as pictured above, and removing every other stick. The goal is to have them be about evenly spaced but it dosent have to be perfect.
Step 4: Adhere the sticks to the box. On mine I used a large piece of packing tape to secure them then went behind each stick with superglue for security. I would suggest hot glue as well. While attaching them try and keep them all sticking out the same ammount.
Step 5: Repeat steps 3 and 4 on the other sides of the box making sure that the number of sticks on parallel sides is the same. For instance mine has 11 on the long sides of the box and 7 on the shorter sides.
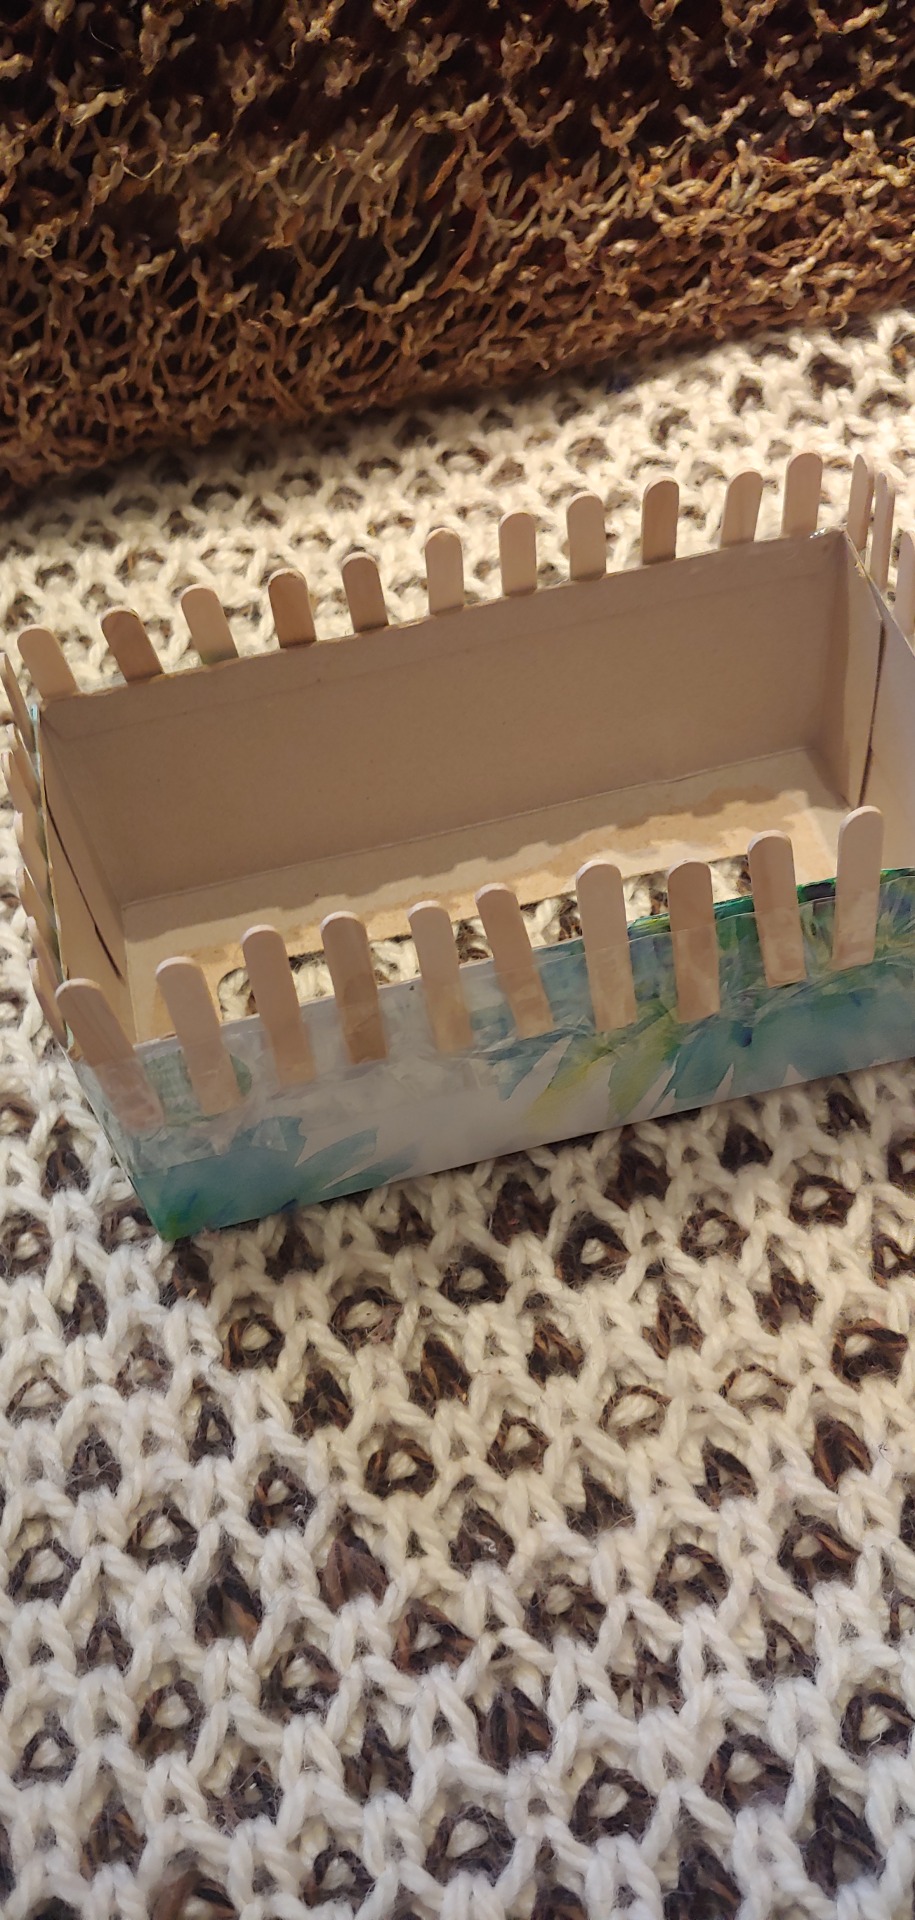
Once all the popsicle stick pegs are secure your knitting loom is ready to use! You can find tutorials on how to use a knitting loom on youtube. If you follow this tutorial feel free to tag me so I can see! Hope you enjoy!!
260 notes
·
View notes
Photo


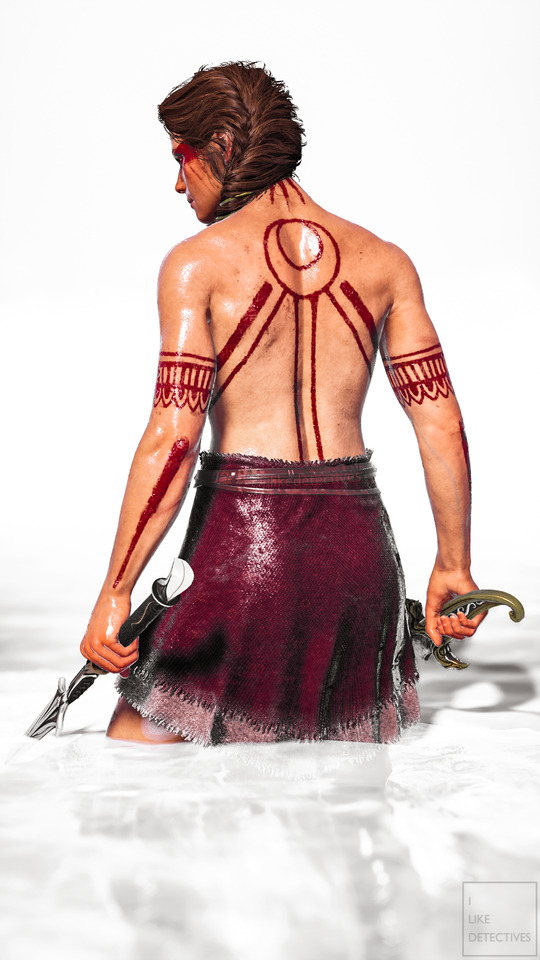
Daughter of Artemis
14K notes
·
View notes
Photo

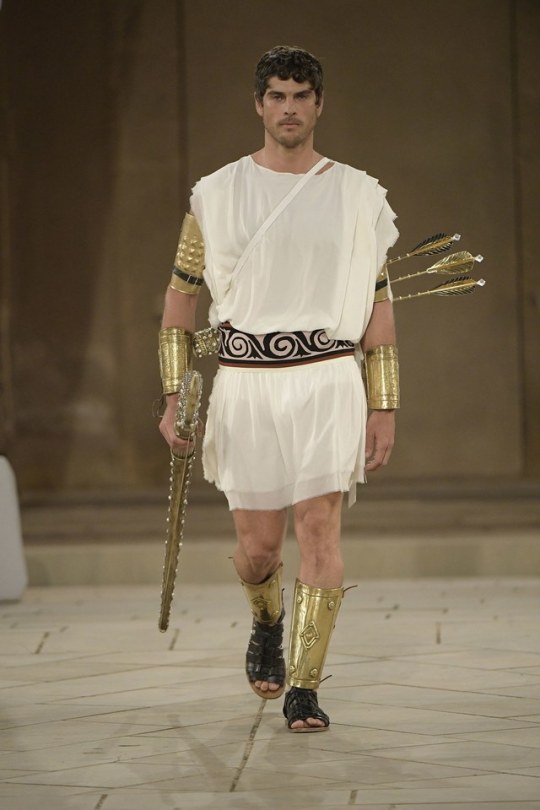

D&G Alta Moda 2019 Menswear
Inspired by the Ancient Greeks
4K notes
·
View notes
Text
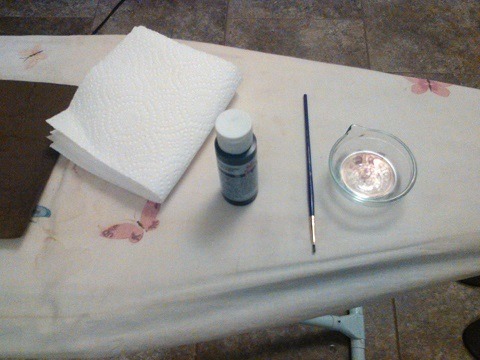
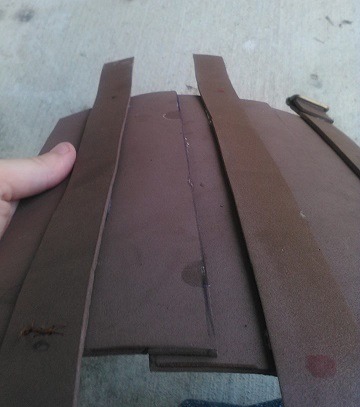
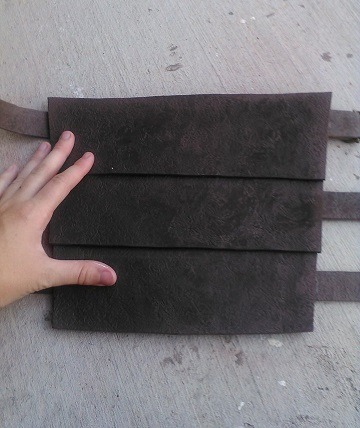
Foam to Leather (Tutorial)
Things you’ll need:
Brown craft foam
Aluminum foil
Clothes iron
Ironing board
Black paint
Brown paint (lighter than your foam)
Paint brush
Paper towel
Grab some aluminum foil and crumble it into a ball. Not too tight of a ball though! The next step is almost impossible if you do.
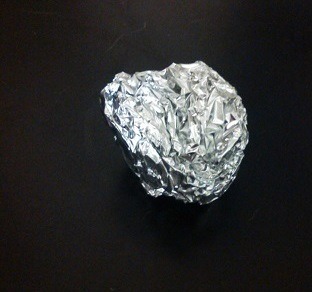
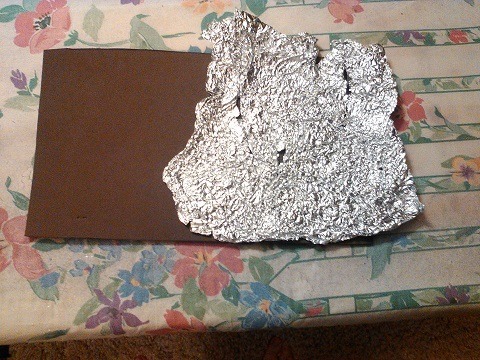
Next, un-crumple the ball. Flatten it out into one layer. It’s fine if there are a few holes.

Place it on top of your foam.
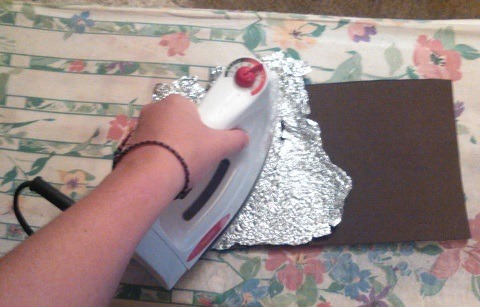
Take your iron and firmly press it on the foam and aluminum. My iron was set to 3 (polyester) but the correct temperature may be different for other irons. Just remember not to use steam! Before doing this on a large piece, be sure to experiment and figure out what the best temperature and what the best pressure is. On larger pieces, you’ll have to move the aluminum around a lot. It’s not a quick process.
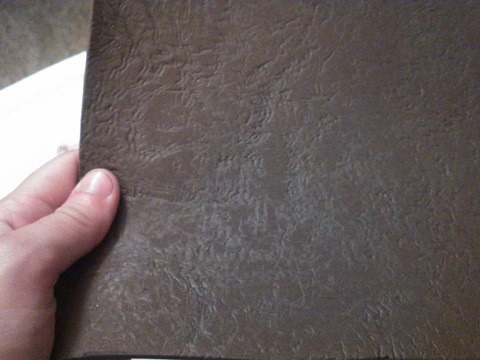
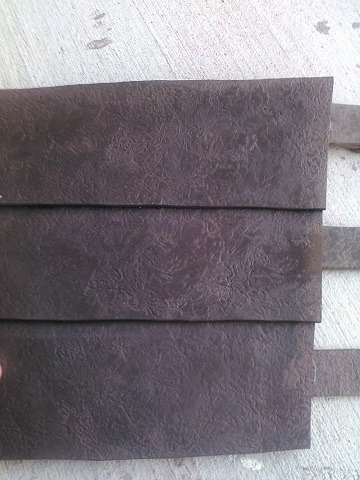
Now you’ve got this crinkly affect on the foam. Next is painting!
Grab you’re brush, black paint, and a dish with some water. The idea is to dilute the black paint enough so that when you apply it the paint will seep into the divets the aluminum created.
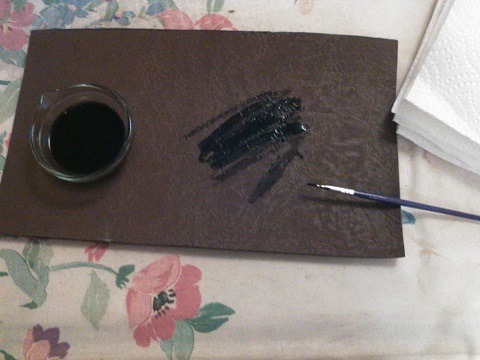
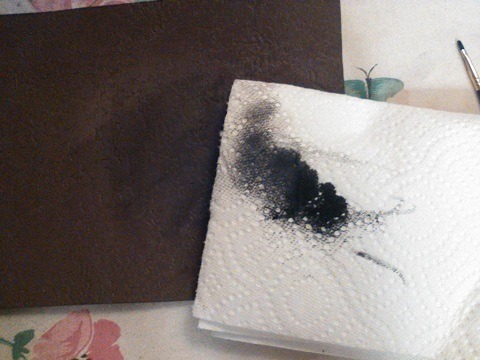
Once the watery paint is applied, wipe it off with a paper towel. Continue to do this for your whole piece of foam.
Now here’s an optional step (of which I haven’t done myself but I’ve known others who have):
Grab the light brown paint and, without diluting it, paint it on. It’s best to use a coarse brush in this case and to try to keep it out of the divets. Wipe some of the paint off.
Remember, imperfections are always good! Uneven paint isn’t necessarily bad so just experiment with it.
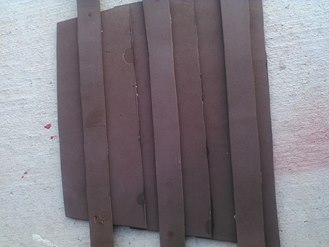
Here’s an example of a bracer I did with this method. The first two pictures are an example of the foam I began with and the rest show the end result. I hope this helps you guys out!

68K notes
·
View notes
Photo


Andrea & Leo Couture “Moonlight in Everywhere Beautiful” 2019 Collection
10K notes
·
View notes