
Don't wanna be here? Send us removal request.
Statistics
We looked inside some of the posts by diyisfun and here's what we found interesting.
Average Info
Notes Per Post
605K
Likes Per Post
329K
Reblog Per Post
275K
Reply Per Post
253
Time Between Posts
1 month
Number of Posts By Type
Photo
9
Video
5
Text
3
Last Seen Tumblr Blogs


Fun Fact
Forty percent of Tumblr users are between the ages of 18 to 25.
Photo

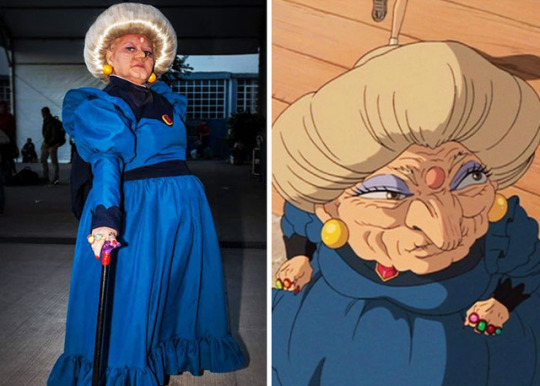

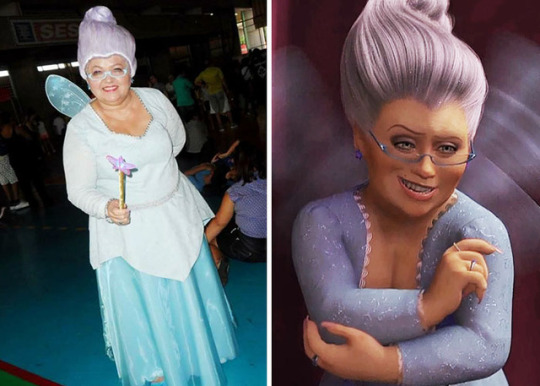
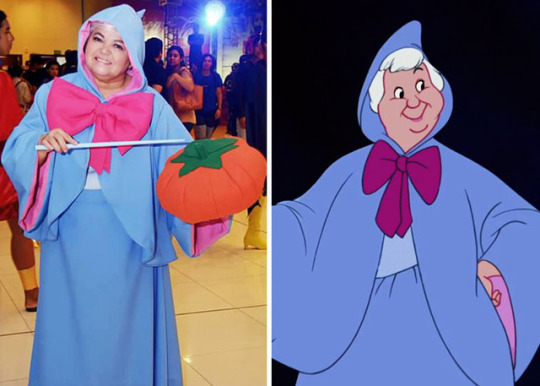
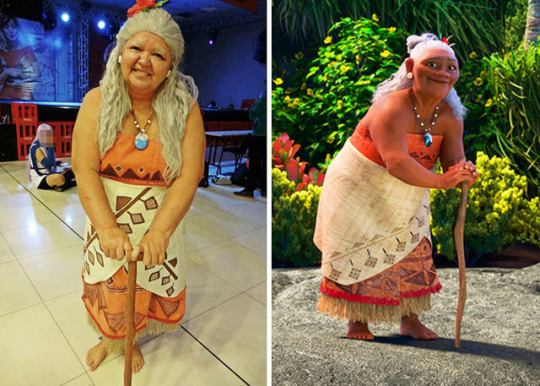
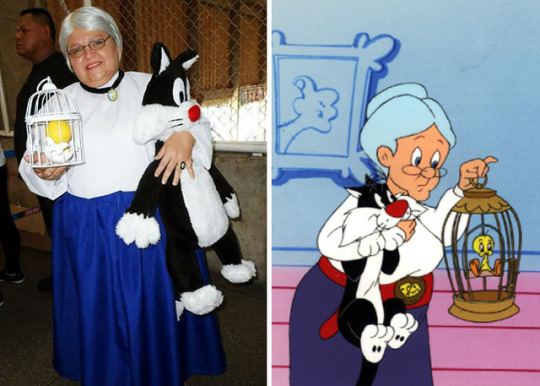

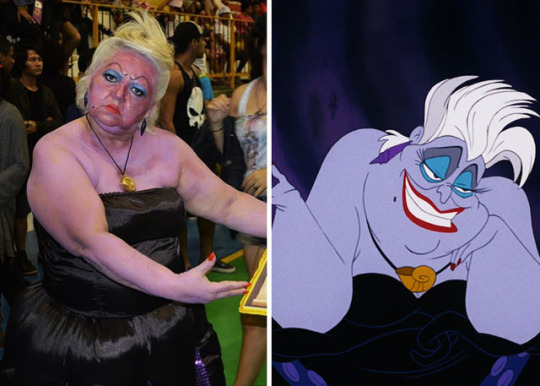

Here’s further awesome proof that cosplay is for everyone! Brazilian cosplayer Solange, aka Tia sol (“Aunty Sun”) has won the heart of the internet with her wonderfully accurate homemade costumes and convention appearances around her home city of Manaus, Brazil.
“A friend said that I wouldn’t have the guts,” Solange told BuzzFeed News. “I chose a character and had the costume made without saying another word.”
“I don’t miss a single event in my city. I’d really like to visit other ones, but have you seen the price of the fares?”

“I never thought that I would be well received among the young people, I’ve made a lot of friends during all of this.” Cosplay conventions have become a sort of a haven for Solange: “I can launch myself into the world of make-believe, where anything goes.” Her next event is coming up in December. “I’m finishing up the painting on my new cosplay, Granny Juju from Jorel’s Brother.”
Follow Tia Sol on Facebook to keep up with her latest cosplay creations.
[via Bored Panda]
244K notes
·
View notes
Video
tumblr
Water bending cosplay
218K notes
·
View notes
Video
youtube
Have seams on your armor? Check this video out for some tips on filling the seams!
219 notes
·
View notes
Photo


Lightning Farron Leg Armor mini tutorial !!!
So I don’t really know if I’m the best person to be giving advice about anything armor related, but if you wanna get armor that looks like this, here’s a simple way how to.
1. Make a pattern on your leg with normal paper by wrapping your leg in surround wrap and tape and drawing it where you want it.
2. Cut patter off and Copy the pattern onto foam.
3. Use a heat gun to form the foam into the shape you desire it to be.
4. Use elastic, hot glue, and small clips to attach a band to the back of the foam. This will hold it up when you’re all done. I bought small clips off of amazon for cheap.
5. Add whatever details necessary with more foam.
6. Prime foam with modge podge!
7. Paint with acrylic paint.
8. MAKE SURE TO DIRTY UP THE ARMOR.
9. Add a final coat of modge podge !
TADA. BELLA’S VERSION OF FOAM ARMOR !!!
Hope this helped people? Maybe? Kinda? Not at all? WELL! I’m always here to help if you have questions on how I do something or whatever !
3K notes
·
View notes
Video
youtube
Cosplay 101: Coloring Your Eyebrows by MangoSirene
In which I play with paint and glue and make really stupid puns, too! ;D
2K notes
·
View notes
Photo
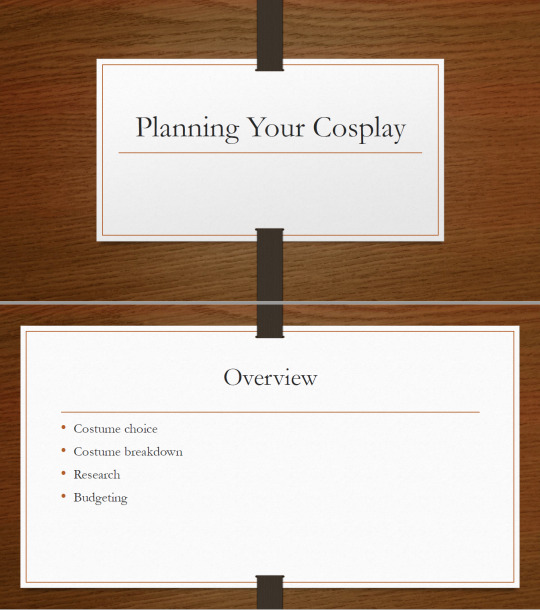
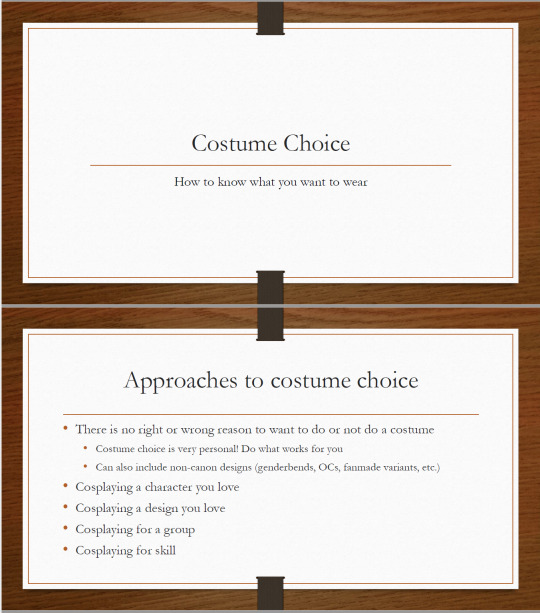
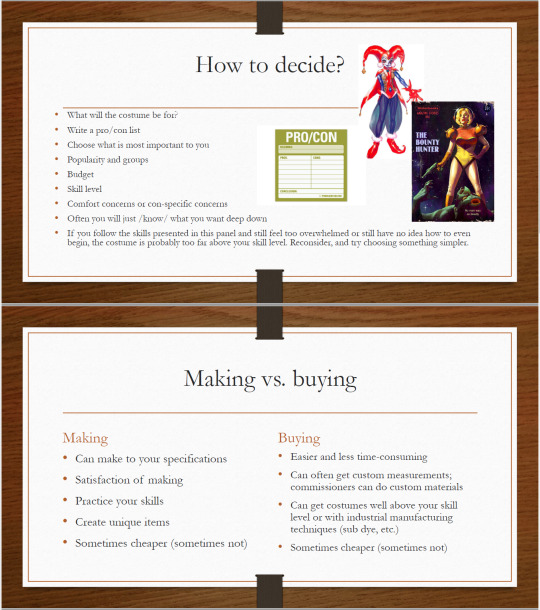

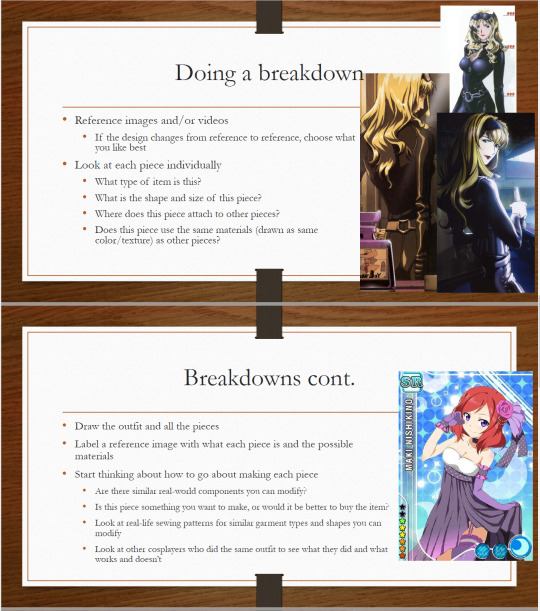
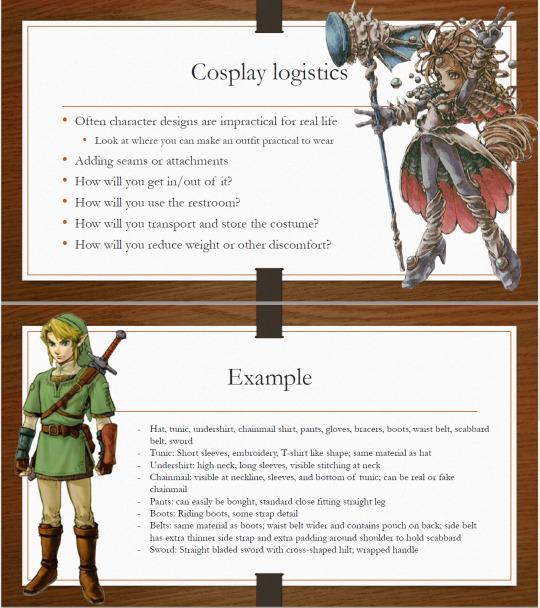
Planning Your Cosplay panel, as given at SacAnime Winter 2017
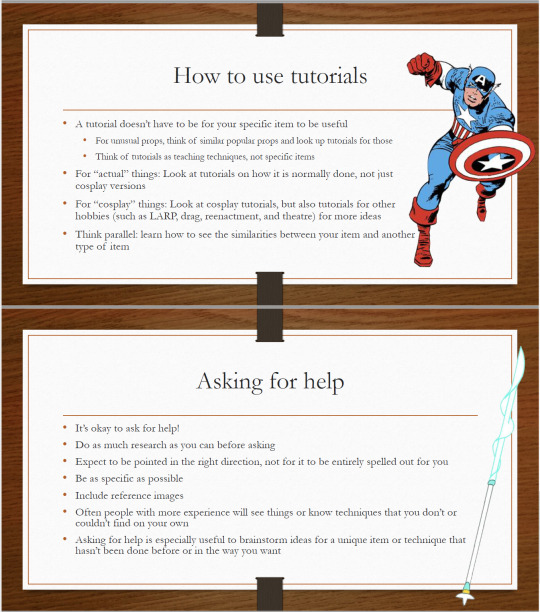
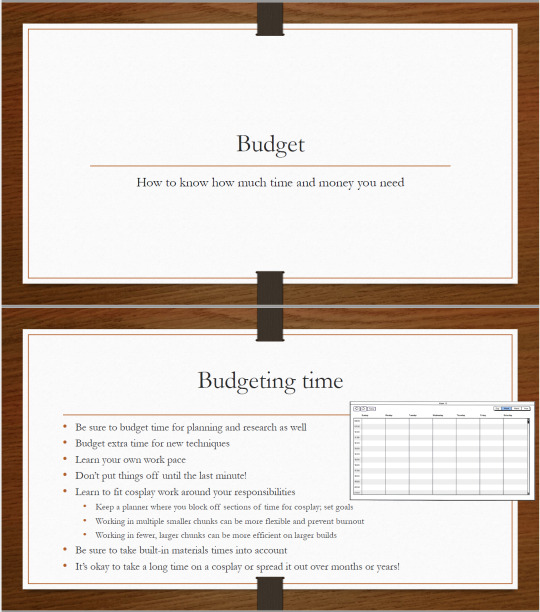
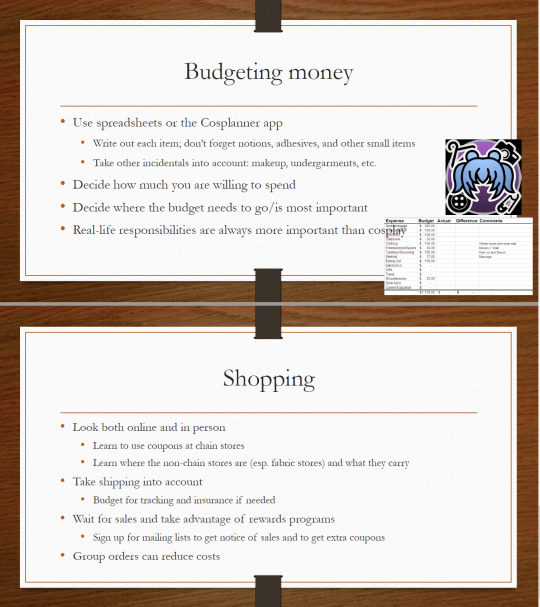
Ever wanted to cosplay someone, but had no idea how to begin? Join cosplayer fabrickind to learn about how to take that first step! Topics covered will include costume choice, breaking down the parts of a costume, buying vs. making, researching materials and methods, and budgeting time and money.
This is just the bare bones of the panel, as many of the examples were elaborated on in-person, and it is just the slides, not any of my notes. It is not meant to be exhaustive or definitive, and is just meant for general advice and suggestion purposes only. If anyone has feedback they would like to give, feel free to do so. That said, I hope that people find this information useful.
Here is a link to a pdf of the presentation. You may download for personal use, but please do not alter the presentation, repost without permission, or do any sort of other unauthorized use. (If you have a question about how you can use this presentation, please send me a message with your question and we can work it out. I promise I’m not scary. ;]) Feel free to reblog this post as much as you want, though. I do these panels and post them because I want the information to be shared.
I hope someone finds this helpful! :]
9K notes
·
View notes
Text
Cosplay Progress: Using a Gantt Chart
By day, I work an office job in a manufacturing company. One day, during a meeting, someone presented this gorgeous chart on tracking projects and tasks. I later found out that it was called a Gantt Chart.
What is a Gantt Chart?

Thanks Google! Basically, it’s a chart to track projects progress over time. It’s usefulness is being able to see multiple deadlines and track the progress of your work. I recently started organizing my cosplays into a Gantt Chart.

Each cosplay is its own project and separated by its cosplay components (i.e. wig, clothing, prop, and shoes). I would mark the start date and the deadline that I would need to finish it. The number of days is calculated in the next column and also, a colored horizontal bar appears on the furthest right. This shows how many weeks I have to complete the cosplay. In the other columns, I have my budget, the actual cost, progress (%), and the con I plan to wear it at. Also, the cosplay components also have their own start date, deadline, budget, cost, and progress.
I color coded the chart to keep track of my progress and cost by using conditional formatting. If I’m over my budget, the actual cost will turn red. As for the progress colors, I assigned colors to be as follow:
Green - Done
Yellow - In Progress
Red< - Just Started
In this chart, I’m able to visualize my progress and keep track on how much time I have to finish a cosplay. It also acts as a to-do list for me as well. I know exactly what component I need to tackle and how much time I have left I have to finish it.
I know there’s a lot of great apps to help organize your cosplays and track your progress, but I really love spreadsheets. There is a reason why they are an industry standard. It’s so versatile and flexible. I mainly use Google Drive because it’s easy to use and I can access it on all my devices.
Below are the Google Drive templates for the Cosplay Gantt Chart. I made two versions of the Gantt Chart, and it’s really up to the user preference. The two templates can be viewed in each individual sheets. The first template keeps track of the cosplay and the cosplay components. It’s aim for those who want to see a breakdown on how to complete their cosplay

The second template only keeps track of the cosplay. If you need something to give you a quick glance or the first template feels clutter, the second template is another option.
Template: https://docs.google.com/spreadsheets/d/1iDIS9iwQHJ_pKPjPbM_LE0AtqWGaVN_f9qrfnkShYRU/edit?usp=sharing
979 notes
·
View notes
Photo

Reala’s collar from Journey of Dreams. made with simple foam. I may have to reduce the diameter, my ‘dear sibling’ may not like the possible restrictions of it’s size
426 notes
·
View notes
Video
youtube
Have seams on your armor? Check this video out for some tips on filling the seams!
219 notes
·
View notes
Photo

Sewing 101: Drafting Patterns (T-shirt Method)
Tutorial Link: http://shwinandshwin.com/2011/08/sewing-101-drafting.html
454 notes
·
View notes
Text
Practice good cosplay habits: At the con
☆ Try and arrive early☆ If you’re staying at a hotel or at someone’s house/apartment, try and get there an hour or two early. This way you can unwind a bit after travelling, especially if you’ve travelled for a while, and unpack a bit. Hang up those outfits and maybe take the time to iron out some of your pieces that might have gotten wrinkled in travel. On the Friday, most conventions start at 5pm and if you have places to be, like if you’re running a panel, you really need to plan your time wisely. Especially if you need to pick up your registration badge.
Special tip: If you’re staying at a hotel, try calling the day before or day of to see if you can get an early check in. Most places have a check in time of 3pm so having a few extra hours can really be beneficial to you so you can rest a bit, go get your badge and spend sometime putting on your cosplay.
☆Get to know your location☆ In the little program books you pick up when you go to get your convention badge, you usually get a book that shows the location to specific offices, panel rooms and attraction rooms and halls. This is pretty important if you need to talk to the staff about an issue or if you have an anxiety/panic disorder. Knowing where to go when you need help will just take that bit of stress off when and if something does go wrong. Also it helps you find the room for the panel of the new anime you’ve been really into.
☆ Eat, like seriously☆ You’ve probably heard this a whole bunch of times before, but keeping yourself fed and hydrated is good for everyone. I usually get hangry (hungry/angry) if I haven’t eaten for a while and I can be pretty hard to be around especially if it’s 8pm and I haven’t eaten all day. I also get really severe headaches when I don’t eat so it’s really important to me to have something in my stomach so I can make the most out of my con experience. You might have a medical condition that requires you to take your medicine with food or another reason. It might be hard sometimes pulling yourself away from all the awesome things happening, but try your best to keep your body in decent shape.
Special tip: I’ve tried to make it a personal rule to have one decent meal that weekend. I usually end up eating a bunch of junk food and fast food so having a decent meal with some veggies is doubly helpful.
☆ Bring your absolute essentials with you☆ If your hotel is a bit far away, it’s really essential to bring a small bag or backpack with you to hold some of your essentials. Things like: your phone, wallet, a small pill box for medicines, badge, water and maybe some makeup can really save your butt from constantly having to go back to your hotel. Bring a bag big enough that after putting in your essentials you still have some room for other items, such as merchandise from the dealer’s room. I recommend getting a small backpack or a tote bag with a zipper.
Special tip: If you’re wearing a long wig or have delicate pieces of your cosplay on your neck, torso or shoulder areas, consider using a tote bag since you won’t be slinging it over your shoulders and back.
308 notes
·
View notes
Text
Copying a garment to make a pattern
A really easy way to make a pattern is by using what you already have. You have clothes that fit properly and are probably in a similar style to what you are making, why not make a copy of those garments for your own use!

Keep reading
599 notes
·
View notes
Photo

Leg Straps Tutorial!! This is the method that I used to make my new leg straps for my Panty Anarchy cosplay! For some reason, it took me 3 years to buck up and just sew real leg straps, so no more gluing ribbon to my leg! I’m just transferring this tutorial from my Cosplay Amino account to tumblr in case anyone wants to save it for their own cosplay uses.
It’s fairly simple (even though it took me a while to figure it out), so go ahead and keep reading to see pictures and read the whole tutorial!
Keep reading
863 notes
·
View notes
Photo


quickie tutorial time! most of the cosplay bow tutorials i see out there result in a pillowy, unrealistic-looking bow since they usually involve no loops. this is how i make bows that result in one that looks slightly more “tied” in place with no visible seams.
start with a long rectangle that’s double the width of your bow and at least twice the length. if your fabric is too flimsy to hold its shape, you may want to add interfacing. double this over and sew to make a long tube, which you will want to press with the seam centered in the tube.
with the seam on the inside, pin the two ends where you want it to meet in the middle so it is the width you want. cut off any excess because we don’t want extra bulk.
sew that pinned bit together to make your tube into a ring. if you want your bow to have tails, now is the time to make them. you can do so using the same method as the first tube, but then closing off the ends.
tie it together in the middle, being careful to “crimp” the middle in a way that will be visually-pleasing. make a small second tube that’s long enough to fit around the middle and then some. if you have tails, you may wish to tie them onto your bow now.
hand sew the middle tube around the bow, and ta-da! you’re done!
there’s tons of different ways to attach this to your hair or wherever. you can sew/glue on clips or snaps, or if you’re super lazy like me, you can just loop a hairband through that middle part on the back. it’s more likely to sort of rotate that way, but meh. good enough for me!
247 notes
·
View notes
Video
youtube
OMG guys I finally got off my ass and did a video tutorial! Since I get asked more than anything else how I make my teeth look sharp and pointy for Terezi Pyrope or Soul Eater cosplay, I figured I would show you in a video >:D (tl;dw version: paint triangles on ur teeth with Ben Nye tooth black!)
426 notes
·
View notes
Photo

I find this awesome tutorial how to make a goatee!
512 notes
·
View notes
Photo


Anime jeans by Kirameku
Hand painted with water-based textile paints.
124K notes
·
View notes