#LexicalAnalysis
Explore tagged Tumblr posts
Video
youtube
Compiler Design Online Live Classes For B.Tech MCA BCA
#youtube#compilerdesign#onlineliveclasses#CompilerDesignTutorial#CompilerDesignCourse#BTechCompilerDesign#MCATuition#BCATuition#CompilerDesignForBeginners#CompilerDesignConcepts#ComputerScienceClasses#CompilerDesignLecture#OnlineCompilerDesign#CompilerDesignFundamentals#TechEducation#ProgrammingLanguages#CodeOptimization#SyntaxAnalysis#SemanticAnalysis#LexicalAnalysis#Engineering
0 notes
Text
Creating a Code Editor with Syntax Highlighting Using HTML5

Introduction
Buckle up for an exciting journey into the world of code editing! In this tutorial, we'll explore the process of creating a code editor with built-in syntax highlighting using HTML5 and JavaScript. The primary goal is to empower you to build your own custom code editor, enhancing the coding experience for yourself or your users. However, this endeavor comes with its set of challenges that we'll tackle head-on. The challenges we face include selecting the right HTML element for the task, ensuring proper syntax highlighting, and dealing with issues such as text caret repositioning. By the end of this tutorial, you'll have a deeper understanding of these challenges and the knowledge to conquer them.
Choosing the Right HTML Element
When embarking on our journey to create a code editor with syntax highlighting, it's essential to select the right HTML element for the job. Let's explore the options:

1. The Initial Idea: Element Our initial consideration was to use a element for the code editor. It's a common choice for taking user input, but we quickly encountered some drawbacks: - Limitations: elements provide limited flexibility when it comes to styling. Syntax highlighting, such as coloring keywords or strings, can be challenging due to their plain text nature. - Styling Problems: Implementing advanced styling for code highlighting is cumbersome and often results in less-than-optimal user experiences. 2. Introducing the Element To overcome the limitations of the element, we turned to the element. This versatile HTML element allows users to input text and is more conducive to implementing syntax highlighting: - Advantages: With the contenteditable attribute set to "true," the element becomes editable, making it suitable for code input. Disabling spellcheck ensures that code-related terms are not flagged as misspelled words. - Flexibility: This element provides greater flexibility for styling and parsing code, which is crucial for syntax highlighting.
Implementing Syntax Highlighting
Now that we've selected the appropriate HTML element, it's time to dive into the implementation of syntax highlighting. This is a crucial step in creating an effective code editor with a polished user experience.

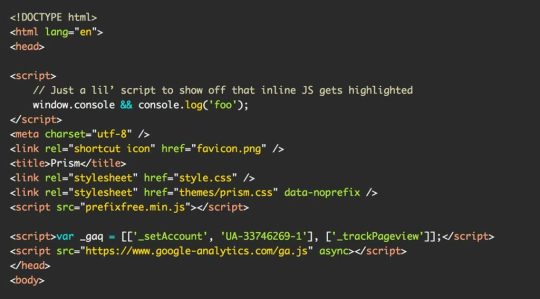
Process of Implementing Syntax Highlighting Implementing syntax highlighting involves parsing the code input and applying different styles to code elements such as keywords, strings, and numbers. Here's a high-level overview of the process: - Input Text: Obtain the code input from the editable element. - Lexical Analysis: Break down the code into tokens, such as keywords, strings, and numbers, using the lexicalAnalysis function. - Generate HTML: Create HTML content with appropriate elements and CSS classes to style the tokens differently. - Update the Element: Replace the original code with the newly generated HTML to display the syntax-highlighted code to the user. Example: The replaceText Function Here's a code example of the replaceText function for parsing and highlighting code: JavaScript' + tokens.value + ''; } div.innerHTML = newHtml; }" style="color:#F8F8F2;display:none" aria-label="Copy" class="code-block-pro-copy-button">function replaceText(div) { let txt = div.innerText; let tokens = lexicalAnalysis(txt); let newHtml = ''; for (let i = 0; i Read the full article
0 notes