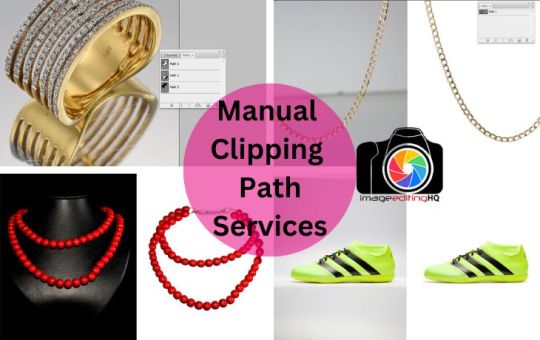
#clipping path images
Text

#clipping path#clipping path services#clipping path images#remove background#photo edit#design#retouching
0 notes
Video
multiple clipping path service by Clipping Next
Via Flickr:
multiple clipping path service
#multiple clipping path service#best clipping path service#clipping path service provider#clipping path images#ecommerce image editing agency in usa#flickr
0 notes
Text

#retouching#editing#photoshop#design#reaction image#flashing images#image clipping service#clippingpathservice#background remove#clipping path company
2 notes
·
View notes
Photo

Drop shadow is a service for getting shadows like a natural shadow to an image. It makes the image look more realistic.
8 notes
·
View notes
Link


6 notes
·
View notes
Text
How to Remove Image background Remove
Open Adobe Photoshop and import the image you want to edit.
Make sure the Layers panel is visible (if not, go to "Window" > "Layers" to open it).
Duplicate the original image layer by dragging it to the "New Layer" icon at the bottom of the Layers panel. This step is important for non-destructive editing.
Select the duplicate layer.
Choose the "Quick Selection Tool" from the toolbar on the left side (or press "W" on your keyboard to activate it). It's represented by a brush with a dotted circle around it.
Adjust the brush size in the options bar at the top according to your image's details.
Click and drag over the foreground area you want to keep. The tool will automatically select the area based on color and texture.
If you accidentally select areas you want to remove, hold the Alt/Option key and drag over those areas to deselect them.
Refine the selection using the "Select and Mask" feature. You can access it by right-clicking on the selection and choosing "Select and Mask" from the context menu. This step helps to fine-tune the selection edges for better results.
In the "Select and Mask" dialog box, experiment with the available tools like "Refine Edge Brush," "Brush Tool," and "Smart Radius" to adjust the selection. Use the preview options to see how it looks against different backgrounds.
Once you're satisfied with the selection, click "OK" to exit the "Select and Mask" dialog box.
With the selection still active, click on the "Layer Mask" button at the bottom of the Layers panel. It looks like a white rectangle with a gray circle in the center.
The background should now be transparent, and you can add a new background layer or leave it as is.
Save your image in a format that supports transparency, such as PNG, to preserve the background removal.
Remember, this method works best for images with clear foreground/background separation. For more complex images, you may need to explore additional tools and techniques, such as the Pen Tool or the Background Eraser Tool, to achieve better results.
if you more information www.clippingpath360.com or [email protected]
#photography#photoshop#photoshoot#image description in alt#editor#photo editing#clipping path service#background
1 note
·
View note
Text
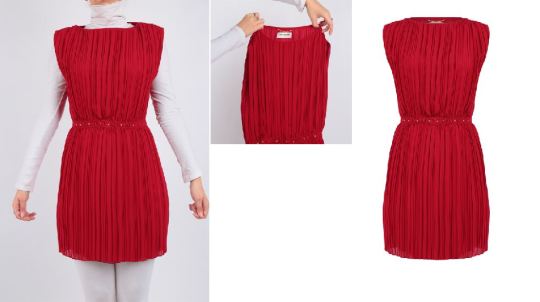
showcase your products
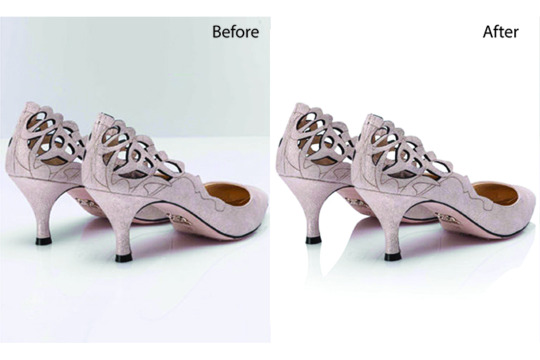
Automatically cut the object from the background to better highlight your products in your online shop.
#clipping path#remove background#image retouching services#image masking service#color correction#Ecommerce Photo Editing#Crop#Resize#image optimization#multi-clipping path#Professional Image Editing#Image Editing#image editing#beautiful photos#photo blog#photo edit#photo exif editor
2 notes
·
View notes
Text

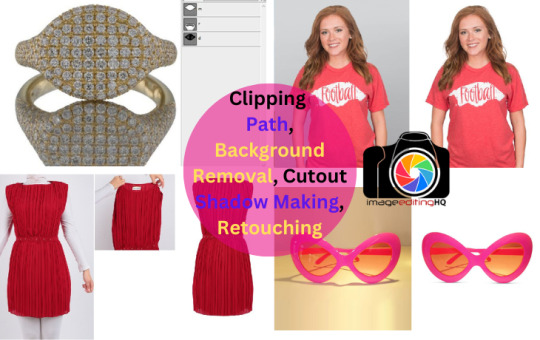
Are you looking for a professional Photo Editing Service? Then I am here to fulfill your all kind of demand very professionally. We would love to discuss your product Design requirements and partner with you. on your upcoming projects.
Our services
Clipping path
Background remove
Image Manipulation
Ghost Mannequin
Image Masking
Photo Retouching
Shadow Creation
Color Correction
Photo Restoration
Photo Blending Service
Real Estate Photo Editing
Jewelry photo Editing
E-Commerce Photo Editing Vehicles Image Editing
Regards..
Ifrat Jahan
#clipping path#colorcorrection#backgroundremoval#photoediting#ecommerceservices#photoretouching#retouching#retouchingservices#photo edit#photoshop#image edit#resize#skin tone retouch
2 notes
·
View notes
Text
Do your photo editing service need
#clipping path#magazine clippings#clipping mask#image clipping service#newspaper clippings#clippingpath#symmtckel
0 notes
Text

1 note
·
View note
Text
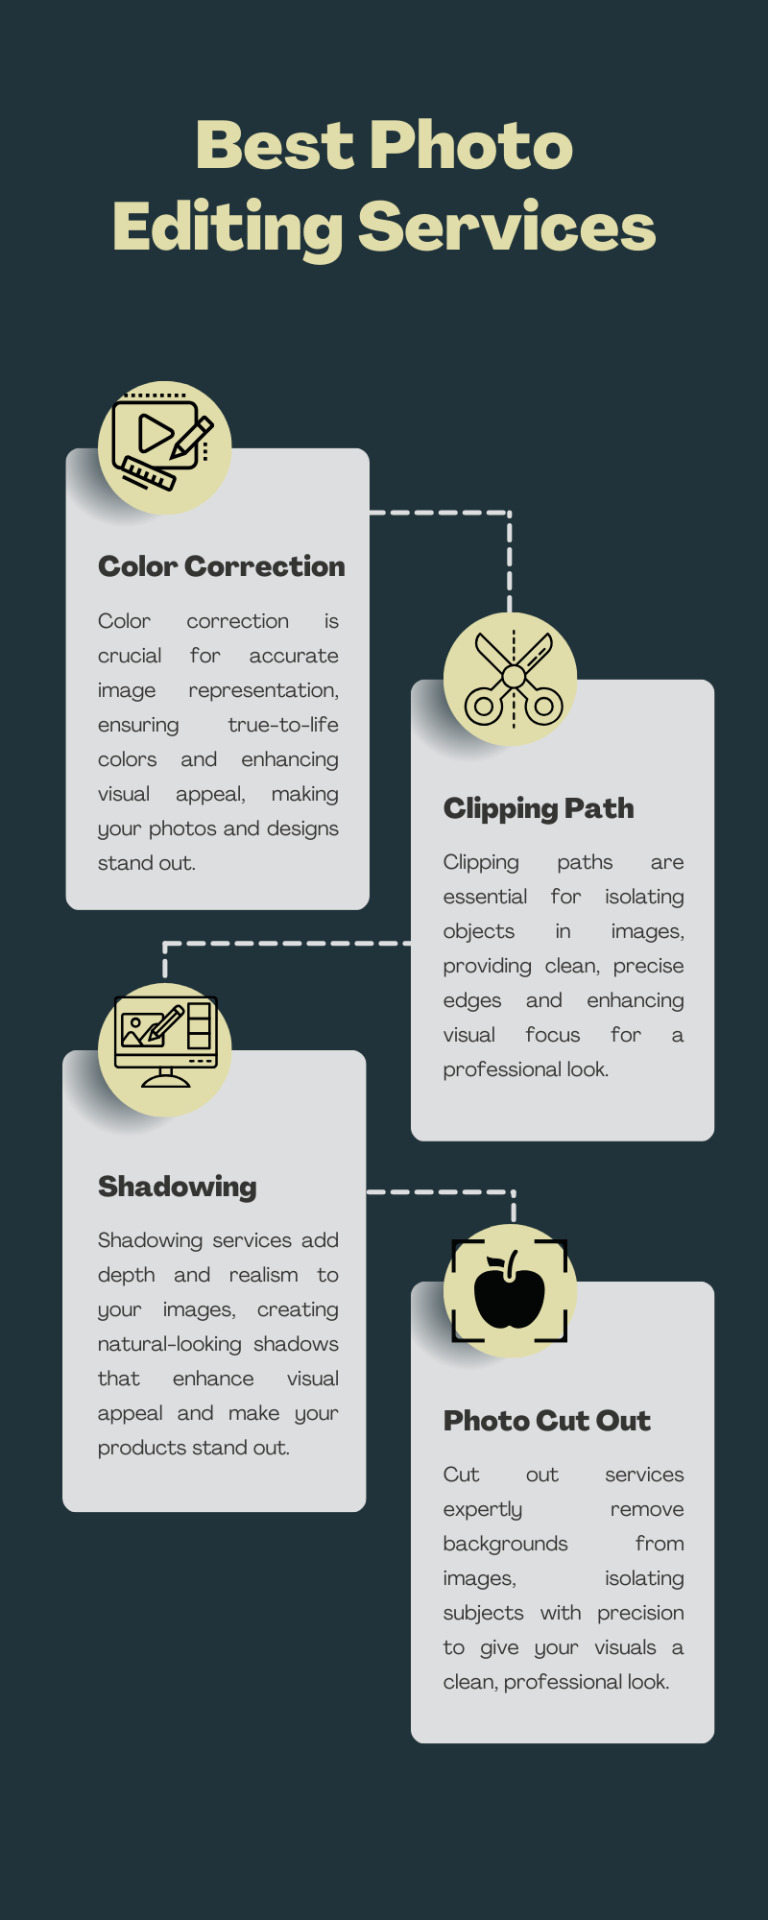
Tips to Choose the Right Photo Editing Service for Your Business
When it comes to finding the right photo editing service for your business, the task can feel daunting. Here's a fresh take to guide you through the process:
Identify Your Specific Needs
Before diving into the search, clearly define what you need. Whether it's background removal, color correction, or retouching, knowing your requirements helps narrow down your options.
Portfolio Examination
Review the portfolios of potential service providers. Look for quality, consistency, and whether their style aligns with your brand.
Customer Reviews and Testimonials
Check reviews on platforms like Yelp, Google Reviews, and Trustpilot. Honest feedback from previous clients can give you a good sense of reliability and quality.
Turnaround Time
Make sure the service can meet your deadlines. Quick and reliable turnaround times are crucial for businesses.
Communication Skills
Opt for providers who communicate clearly and promptly. This ensures your needs are understood and met efficiently.
Pricing and Value
Compare prices to find a service that offers good value. Extremely low prices might mean compromised quality.
Sample Work
Request a sample edit to evaluate the quality firsthand. This practical step can save you from future disappointments.
Finding the right photo editing service requires thorough research and clear communication. Follow these tips to find a partner that will enhance your business's visual content.
#photo retouching#backgroundremoval#headshot retouching#photo edit#photo restoration#photo editing services#Clipping Path Excel#commercial photography#clippingpathexcel#cpxl#photography#event photography#portrait photography#clipping path service#imagecutout#image cut out#PhotoEditing#BusinessAdvice#DigitalMarketing#VisualContent#real estate photography#hdrphotography#photo retouching services#photo retouching company#clarity edit#clarityedit#color correction#wedding photo editing#color change#bulk photo editing
0 notes
Text
How to Make Your Product Photos Pop with Editing
In the competitive realm of e-commerce, striking product photos are key to capturing the attention of potential customers. High-quality images not only enhance the appeal of your products but also instill trust and professionalism. To ensure your product photos stand out, mastering the art of photo editing is essential. This comprehensive guide will walk you through the best practices and techniques to make your product photos pop.
1. Understanding the Importance of Product Photo Editing
Product photo editing is crucial for several reasons. It helps in highlighting the product's features, removing any imperfections, and creating a consistent look across all images. Properly edited photos can significantly increase conversion rates and reduce return rates by providing a clear and accurate representation of the product.
2. Choosing the Right Editing Software
Selecting the right editing software is the first step. Popular options include Adobe Photoshop, Adobe Lightroom, GIMP, Capture One Pro, and Affinity Photo. These tools offer a wide range of features that cater to both beginners and professionals.
3. Basic Adjustments: Exposure, Contrast, and White Balance
Start with the basics. Adjust the exposure to ensure the image is neither too dark nor too bright. Increase contrast to make the product stand out against the background. Correct the white balance to ensure the colors are accurate and true to life.
4. Cropping and Straightening
Cropping helps in focusing on the product and removing any unnecessary background elements. Ensure the product is centered and fills the frame appropriately. Straighten the image to make sure all lines are horizontal and vertical, giving it a professional look.
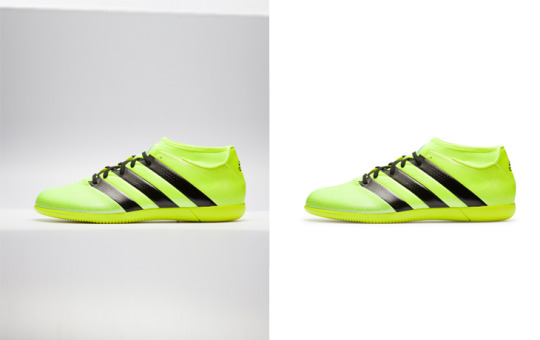
5. Background Removal and Replacement
A clean, distraction-free background highlights the product. Use tools like the pen tool or magic wand in Photoshop to remove the background. Replace it with a solid color or a simple gradient to make the product stand out.
6. Enhancing Colors and Saturation
Vibrant colors make product photos more appealing. Use the saturation and vibrance adjustments to enhance the colors without making them look unnatural. Be cautious not to overdo it, as overly saturated images can look unrealistic.
7. Retouching and Cleaning Up
Remove any blemishes, dust, or scratches using tools like the healing brush and clone stamp. Smooth out surfaces and correct any imperfections to ensure the product looks flawless.
8. Sharpening for Clarity
Sharpening enhances the details and textures of the product. Use tools like Unsharp Mask or Smart Sharpen to make the product appear crisp and clear. Again, avoid over-sharpening, which can introduce noise and artifacts.
9. Using Layers and Masks for Non-Destructive Editing
Working with layers and masks allows for non-destructive editing. This means you can make changes without altering the original image. It also makes it easier to experiment with different adjustments and revert to previous states if needed.
10. Adding Shadows and Reflections
Adding shadows and reflections can give your product photos a professional, polished look. Use layers to create realistic drop shadows and reflections that match the lighting of the scene.
11. Utilizing Presets and Actions for Efficiency
Presets and actions are pre-recorded sets of editing steps that can be applied with a single click. They are useful for maintaining consistency across multiple images and speeding up the editing process.
12. Batch Processing for Multiple Images
When dealing with a large number of photos, batch processing can save a significant amount of time. Most editing software allows you to apply the same adjustments to multiple images simultaneously.
13. Exporting for Web
Ensure your images are optimized for the web. Export them in the appropriate format (JPEG, PNG) and resolution to balance quality and file size. Properly compressed images load faster, improving user experience and SEO.
14. Creating Consistency Across Product Photos
Consistency is key in product photography. Ensure all your product photos follow a similar style, background, lighting, and color scheme. This creates a cohesive look on your website and strengthens your brand identity.
15. Staying Updated with Trends and Techniques
The field of photo editing is constantly evolving. Stay updated with the latest trends and techniques to keep your product photos fresh and engaging. Follow industry blogs, join photography forums, and take online courses to continually improve your skills.
Conclusion
Mastering product photo editing is essential for creating images that captivate and convert. By following these detailed steps and utilizing the right tools, you can ensure your product photos stand out in the crowded online marketplace. High-quality, professionally edited images not only attract more customers but also build trust and drive sales.
0 notes
Text
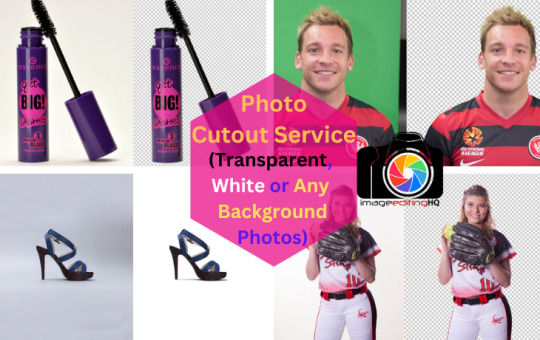
Discover our "Best Photo Editing Services," where we transform your images with top-notch editing techniques. From precise clipping paths and stunning color corrections to realistic shadowing and flawless cut-outs, we enhance every detail for a polished, professional finish. Trust us to bring out the best in your photos and make your visuals shine!
#clipping path service#professional photoshop services#best clipping path service#clipping path service usa#photo editing services#image editing service#clipping path service company
0 notes
Text
How to Make Your Product Photos Pop with Editing
In the competitive realm of e-commerce, striking product photos are key to capturing the attention of potential customers. High-quality images not only enhance the appeal of your products but also instill trust and professionalism. To ensure your product photos stand out, mastering the art of photo editing is essential. This comprehensive guide will walk you through the best practices and techniques to make your product photos pop.
1. Understanding the Importance of Product Photo Editing
Product photo editing is crucial for several reasons. It helps in highlighting the product's features, removing any imperfections, and creating a consistent look across all images. Properly edited photos can significantly increase conversion rates and reduce return rates by providing a clear and accurate representation of the product.
2. Choosing the Right Editing Software
Selecting the right editing software is the first step. Popular options include Adobe Photoshop, Adobe Lightroom, GIMP, Capture One Pro, and Affinity Photo. These tools offer a wide range of features that cater to both beginners and professionals.
3. Basic Adjustments: Exposure, Contrast, and White Balance
Start with the basics. Adjust the exposure to ensure the image is neither too dark nor too bright. Increase contrast to make the product stand out against the background. Correct the white balance to ensure the colors are accurate and true to life.
4. Cropping and Straightening
Cropping helps in focusing on the product and removing any unnecessary background elements. Ensure the product is centered and fills the frame appropriately. Straighten the image to make sure all lines are horizontal and vertical, giving it a professional look.
5. Background Removal and Replacement
A clean, distraction-free background highlights the product. Use tools like the pen tool or magic wand in Photoshop to remove the background. Replace it with a solid color or a simple gradient to make the product stand out.
6. Enhancing Colors and Saturation
Vibrant colors make product photos more appealing. Use the saturation and vibrance adjustments to enhance the colors without making them look unnatural. Be cautious not to overdo it, as overly saturated images can look unrealistic.
7. Retouching and Cleaning Up
Remove any blemishes, dust, or scratches using tools like the healing brush and clone stamp. Smooth out surfaces and correct any imperfections to ensure the product looks flawless.
8. Sharpening for Clarity
Sharpening enhances the details and textures of the product. Use tools like Unsharp Mask or Smart Sharpen to make the product appear crisp and clear. Again, avoid over-sharpening, which can introduce noise and artifacts.
9. Using Layers and Masks for Non-Destructive Editing
Working with layers and masks allows for non-destructive editing. This means you can make changes without altering the original image. It also makes it easier to experiment with different adjustments and revert to previous states if needed.
10. Adding Shadows and Reflections
Adding shadows and reflections can give your product photos a professional, polished look. Use layers to create realistic drop shadows and reflections that match the lighting of the scene.
11. Utilizing Presets and Actions for Efficiency
Presets and actions are pre-recorded sets of editing steps that can be applied with a single click. They are useful for maintaining consistency across multiple images and speeding up the editing process.
12. Batch Processing for Multiple Images
When dealing with a large number of photos, batch processing can save a significant amount of time. Most editing software allows you to apply the same adjustments to multiple images simultaneously.
13. Exporting for Web
Ensure your images are optimized for the web. Export them in the appropriate format (JPEG, PNG) and resolution to balance quality and file size. Properly compressed images load faster, improving user experience and SEO.
14. Creating Consistency Across Product Photos
Consistency is key in product photography. Ensure all your product photos follow a similar style, background, lighting, and color scheme. This creates a cohesive look on your website and strengthens your brand identity.
15. Staying Updated with Trends and Techniques
The field of photo editing is constantly evolving. Stay updated with the latest trends and techniques to keep your product photos fresh and engaging. Follow industry blogs, join photography forums, and take online courses to continually improve your skills.
Conclusion
Mastering product photo editing is essential for creating images that captivate and convert. By following these detailed steps and utilizing the right tools, you can ensure your product photos stand out in the crowded online marketplace. High-quality, professionally edited images not only attract more customers but also build trust and drive sales.
1 note
·
View note
Text
How To Clipping Path Services Provider - Prices Start from Just $0.29
Path Edit Provider offers top-quality Clipping Path Services starting at just $0.29 per image. Here's how we ensure the best results:
Upload Your Images: Simply upload the images you need edited to our secure online platform.
Specify Your Requirements: Indicate the areas of the image that require clipping paths and any additional editing instructions.
Expert Editing: Our team of experienced professionals meticulously applies clipping paths to ensure clean and precise cut-outs.
Quality Assurance: Each image undergoes a thorough quality check to ensure it meets our high standards.
Download the Edited Images: Once the editing is complete, you can download the polished images directly from our platform.
Our clipping path services are perfect for e-commerce, advertising, and any application requiring clean, professional image cut-outs. Choose Path Edit Provider for affordable, high-quality photo editing.
#photo editor#cut out shape from image#cut out image#photo cut out service#quick cut out#quick cut out photoshop#cut out background#cutout pro#Clipping Path#clipping path service#background removal#Photo background removal#White Background#Transparent Background#Change Background#Remove background#Object Removal
0 notes
Text
Mastering Clipping Path and Image Clipping
In the world of digital imaging and graphic design, two essential techniques stand out: clipping path and image clipping. These processes are pivotal for achieving professional-grade visuals, whether for e-commerce, advertising, or personal projects. This guide will delve into the intricacies of these techniques, providing you with the knowledge and tools to master them.
What is a Clipping Path?
A clipping path is a vector path used to cut out a 2D image in image editing software. This technique is essential for isolating objects from their backgrounds, enabling designers to create clean, professional images. For more detailed insights into clipping path services, check out Clipping Path.
The Importance of Clipping Path in Design
The clipping path technique is indispensable in various fields, especially in e-commerce. Product images must be flawless, with no distracting backgrounds. This is where clipping paths come into play, ensuring each product stands out crisply and clearly.
Applications of Clipping Path
E-commerce: Ensuring product images have no background distractions.
Advertising: Creating eye-catching visuals that focus on the subject.
Photography: Enhancing photos by removing or replacing backgrounds.
Understanding Image Clipping
Image clipping is a broader term that encompasses various techniques for isolating parts of an image. It involves more than just using a pen tool; it includes complex selections, masking, and other advanced methods. Discover more about this process at Image Clipping.
Different Techniques of Image Clipping
Image clipping can be performed using several methods, each suited for different types of images and desired outcomes. Here are some of the most common techniques:
1. Manual Clipping Path
This technique involves manually drawing a path around the object using the pen tool in software like Adobe Photoshop. It is ideal for images with clear, defined edges.
2. Magic Wand Tool
The magic wand tool selects pixels based on tone and color. It's perfect for high-contrast images where the background differs significantly from the object.
3. Layer Masking
Layer masking is a non-destructive way to hide parts of an image. It provides greater flexibility and control, making it ideal for complex images with fine details like hair or fur.
Step-by-Step Guide to Creating a Clipping Path
Creating a clipping path might seem daunting at first, but with practice, it becomes straightforward. Follow these steps to create a perfect clipping path:
Step 1: Open Your Image in Photoshop
Start by opening your image in Adobe Photoshop. Ensure that your image is in a high-resolution format for the best results.
Step 2: Select the Pen Tool
Select the pen tool from the toolbar. This tool will allow you to create a precise path around the object you want to isolate.
Step 3: Draw the Path
Begin drawing the path around your object. Click to create anchor points and drag to create curves. Take your time to ensure accuracy, especially around intricate edges.
Step 4: Close the Path
Once you have outlined the object, close the path by connecting the last anchor point to the first. This will complete the selection.
Step 5: Create a Clipping Path
Go to the Paths panel, and from the dropdown menu, select "Make Work Path." Adjust the tolerance level if needed. Then, save the path by naming it.
Step 6: Apply the Clipping Path
In the Layers panel, select your path and apply it to the image. This will remove the background, leaving only the object.
Advanced Techniques in Image Clipping
For more complex images, advanced clipping techniques are required. These methods provide greater precision and flexibility, allowing for professional-grade results.
Refine Edge and Select and Mask
Photoshop's Refine Edge and Select and Mask tools are invaluable for fine-tuning selections. They allow you to refine edges, smooth out rough areas, and adjust the selection with more control.
Using Refine Edge
Select your object using any selection tool.
Go to Select > Refine Edge.
Adjust the sliders to refine the edges of your selection.
Using Select and Mask
After making a selection, click on Select and Mask in the options bar.
Use the tools and sliders to refine your selection.
Output your selection as a mask or a new layer.
Common Challenges in Clipping Path and Image Clipping
Even experienced designers face challenges with clipping path and image clipping. Here are some common issues and how to overcome them:
Handling Complex Edges
Objects with complex edges, such as hair or fur, can be tricky to clip. Using tools like Refine Edge or Select and Mask can help achieve better results.
Maintaining Image Quality
Ensuring that the quality of the image remains high after clipping is crucial. Always work with high-resolution images and zoom in while making selections for greater accuracy.
Dealing with Shadows and Reflections
Shadows and reflections can complicate the clipping process. Sometimes, it's necessary to create multiple paths or masks to handle these elements effectively.
Tools and Software for Clipping Path and Image Clipping
Several tools and software can make clipping paths and image clipping more efficient. Here are some popular options:
Adobe Photoshop
Adobe Photoshop is the industry standard for image editing, offering powerful tools for clipping paths and image clipping.
GIMP
GIMP is a free, open-source alternative to Photoshop. It has robust tools for creating clipping paths and performing image clipping.
CorelDRAW
CorelDRAW is another powerful vector graphic editor that provides excellent tools for creating clipping paths.
Best Practices for Clipping Path and Image Clipping
To achieve the best results with clipping path and image clipping, follow these best practices:
1. Use High-Resolution Images
Higher resolution images provide more detail, making it easier to create accurate clipping paths.
2. Zoom In for Precision
When creating a clipping path, zoom in to ensure that you are placing anchor points accurately, especially around intricate edges.
3. Save Paths and Selections
Always save your paths and selections so you can easily make adjustments later if needed.
4. Practice Regularly
Like any skill, practice is essential. Regularly working on different images will help you improve your clipping path and image clipping techniques.
Conclusion
Mastering clipping path and image clipping techniques is essential for anyone involved in graphic design or digital imaging. These skills enable you to create clean, professional images that can enhance your projects, whether for personal or commercial use. By understanding the tools and methods involved, and by practicing regularly, you can achieve expert-level proficiency in these essential techniques. For more resources and services, visit Clipping Path and Image Clipping.
Clipping path and image clipping are more than just technical skills; they are art forms that, when mastered, open up a world of creative possibilities.
0 notes
Last Seen Blogs

blackat8
blackat

mycoups
smile flower

perfectlyshadydinosaur
Untitled

lanezbrainz
(spoiler: lane is a zombie)

gayboots91
Portugal Gay boots