#ArtisticEditing
Explore tagged Tumblr posts
Visit Tumblr Blog
Explore Tumblr blogs with no restrictions, modern design and the best experience.
Last Seen Tumblr Blogs


Fun Fact
Total funding amounts to $125.3M.
Text
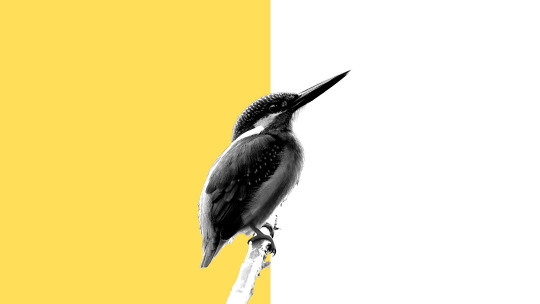
Image background removal is a common task in photo editing, particularly when you want to isolate the subject of the image from its background. This process is useful for various purposes such as creating product images for e-commerce, designing graphics, or composing digital art. Here's a step-by-step guide on how to remove the background from an image using Adobe Photoshop:
Open the Image: Launch Adobe Photoshop and open the image you want to work with.
Select the Background Removal Tool: In Photoshop, there are several tools you can use for background removal, including the Magic Wand, Quick Selection, or Pen tool. Choose the tool that best suits your image and workflow.
Make a Selection: Use the selected tool to outline the subject of the image. For simple backgrounds, the Magic Wand or Quick Selection tool may suffice. For more complex backgrounds or detailed selections, consider using the Pen tool for precise control.
Refine the Selection: Once you've made the initial selection, refine it to ensure accuracy. You can use tools like Refine Edge or Select and Mask to fine-tune the edges of the selection and capture intricate details.
Invert the Selection (Optional): If you've selected the background instead of the subject, you can invert the selection by pressing Ctrl+Shift+I (Cmd+Shift+I on Mac).
Remove the Background: With the subject selected, choose the appropriate method to remove the background. You can press the Delete key to erase the selected area or use Layer Mask to hide the background while preserving the original image data.
Cleanup and Touch-up: After removing the background, inspect the image for any remaining imperfections or stray pixels. Use the Eraser tool or a soft brush to clean up any areas that need refinement.
Save the Image: Once you're satisfied with the result, save the image in a format that supports transparency, such as PNG, to preserve the background removal.
Alternatively, if you prefer not to use Photoshop, there are online tools and software alternatives available for background removal, such as Canva, GIMP, or remove.bg, which offer similar functionality with varying levels of complexity and precision.
Keep in mind that background removal can be a meticulous process, especially for images with complex backgrounds or intricate details. Practice and experimentation with different tools and techniques will help you achieve the desired results efficiently.
#BackgroundRemoval#PhotoEditing#GraphicDesign#ImageManipulation#DigitalArt#PhotoshopSkills#EcommercePhotography#ProductPhotography#CreativeDesign#VisualContent#OnlineMarketing#SmallBusinessTips#SocialMediaGraphics#ArtisticEditing#VisualIdentity
0 notes
Text

#CityscapeEdit#CreativePhotography#UrbanArt#DreamyCity#MoodyCityscape#SunsetGlow#ArtisticEdit#CityVibes#UrbanNature#ReflectiveArt#EveningHues#CityReflections#PhotoArt#CityscapeBeauty
2 notes
·
View notes
Text
Hi, We're TDS Group
.
.
#Reels#AestheticVideos#CreativeContent#TrendingNow#VideoEdit#ExploreMore#ViralReels#SocialMediaTrends#ShortVideos#DigitalAesthetic#ReelLife#ArtisticEdits#TumblrVibes
0 notes
Text
Bring your creative ideas to life with our professional photo manipulation services! At Product Photo Editing, we excel in crafting unique and imaginative images that captivate and inspire. Our talented team utilizes cutting-edge techniques to seamlessly blend elements, create stunning effects, and enhance your photos to match your vision. Whether you’re looking to create eye-catching marketing materials, artistic visuals, or product showcases, our photo manipulation services will help you stand out from the competition. Discover the power of creativity and elevate your images today!
#PhotoManipulation#CreativePhotography#ImageEditing#VisualStorytelling#DigitalArt#ProfessionalEditing#Photography#ArtisticEdits#Branding#Marketing#PhotoEnhancement#CustomImagery
0 notes
Text
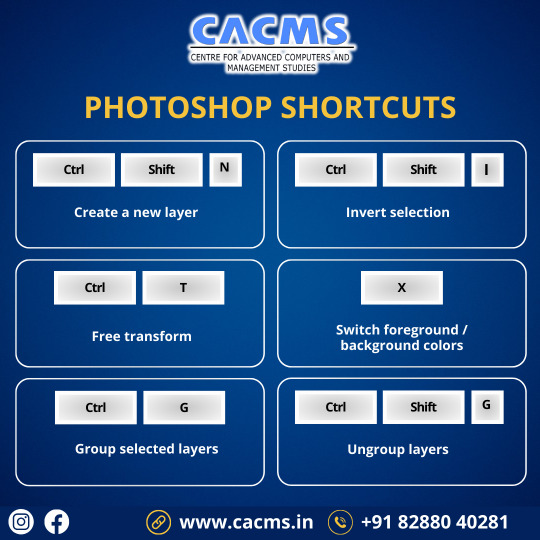
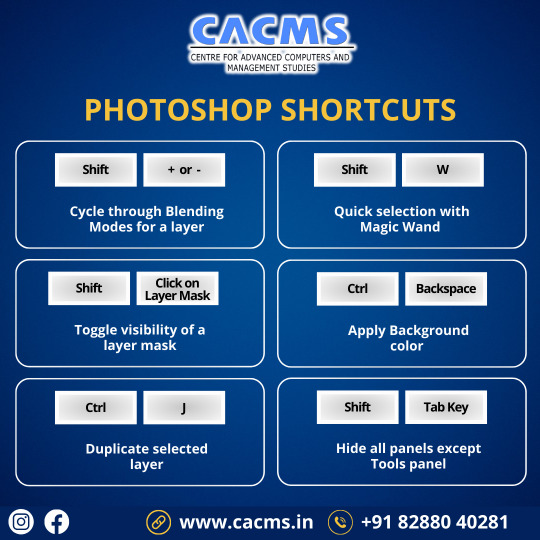
🚀 Elevate your Photoshop with these must-know shortcuts! 🔍🎨Follow us for more tips and tricks! 📌 Interested in mastering Photoshop? Join CACMS Institute now! 📞 Call us at +91 8288040281 or visit http://cacms.in/ for details. 🖥️🔗
#PhotoshopPro#EditLikeAPro#ShortcutMagic#DesignTips#PhotoshopHacks#CreativeEditing#CACMSInstitute#DigitalArtistry#MasterPhotoshop#DesignShortcuts#InstaDesign#EditingSkills#LearnDesign#PhotoshopMastery#DesignInspiration#ArtisticEdits#CreativeShortcuts#VisualMagic#DesignTraining#EditWithCACMS
1 note
·
View note
Text
Mastering Collage Creation: A Guide to PicShot's Free and User-Friendly Collage Maker
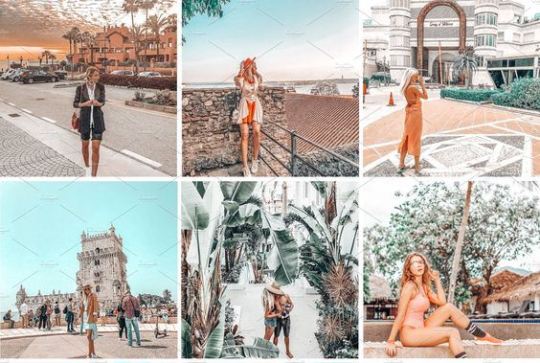
In the age of smartphones, photo editing has become an integral part of our daily lives. Whether it's enhancing the colors of a sunset, adding a touch of creativity to a selfie, or creating collages to capture precious memories, we all love to experiment with our photos. If you're an Apple user looking for an impressive photo editing app that provides a wide range of features for free, look no further than PicShot - Background Eraser. In this blog post, we'll explore one of the app's standouts: the collage maker. We'll guide you through the steps to use this feature and show you how to create stunning collages effortlessly.
What is PicShot - Background Eraser?
PicShot - Background Eraser is a powerful and user-friendly photo editing app available for Apple users. It boasts a plethora of features that allow you to take your photos to the next level. From adding text and stickers to applying filters and effects, this app has it all. One standout feature that sets it apart from the competition is its built-in collage maker.
Why Choose PicShot for Collage Making?
1. Free Access: The best part about PicShot's collage maker is that it's completely free. You won't need to purchase any premium features to unlock the full potential of this tool.
2. User-Friendly Interface: PicShot's user interface is intuitive and easy to navigate, making it accessible for both beginners and experienced photo editors.
3.Customization: The collage maker in PicShot offers a high degree of customization. You can adjust the layout, add borders, adjust spacing, and more to create collages that match your vision.
4. Rich Resource Library: The app provides access to a vast library of fonts, stickers, and backgrounds, allowing you to personalize your collages to your heart's content.
How to Use PicShot's Collage Maker
Step 1: Download and Install PicShot
If you haven't already, download and install PicShot from the App Store. Once the app is installed, open it.
Step 2: Import Your Photos
Tap the "+" icon to create a new project. You can select the photos you want to use in your collage from your camera roll or take new ones within the app.
Step 3: Choose a Collage Layout
PicShot offers various collage layout options. Pick the one that suits your needs and preferences. You can choose from grids, freeform layouts, or even create a custom layout.
Step 4: Customize Your Collage
Once you've selected your layout, you can start customizing your collage. Add borders, adjust the spacing between photos, and fine-tune the dimensions to your liking.
Step 5: Personalize Your Collage
This is where the fun begins. Add text, and stickers, and apply filters or effects to your photos within the collage. PicShot provides a wide range of customization options to make your collage unique.
Step 6: Save and Share
Once you're satisfied with your collage, save it to your device and share it with your friends and family on social media or via messaging apps.
Conclusion:
PicShot - Background Eraser is a versatile photo editing app for Apple users that offers a host of features, including a powerful collage maker. With its intuitive interface, customization options, and rich resource library, you can create stunning collages to cherish and share. Best of all, it's completely free to use, making it a must-have app for anyone who loves to edit and enhance their photos. Give PicShot a try and let your creativity run wild!
Grab it for free now from here: https://apps.apple.com/app/id1577960583
#beautiful photos#photography#collage maker#editing#apple#marketing#insta filter#picture#pixellab#CollageMaker#PhotoEditing#CollageArt#CreativeCollages#PicturePerfect#PhotoCrafting#ArtisticEdits#VisualStorytelling#PhotoMontage#CollageCreations#FilterFun#InstaFilter#DripEffect#FilterMagic#BeforeAndAfter#FilterQueen
1 note
·
View note
Text
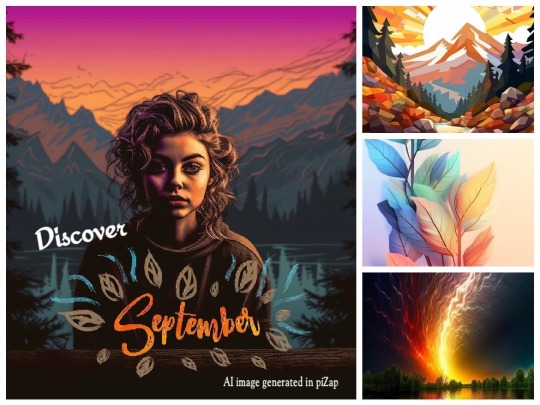
🌟✨ September is here, and so are the magical surprises from piZap's Magic AI Image Maker! 🎉✨
Get ready to take your photo editing skills to the next level with our incredible tool. 📸✨ This month, we're bringing you tips, tricks, and awesome surprises that will transform your photos into pure art. 🖼️✨
🧙♂️ Unleash the magic of piZap's AI Image Maker!
📷 Elevate your photo editing game!
💡 Learn new tricks every day!
Stay tuned, and let's make September a month of amazing edits and creative inspiration. 🎨🌟
Download the piZap App!
🌟iOS devices: https://apple.co/2kkxZaN
#piZapMagicAI #PhotoEditingTips #SeptemberSurprises #CreativeArtistry #PhotoMagic #AIImageMaker #TransformYourPhotos #UnlockTheMagic #PhotographySkills #ArtisticEdits #GetCreative #September #pizap #ai #artificialintelligence
0 notes
Text
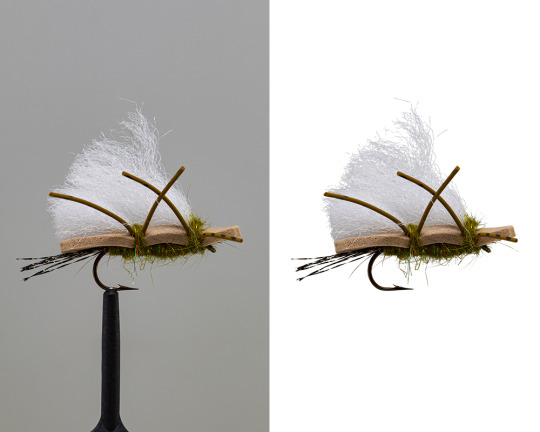
Uncover the beauty within! Image masking helps you reveal intricate details and highlight the true essence of your subject.
#ImageMasking#MaskingMagic#DigitalArt#CreativeEditing#VisualManipulation#PhotoMasking#PhotoEditing#ArtisticMasking#MaskingTechniques#DigitalTransformation#VisualEffects#PhotoManipulation#CreativeMasking#MaskingMastery#DigitalDesign#ArtisticEditing#CreativeComposition#MaskingSkills#VisualEnhancement#ImageManipulation
0 notes
Photo
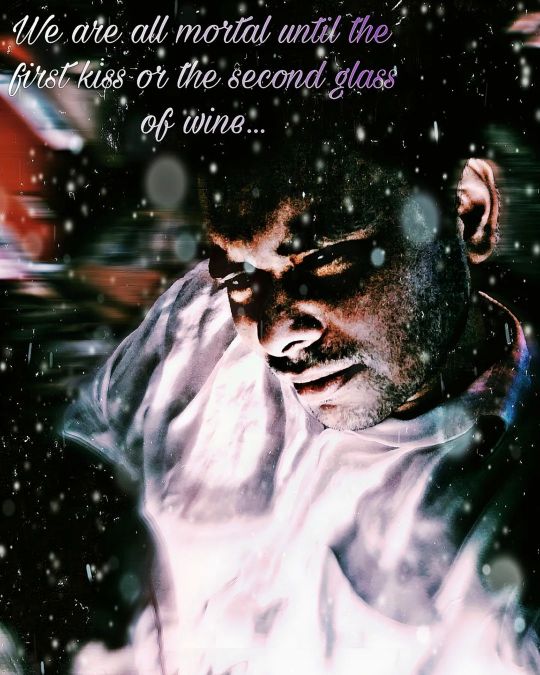
A Undefined Face of Defined lost Thought.. #edits #darkvibes #artistic #artisticedit #asian #asianboy #indianboy #engima #lost https://www.instagram.com/p/CoeFrzrNdt4/?igshid=NGJjMDIxMWI=
0 notes
Photo

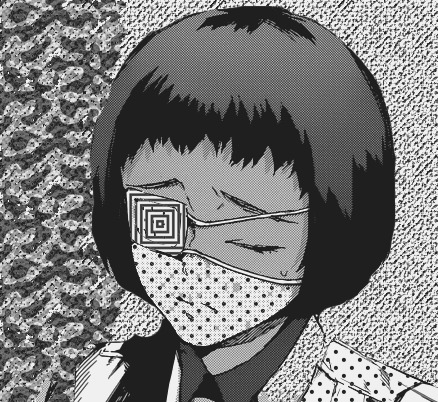
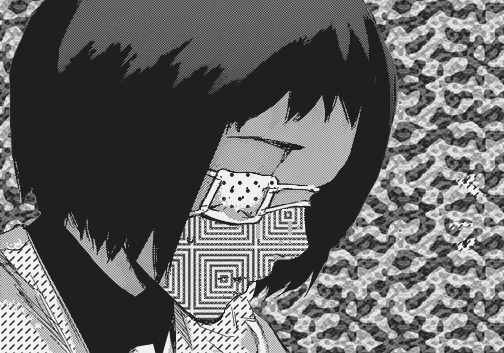
Tooru mutsuki - Tokyo Ghoul:re
#tooru mutsuki#tooru#tg#tokyo ghoul#tokyo ghoul:re#tokyo ghoul re#myedit#anime#manga#edit#black and white#monochrome#artistic edit#kaneki ken#artisticedits
19 notes
·
View notes
Text
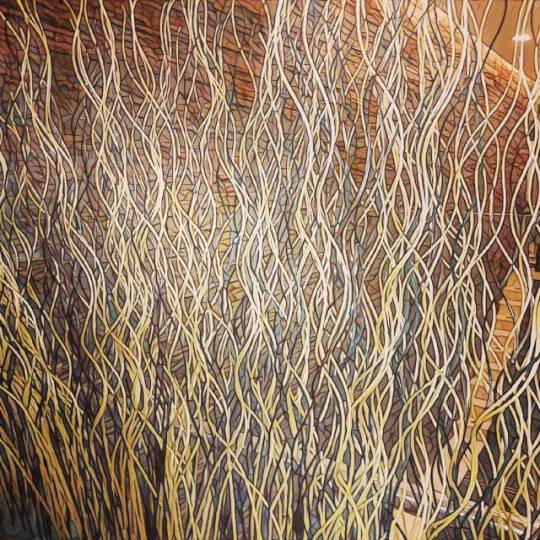
What does everyone think of this latest artwork by me? I'm sort of inspired to write a story based on this. What should it be called? Let me know. 😊🙏 #art #work #artist #artistic #pic #pics #picsart #edit #artedit #workedit #artistedit #artisticedit #picedit #picsartedit #artwork #artistwork #artisticwork #artpic #artpics #artistpic #artistpics #artisticpic #artisticpics #myartwork #picsartwork

1 note
·
View note
Photo
#prisma #mayfair #edited #artisticedition (at UpperRoom Jakarta Concert Hall)
0 notes
Photo

Winter ❄️ has finally rrived and spotting a camper like this one always brings up some good memories, as it sparks a feeling liberty and being more connected with oneself when going out to explore the world. Had some amazing memories living in a camper like this. What do you like most about camping and living in such a van ? #vw #prisma #winter2018 #munich #minga #cloudshooterideas #juniorcamper #camper #goodtimes #stories #travelcar #travel bus #freddybusbaun #camperlove #meandmycamper #ilovecampers #november18 #livinginacamper #travelstories #phoneedit #artisticedit #winteriscoming — view on Instagram https://ift.tt/2Ru1rWQ
0 notes