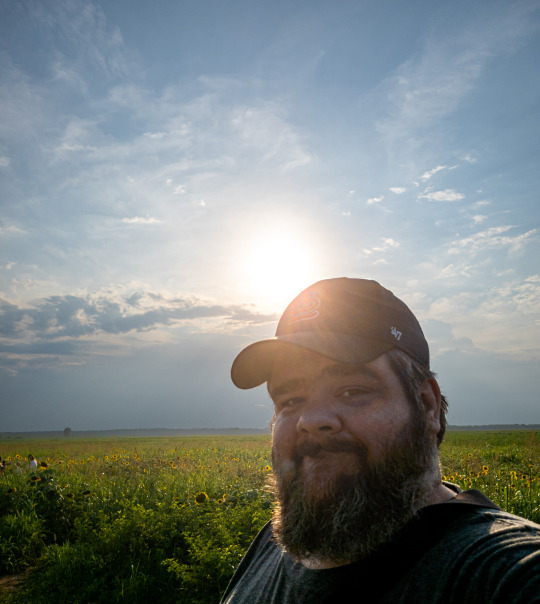
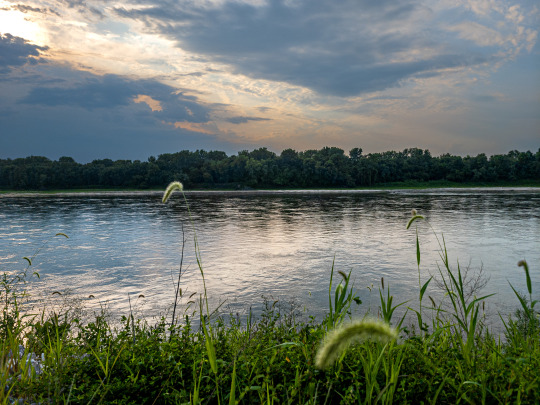
#shooting raw and jpeg
Explore tagged Tumblr posts
Visit Tumblr Blog
Explore Tumblr blogs with no restrictions, modern design and the best experience.
Last Seen Tumblr Blogs


Fun Fact
In 2020, 44% of users from Denmark used Tumblr daily.
Text
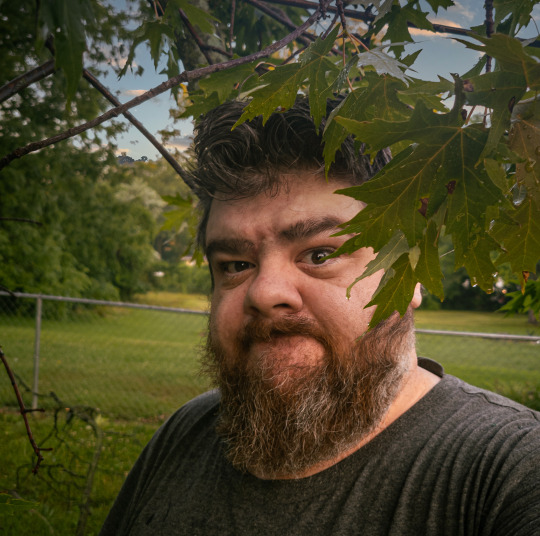
truthfully the iphone 4 camera was really a joy to use and i miss it.. the auto-processing on the new ones sucks so much ass.
#and the sony cybershot i got is very much. while cute. a low consumer grade point and shoot and the image quality is not very good and#basically only shoots autoprocessed jpegs.#i cant find a raw shooting setting on it
2 notes
·
View notes
Text
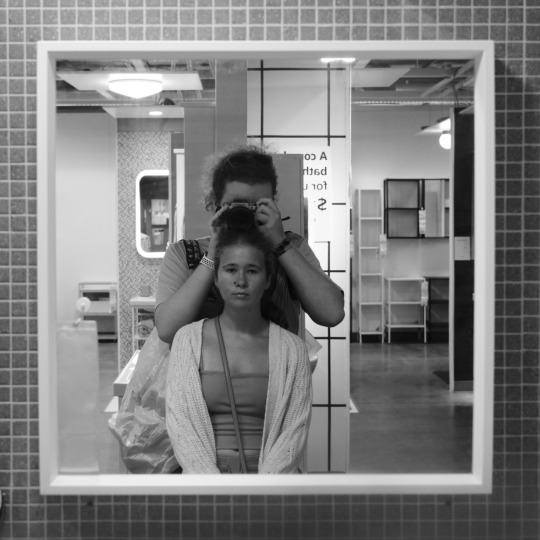


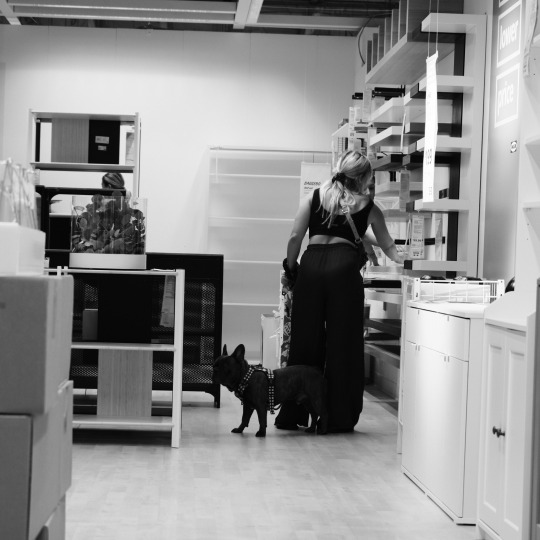
When you are too broke for an actual 6x6, Fuji’s JPEG engine comes in clutch. Actually really hype with how these came out. And of course you have to do a blåhaj themed shoot.
Side note that the one-two-three punch of Blue Beetle, the Good Omens finale, and then saying bye to my childhood best friend before moving was quite devastating. I’m glad a bought a blåhaj. Sometimes the stereotypes have it right.
#fujixseries#fujifilm#fuji xt4#fujifilm xt4#xt4#6x6#blahaj#ikea#trans#god I wish I had the a12 back 500c#I forget how good the Fuji jpeg engine is because I only ever shoot in raw. this shit is lowkey gas#still torn between the hp5+2 look and tmax but hey that’s an issue for another day#dog in da ikea#ikea dog
5 notes
·
View notes
Text


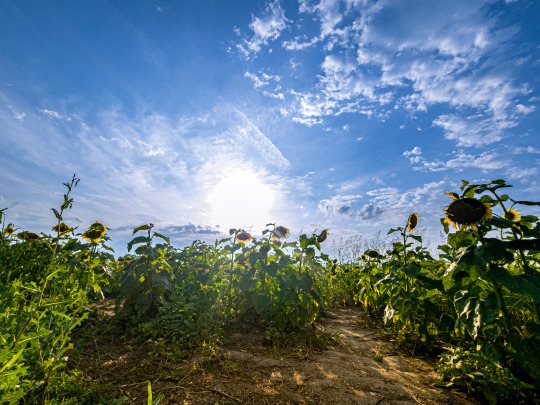

A while back on a post about a free photography course, a few people wondered if they could use their smartphone to practice.
And hopefully the above shows that you absolutely can.
Sometimes it takes a little post-processing to get good results, but that is the same with any camera. Though phone photos probably take me more than twice as long to achieve a finished product. Better cameras don't automatically make your photos better, but they do make getting good photos *easier*—especially in difficult lighting.
Many modern smartphones have a "RAW" photo mode with adjustable manual settings. Saving a RAW version of your photos allows you to continually learn and practice and return to those photos later on to re-process them with your improved experience.
A RAW capture has a lot more data than a compressed JPEG and gives you extra latitude in processing your photos. All of the editing done to a RAW file is saved in metadata instead of being baked into the pixels. So you can undo any individual change at any time without undoing changes made after that particular edit. And even if you save the file and close the program, you still have the power of undo when you open the file again.
With RAW you can more easily recover extra detail, lift dark shadows, bring back blown highlights, and restore color to blue skies that photographed pure white. (Often you can do that with a JPEG too, it just depends on the photo.)
The main downsides to JPEG editing are you can't non-destructively change the white balance after the fact, you have less dynamic range to alter shadows and highlights, and you can't make as many drastic edits before the image loses integrity.
A wise man once said, "The best camera is the one you have with you."
And a wise frog once said, "Shoot RAW and learn Lightroom because a human being can still outperform the algorithms of computational photography."
420 notes
·
View notes
Text
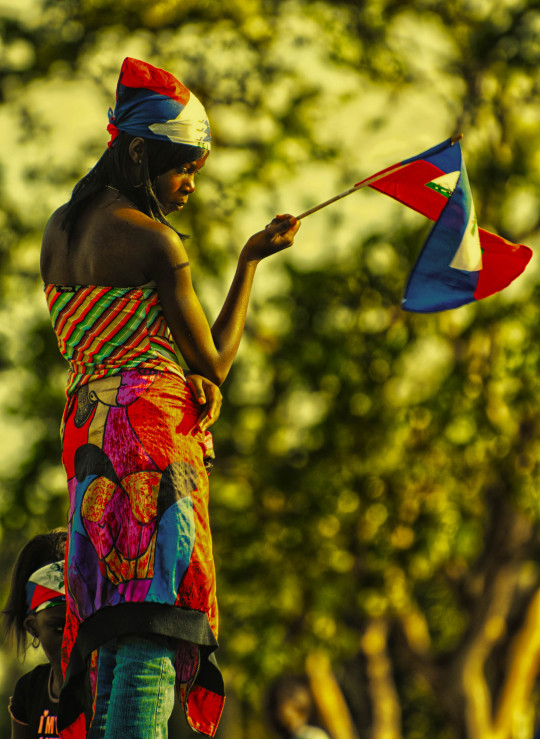
Another from my Father Jean Juste protest shoot in Downtown Miami. Jean Juste was, at that time, jailed in Haiti by a tyrant at the helm. One thing I learned about the Haitian people is they have determination far beyond the average Millenial (us old farts too!)
https://wp.me/pfXTa2-o2
All posts have 2 Downloads—JPEG only or a Zip with the JPEG & RAW file—except for Panoramas which only contain zips of the full-size JPEG.
This work and the other 870+ works on my site are Licensed under the Creative Commons Attribution 4.0 (CC BY)
#photography#Street Photography#Haitian Protest#protest#dissent#Miami#miami downtown#torch of friendship#Fr. Jean Juste#DxO NIK Collection#cc by
41 notes
·
View notes
Text


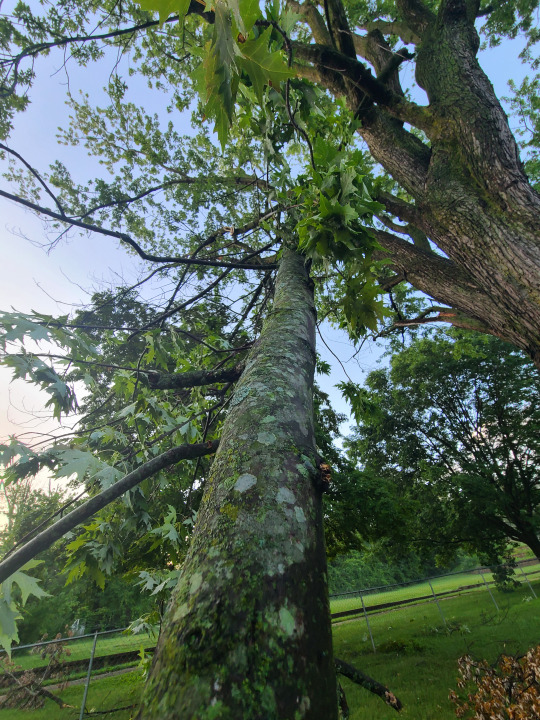
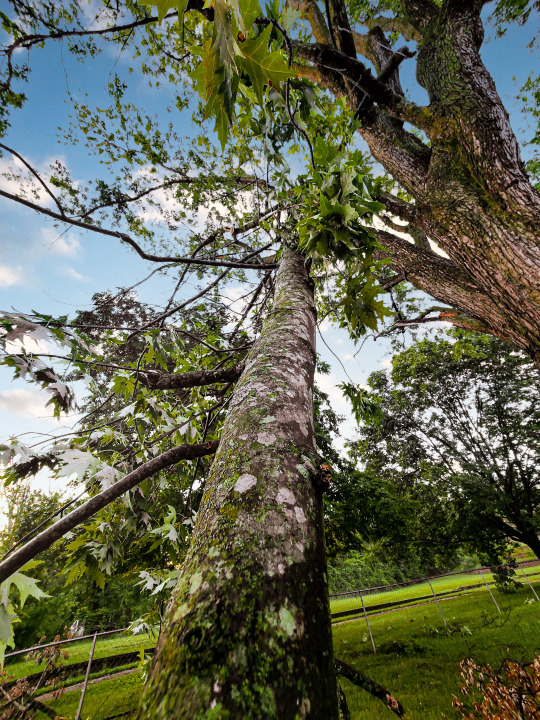
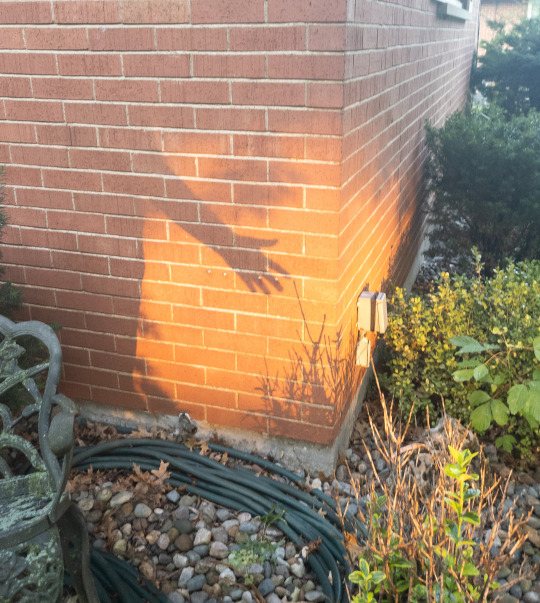
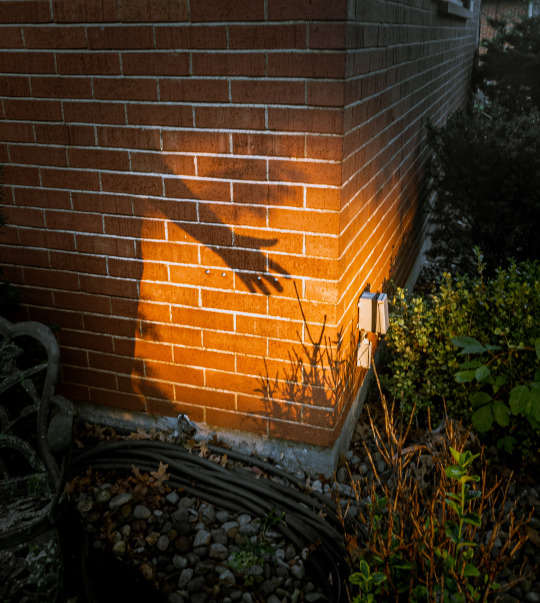
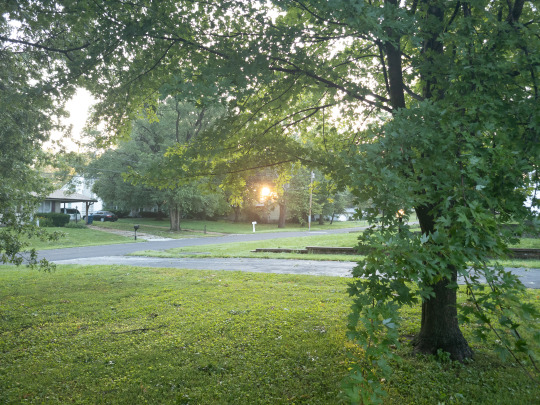
reminder to always shoot raw (2 was a jpeg because of my weird setup but that's beside the point)


#photography#nature#trees#nature photography#birding#bird photography#robin#american robin#nikon photography#lensblr#rain photography#rainyweather#rain
18 notes
·
View notes
Text
Should I be shooting my action shots in RAW? I mean, it would reduce an amount of the noise, but those files are HUGE and when you're shooting in high volumes and a demand for quick turnaround, I feel like its a time-waster. There's one performer that always asks me for her photos the very next day after a performance because she uses them as ads for her classes and its like... if shooting large jpeg is enough for the work I've been doing, it seems like larger files with longer time in post isn't going to benefit me all that much.
21 notes
·
View notes
Photo


Lightra 400 / Lightri-X 400 for Lightroom Presets
PayPal: $70 USD (payments accepted in USD only, not in Japanese yen.) After making the payment, please contact me via Instagram, Facebook DM, or email. I will send you a link to a private Google Drive folder.
I created original Lightroom presets—“Lightra 400” and “Lightri-X 400”—that let you easily give your smartphone or compact camera shots (JPEG or RAW) the look of Portra 400 or Tri-X 400, using the free Lightroom Mobile app. Of course, they also work with RAW files from cameras like FujiFilm and Nikon, not just JPEGs. I personally don’t use it, but they’re fully compatible with the desktop version of Lightroom and Photoshop Camera Raw as well.
These presets were carefully tuned to match the natural look of negative film that I scan at home, with attention to the finest details. They can also be used to preview how your shots might turn out before actually shooting on film.
Here’s how I use them: I take a photo with my iPhone, import it into Lightroom Mobile, apply the preset, and share it as-is—no further editing. I just copy the image and paste it directly into social media, without saving it to my camera roll, almost like posting a piece of text. If I want a more refined result, adjusting white balance, exposure, and contrast slightly is usually more than enough.
More details: https://shinnoguchiphotography.com/sale/shop/lightra400presets.html
Lightroomプリセット:Lightra 400 / Lightri-X 400
PayPay shinnoguchijp:10,000円、または銀行送金、PayPal: $70 USD(日本円ではなくUSドルのみ送金受け付けます。)送金後、InstagramやFacebookのDMまたはメールにてご連絡ください。グーグルドライブの非公開フォルダのURLをお送りします。また銀行送金や楽天ペイ送金が希望でしたらメッセージいただければ送金先情報をお伝えします。
iPhoneなどのスマホやコンパクトデジタルカメラで撮影したJPEGやRAW画像を、無料のLightroomモバイル版で手軽にPortra 400/Tri-X 400化する、オリジナルのLightroomプリセット「Lightra 400 / Lightri-X 400」を作成しました。もちろん、JPEGだけでなく、FujiFilm・NikonなどのRAWデータにも使用可能です。また、私は普段使用していませんが、PC版LightroomやCameraRawでも使用することができます。
自宅でスキャンしているネガフィルムの自然な仕上がりに合わせて、細部までこだわって調整したプリセットです。実際にフィルムで撮影する前の仕上がり確認用としても活用できます。
私の使い方は、iPhoneで撮影したらLightroomモバイル版に読み込んでプリセットを適用し、編集せずにそのまま共有するというシンプルなもの。写真をコピーして、カメラロールに保存せず、そのままソーシャルメディアにテキスト感覚で貼り付けてシェアするだけ。しっかりと追い込みたい場合は、ホワイトバランスと露出、コントラストを調整する程度で十分です。
詳細はnoteに https://note.com/shinnoguchi/n/nf3ec231ada53
8 notes
·
View notes
Text
Yvette Heiser - Enhance Your Photography with These Pro-Level Photo Editing Techniques
Photography is more than just capturing a moment—it’s about storytelling, emotion, and creativity. However, even the most well-composed shots can benefit from post-processing. Yvette Heiser Painting with Pixels: A Guide to Advanced Photo Editing Techniques explores how professional editing can elevate an ordinary image into a visually stunning masterpiece. Whether you're a beginner or an experienced photographer, mastering these pro-level editing skills will help you refine your photos and bring out their full potential.

1. Start with RAW Editing for Maximum Control
Shooting in RAW format instead of JPEG gives you more flexibility during editing. RAW files retain all the image data, allowing you to adjust exposure, color, and details without losing quality. Most professional photographers use software like Adobe Lightroom, Capture One, or Photoshop to process RAW images.
Quick Tip:
Adjust the white balance first to ensure accurate colors before making other edits.
2. Perfect the Exposure and Contrast
Even with careful shooting, exposure may need fine-tuning. Adjusting brightness, highlights, and shadows can balance an image and add depth. Contrast adjustments help differentiate between light and dark areas, making your photos pop.
Pro Tip:
Use the histogram in your editing software to ensure a well-balanced exposure without losing details in highlights or shadows.
3. Enhance Colors with Precision
Color correction and grading can completely transform the mood of an image. HSL (Hue, Saturation, and Luminance) adjustments allow you to control specific colors, making them richer or more subdued.
Best Practices:
Use split toning to add artistic color effects to highlights and shadows.
Adjust the vibrance instead of saturation for a more natural color boost.
4. Sharpen and Add Clarity for Crisp Details
Clarity and sharpness adjustments enhance textures and bring out intricate details, making your subject stand out. However, excessive sharpening can create an unnatural look, so it’s essential to find the right balance.
Quick Tip:
Use the "masking" feature in Lightroom when sharpening to apply it selectively, avoiding unnecessary noise in smooth areas like skies.
5. Remove Unwanted Elements with Retouching
Even the best photos may have distractions, such as dust spots, stray hairs, or background clutter. Tools like Clone Stamp, Healing Brush, and Content-Aware Fill in Photoshop can seamlessly remove unwanted elements without affecting the overall quality.
Pro Tip:
Use a low-opacity healing brush for subtle and natural-looking touch-ups.
6. Apply Dodging and Burning for Depth
Dodging (lightening) and burning (darkening) are classic darkroom techniques adapted to digital editing. These adjustments help shape the lighting in an image, drawing attention to important areas while adding dimension.
How to Use It:
Dodge the highlights on faces to create a soft glow.
Burn background elements to add depth and guide the viewer’s focus.
7. Use Gradient and Radial Filters for Dramatic Effects
Filters like gradients and radial adjustments help enhance specific parts of an image while keeping the rest untouched. These are particularly useful for improving skies, adding vignettes, or drawing focus to the subject.
Best Use Cases:
Apply a linear gradient to darken overexposed skies naturally.
Use a radial filter to subtly brighten the subject while keeping the edges darker.
8. Final Touch: Add a Signature Style with Presets and LUTs
Professional photographers often develop a signature look using presets (Lightroom) or LUTs (Look-Up Tables for video and photo editing). These tools speed up editing by applying predefined color and tone adjustments.
Pro Tip:
Customize presets to fit each image rather than applying them universally.
Final Thoughts
Editing is an essential part of modern photography, allowing you to refine your images and bring out their full artistic potential. Yvette Heiser, investigating the Transformative Power of Photography, highlights how post-processing can turn ordinary shots into breathtaking visual narratives. By mastering these professional-level editing techniques, you can transform your raw captures into visually stunning works of art. Whether you’re adjusting colors, enhancing sharpness, or removing distractions, the key is to maintain a natural and polished look.
Experiment with these tips and elevate your photography to the next level! Would you like any additional insights or software recommendations?
#wedding#camera#moments#pictures#childphotography#photographer#photography#yvette heiser#photographytips#events
10 notes
·
View notes
Text
notes from photographing my first pro hockey match
bring a spare battery for the love of god
consider shooting in RAW — JPEG is ok, and definitely better for high volume shooting, but the trade-off is more time spent fiddling around with editing
find some higher capacity SD cards soon so we can stop worrying about running out of storage mid-game
everyone says no chimping BUT that might have helped in the first 5 minutes where shutter speed was way too high and the photos came out super dark. check early photos for quality control
auto ISO is my friend and I love her <3
zoom lens was really really good. consider bringing other lens for closer action, especially when stuff happens in the corners!!
arrive earlier to get a good spot to camp
find a way to get near the door at the end of the match and maybe get photos of the team walking out?
more: goalie photos, action shots, crowds, cellys, scrums
bring snackies <3
15 notes
·
View notes
Text
LensCraft Mastery: Elevate Your Photography Skills to the Next Level

Photography is more than just pressing a button; it’s an art, a science, and a means of storytelling. LensCraft Mastery is a comprehensive guide designed to help photographers—whether beginners or seasoned professionals—unlock their full creative potential. This tutorial series delves into the intricate aspects of photography, from mastering the fundamentals of exposure and composition to exploring advanced techniques in lighting, post-processing, and storytelling through imagery.
Why LensCraft Mastery?
The name LensCraft Mastery symbolizes the fusion of technical expertise (Lens) with artistic craftsmanship (Craft). Photography is both a technical discipline and an expressive medium, requiring a balance between understanding camera mechanics and developing an artistic vision. This tutorial series aims to bridge that gap by offering structured, easy-to-follow lessons that cater to all levels of experience.
1. Mastering the Basics of Photography
For those new to photography, LensCraft Mastery begins with the fundamental concepts that form the backbone of great photography:
Exposure Triangle: The Key to Perfectly Lit Photos
Aperture: Understanding how f-stops affect depth of field and light intake.
Shutter Speed: Capturing motion creatively, from freezing action to long exposures.
ISO: Controlling sensor sensitivity for optimal brightness without excessive noise.
Composition Techniques: Crafting Visually Stunning Images
Rule of Thirds: Placing subjects strategically for balanced compositions.
Leading Lines: Drawing the viewer’s eye to the subject.
Framing & Negative Space: Enhancing depth and focus in a photograph.
2. Advanced Photography Techniques
Once the basics are mastered, LensCraft Mastery delves into techniques that can take your photography to a professional level.
Understanding Light & Shadows
The role of natural light vs. artificial lighting in photography.
How to use soft light for flattering portraits and harsh light for dramatic effects.
Mastering golden hour and blue hour photography.
Camera Settings & Manual Mode
How to use manual focus for precision.
Customizing white balance for accurate color reproduction.
Shooting in RAW vs. JPEG and when to use each format.
3. Specialized Photography Genres
Photography is a vast field, and LensCraft Mastery explores different genres, allowing photographers to find their niche.
Portrait Photography
How to pose subjects naturally for candid and professional shots.
Best lenses for portrait photography (prime vs. zoom).
Background blur (bokeh) techniques for dreamy aesthetics.
Landscape Photography
Composition techniques for breathtaking vistas.
Use of ND (neutral density) filters for long exposures.
How to capture the perfect sunrise and sunset.
Street Photography
Capturing the essence of everyday life.
Ethical considerations in photographing strangers.
How to blend into the scene for natural compositions.
Wildlife & Macro Photography
Tips for photographing animals in motion.
Choosing the best gear for close-up macro shots.
Patience and planning for capturing rare moments.
4. The Power of Post-Processing
A great photo doesn’t always end with the camera—post-processing is essential for refining images. LensCraft Mastery provides in-depth tutorials on:
Adobe Lightroom & Photoshop Editing
Adjusting exposure, contrast, and white balance for balanced images.
Retouching techniques for portraits and landscapes.
Removing unwanted elements and enhancing details.
Mobile Editing for On-the-Go Photography
Best apps for editing (Snapseed, VSCO, Lightroom Mobile).
Color grading techniques for a unique aesthetic.
Quick retouching methods for social media-ready images.
5. Developing a Photographer’s Mindset
Photography is more than just technical skill—it requires creativity, patience, and an eye for detail. LensCraft Mastery helps photographers develop a storytelling approach, teaching how to:
Capture emotions and narratives within a single frame.
Use minimalism and abstract photography to create intriguing images.
Experiment with angles and perspectives to bring a fresh outlook to everyday scenes.
6. Monetizing Your Photography Skills
For those looking to turn their passion into a profession, LensCraft Mastery includes insights on:
How to start a photography business and build a portfolio.
Selling photos online (stock photography, prints, NFTs).
Social media strategies to grow an audience and attract clients.
Final Thoughts
Whether you’re just starting or looking to refine your craft, LensCraft Mastery offers a structured, engaging, and practical way to enhance your photography skills. By blending technical knowledge, artistic creativity, and real-world applications, this tutorial series is designed to empower photographers at every stage of their journey.
Start mastering your craft today and turn your vision into reality—one frame at a time. 📸✨
2 notes
·
View notes
Note
What format do you recommend I save photographs in? Like raw or jpeg? I don't know the difference.
so it depends on what you wanna do with your photo!
if you want to post it right away, you want a jpg; raw files aren't web-ready and can't be viewed by various devices easily.
if you want to take a bazillion photos and keep all of them too look at regularly on your phone, you want a jpg; raw files are much, much bigger sized files and will fill up your storage way more quickly, and they don't actually look good out of the box.
if you like to post-process your photos on your phone or computer, you might prefer raw; jpg files contain only a fraction of the image data that a raw file does (hence the size difference) and it's much harder to adjust them in ways that look and feel like professional photography.
however: processing a raw file is not optional - you can't use it till it's processed, and processing them is a skill you'll need to give yourself time to practice. They also can require specific software to process them; famously lightroom and photoshop are the industry standards, and they're pretty $$$, but I bet folks can drop some cheaper options in the notes!
I never shoot only raw, personally, because I love to share photos with friends ASAP, but sometimes I do shoot jpeg & raw together. If you have never tried out shooting and processing raw photos before, this is my recommendation.
Also, shooting raw is great but it's super not necessary to do if you don't want to process all your images by hand. There's a bazillion reasons to take photos different ways, and "convenience" and "speed" are really good ones.
but also: post processing can be fun as heck. try it out! see what you think!
8 notes
·
View notes
Text
i think shooting and uploading jpegs without editing is fiiine especially because the magic camera processing these days is bananas but even so imho everything needs its raw counterpart. i mean imagine you shoot the shot of a lifetime and all you have of is it the post processed compressed file. and then to make matters worse what if you want to bring out the shadows somewhat to perfect it? nightmare scenario for me. shoot raw+jpeg. you can always delete them later..
7 notes
·
View notes
Text


More from my Canon Powershot G2. I love this digicam! This camera is over 20 years old and it takes the most amazing photos. The colors look amazing, I shot before in RAW but didn’t like the colors, so I mostly shoot in JPEG now. I do edit them in my own way still, but the colors still pop like film.

#photography#canon photography#flint michigan#street photography#photography by#canon powershot#canon powershot g2#midwest#film edit#colors#digicam#vintage camera#film look
20 notes
·
View notes
Text


I was tasked to photograph buildings and encouraged to play around with how to present it. My city has plenty of looooong strip malls and I wanted to show how (almost comedically) long they were. But how? I can't fit it in the frame. I landed on this idea: shoot with a prime lens, photograph different sections of the building from a consistent distance, and look out for parking lot traffic. Sloppily stitch them together in google slides. It's an assignment not a print so I didn't worry at all about the polish of the editing, just enough to translate my idea into imagery.
If I could do it again I would
Use a different lens. My 35mm prime is really fun to shoot on. Probably my favorite lens. It has so much character and imperfections. Which is precisely why I should've gone with the 50mm. There is no vignetting, images are crisp and professional and I know exactly how images will turn out. No "character" of the lens coming out to play. Just my view.
Shoot in RAW. I shot in jpeg because I wanted to get it right in camera. They turned out too blue (shot at 8pm), and too underexposed for my liking. Even if I am confident in how I'm shooting, the RAWs are a nice backup. It's 2024. I can use the tech to support my goals, but it should not supplement my technique.
Give myself more time to shoot. I hate to admit it, but I left the assignment on the table until the last opportunity. While shooting, I wish I had more time before it got too dark. I felt rushed. I had ideas how to improve already, but I couldn't go back to improve those old shots. I could only apply it moving forward, like omitting distracting elements like cars or pedestrians.
Use a tripod. I could line the photos up pretty well in post, but I think having a tripod would enhance the realism of these long buildings. My shots would more consistent in framing, leading to a more surreal final image after stitching.
My idea was inspired by a photo by Chris De Bode, Exodus from Libya, featured in Aperture no. 214. The repetition makes it hard for me to find a beginning and an end. It's subjects chaotic while setting is sound and structured. Both of those elements bring the peoples' voice to the front "We are being exiled by our country. We have no choice but to leave." My photographs aim to hear the voice of these buildings. What do they say to you?
3 notes
·
View notes
Text
i dont know when i would ever be able to get an upgrade from my current camera but something that shoots in raw would be nice. im swimming in jpegs over here.
#mine#im lucky to even have this one bc it was free from a family member that hadnt used it in years#i dont need something crazy bc that would be wasted potential but at least that and a liiittle bit faster focus/better tracking?#i think thats my issue at least. if thats not the proper term for it well whatever
2 notes
·
View notes
Note
I really love all your infrared photography and it honestly makes me want to do some myself, but I don't know the first thing about photography hardware -- what sort of specialist hardware (or software?) do you use for it?
So glad you like my photography! Thank you!
I’d recommend checking out Rob Shea’s Introduction to Infrared Photography. I learned a ton from him & he has a ton of videos on IR photography.
Infrared photography does require some special equipment. I’m gonna talk about digital cameras here, but you can also shoot infrared on film.
First things first you’ll need a camera. I’d recommend a mirrorless camera as DSLRs tend to be trickier to do IR with but any camera will do as long as it shoots RAW. It’s possible to shoot jpeg infrared stuff, but I wouldn’t recommend it. You’ll need to do a decent amount of editing (more on this later) so RAW is the way to go.
Digital cameras have an IR cut filter over the sensor that blocks out almost all IR light. So, you need to adjust what the camera can see before you can shoot IR like you’ve seen here. There’s two ways to do that.
1. Get a filter. The most common one around is the Hoya R72 filter. It goes on the front of your camera’s lens and blocks out most visible light, leaving infrared light.
Since you’re blocking out most light and the camera’s IR cut filter is blocking most IR light, you’re gonna need to use a really long shutter speed when using this filter. You’ll need a tripod to do this properly and the subjects you can shoot will be limited due to the long shutter speeds.
I really do mean long shutter speeds btw. If you were gonna take a shot at 1/250th shutter speed without the Hoya R72 filter, you’ll need to use a 1 second shutter speed with it on. You ain’t hand holding that 😅
This filter route is definitely the cheapest option though. Easily under $100 and you can go shoot IR with any camera. It’s not how I shoot IR tho, I use:
2. Get your camera converted to infrared. There are companies that will take your camera, tear it down, and remove the IR cut filter from your camera’s sensor. This is a permanent modification of your camera and involves some risk. It’s also kinda pricey. Depending on your camera, it’s between $300 and $500 to convert a camera. Two companies do this in the US, Kolari Vision and Life Pixel. I’ve used cameras converted by both companies and they’ve been awesome.
A converted camera has one huge advantage: it sees way more infrared light. That means you can use faster shutter speeds and you don’t need a tripod. It’s a lot more fun and opens up all kinds of possibilities.
There’s a lot more to infrared hardware but I’ll leave it there. Happy to talk about lenses and the different types of conversions if you’re interested. For now, let’s talk about editing.
I use Lightroom for most of my editing, but like all editors, it’s designed for editing photos taken in visible light. That means the adjustments you can make to the white balance you can set in Lightroom isn’t enough to properly display an IR photo.
So, you need special profiles just for IR to adjust the white balance beyond what it can usually be set to. Rob Shea has them available for just about every camera. After that, you can edit as normal. But with wacky colors.
You can use a similar trick with special profiles to swap colors around. That technique is called False Color and I use it all the time!
Soooo yeah, is there special equipment? Yes. Special software? Kinda. A lot to learn? Absolutely.
I hope this was helpful!
15 notes
·
View notes