
30s • Mom/Wife • Personal Platonic Loneliness • Just a place for the things.
Don't wanna be here? Send us removal request.
Statistics
We looked inside some of the posts by claraweems and here's what we found interesting.
Average Info
Notes Per Post
325K
Likes Per Post
196K
Reblog Per Post
129K
Reply Per Post
113
Time Between Posts
6 days
Number of Posts By Type
Text
16
Note
1
Last Seen Tumblr Blogs


Fun Fact
Tumblr is available in 18 languages.
Text
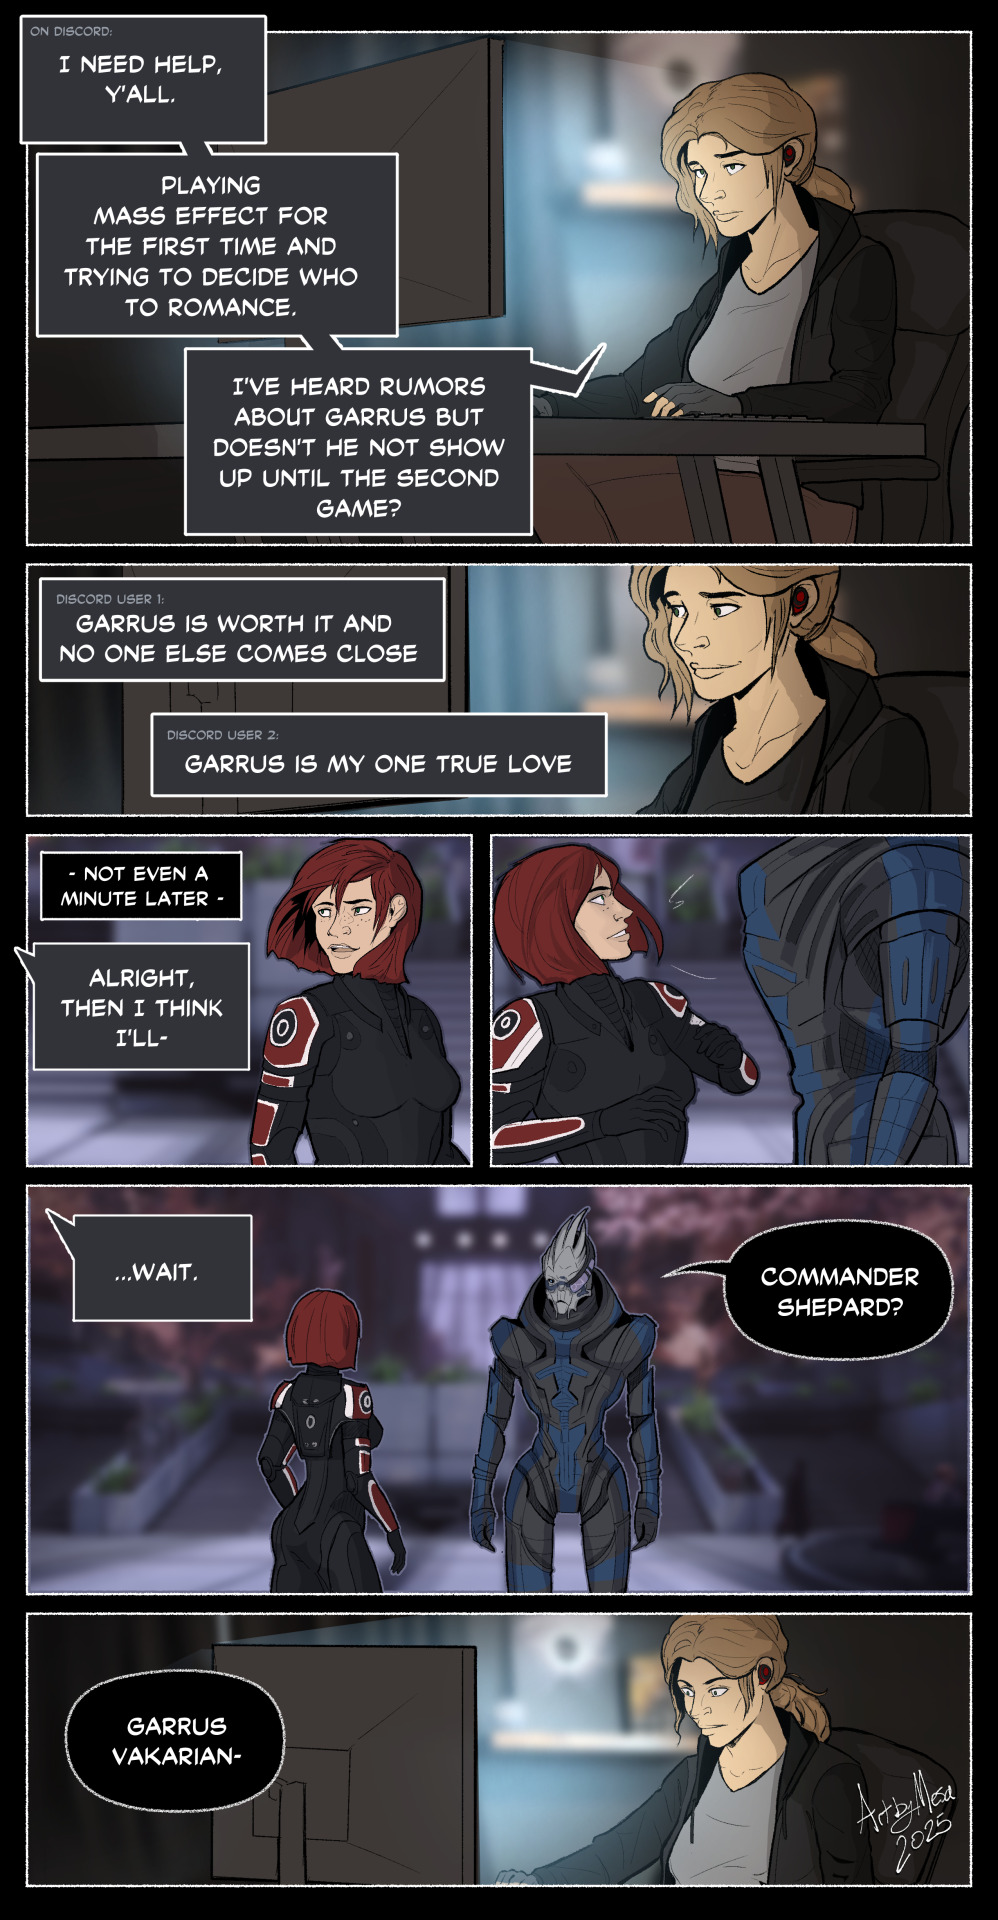
Sorry Shepard that was my bad. I didn't mean to embarrass you in front of your future husband stumbling into him like that.
#Mass Effect#shakarian#Mass Effect 1#garrus x femshep#Garrus#garrus romance#shepard x garrus#garrus vakarian#commander shepard#other peoples art#i love this!!!
824 notes
·
View notes
Text
Kenji and Shiro-san Book 10
Hiya All (。◕‿◕。) Today's new release is book 10 of Kenji and Shiro-san which is the Dj series for What did you eat Yesterday by Fumi Yoshinaga. This is our joint project with the awesome Ikemen Scans. Make sure to give them thanks and check out all of the other projects they work on~! Kenji and Shiro-san Book 10: (Media Fire) (MEGA) Enjoy the new release and Happy Reading~!
46 notes
·
View notes
Text
yuri and yaoi are some of the best, most sacred things in the entire world
95K notes
·
View notes
Text
Thedas history books will write them as "good friends".
#dragon age#dragon age inquisition#dragon age veilguard#dragon age the veilguard#dorian pavus#veilguard spoilers#dragon age inquisitor#inquisitor x dorian#pavellan
828 notes
·
View notes
Text

🗣️ pay ‼️🗣️ attention ‼️🗣️ to ‼️🗣️ him ‼️
3K notes
·
View notes
Text
BELLARA LUTARE ↳ Dragon Age: The Veilguard (2024)
4K notes
·
View notes
Note
For the character ask, WDYEY Gilbert
You're right, bestie. I don't talk about him that often when I talk about the show. Let's talk about Wataru.
How I feel about this character

I love this spoiled little man. I love everything about his character. I love his deep must trust of families. I love that he has no interest in straight culture at all. I love that he's always dressed for maximum comfort, despite making sure to maintain a certain level of fitness. I love that he's always being a dick to Shiro, even if he's secretly in love with his food.
All the people I ship romantically with this character

Just Kohinata. No one else needs to deal with that man's shit.
My non-romantic OTP for this character

Kenji. Mean twinks need older former twinks to keep them in check.
My unpopular opinion about this character

He's actually a decent friend. I really like that he's one of the main ones encouraging them to develop holiday traditions together, and I like that he seems to be the one who picked the regular bar they meet up at for dinner and drinks. He's also quick to give Shiro shit, which that man needs.
One thing I wish would happen / had happened with this character in canon.

I want to see him meet Kayoko and hold Baby Goro.
27 notes
·
View notes
Text

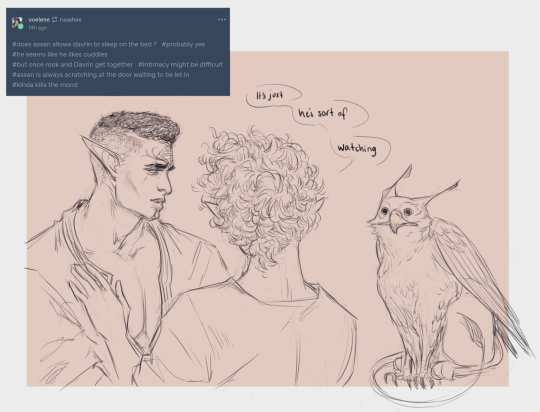
Wait... is that a bird?

A bat?!

No! Wait! That's--!!
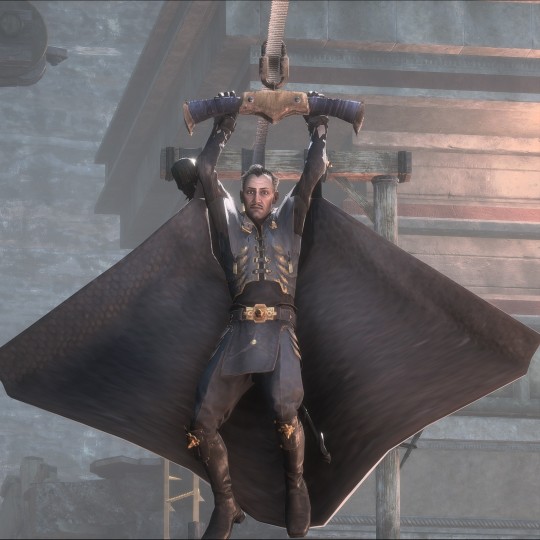
PROFESSOR VOLKARIN?!
406 notes
·
View notes
Text
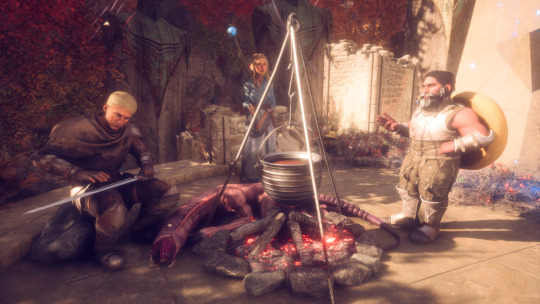
Dungeon Meshi reference in Dragon Age: The Veilguard!!
The dwarf has the cheese wheel shield from Inquisition, I love this sm. What a fun little nod.
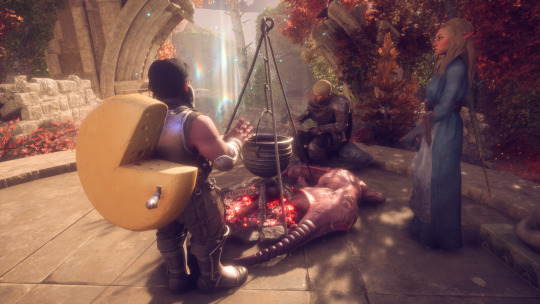
#chil could have used the child model from previous games#this is hilarious!#dungeon meshi#delicious in dungeon#dragon age the veilguard#easter egg
2K notes
·
View notes
Text

poor baby sad baby :(
5K notes
·
View notes
Text
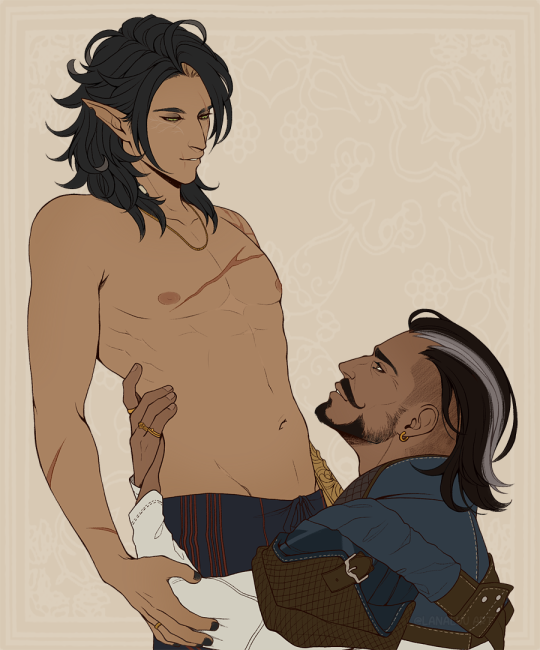
Hear me out, if Dorian Pavus apprenticed under Emmrich in Nevarra in his teens, he probably not only picked up fom hin not just spells, but also the love for facial hair.
Imagine, of you will, baby gay Dorian with a massive crush on his necromancy professor, who not only knows all there is to know about the death, he's also soft spoken, erudite and openly bisexual, coming back to Tevinter with the first wisps of his signature mustache, and a new need to be himself openly. No wonder he'd rebelled and gone off the rails.
Also, imagine Felix seeing him for the first time and making fun of his mustache, and Dorian defending it because it looked so good on Emmrich.
2K notes
·
View notes
Text
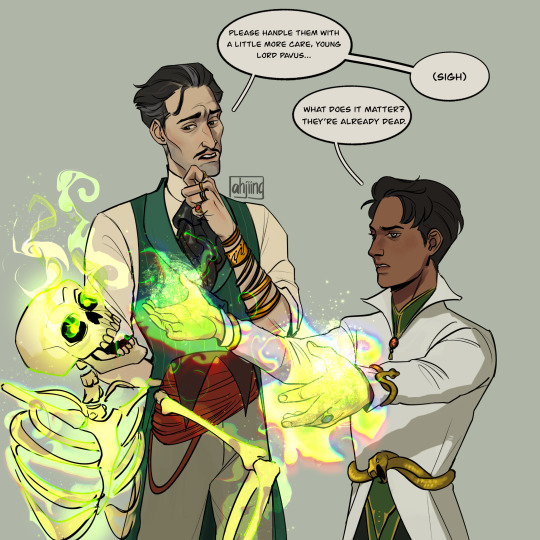
Heard a convo between Emmrich and Harding about teaching Dorian in the Necropolis 😩 Said he had ‘tremendous potential, but appallingly flippant towards the dead!’
8K notes
·
View notes
Text
i dont consider myself a 'fashion guru' by any means but one thing i will say is guys you dont need to know the specific brand an item you like is - you need to know what the item is called. very rarely does a brand matter, but knowing that pair of pants is called 'cargo' vs 'boot cut' or the names of dress styles is going to help you find clothes you like WAAAYYYY faster than brand shopping
186K notes
·
View notes
Text

A cozy evening. Some pre-Veilguard timeline snuggles.
2K notes
·
View notes
Text

Bahaha this was given to me as a surprise and I can’t quit laughing 😂
Emmy: *accidentally casts stinking cloud*
Gale: *sniffs the baby’s butt thinking it’s her*
Emmy: *Tries to save the baby* “NO TIME TO EXPLAIN, HAND ME THE BABY”
Gale: ��Wait, was it you…?”
Emmy: “I SAID NO TIME TO EXPLAIN” 😂
(Artist is Top-Librarian from Reddit)
#bg3#baldurs gate 3#gale dekarios#gale of waterdeep#gale x tav#bg3 art#wizard of waterdeep#dad Gale#lol!
19 notes
·
View notes
