davidayer
11K posts
userdorff ‖ gifmaker ‖ also @stephendorff
Don't wanna be here? Send us removal request.
Text
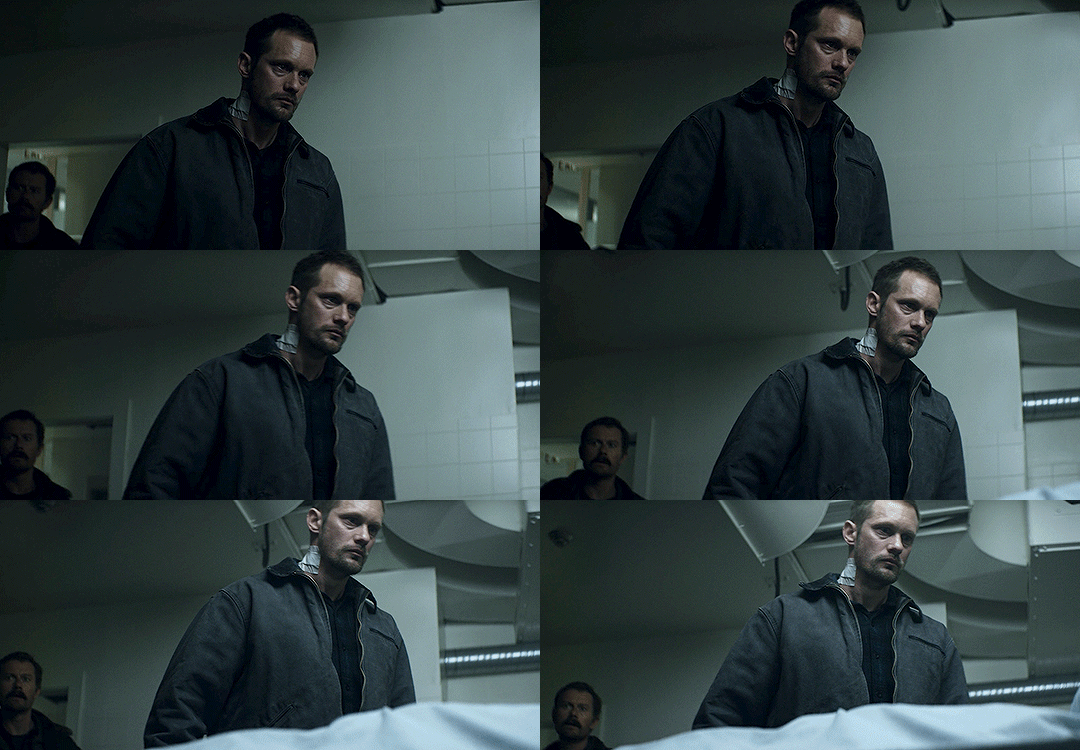

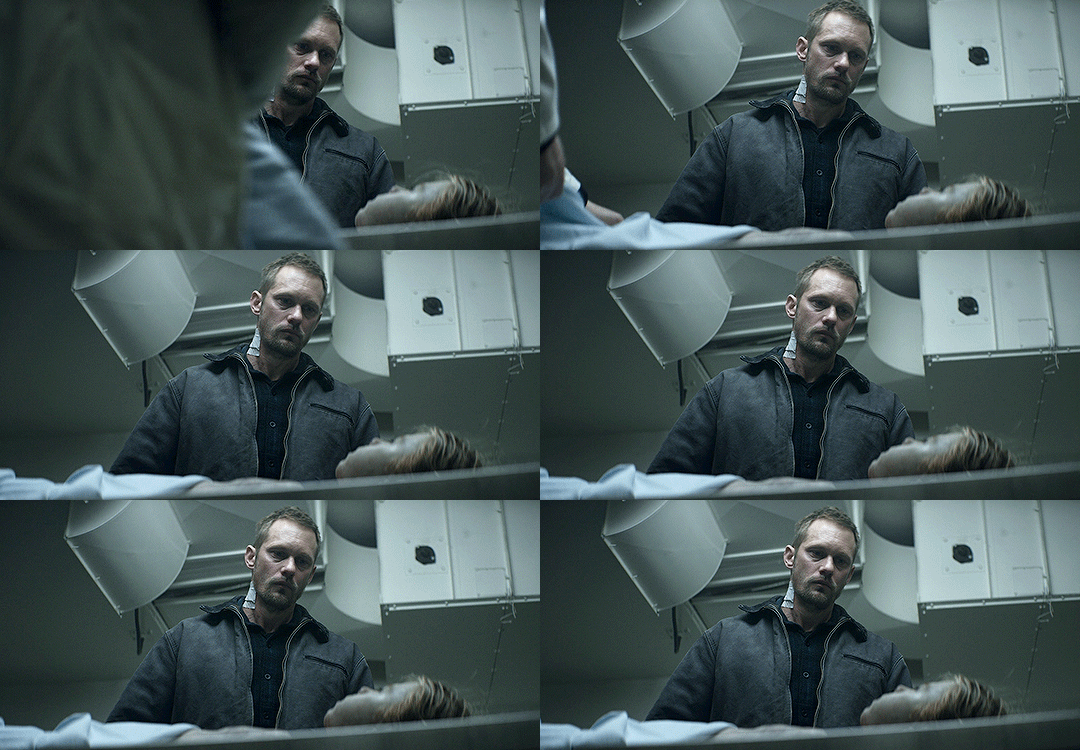
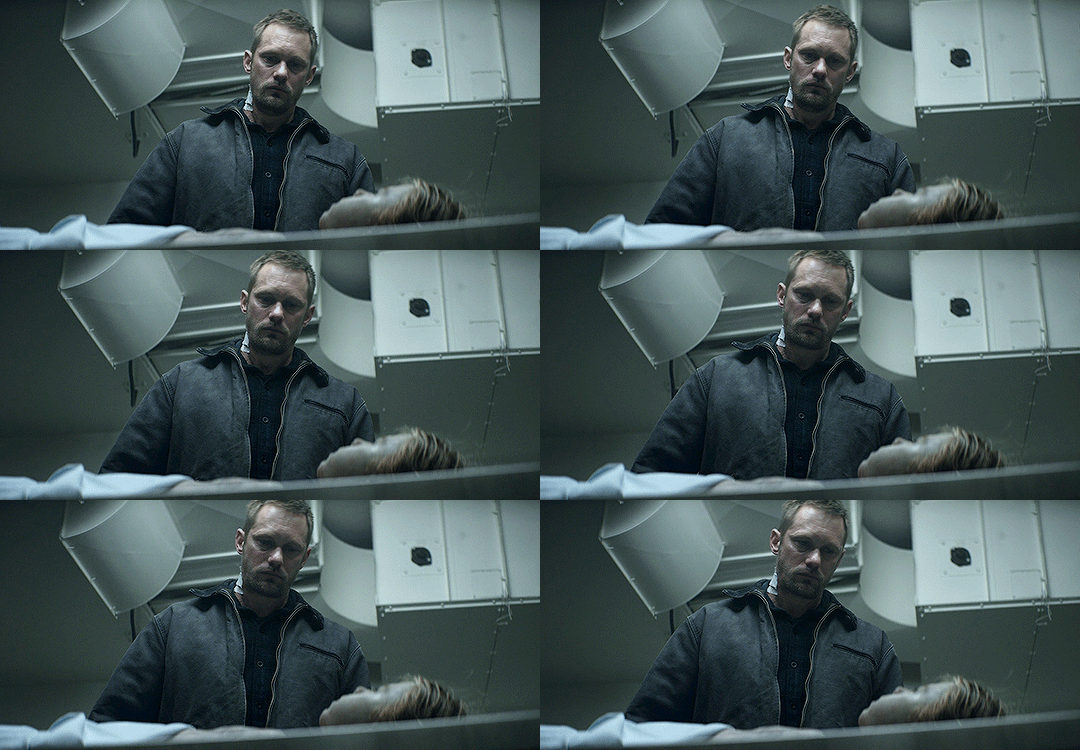
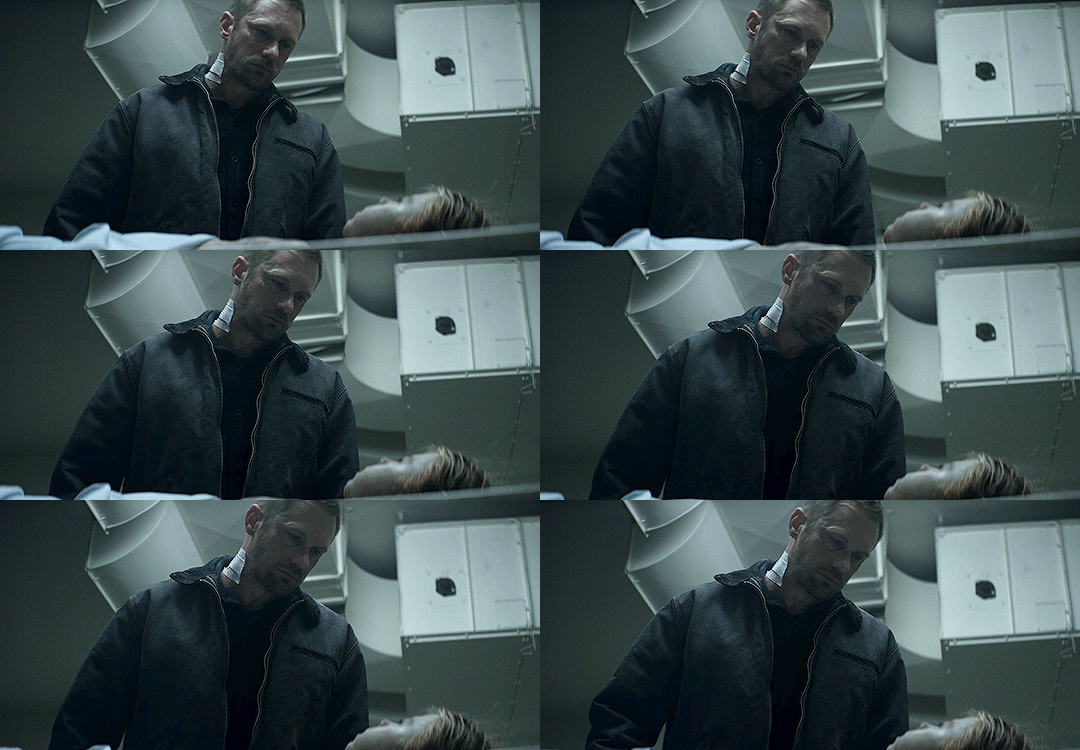
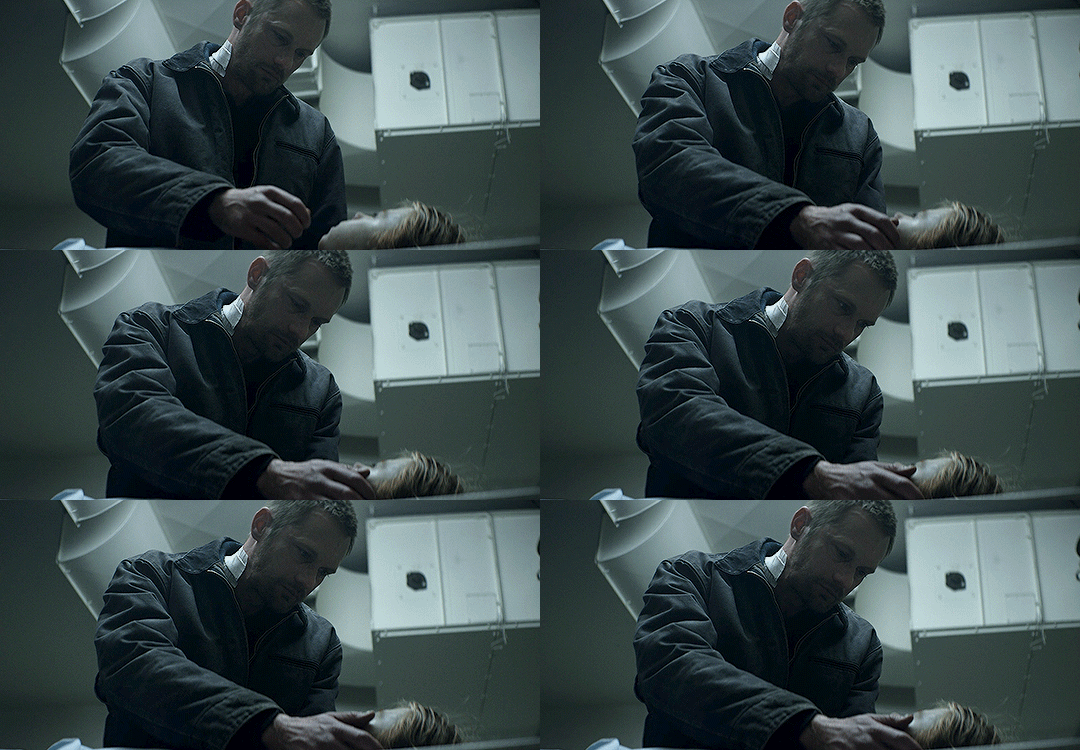
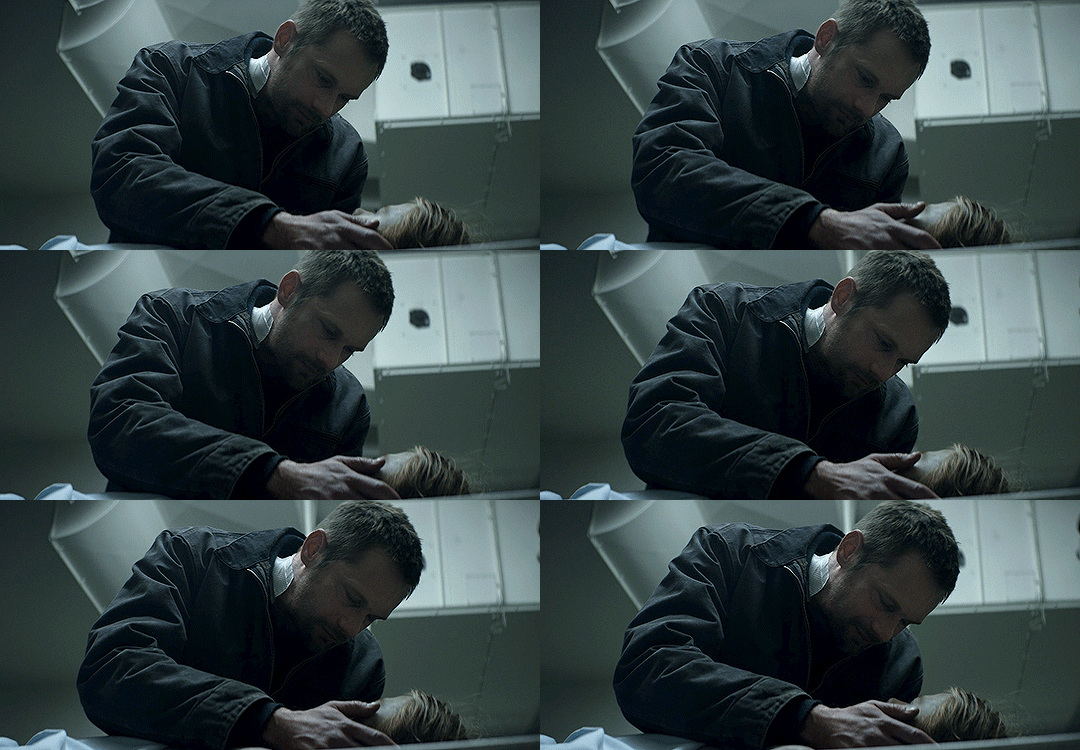
Alexander Skarsgård as Vernon Slone ↳ Hold The Dark (2018)
0 notes
Note
hi!
you know, I scrolled through your gif sets, as one does, and asked myself: how did they get into making gifs?
so, if you don't mind sharing... how did you get into making gifs? what do you like about it? do you remember your first gifs? anything you'd do differently now?
thanks :)

Omg, Daphne! Thank you for sending in these lovely questions 🥺💕
Well, where do I start? I'm not sure what prompted it, I think it was being part of the RPC and being in awe of the edits and gifs people were making for their characters & blog. It had me thinking ' how are users making these? '
When I find something interesting, it's hard for me to let it go. So I did what I consider a "deep dive" on Tumblr on how to get photoshop and finding / trying gif tutorials that made sense to me.
I think my first gifs were of Luke Evans, since he was my FC at the time, and my gifs were mainly RPC based. I looked through my archives and THIS was the first gifset that I could find that was movie based. It's a Atomic Blonde & John Wick parallel set (LOL). I honestly thought my gifs of Nick Jakob of Netflix's Bright were my first movie gifs, but I guess my memory is wrong.
I love gifmaking because I find it to be a very zen-like hobby and I adore staring at lovely images. Very zen. It's focused based and you can keep it simple (which I mainly do) or you can go over-the-top and super fancy with them. The creativity that you can put into them is endless and only hindered by the mb limit, haha
Someday, I would like to be a bit more on the fancy side for my gifs, but that requires a lot of PS knowledge and time, which I'm short in both. So, in the meantime, I love looking at images and will be keeping my gifs simple and continue to work on scenes and people that I want to stare at.
Thank you again for these questions and giving my a chance to ramble on about my favorite hobby ✨❤
0 notes
Text
Callan played so many intimidating but handsome Villains these years and I just thought it might be a good idea to put them together.
I picked a small part of 'Bad Guy' as bgm( the rhythm just kills me every time), making some fast transition to match the pace of music which is something I always love doing.
It took longer than i thought to do every bit of editing and i couldn't find the right color for it so i just let it be.
112 notes
·
View notes
Text


You can tell when Alexander Skarsgård is having the time of his life shooting some scenes, and this is one of them from Apple TV+'s ‘Murderbot.’ It’s also proof after he told Collider at their private screening a couple of weeks ago:
Steven Weintraub (Collider): So, you all see the shooting schedule. What day do you have circled in terms of, “I can't wait to film this,” and what day is circled in terms of, “How the F are we going to film this?”
PAUL WEITZ: Alexander, can't wait is like the nude scenes?
SKARSG��RD: [Laughs] Yeah. Just technically, how do we make this work? No. The Sanctuary Moon stuff was incredible because it was also so tonally different from the rest of the show. Also, playing a character who's so restrained, it was fun to, for one day, go really big and silly. Because again, in Episode 4, when Murderbot is hallucinating that it's on the show, it was an opportunity to do something that's kind of uncharacteristic, and that was a lot of fun. And obviously, working with Jack [McBrayer] and having that moment was incredibly fun.
Alex’s wig was from hair stylist Natalie Nelson. (@hairbynatalienelson) In an article with Awards Radar, the look was as “Outer Space Elvis."
AppleTV/my screen caps from episode 4, “Escape Velocity Protocol.”
Also pictured: NomaDumezweni as Dr. Mensah
71 notes
·
View notes
Text

Currently freaking out over this promo image that Apple released for episode 6. Murderbot on the ground and connected with the hopper? Mensah sitting next to it with a super worried face? SecUnit's head propped up with a makeshift pillow that I'd bet 1,000 dollars Menash put there. I AM EXCITED.
(image source)
113 notes
·
View notes
Text
Alexander Skarsgård at an event in Stockholm tonight (May 27, 2025) for Cartier
videos combined from @prestigesg and @mrarnaut.
Thanks to Soph on Delish for the finds
71 notes
·
View notes
Photo
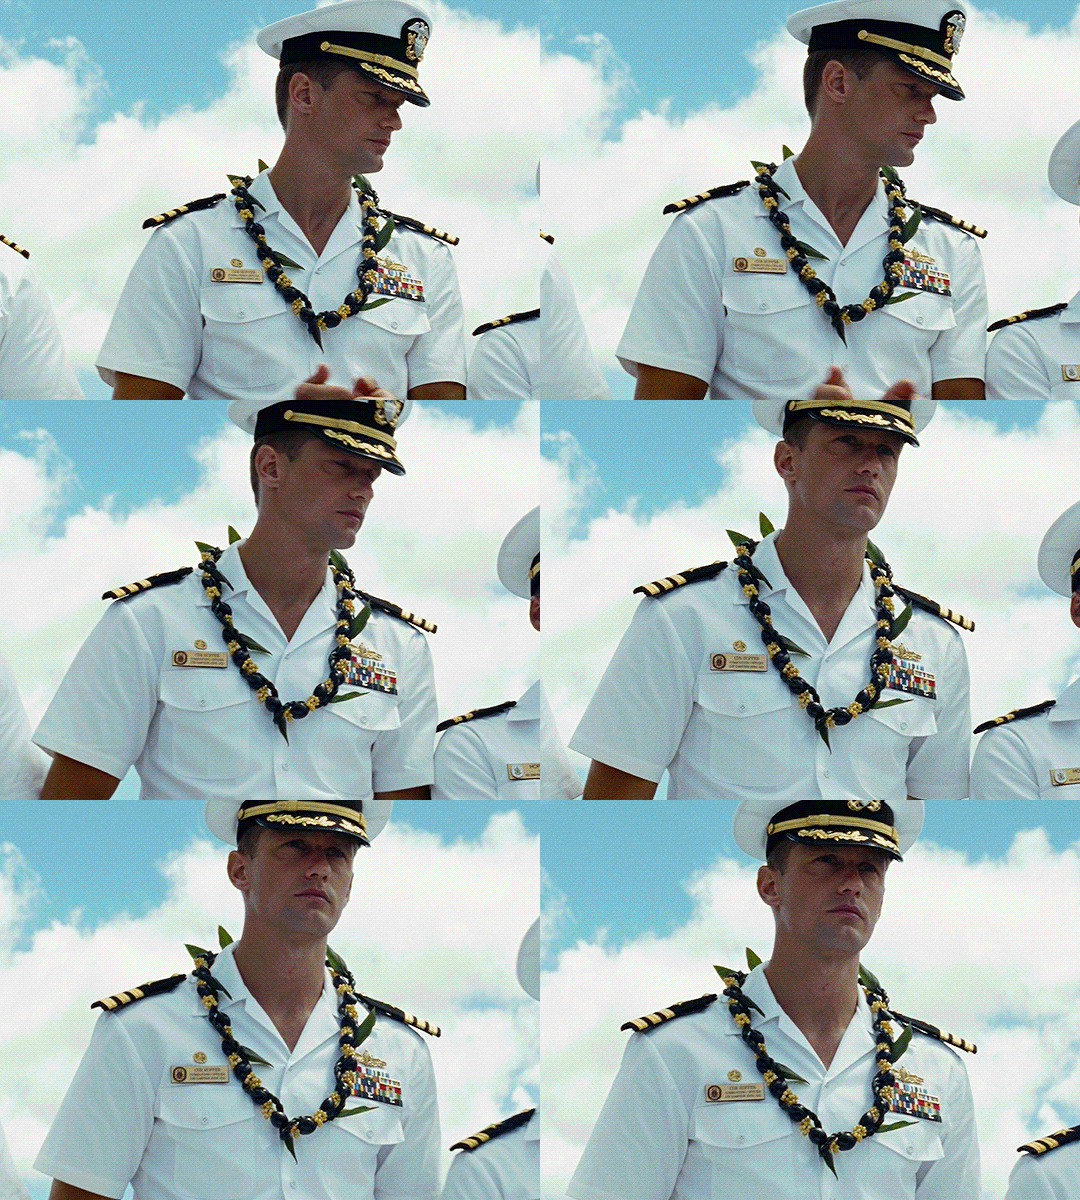
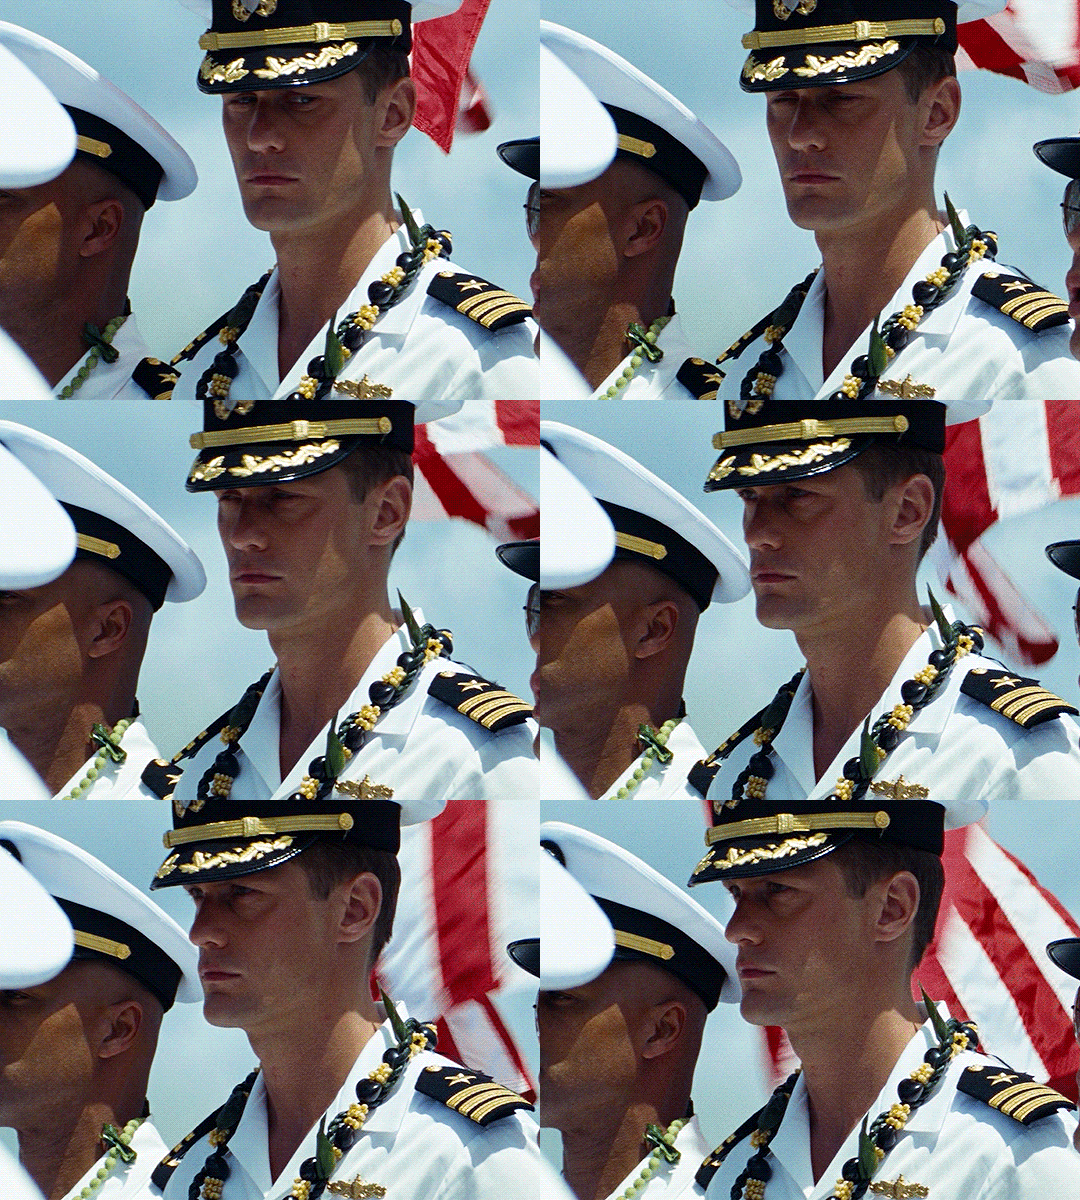


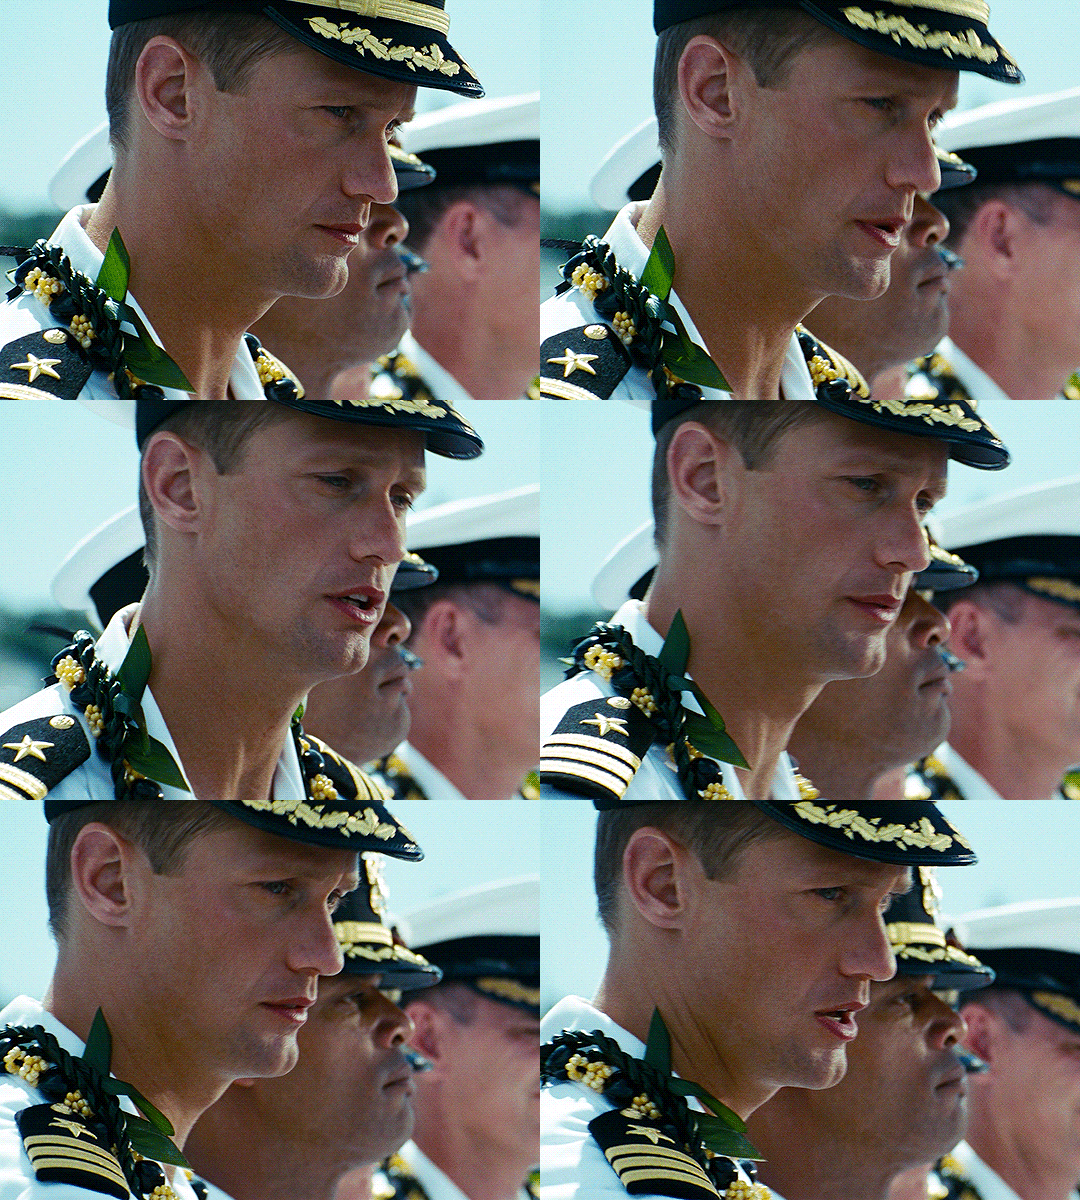

Alexander Skarsgård in Battleship (2012)
275 notes
·
View notes
Text

Outtakes from Glamour Magazine Feb 2016 Issue | 📸: Skye Parrott
creds @/skarsgardarms on IG
43 notes
·
View notes
Text
Thank you, Tubi, for using the best cover photo for Battleship 😏❤️

3 notes
·
View notes
Text
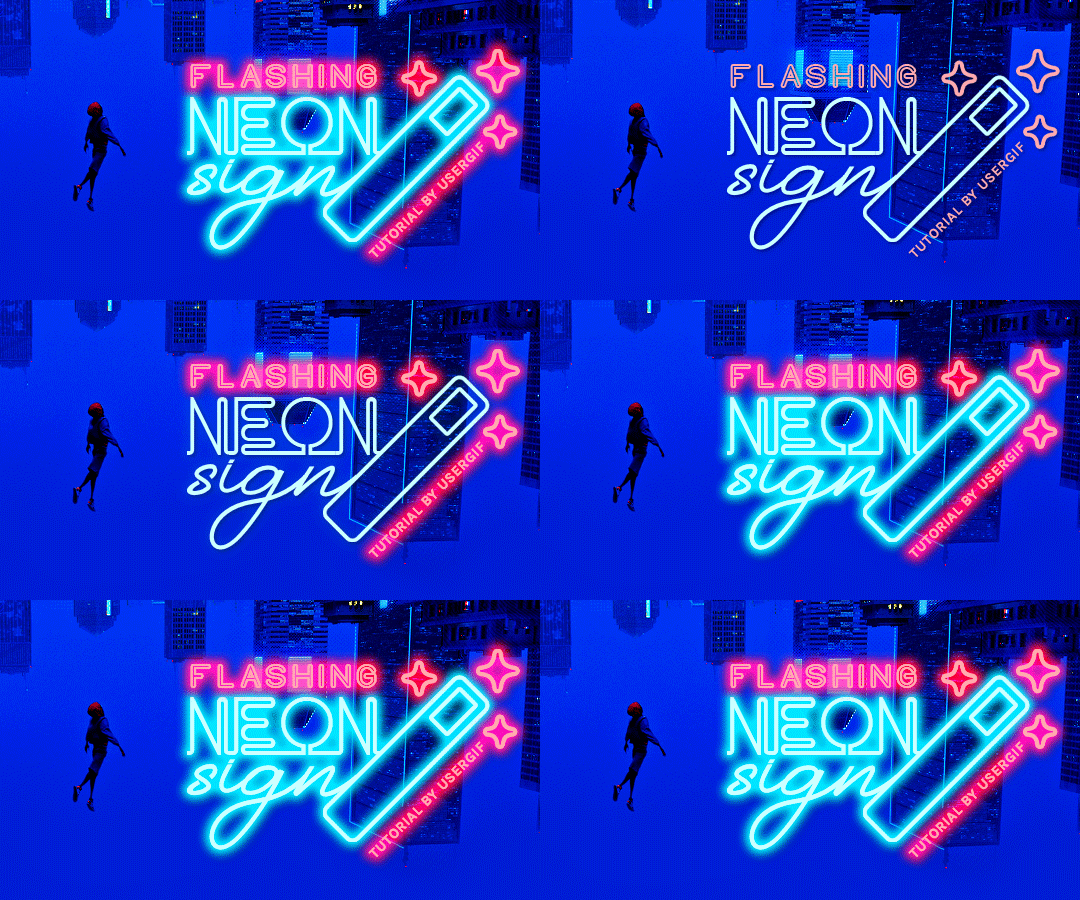
HOW TO: Make Animated Neon Text
Hi! No one asked for this tutorial, but this is one of my favorite typography effects as of late — so I thought I'd share how I do it. You can see this effect in the first gif of this *NSYNC Celebrity set and the last gif of this Anthony Bridgerton set. Disclaimer: This tutorial assumes you have a basic understanding of gif-making in Photoshop. It's also exclusively in Timeline and uses keyframes for the fading effect seen on the blue text.

PHASE 1: PREP YOUR BASE GIF
1.1 – Choose a dark scene. This effect looks best contrasted against a dark background. You can definitely do it with a bright background, but just like a neon sign irl, you only turn it on in the dark/at night — so keep that in mind!
1.2 – Determine the length of your clip. Depending on how much you want your text to flash or fade in, you'll want to make sure you have a scene long enough to also allow the text not to flash — reducing the strain it takes to actually read the text. For reference, my gif is 48 frames.
1.3 – Crop, color, etc. as you would. New to gif-making? Check out my basic tutorial here!
PHASE 2: FORMAT YOUR TEXT
Before we animate anything, get your text and any vectors laid out and formatted exactly as you want them!
2.1 – Finding neon sign fonts. It's easy as going to dafont.com and typing "neon" into the search bar!
2.2 – Fonts I used. Neon Glow by weknow | Neon by Fenotype | Neon Bines by Eknoji Studio
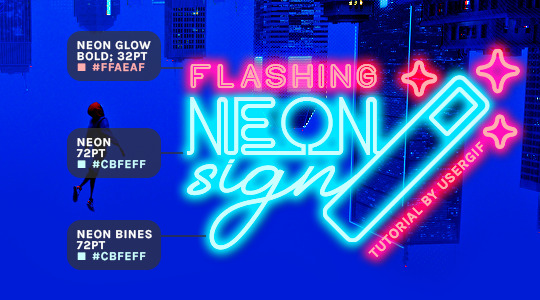
And to not leave my fellow font hoarders hanging, the font for "tutorial by usergif" is Karla (it's a Google font) 🥰
2.3 – Group your text layers. (Conditional) If you plan on having multiple text layers like I did and you want them to appear connected (like how the last letters of "NEON" and "sign" intersect with the wand icon), I suggest putting the layers into groups according to color (the shortcut to group layers is Command+G). If you don't group your text and just apply the outer glow settings to each individual layer, you'll end up with something like this:
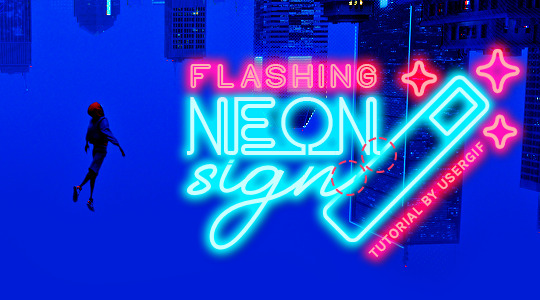
—where you can see the glow overlap with the line, instead of the smooth connection you see in my final example gif. I'm using 2 colors for my text, so I made a group for red and a group for blue.
2.4 – Apply Outer Glow. Right-click your text layer (or your group if you have several layers) and select "Blending Options" to open the Layer Style menu. Check "Outer Glow" and feel free to play around with the settings until you like the way your text looks!
Your outer glow color should be darker and more vibrant than the color of the text itself. The text should be within the same color family but much brighter and, sometimes, almost white (see Step 2.2 again for my text colors).
Here are the settings for the Red Glow (the glow color is #FF3966) and Blue Glow (#00F0FF):
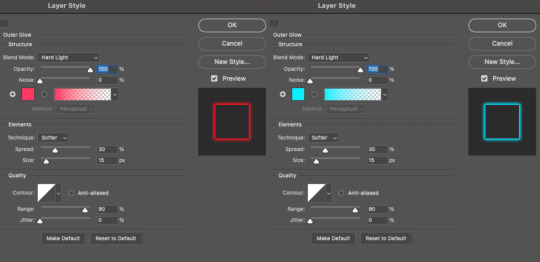
These aren't always my exact settings but they're pretty close to my standard. I always set the blend mode to Hard Light and usually have the opacity at 100%.
For every gif I use this effect on, I like to play around with Spread and Size. Spread will make the glow look denser and "expand the boundaries" (source: Adobe) and Size will diffuse the glow and blow it out so it covers a larger area (Adobe says it "Specifies the radius and size of blur").
2.5 – Duplicate your text layer/groups and remove glow. We're only going to be animating the glow on our text, and since doing this affects its opacity/visibility, we want to preserve the base text by creating a duplicate.
I just hit the Command+J shortcut to duplicate my groups and delete the Outer Glow effects, making sure that the "No Glow" version is above the "Glow" version:
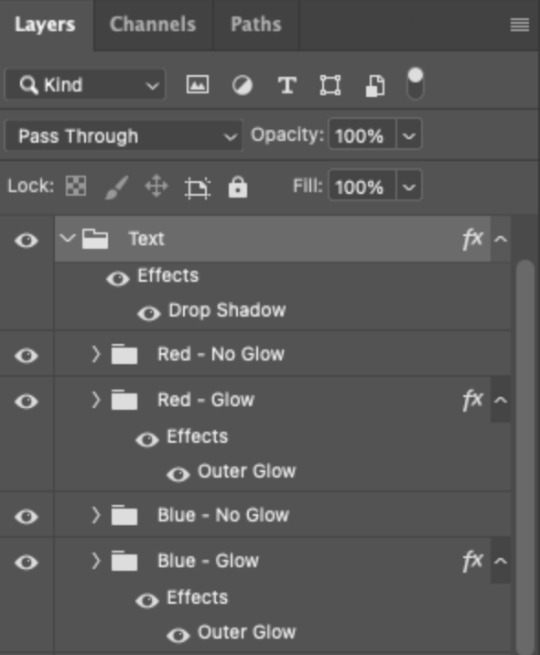
I also put all these groups into one group called "Text" for organization and so I could apply a drop shadow to all the elements for better visibility.
PHASE 3: CREATE THE FLASHING EFFECT
This is for the effect you see on the RED text in my gif!
3.1 – The 0.03-Second Rule If you've read any of my animation tutorials before, you're probably already familiar with this rule. In my experience (and for reasons I can't explain), Video Timeline pauses every 0.03 seconds (try clicking the forward button a few times, you'll probably find a "duplicate" or paused frame). So, keep all your layers a duration of 0.03-second increments (e.g. 0.06 or 0.09 seconds can also work) and align them on the Timeline at 0.03-second intervals. If you don't follow this rule, you'll get duplicate frames when you export, resulting in a choppy final gif.
3.2 – Trim and arrange your text layers. Only on the layers/groups WITH the Outer Glow effect, trim them into several segments of varying lengths where the glow will be "on" (visible) and leaving spaces where the glow should be "off."
Typically, I'll have a mixture of 0.06 and 0.03-second text. That's when the glow will be visible. Between each "flash" of visibility, I've got a 0.03-second blank space, baby *pen clicks* and I'll write your name:

The layers shown above are arranged with a few flashes and two long segments of no flashing. This is the order and duration of each segment shown above (purple = visible segments):
0.06 blank, 0.06 visible, 0.03 blank, 0.03 visible, 0.03 blank, 0.03 visible, 0.03 blank, 0.24 visible (the long bit where "FLASHING" doesn't flash at all), 0.03 blank, 0.03 visible, 0.03 blank, 0.12 visible
(I only did this for the text that says "FLASHING" to give it a glitching effect. The other red text keeps the glow visible starting at the first long segment.)
PHASE 4: CREATE THE FADE-IN EFFECT
This is for the effect you see on the BLUE text in my gif!
4.1 – Animate using the Opacity Keyframe. Again, we're only touching the layers/groups WITH the glow effect. If you only have one layer of text, you'll find the Opacity Keyframe by clicking the film reel icon:

If you're working with groups like me, you'll find it in the Timeline panel under the group when it's expanded:
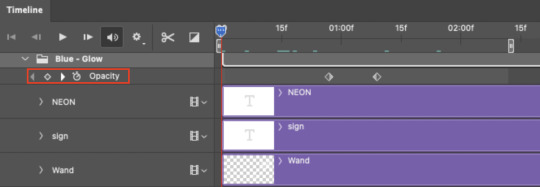
As you can see, I already added my keyframes (lil diamond babies). And luckily, it's super easy to do!
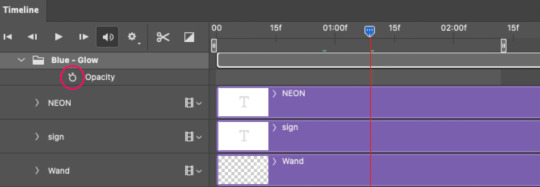
4.2 – Add the ending Keyframe first. We're starting at the end because our layers/groups are already at 100% opacity. Drag the playhead (the blue arrow attached to the red vertical line) to a spot where you want the glow to be 100% opaque — this is where the glow will be fully "on" or visible. [Again, follow the 0.03-Second Rule. You will get duplicate frames regardless when using keyframes (this will be explained in the note in Phase 5), but abiding to the rule will mitigate the amount of dupes you get.]
Then, click the clock icon by "Opacity" to place a keyframe:
4.3 – Add the starting Keyframe. Go backward from the ending Keyframe you just placed (I went back 0.12 seconds — but you can play around with the duration of the fade, just keep it a multiple of 0.03):
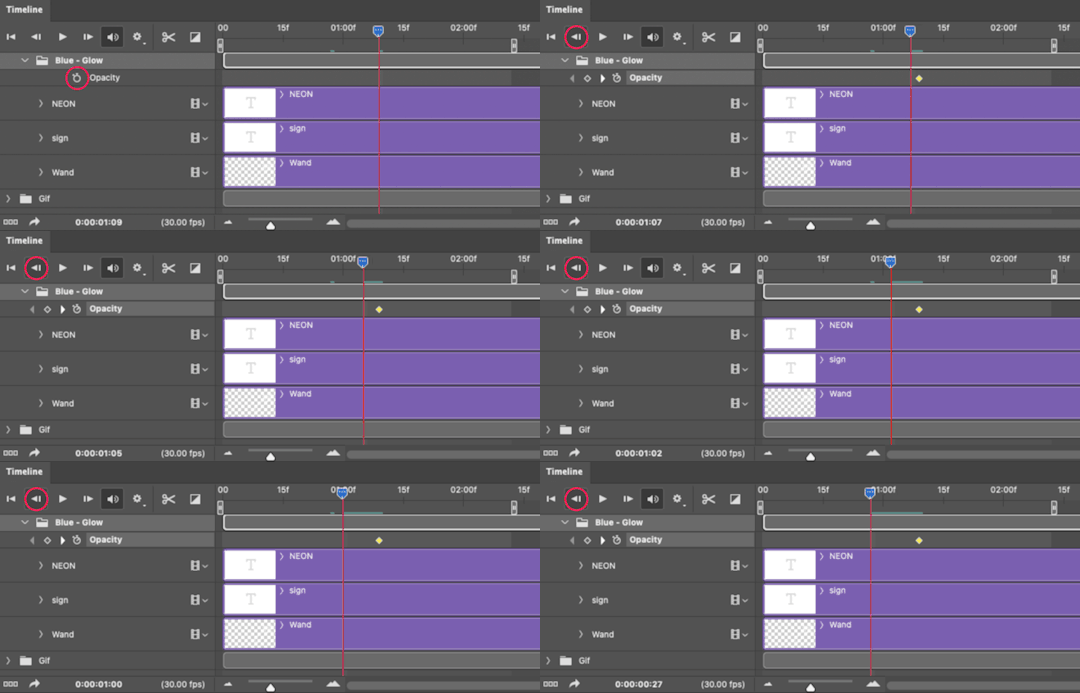
And drop another keyframe, this time by clicking the diamond icon by "Opacity":
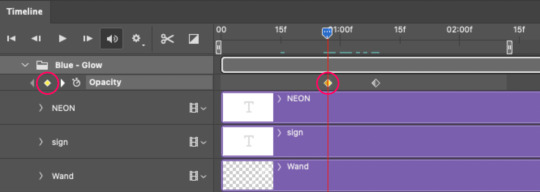
4.4 – Reduce the opacity on the starting Keyframe. Keeping that keyframe you just placed selected, go to the layers panel and reduce your layer's/group's opacity to 0%:
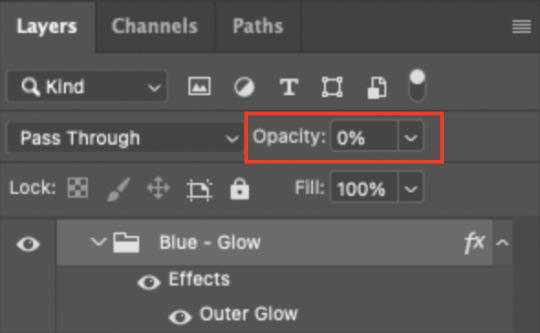
Now, this Outer Glow will slowly fade from 0% to 100% opacity.
And just for a visual aid, here's where my fade-in keyframes are in relation to my flashing segments:
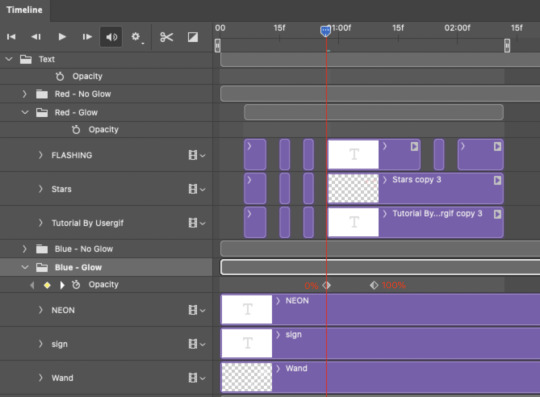
To refresh your mind, the 0% Opacity Keyframe starts when "FLASHING" is visible for 0.24 seconds (the first long segment of visibility).
With these keyframes, you'll get a smooth fade-in à la ✨light switch with a dimmer✨
PHASE 5: EXPORT
Yay, we're finished! Convert from Timeline back to Frames and export your gif!

NOTE: If you only did the flashing effect and followed my 0.03-Second Rule, you shouldn't have any duplicate gifs. BUT if you included the fade-in effect using keyframes, you WILL have duplicate frames. 'Tis the nature of keyframes. 🤷♀️ I had 4 extra frames where the fade-in starts, which I deleted. So, as always, I recommend checking your frames when you convert from Video Timeline back to Frame Animation — and manually delete any duplicate frames.
Sorry this tutorial is so long 🙈 I over-explain so you're not just mechanically copying steps, but understanding the WHY behind each step! Thanks for bearing with me
If you have specific questions about this tutorial, feel free to send a message to usergif and I'll try my best to help! :)
More USERGIF tutorials • More resources by Nik • USERGIF Resource Directory
830 notes
·
View notes
Text


"I'm so alone! I don't have anyone anymore!" Thunderbolts* (2025)
9K notes
·
View notes
Text
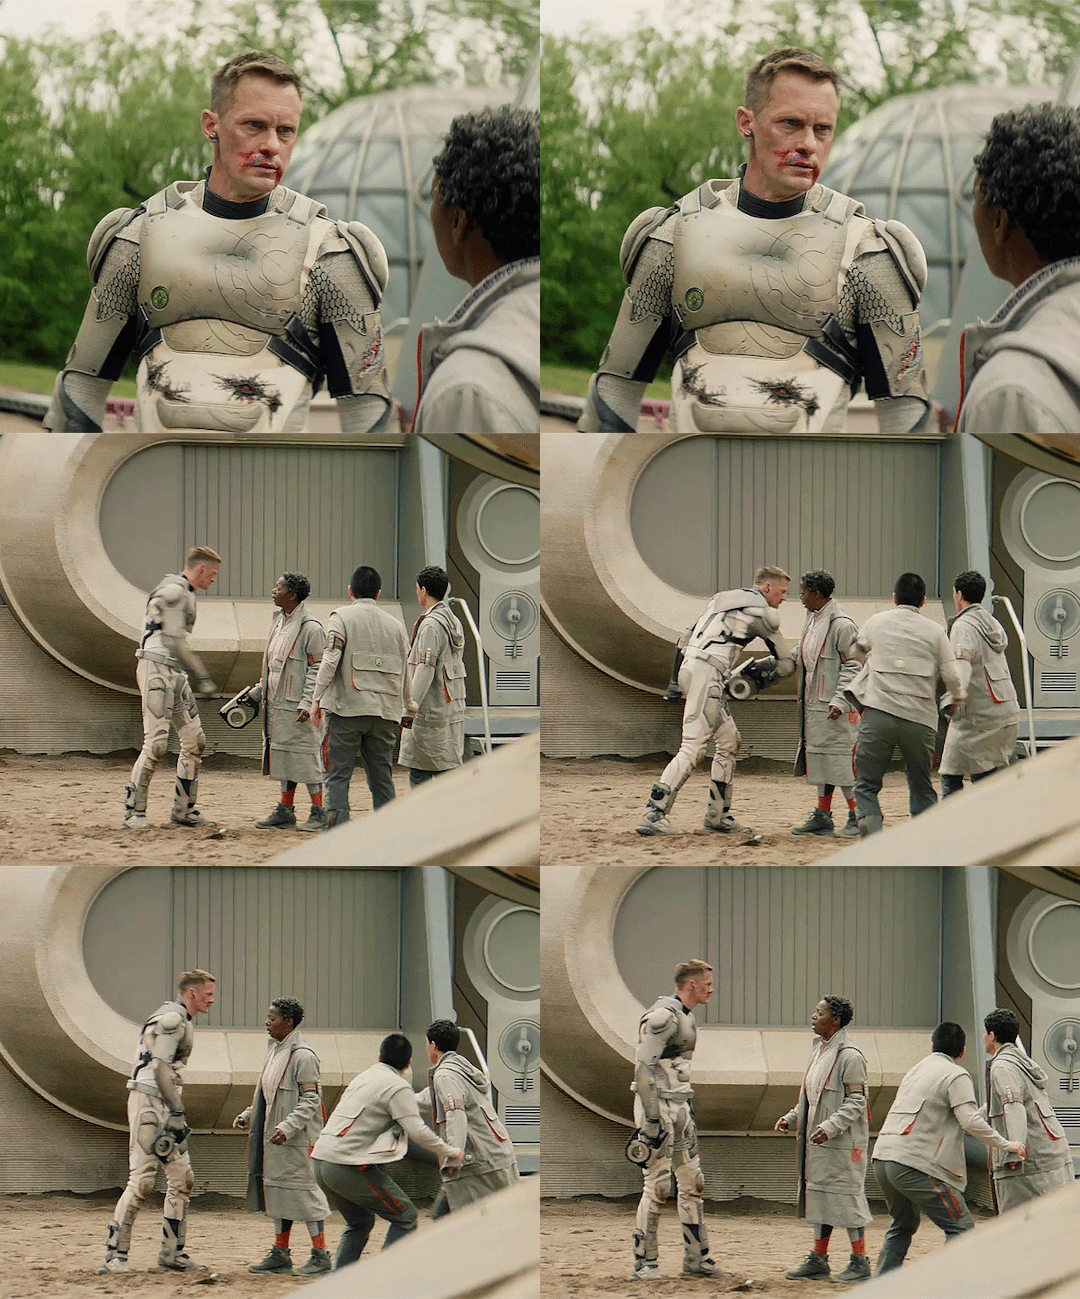

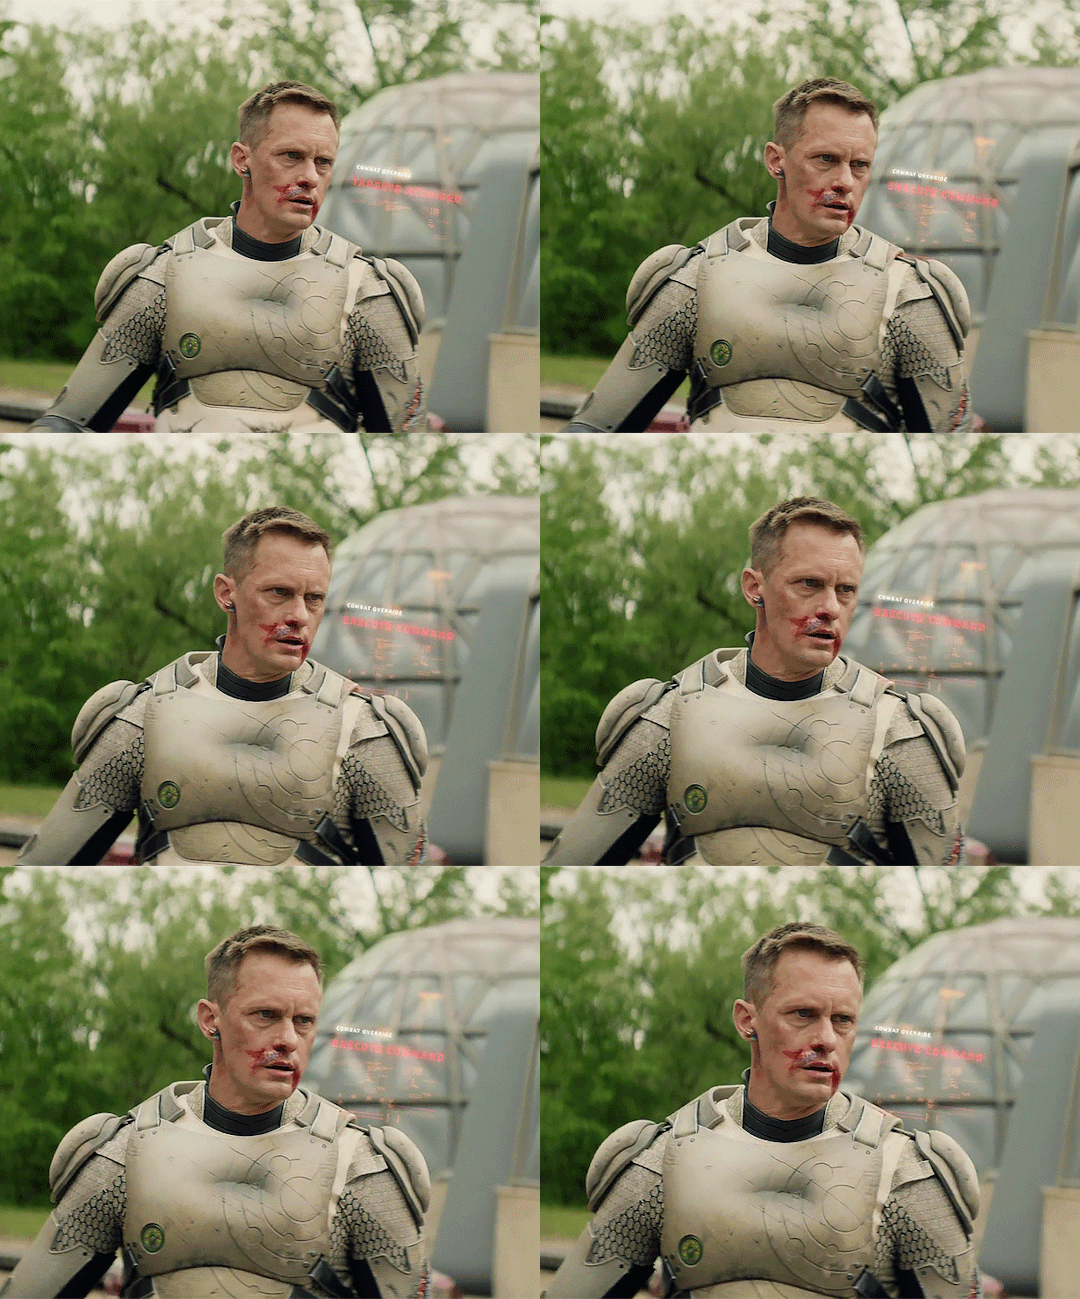
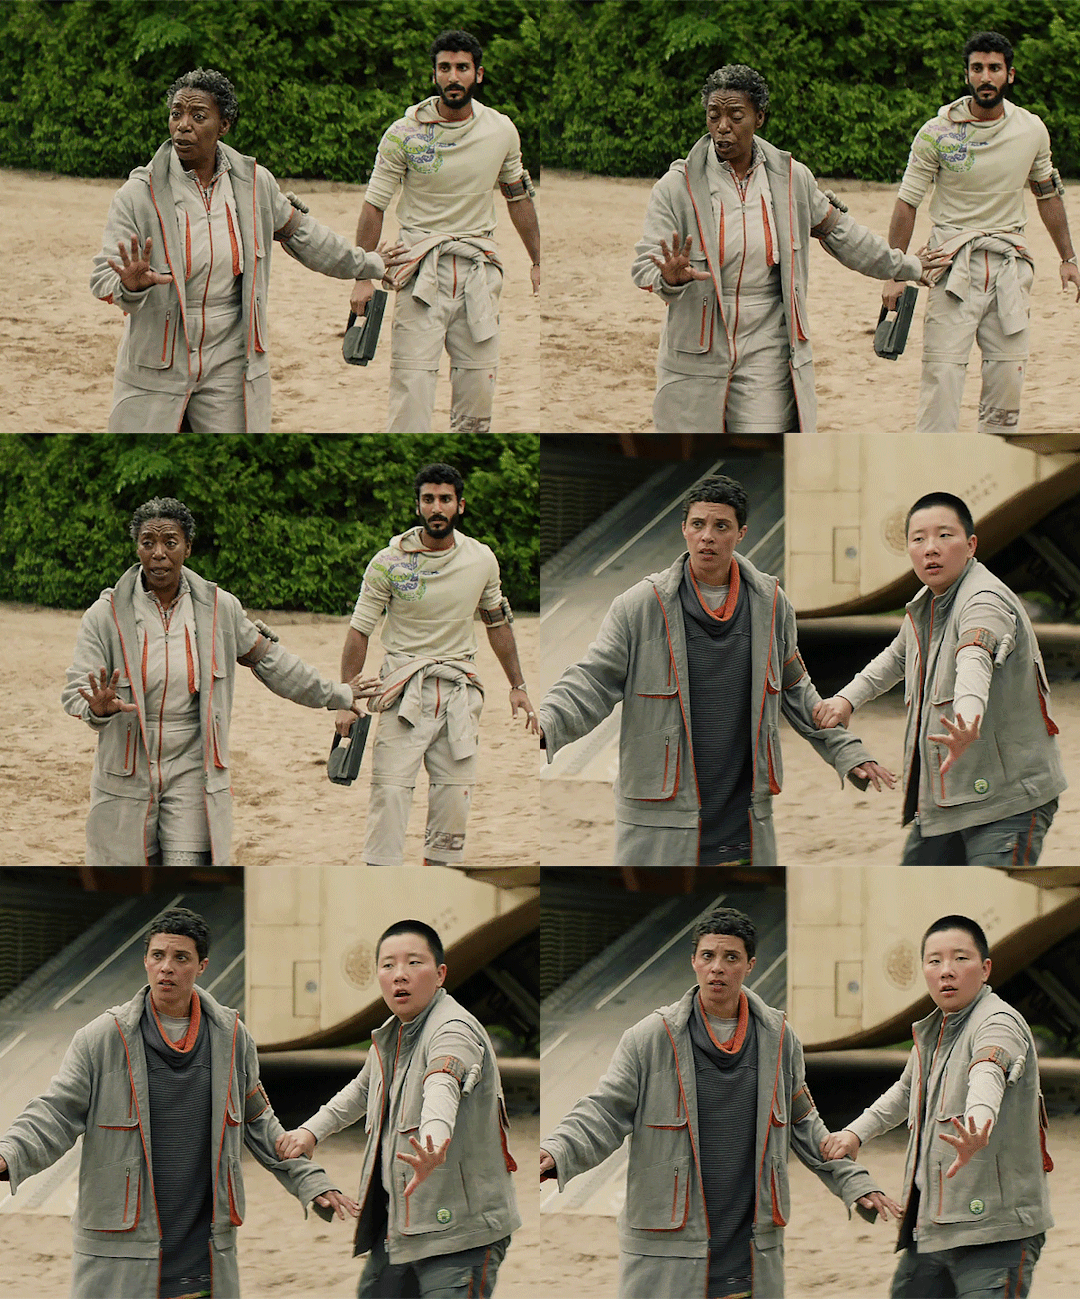
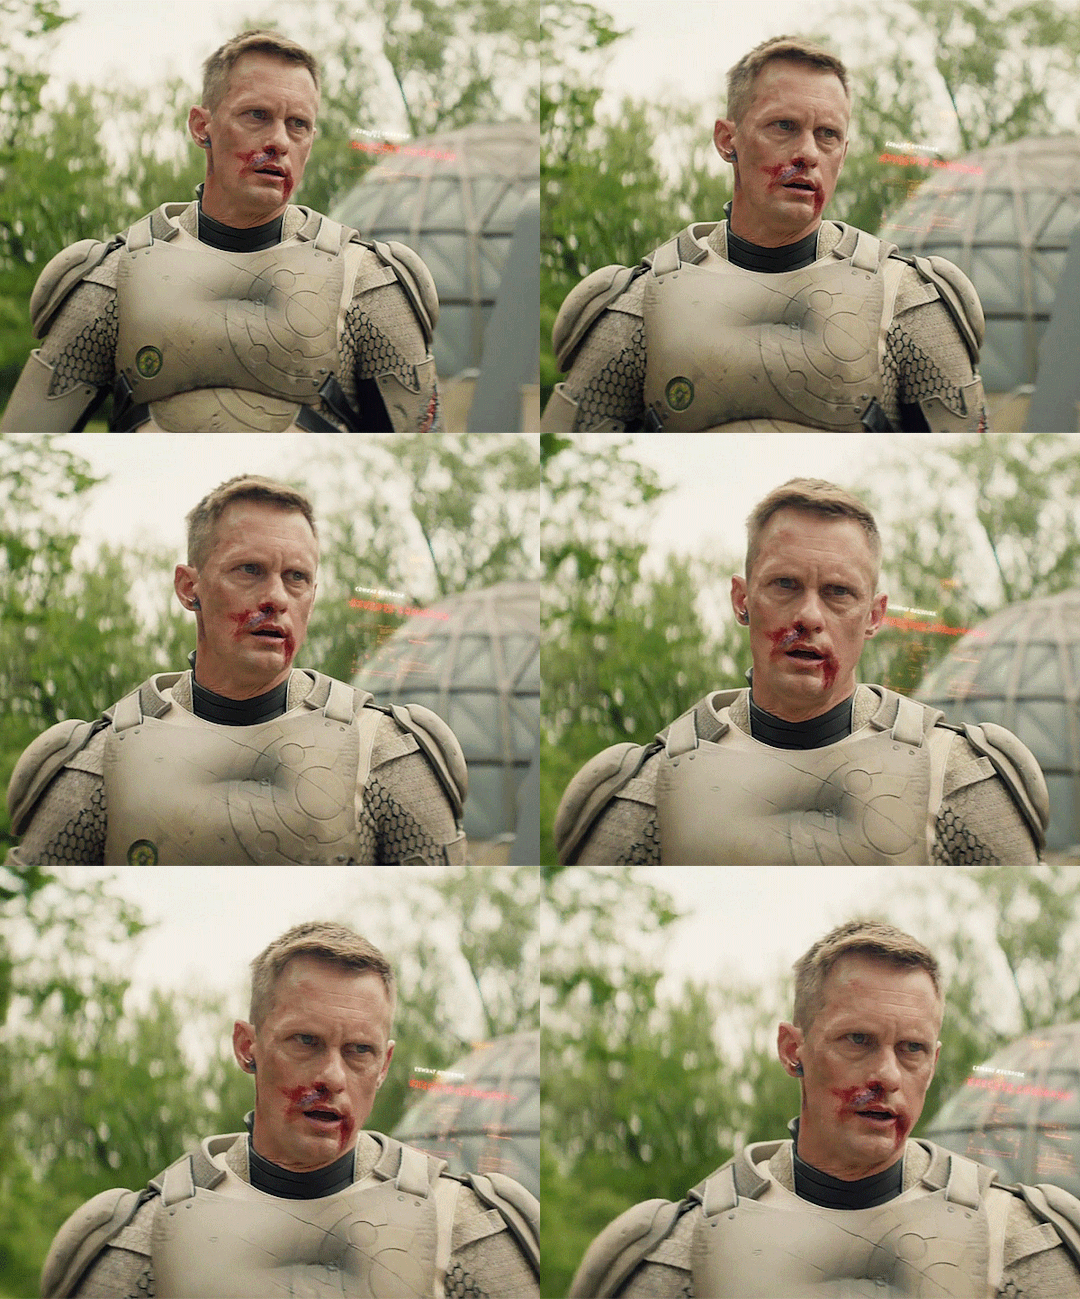
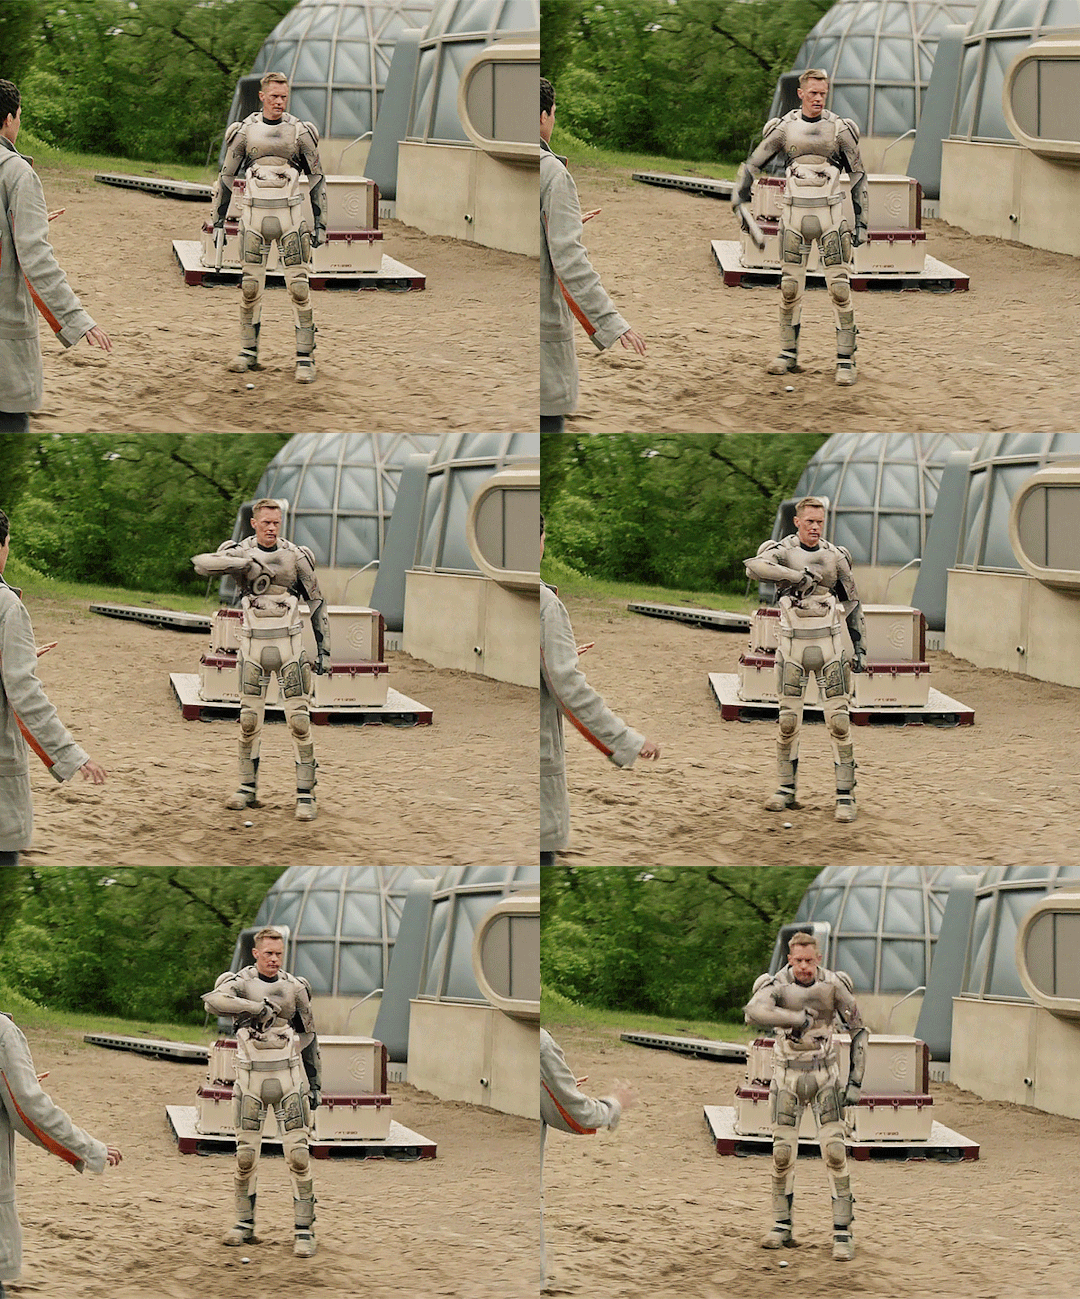
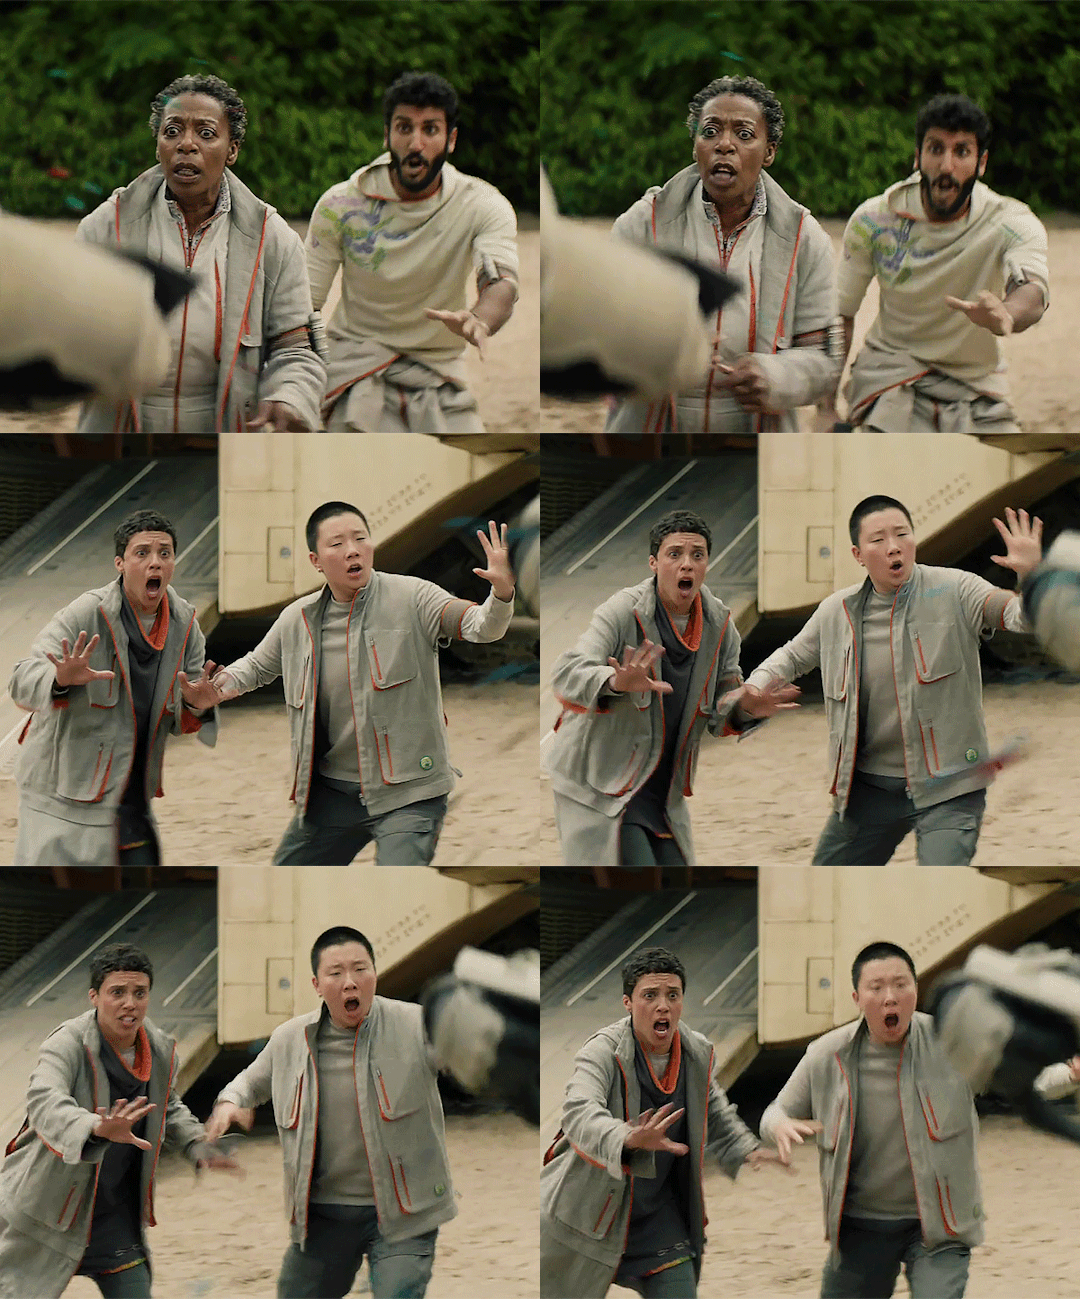
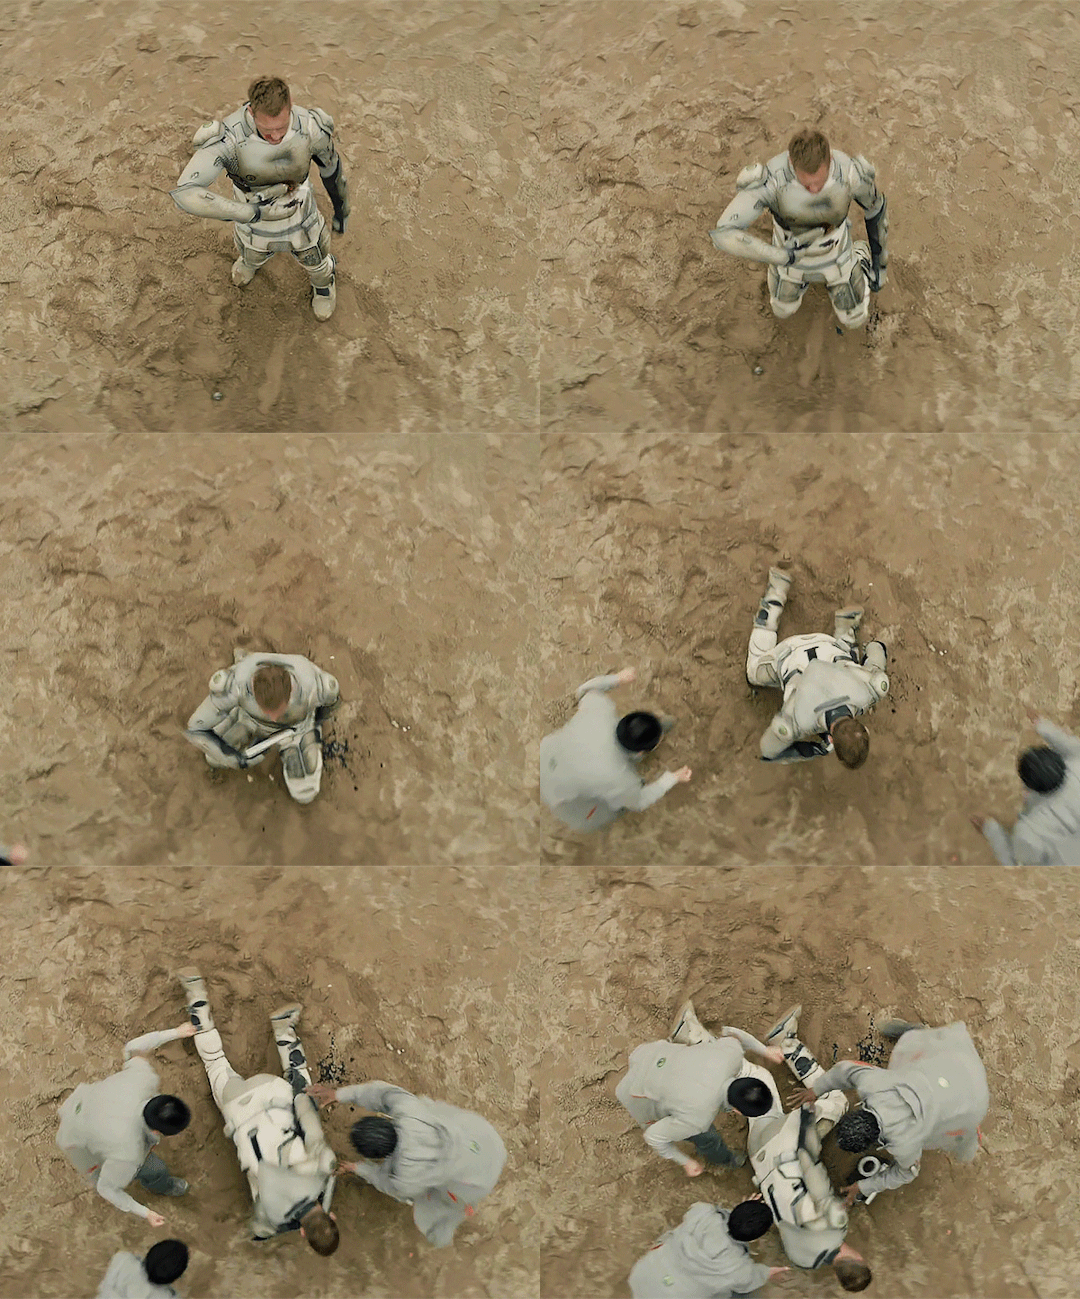
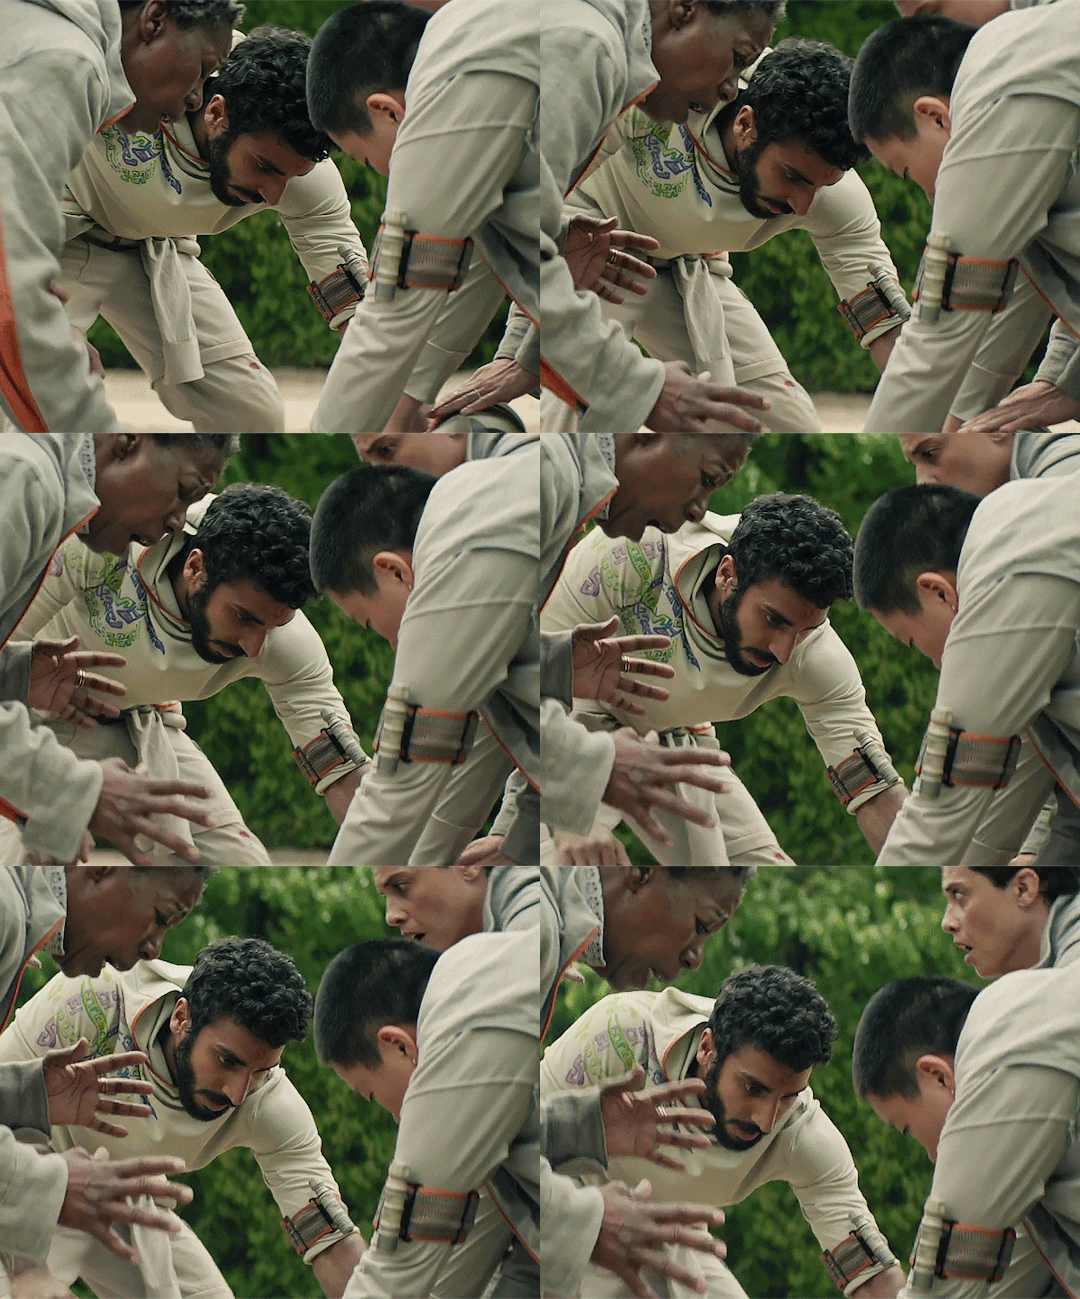
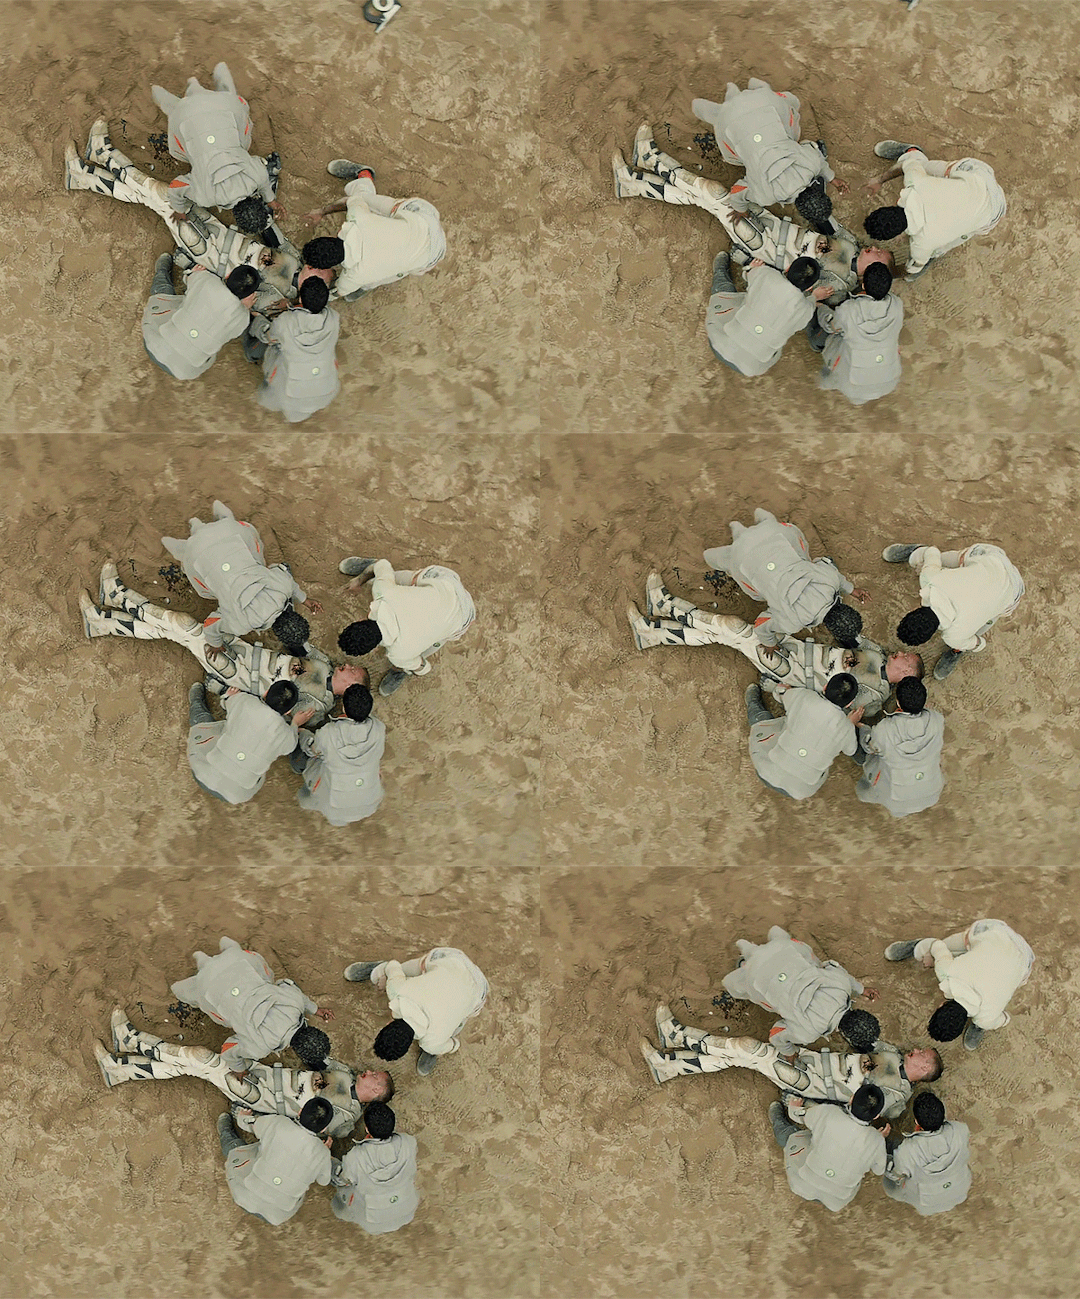
It was gonna look like they'd been killed by a vicious, rogue SecUnit.
And I had no choice in the matter.
Well, fսck that.
Murderbot 1x04 "Escape Velocity Protocol"
183 notes
·
View notes
Text

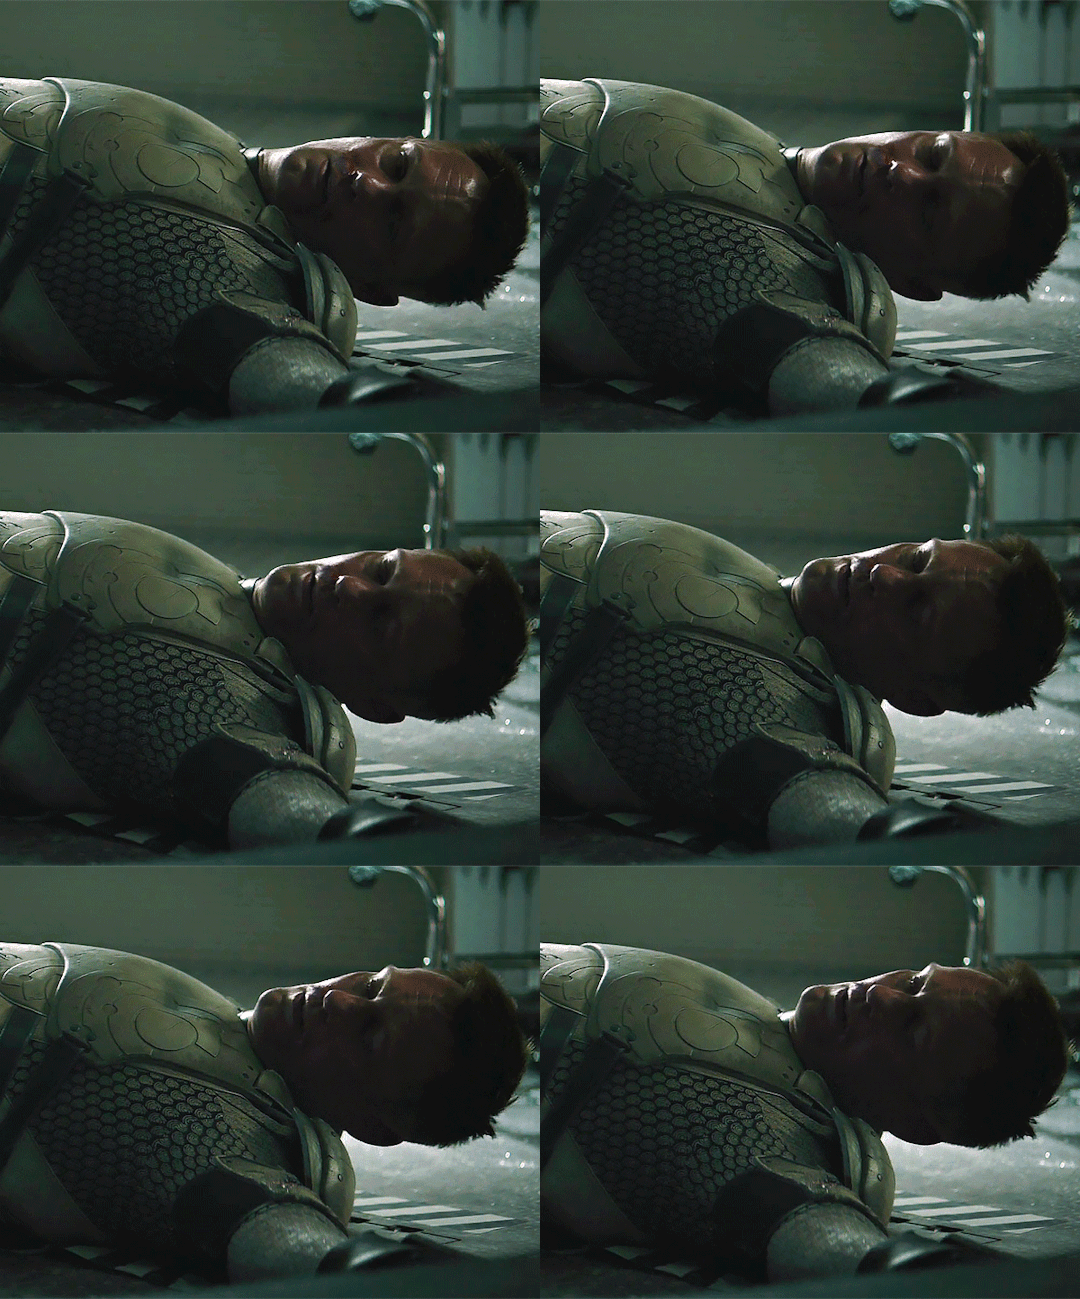
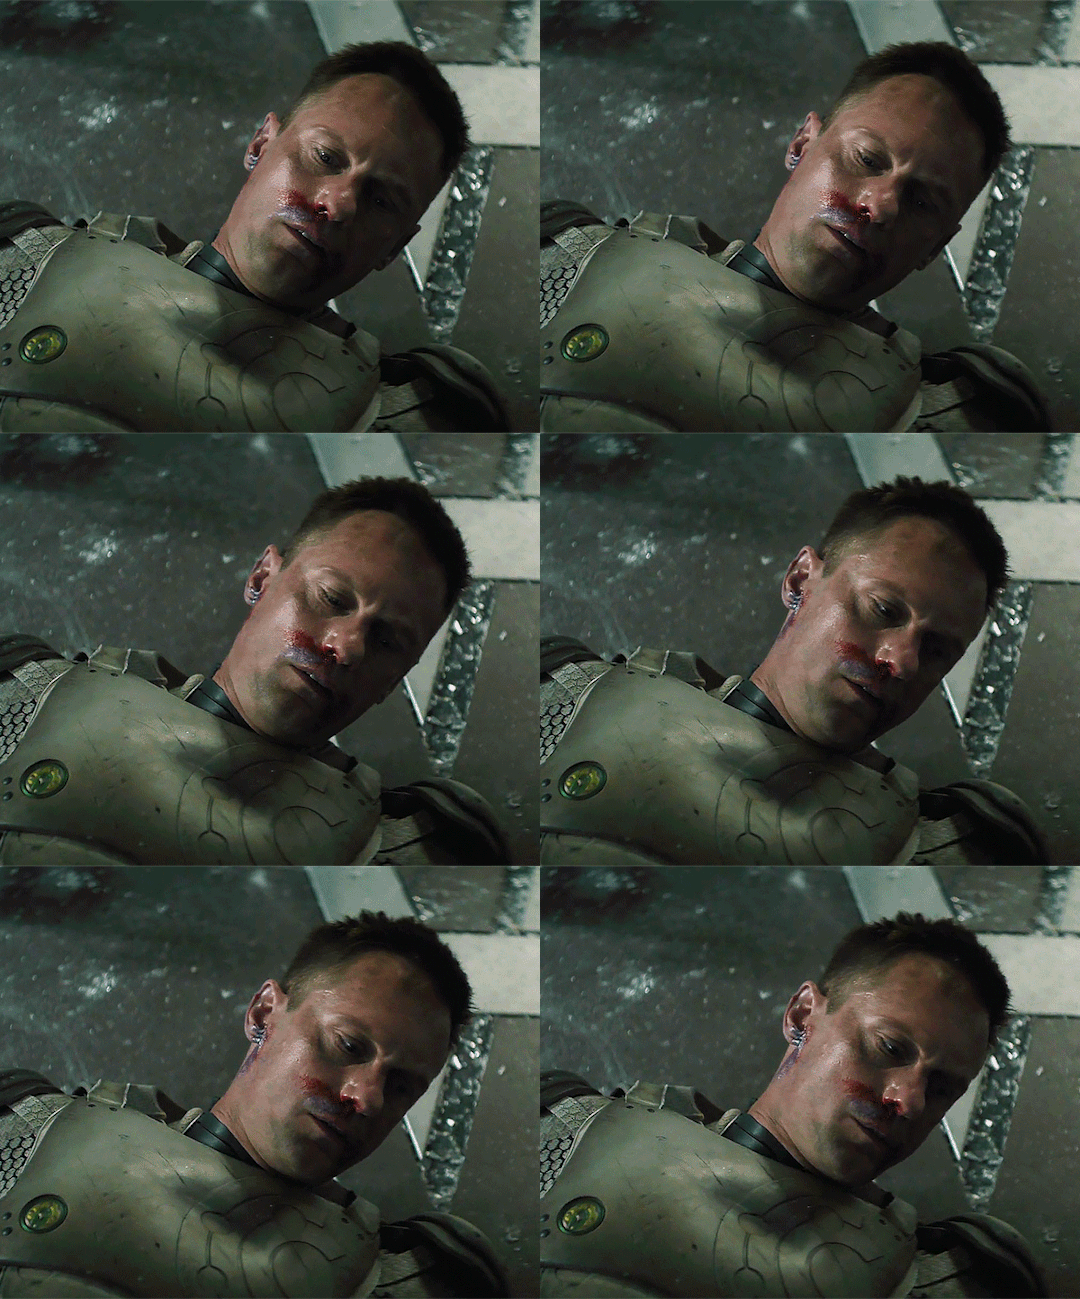
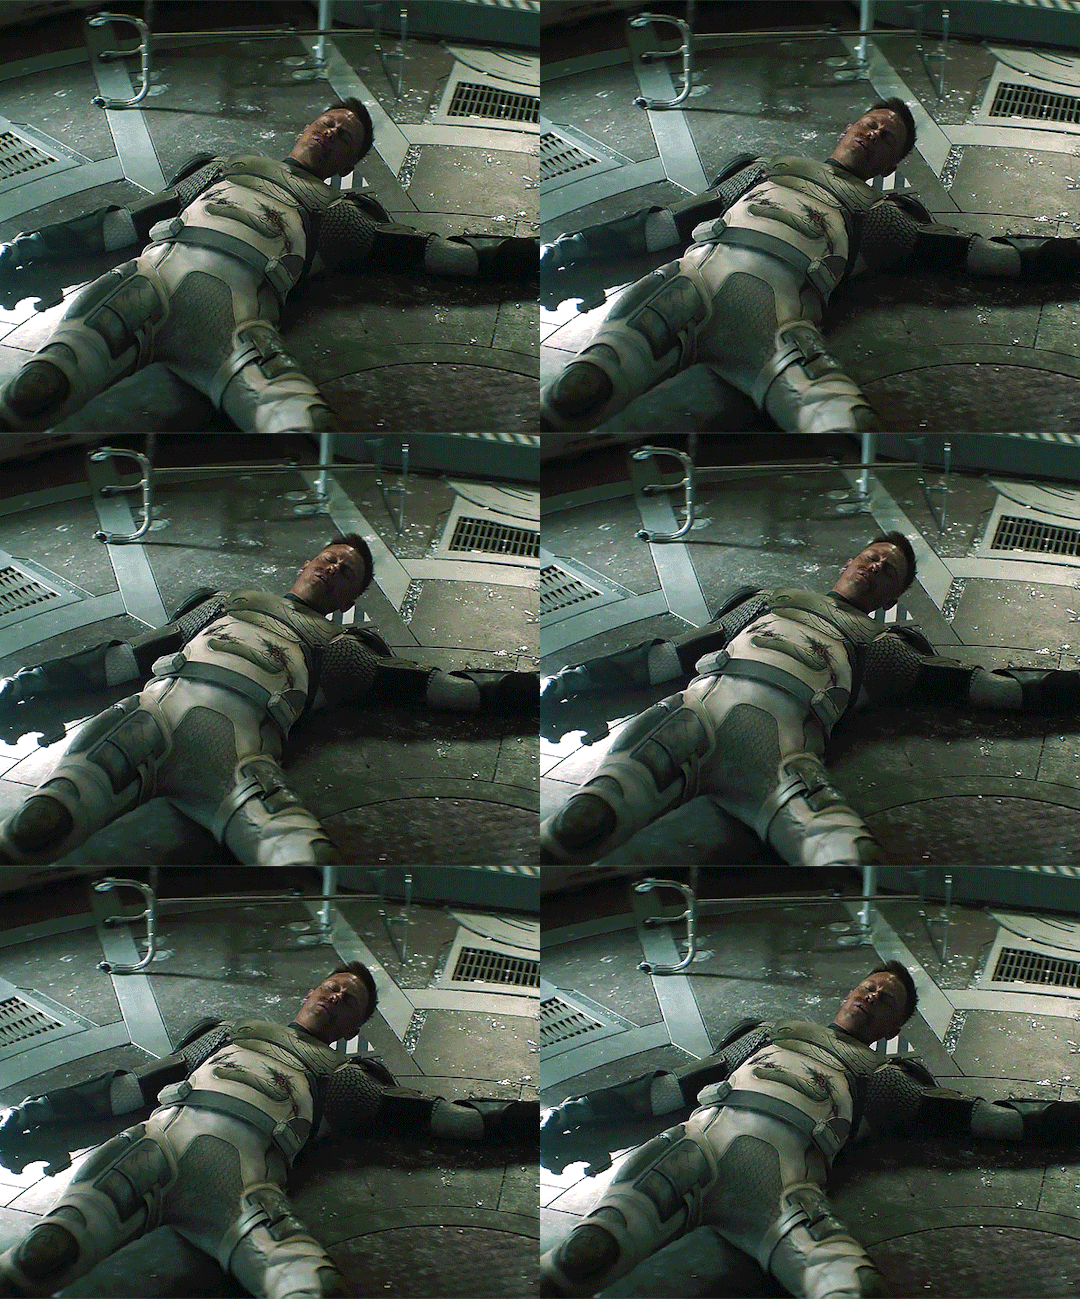
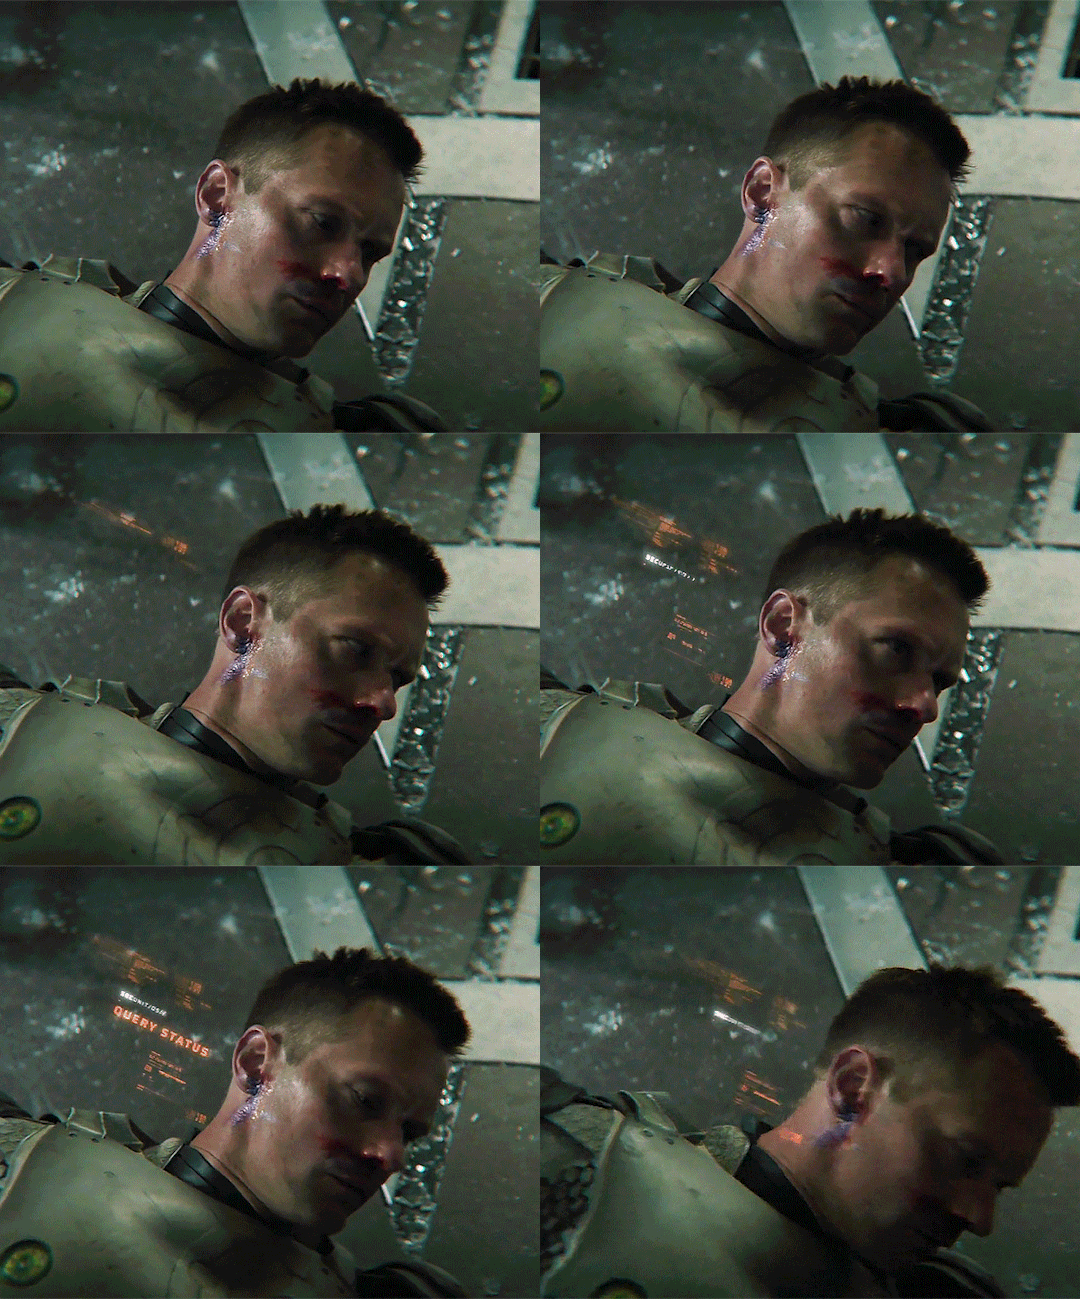
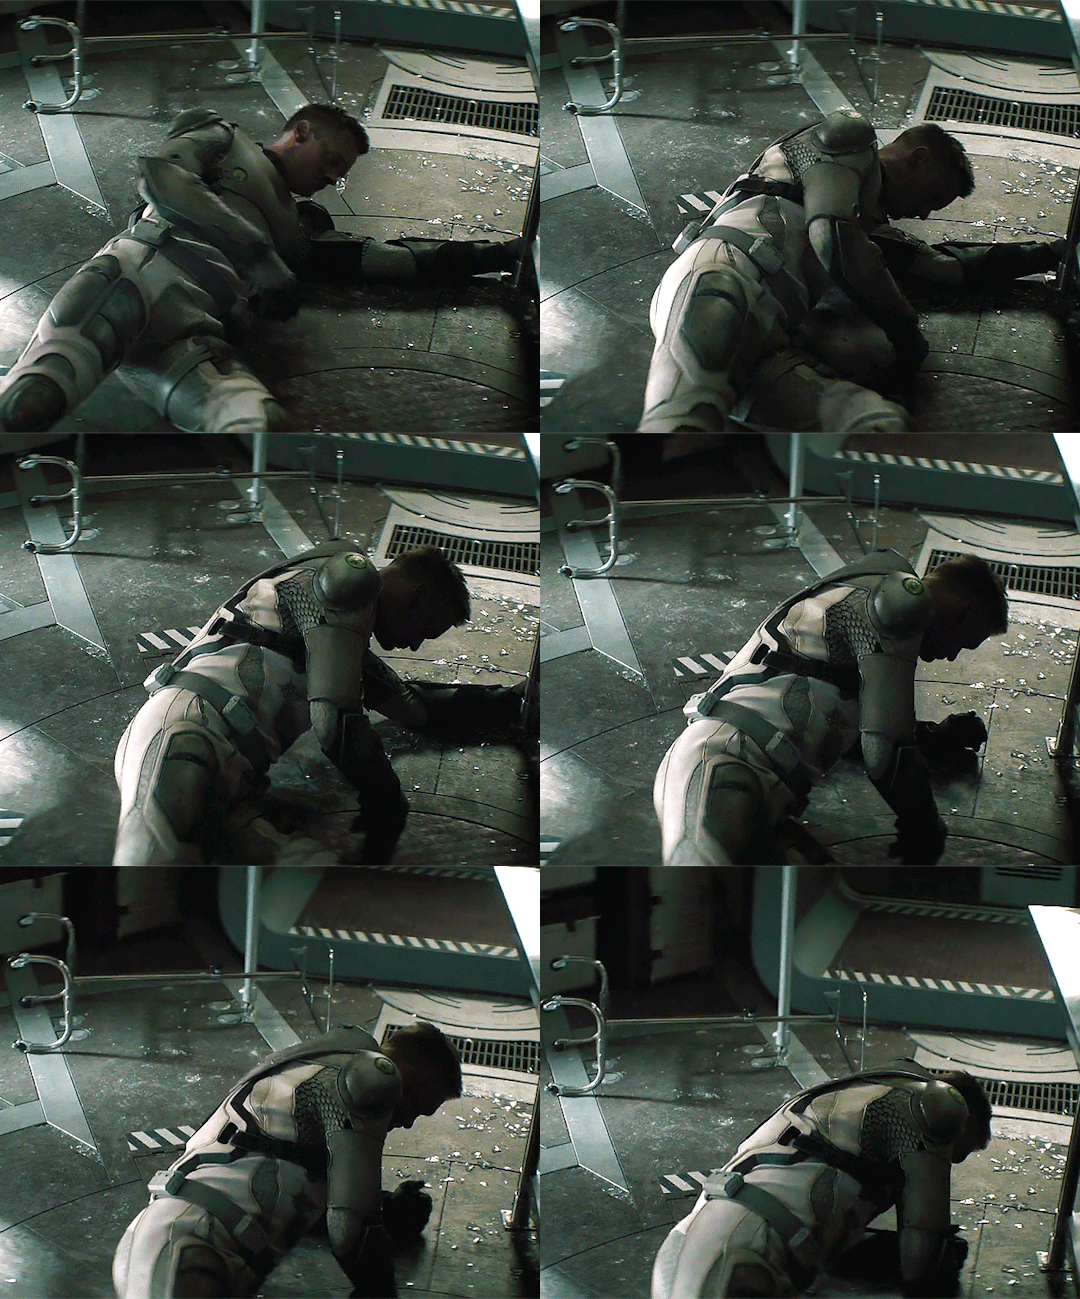
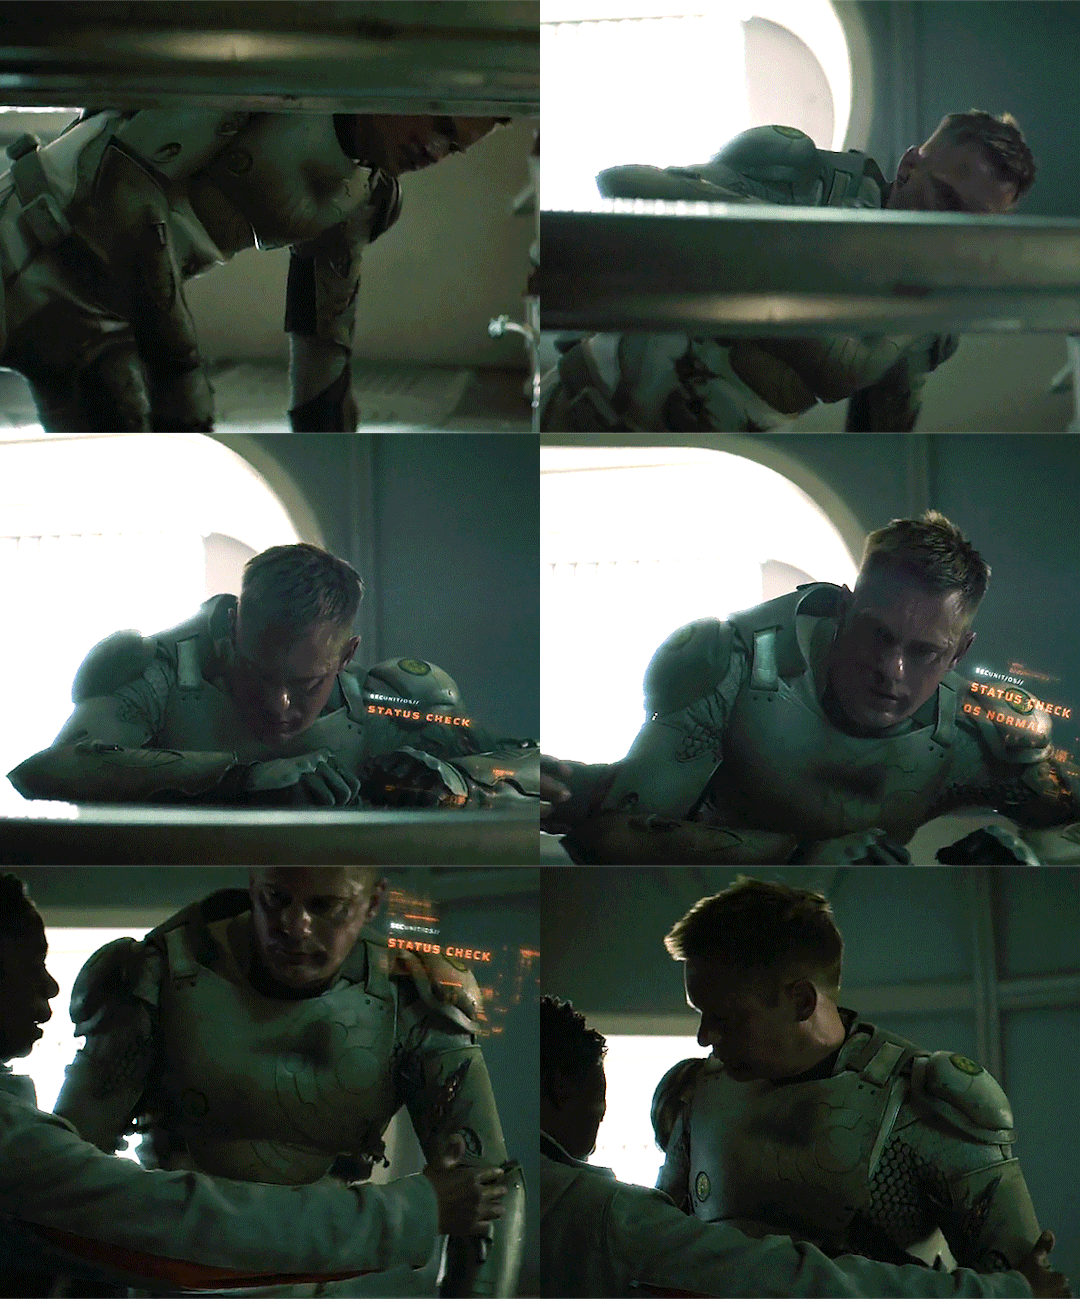
Murderbot 1x04 "Escape Velocity Protocol"
117 notes
·
View notes

