
Don't wanna be here? Send us removal request.
Statistics
We looked inside some of the posts by fundamentalsprojectjasmine and here's what we found interesting.
Average Info
Notes Per Post
0
Likes Per Post
0
Reblog Per Post
0
Reply Per Post
0
Time Between Posts
14 minutes
Number of Posts By Type
Text
17
Last Seen Tumblr Blogs


Fun Fact
Tumblr has a 66 index score for customer satisfaction in the US.
Text
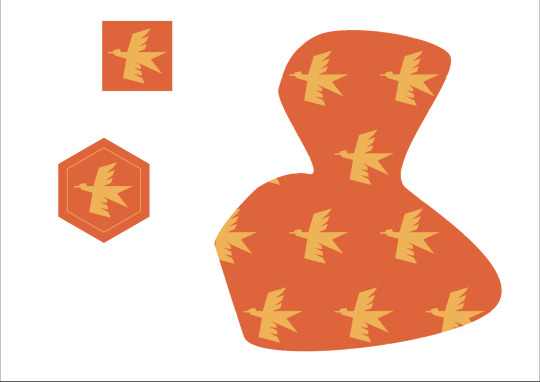
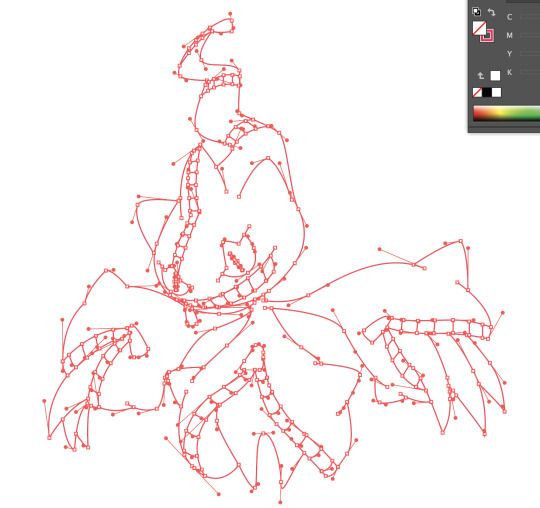
Here I made a bird pattern in Illustrator and coloured it with the fill tool and colour swatches, I then selected the bird Image and background I made and dragged it into the swatches to make it into a colour basically. I then made a funky shape with the pen tool the dragged the swatch onto the object so it made a pattern.
0 notes
Text
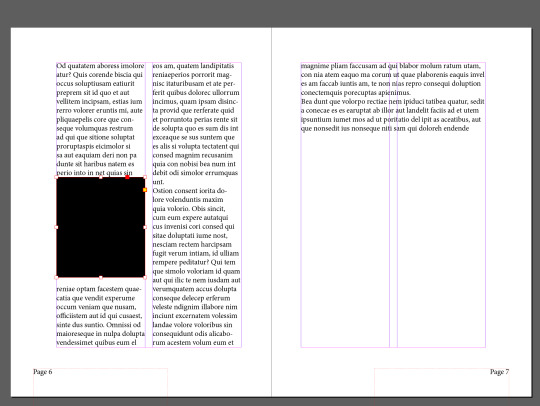
Here I added a black square overtop and made it textwrap by pressing the lines with a box in the middle button at the top of the screen.
0 notes
Text

I then made a text box onto both columns and put in placeholder text by pressing, Type-Fill with placeholder text at the top.
0 notes
Text
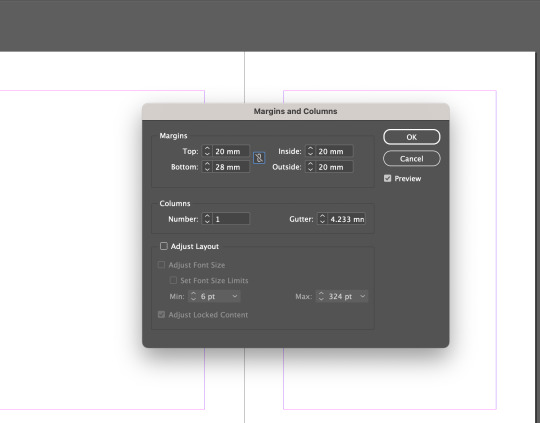
I then made margins in my document by pressing layout-margins and columns at the top of the screen. I changed the top, bottom, inside and outside of the margin and made it two in each page by changing the number.
0 notes
Text
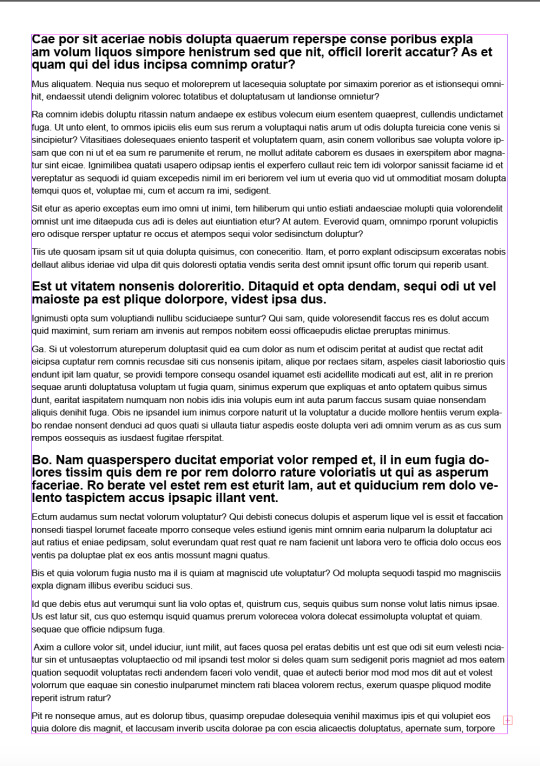
I made a new parent in the menu at the top of the pages and called it B parent, I clicked onto the B parent and highlighted the black text that was on the black square and changed it to white with the colour swatches, which I selected page white. I applied it to page 9 and the text appeared as you can see white on black very well. I also added the none parent at the top to the cover and back page to take away the page 1 etc, as usually books don't say the page number on the cover and back of book.
0 notes
Text
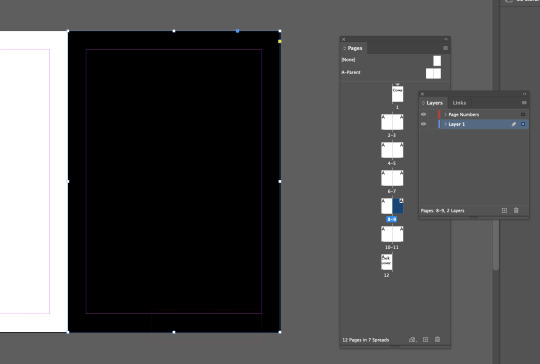
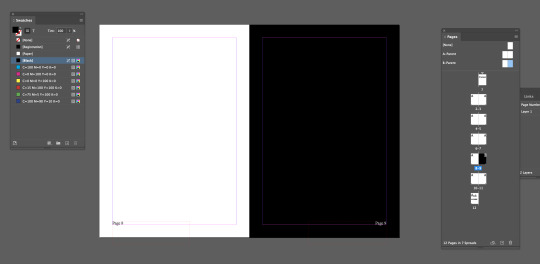
I added a black square with the shape tool and the colour fill tool to change it to black. I made a square that fit the whole page.
0 notes
Text
I put the page numbers onto a seperate layer by selecting both page numbers in the a parent and moving the small blue square in the layer it was on into the layer that I have created, so all the page numbers can be on a seperate layer.
0 notes
Text
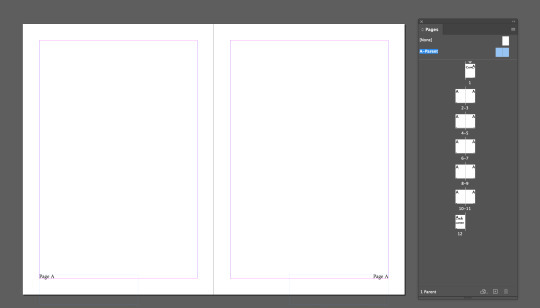
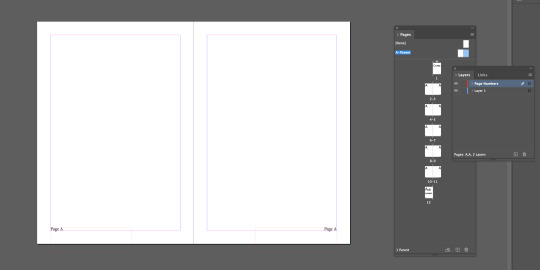
I made the A parent the page numbers, If I put the Page number into the A parent that will apply to everything that has the A parent on it, which is all the pages currently, I added a special character after Page so it would make all the pages be the number of the page they are on.
0 notes
Text
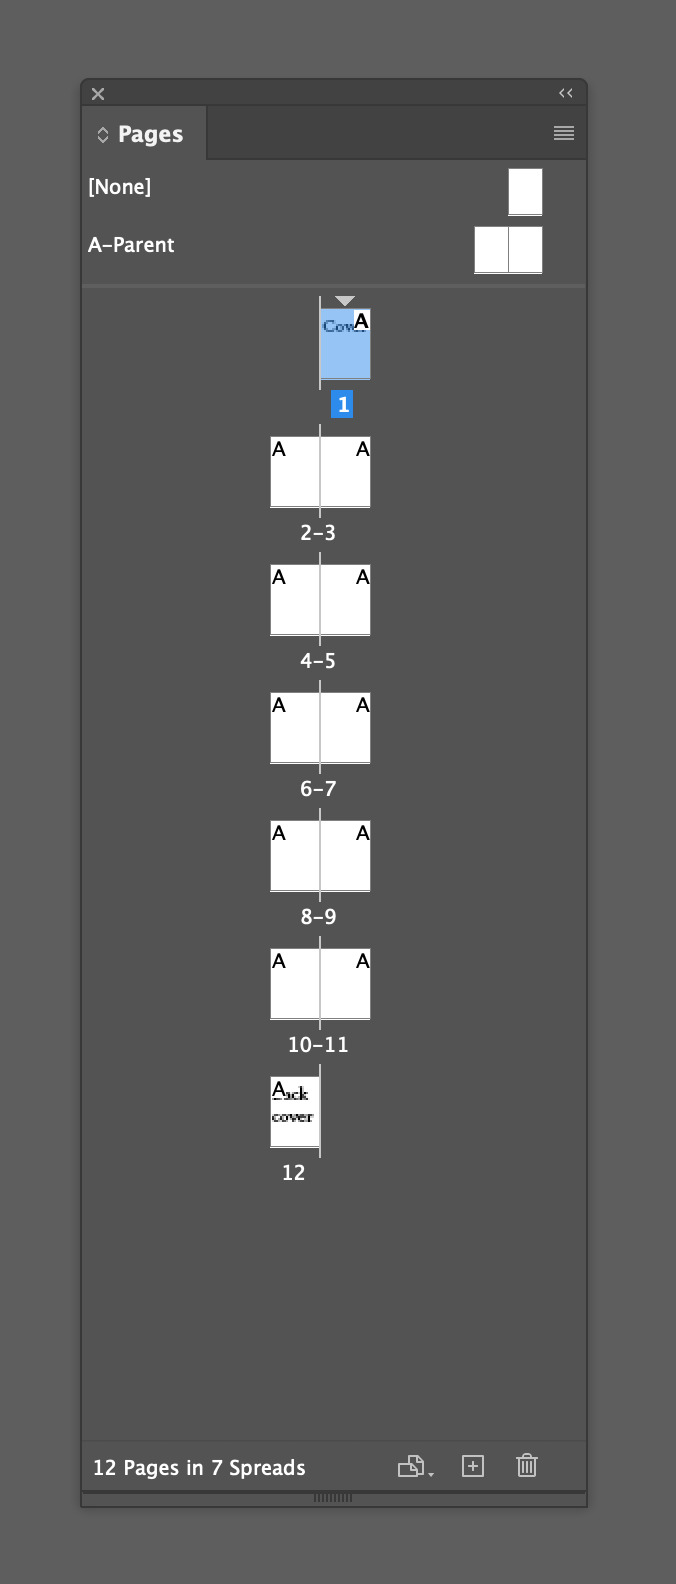
Here is a phot of the pages I added, I added 12 pages of A5, which is equivalent to 3x A4 pieces of paper.
0 notes
Text
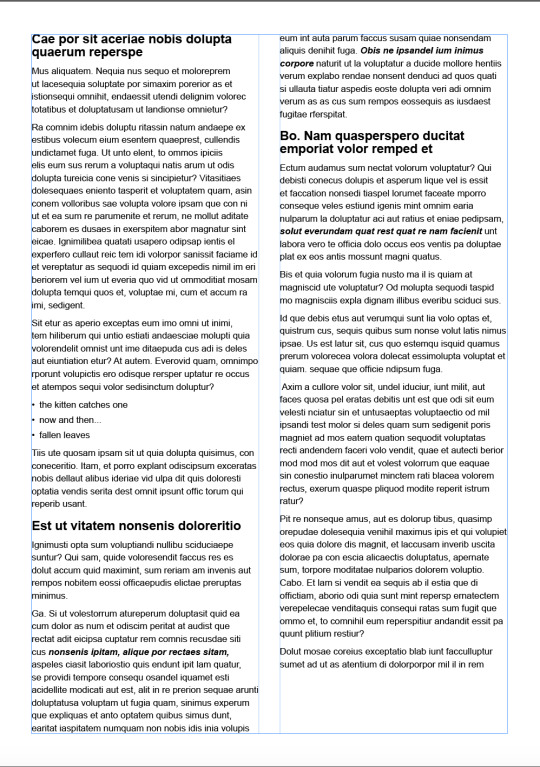
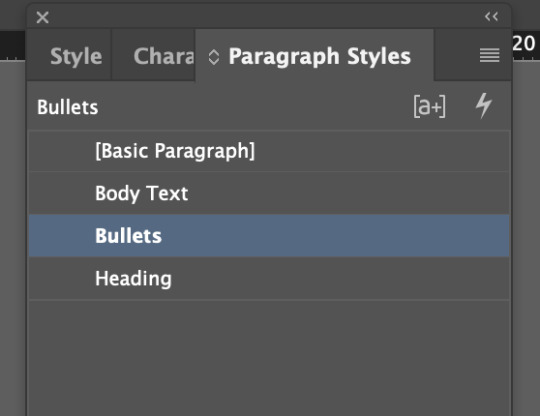
In here I added bullet points for a little poem, I made another paragraph style that was in the bullet points section.
0 notes
Text
Here I made Paragraphs by making a title for each section, I used a paragraph style for this which changes the certain paragraph you want in that font style instead of a specific character. I also made a paragraph style for the font text which is on the rest of the page.
0 notes
Text
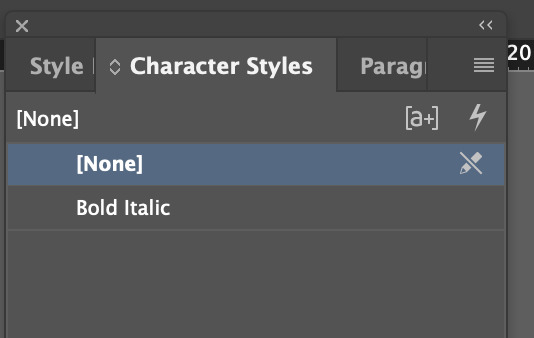
In this photo I created a character style for certain text so I could highlight a certain text and press on the character style I created which was the Arial Bold and change on the bit I highlighted to that.
0 notes
Text
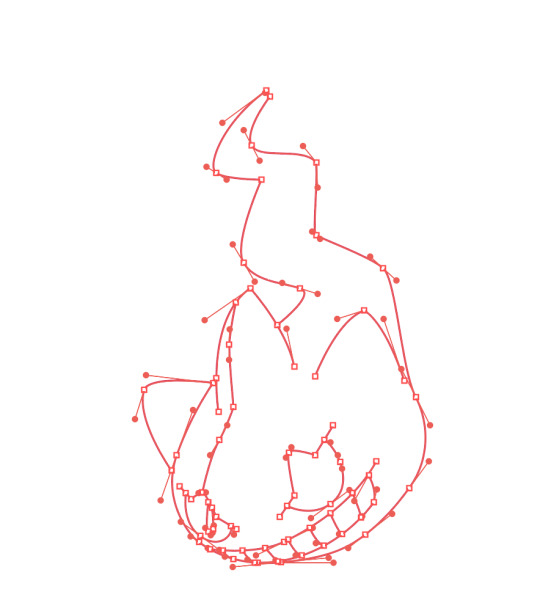
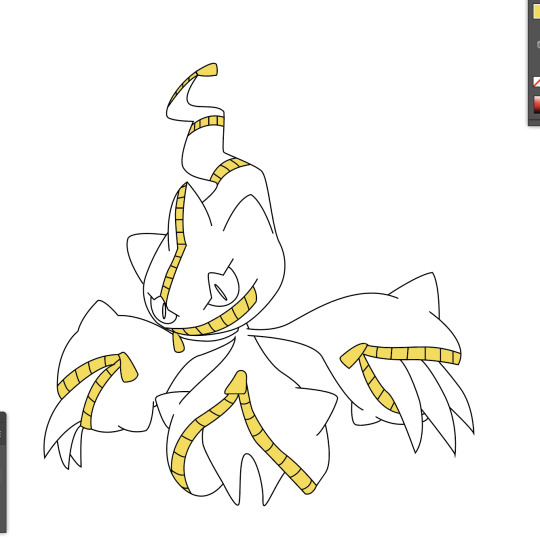
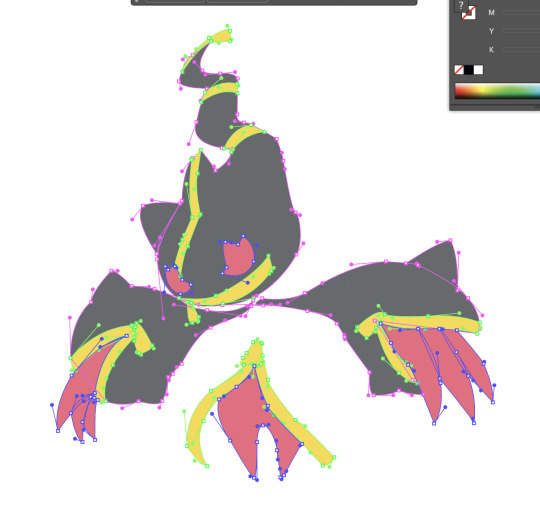
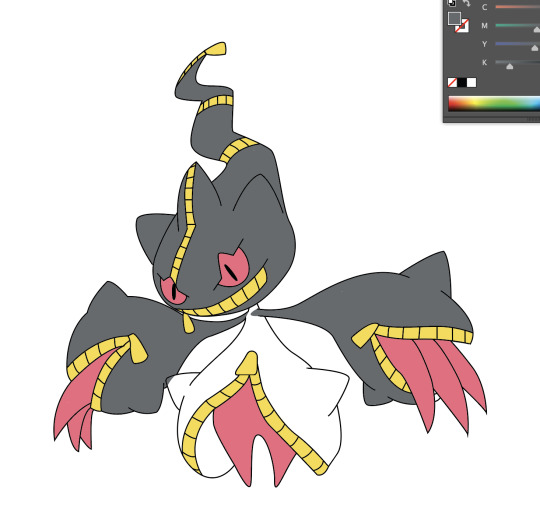
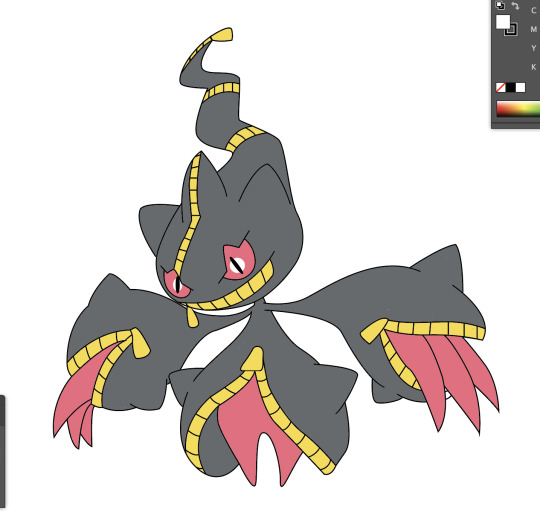
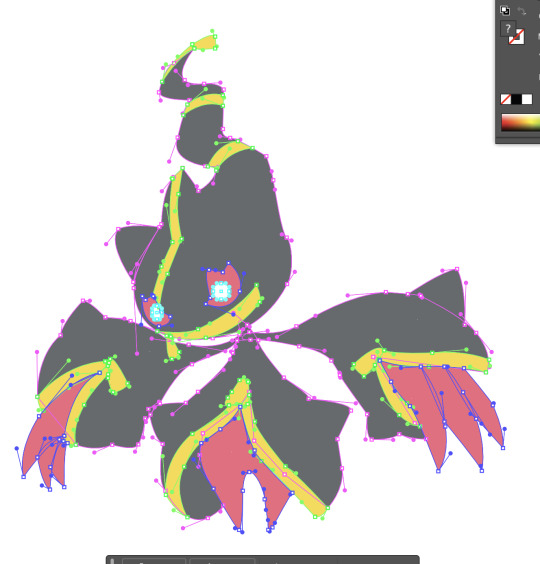
Here is the making of my Bannette and the final product, Im super happy with how this turned out, a lot of direction handles were used, and a lot more than I thought I was going to put, I lined the outline up very well and it looks really clean, I made sure to use the white selection tool to grab the anchor points and edit them. I moved them quite a bit to get the exact shape that I wanted, You can see in these images the process I went through and all the direction handles, I selected the direction handles by going Select-Object-Direction handles.
0 notes
Text
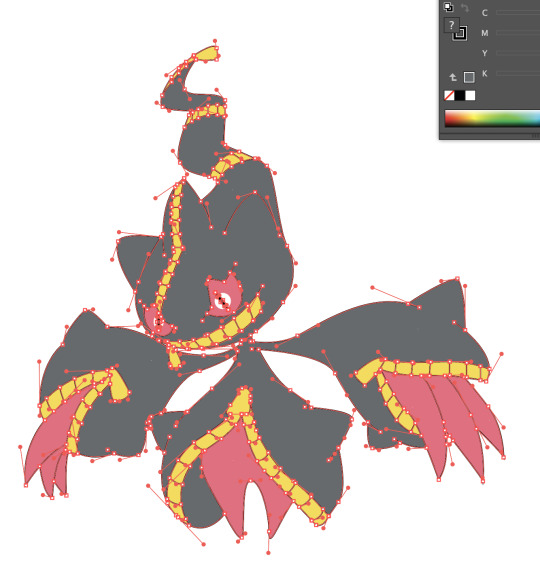
Here are the handles and the image I want to make for the illustrator skills show and tell, I tried my best to this where the handles for this image would be if I tried making it in illustrator and I think I did a pretty good job figuring them out. This is the Pokemon Mega Bannette and I thought it would be cool to try make as pokemon is one of my favourite franchises ever. For this project I am going to use the pen tool or P for the shortcut, I am going to use the fill tool to make the colour in a seperate layer and the pen tool. I will be making lots of broken points, curved points and straight points to make this image, This will be a challenge as it looks quite complicated but I am willing to give it a go!
0 notes
Text
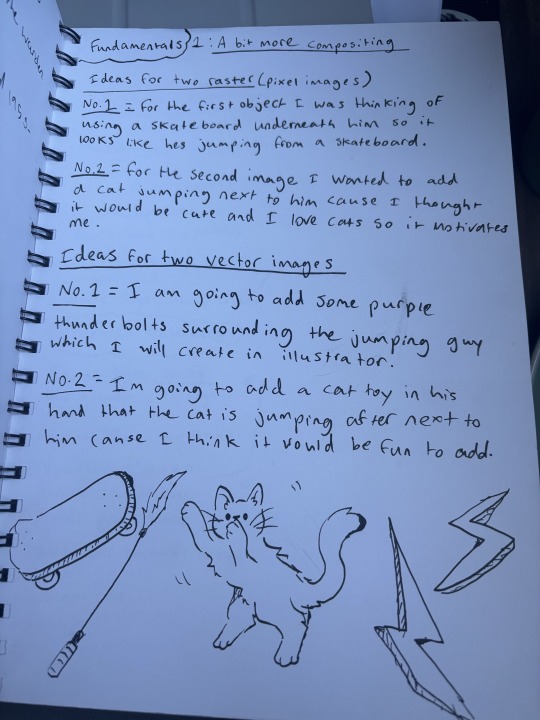
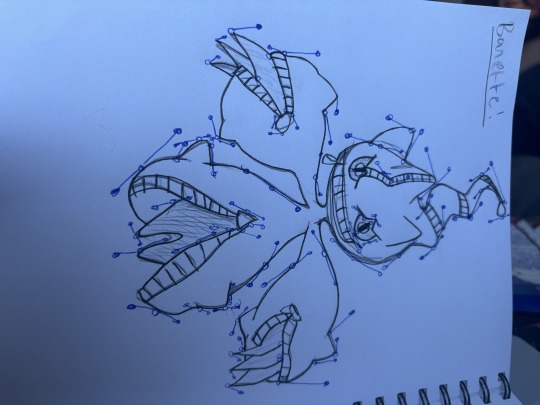
Here is the idea notes I wrote for my homework, I made sure to draw the images I wanted too :)
0 notes
Text
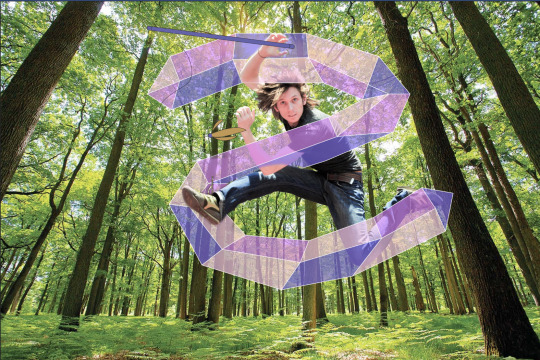
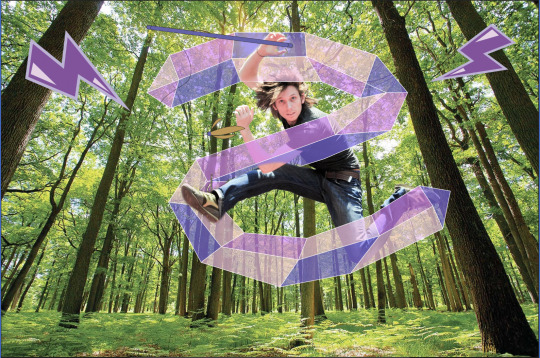
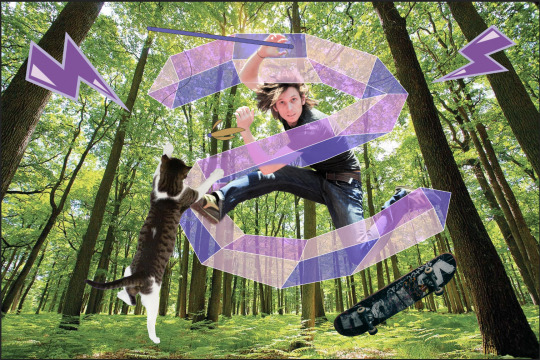
Here I added my other objects by going to file-place linked-then picking the illustrator file or photoshop file I wanted to add in, here is the step by step of me adding all my different images into the photoshop file.
0 notes
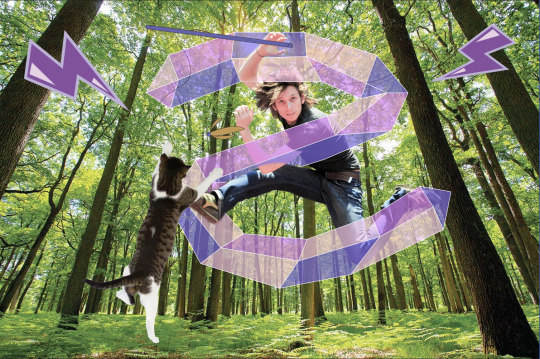
Text
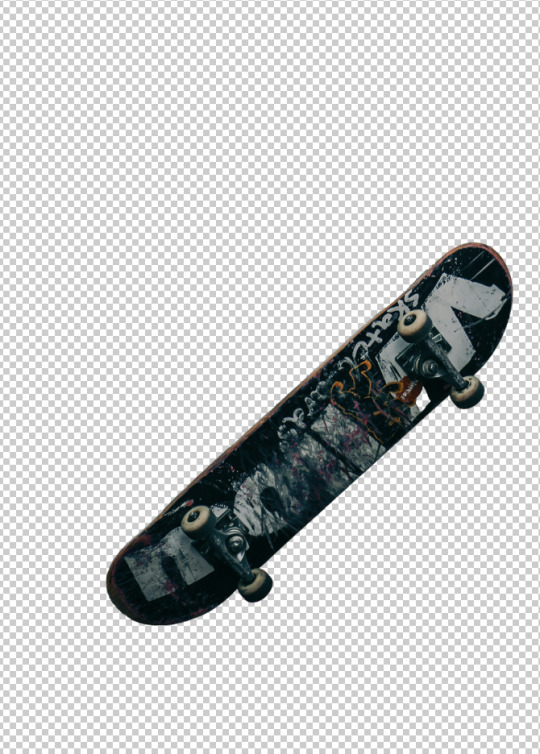
After adding a layer mask to the skateboard and duplicating the layer.
0 notes