
Don't wanna be here? Send us removal request.
Statistics
We looked inside some of the posts by infinbucketlist-blog and here's what we found interesting.
Average Info
Notes Per Post
482
Likes Per Post
285
Reblog Per Post
196
Reply Per Post
1
Time Between Posts
18 days
Number of Posts By Type
Text
5
Photo
12
Last Seen Tumblr Blogs


Fun Fact
Total funding amounts to $125.3M.
Text
A Cornish Road Trip, Newquay
A Cornish Road Trip
If you could only road trip around one part of the UK, we highly recommend that it be Cornwall. Cornwall is ideal for camper van lovers and surfers. Cornwall has warm weather, stunning seascapes and beautiful fishing towns. We spent ten days exploring some of the main parts of Cornwall in our camper van. See below for some of the highlights and fun places to explore!
We had departed from Portsmouth after a family wedding and set out on the four hour journey to Cornwall services, stopping only briefly for a shower on route. It was our first outing in our new camper van – Ajax, and although he was not yet fully converted, we were determined to hit the road and get away from everything for a couple of weeks.
South West UK, Portsmouth to Cornwall (Google Maps)
A few weeks prior to our trip, we decided��to book into campsites, as we could not yet wild camp (no fridge, solar panels etc). In hindsight, this was a good idea, as it made our lives a little easier for our first outing and most of the roads in Cornwall, are rather small, difficult to navigate in a van and easy to get lost on. Side note– Do Not rely on a satnav to get you around Cornwall, buy a road map and have a good navigator in the co pilots seat!
We arrived at Cornwall services at around 9pm and made camp for the night in the motorhome park. It cost us £10 for the night (15 hours parking) and the services are fully equip with showers, washing facilities and lots of lovely Cornish food. Our first night sleeping in the van was exciting and so much fun. We lay there, giddy like children the night before Christmas, looking up out of our skylight, excited for the next day, when we would arrive in Newquay.
Newquay, Cornwall
The following morning, after breakfast, we picked up some Cornish cream teas for later in the day. We wanted to beat the traffic heading into Newquay, which can be pretty busy on a sunny day. It would take us only twenty minutes to reach the campsite from the service station. As we drove down to the coast, we passed dozens of Bed and Breakfasts, hostels, hotels and other campsites. There are many different ways and places to stay in Newquay.
Newquay town has a very rich and interesting history, known also by it’s Cornish name as ‘Towan Blystra’ up until the 1400’s when it was changed to its current name. Newquay is one of the main tourist spots of the Cornish coast. It remains very popular with surfers and nomads. This is evident as you take a walk through the town. There are numerous surfing and sports shops along with small boutiques scattered around the high-street.
Our arrival at the campsite resulted in us receiving our first screen sticker for the van. This was very exciting! The campsite provided a relatively large pitch with full electric hook up and sufficient washing/laundry facilities. After reversing the van onto our pitch, we jumped out and had a look around the site.
Van Living
On looking in the van, we realised we had a small problem. Our cooking and holiday items were taking up all the free space in the van. This meant that we wouldn’t be able to pull the bed out. It also prevented us from securing anything outside of the van. After a quick google search, we found a camping store in town that sold awnings at a pretty reasonable price. We jumped back in the van, drove to the shop and purchased a new tent and some other supplies.
Handy Tip: If you park at the small ASDA grocery shop next to the train station in Newquay town centre, you get an hours free parking and avoid all the traffic through town.
Rhian un-boxing our new awning tent
In the evenings, we used our time to make awesome meals and play boardgames. There are so many things that can be made on a camping stove and we wanted to try as many as possible! Rhian had purchased a mini projector and brought her laptop so that we could watch movies on the tent wall. We had no fridge so we stored our food in a 40 litre cool-box and a storage box for the dry goods.
It took us a while to adjust to living in such a small space together. This was alleviated by days out exploring and chilled out nights where we could cook or read (sometimes drink). Once we had a routine, we were well on our way to van living.
This slideshow requires JavaScript.
Exploring the Area
Porth Beach is situated a few hundred meters from our campsite. This was fantastic as we could easily carry our bodyboards and beach gear that we would need for the day. There are many places to buy body boards, surf boards and wetsuits etc, in the town centre. Lots of the shops do great deals if you are buying a few bits.
The beach itself is very large. The tidal area is a couple of hundred meters long , with lifeguards for safety during the day. There is a riptide there for most of the year, so make sure that you know where the safety areas are. Bodyboarding is the main sporting pursuit on this beach and the surf is pretty good for it! I had tried bodyboarding before and Rhian was a newbie, yet we both found it challenging enough. When you are not fighting with the waves, there is an awesome hole in the wall coffee and ice cream shack. There is also decent family pub nearby for lunch or dinner, if you chose to eat out.
All in all Porth Beach is an ideal location for the newbie surfers and open water enthusiasts. If you like chilling out on the beach or exploring coves when the tide is out, this is the beach for you. For the hikers out there, you can grab some amazing coastal views by taking a walk along the surrounding cliffs. The sunsets in this location are incredible!
Food and Drink
If you are more inclined to party, Newquay town has a good selection of bars and pubs. The price of alcohol is moderate and the local beers and ciders are fantastic! There are many places to eat in the main town. Alternatively, if you like tapas, there is an amazing tapas bar outside the campsite. The best thing about the bar is that no kids are allowed, which makes for a relaxed atmosphere and the chance to drink lots of Sangria.
If you like to cook your own meals, there is a supermarket in town where you can by all the fresh produce you will need. Most campsites have smaller convenience shops on site to help in emergencies.
Go and explore
So remember…
buy a road map
find free or cheap parking
park in the Asda car park for access to town
bring some fun things to do in the evenings
check the beach rules and safety areas before entering the water
…and most of all, have fun, relax and enjoy yourselves in this awesome town. Newquay gently eased us into our road trip and van living. We highly recommend the town and surrounding areas. Grab your surfboards and go!
Useful links:
Wild campers: https://www.wildcamping.co.uk/forums/cornwall/
Campsites: https://www.pitchup.com/campsites/England/South_West/Cornwall/Newquay/
A Cornish Road Trip, Newquay was originally published on Infinite Bucketlist
#vanlife#adventure#ajaxthevan#builtnotbought#campervan#cornwall#diycamper#explore#homeonwheels#journey#newquay#ontheroad#tinyhouse#travel#uk#united kingdom#vanlifediaries#vanlifeexplorers#vanlifeideas#vanlifemovements#vanlifers#wanderlust
0 notes
Photo
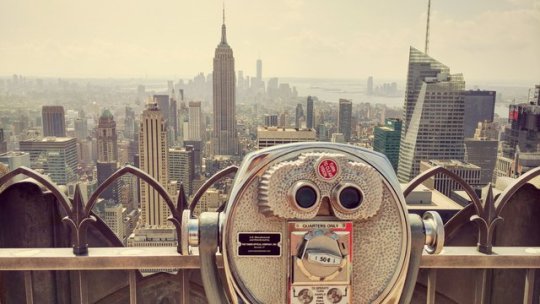
New York City - New York - USA (by Juan Salmoral)
476 notes
·
View notes
Text
Camper Van Conversion Van Insulation
Camper Van Conversion
Ajax the Adventure Van
Hello everyone and welcome to the next part in our camper van conversion series! Last time we discussed how to give your van a nice deep clean, this time we will be taking that shiny van and making it look more like a camper van. In this post we will cover:
How to install the insulation
Fitting the vapour barrier material
Cutting and attaching plywood
Insulation
There are many types of insulation out there. It is definitely worth doing some research before you commit to one type in particular. Depending on where you will be taking the van and the type of environment that it will be in, will dictate which type of insulation will suit your needs. As we were predominately going to be driving around Europe, we decided upon the soft, fluffy loft type of insulation. This type will keep us warm in the winter but also absorb some of the heat and smells from cooking etc.
This slideshow requires JavaScript.
There are a few advantages with this type of insulation including:
Its flexibility and softness ensure that it can fit into the small spaces in between bulkheads
Compared to other types available it does not contain fibreglass
When comparing to a rigid type of insulation, it is much more manageable and cheaper
To fit this type of insulation you will need to cut it to the required size. We then used a spray adhesive to stick it onto the van surface. It is important that you do not skip the cleaning stage from the previous post. This is where rogue dirt and oil could hinder the bond between the insulation and the van surface. Once you have this is done and pushed as much as possible into all the gaps and holes, it is time to move onto applying the vapour barrier material.
Note: The neater you make the insulation fit, the easier it is to attach the vapour barrier and the carpet later.
Vapour Barrier
To prevent the insulation from getting all damp and smelly, the next stage in your camper van conversion is to fit the vapour barrier over the top of it. Again, there are many different types of vapour barrier out there. We decided to use a foil based one, it is very flexible, easy to stick and cut and is thin enough that it is unnoticeable once you place the carpet over the top later. This stage requires a bit more patience and precision. It also needs some decent cutting skills so make sure you have a new blade on your Stanley knife. Use the same spray adhesive to attach the material onto the van walls etc.
This slideshow requires JavaScript.
Sometimes the foil roll will not cover the area you need. You can overlap two pieces of the material slightly and then use metal tape to stick them together. Try not to stick the edges of the foil to the insulation. The material should be attached to a metal surface to make sure that no moisture can get in. As a precaution, we used the foil tape to seal all the edges, which, in turn, made the job look a lot neater overall too!
The spray adhesive can become quite overwhelming. Make sure you have the correct respiratory masks and ventilate the van well by opening all the windows and doors. The next stage is ply-lining the inside of the van.
Ply-Lining
Fitting plywood onto the walls of the camper van covers the big gaps and gives you a better surface to attach furniture too. Some vans come with plastic panels that protect the walls, which you could use as a stencil. On our van we used 9mm ply and had to trim ours back a bit so that it sat snugly against the walls. Having a good jigsaw and power tool ninja is really helpful during this stage.
This slideshow requires JavaScript.
Take off the edges slowly and keep measuring it up against the van until it fits nicely. Self-tapping screws are a good way to attach the wood to the van walls. Ensure that any electrical cable is easy to access before screwing the wood in place. Ply-wood is quite flexible, which is handy if you need to bend it a little to fit. In this example we carpeted the wheel housing before screwing the wood on.
You are now well on your way to finishing the first part of your van! Join us next time for how to cut the windows, fit the electrics for the lights and stick on the carpet.
Chloe
Are you doing your own camper van conversion? Was this post helpful? Please leave us a comment below!
Camper Van Conversion Van Insulation was originally published on Infinite Bucketlist
#adventure#builtnotbought#camper van conversion#Camperconversion#Diy#DIY camper#explore#homeonwheels#ontheroad#tiny home#travel#van#vanlifediaries#vanlifers#vauxhall#wanderlust
0 notes
Photo
1 note
·
View note
Text
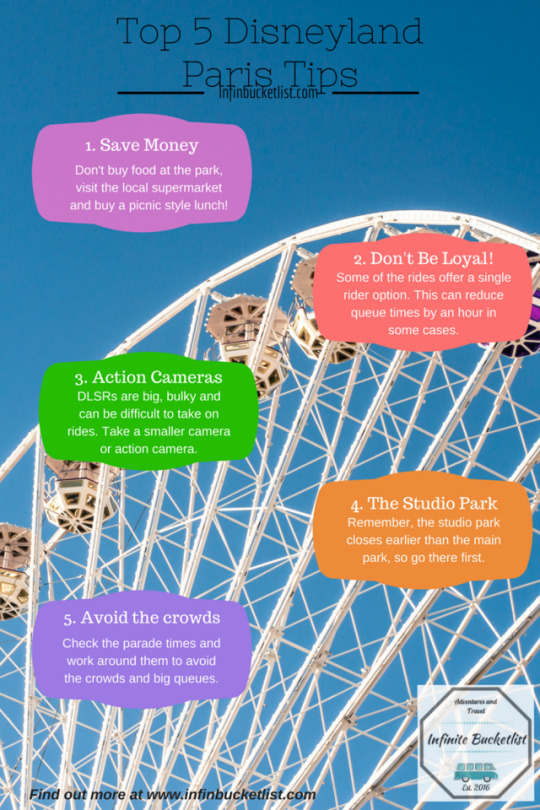
Disneyland Paris: Top tips!
After a recent short trip to Disneyland Paris, we noticed a few things that could make your trip a lot more enjoyable, at this wonderful theme park.
1. Single rider is the way forward Don’t be loyal to friends and family! Skip the 80 minute queues by opting for the single rider option. Obviously if you have young children this is not recommended. We found that we could choose to ride alone on some rides and the queue time dropped to around 15 minutes. This is great for the very popular rides such as Ratatouille and Crush’s Coaster. We managed to get on all the rides in one day and didn’t spend all of our time queuing.
2. Food and DrinK
Unless you want to spend a fortune, don’t buy food and drink at the park. We went to a local supermarket and purchased breakfast and lunch for under 15 Euros. Furthermore, if you take a bottle of water with you, there are many fountains to re-fill it around the park. It was a very hot day when we went and many people were standing in queues without any fluids and suffering for it. A bottle of water will set you back almost 4 Euros from the drinks stands.
3. Avoiding the crowds
This sounds impossible, you are in Disneyland, surely there will be people everywhere? When the parade is on, which is twice a day, the crowds gather around the castle. This just so happens to be the main transit area between different sections of the park. This is a great oppourtunity to get across to the other sections and get on the rides whilst it is quiet, however, you have to time it right or the path will be closed. When you arrive, find out the parade times and try to be at the rides that are normally really busy before the parade starts and they close the road (about 30 mins before). If you do choose to eat at the park, make a reservation for the parade times and the restaurants will be quiet.
4. Don’t forget about the studio park
The studio park closes much earlier than the Disney park (around 7pm). Don’t fall victim to this if you only have one day. The studio park is normally much quieter first thing in the morning, with most guests wanting to see the Disney castle first thing in the other park. Use this to your advantage and head over to the biggest rides whilst it is quiet. As mentioned, it closes earlier so you can spend more time in the Disney park later on.
5. Cameras
We saw many people with huge DSLR’s walking around the park. These are great for pictures and capturing those special moments but not good to take on rides. If you have access to an action camera or smaller digital camera, take it. It is not worth losing or damaging an expensive DSLR, plus you can get some awesome videos of the rides on an action camera and the staff don’t mind you using them as long as they are secure.
We hope this guide helps! Have fun!
Disneyland Paris: Top tips! was originally published on Infinite Bucketlist
#adventure#disney#Disneyland#explore#family#France#Holiday#Mickey Mouse#Paris#travel#trip#wanderlust
1 note
·
View note
Text
The most exciting part of any project is making it your own. Adding those little bits of you to it make it feel like home. In order for us to do this to Ajax we first had to strip the van down and deep clean it. I am not going to lie, this is hard work. The following work took us six full days to complete spread over three weekends. We were working from 0800 until 1800 every day, however, it was worth it.
#gallery-0-13 { margin: auto; } #gallery-0-13 .gallery-item { float: left; margin-top: 10px; text-align: center; width: 33%; } #gallery-0-13 img { border: 2px solid #cfcfcf; } #gallery-0-13 .gallery-caption { margin-left: 0; } /* see gallery_shortcode() in wp-includes/media.php */
Our first hurdle was to remove the metal racking in the back. This weighed around 200kg but was luckily held together with 10mm bolts so a ratchet and spinner combo made quick work of it. My dad was going to use it in his workshop so we tried to take it out in big pieces. If you do not want to keep it then the scrap metal yards will give you quite a bit for it as it weighs in well.
Once we had stripped out the racking we next needed to take out the bulkhead at the front of the van. This is one piece of metal and had about ten bolts holding it in. They were a mixture of star drive and hex bolt heads. The van looked much bigger once the bulkhead was removed.
Some of these vans have a safe in between the front seats. To prevent them from being easily stolen they are bolted into the van floor. The only problem with this, is that the bolts tend to rust and then are impossible to loosen. We had to tilt the safe and get a hacksaw underneath to saw off the bolt head and get the safe out, then fill the holes in the floor that the safe had made.
The last thing to remove was the yellow walkway, which weighs a tonne and the old floor which was really dirty.
#gallery-0-14 { margin: auto; } #gallery-0-14 .gallery-item { float: left; margin-top: 10px; text-align: center; width: 50%; } #gallery-0-14 img { border: 2px solid #cfcfcf; } #gallery-0-14 .gallery-caption { margin-left: 0; } /* see gallery_shortcode() in wp-includes/media.php */
The yellow walkway was nailed and screwed into the floor, a few of the screws went into the metal floor and the rest just sat in the wood. It took a lot of back and lifting power to rip it off the floor! It is around 100kg so we scrappped it and got some money back on it.
The plywood floor was wrecked. We couldn’t clean it as it had years of oils and chemicals stained into it. We decided to cut it out. The diesel heater is mounted through the floor, if you want to take the heater out, you need a gas engineer to re fit it for safety reasons. We decided to cut around it and leave that bit of floor in.
We went through a few discs on our cutter but eventually we managed to prise the floor up and found that the metal floor underneath was filthy, but not at all rusty or damaged.
#gallery-0-15 { margin: auto; } #gallery-0-15 .gallery-item { float: left; margin-top: 10px; text-align: center; width: 33%; } #gallery-0-15 img { border: 2px solid #cfcfcf; } #gallery-0-15 .gallery-caption { margin-left: 0; } /* see gallery_shortcode() in wp-includes/media.php */
The next bit is the most time consuming but definitely the most rewarding. We filled up our buckets with bleach and various cleaning products and deep cleaned the whole van. Starting with the roof and walls, this makes it easier to stick the insulation in later. We then took the dashboard apart as much as possible and cleaned it all.
The seats were next. We removed them (star drives) and gave them a good wash with carpet cleaner then left them out in the sun to dry whilst we cleaned the cab floor. There was eight years of dirt in the van and the previous driver had not done a very good job of keeping it clean.
Once we had made an absolute mess and spread tools and cleaning products everywhere, we were ready to put it all back together and finish by cleaning the main floor. As you can see from the photos it looks one hundred times better than before (and it smelt a lot better too!).
The van is now an empty shell and is ready to start the insulation process.
Ajax the Adventure Van: Stripping and Cleaning The most exciting part of any project is making it your own. Adding those little bits of you to it make it feel like home.
0 notes
Text
Camper Van Conversion: Stripping and Cleaning
The most exciting part of any project is making it your own, adding those little bits of you to it make it feel like home. In order for us to do this to Ajax the van, we first had to strip everything out and deep clean it, this is hard work. This process took us six full days to complete, spread over three weekends. We were working from 0800 until 1800 every day, however, it was worth it.
Our first hurdle was to remove the metal racking in the back. This weighed around 200kg but was luckily held together with 10mm bolts, so a ratchet and spinner combo made quick work of it. If you do not want to keep the metal, scrap yards will give you quite a bit for it as it weighs in well.
Once we had stripped out the racking we next needed to take out the bulkhead at the front of the van. This is one piece of metal and had about ten bolts holding it in. They were a mixture of star drive and hex bolt heads. The van looked much bigger once the bulkhead was removed and it was awesome to see all the way through to the front of the cab!
Some of these vans have a safe in between the front seats. To prevent them from being easily stolen, they are bolted through the van floor. The only problem with this, is that the bolts tend to rust and then are impossible to loosen. We had to tilt the safe and get a hacksaw underneath to saw off the bolt head and get the safe out, then proceeded to fill the holes in the floor.
The last thing to remove was the yellow walkway, which weighs a tonne and the old plywood which was really dirty.
The yellow walkway was nailed and screwed into the metal flooring. It took a lot of back and lifting power to rip it up and take it out, so be careful as it is surprisingly heavy, although this is an advantage later if you want to scrap the metal for cash.
The plywood floor was wrecked. We couldn’t clean it as it had years of oils and chemicals stained into it so, we decided to cut it out. There was one small problem with this plan, the diesel heater is mounted through the metal and if you want to take the heater out, you need a gas engineer to re fit it for safety reasons. We decided to cut around it and leave a bit of plywood around the edge of the heater to avoid extra hassle and cost. We went through a few discs on our cutter but eventually we managed to prise the floor up and found that the metal underneath was filthy, but not at all rusty or damaged, winner!
The next step is the most time consuming but definitely the most rewarding. We filled up our buckets with bleach and various cleaning products and deep cleaned the whole van. We started with the roof and walls as this makes it easier to stick the insulation to them further in the process. We then took the dashboard apart as much as possible and cleaned it all.
We removed the seats (star drives) and gave them a good wash with carpet cleaner then left them out in the sun to dry whilst we cleaned the cab floor. There was eight years of dirt in the van and the previous driver had not done a very good job of keeping it clean.
Once we had made an absolute mess and spread tools and cleaning products everywhere, we were ready to put it all back together and finished by cleaning the main floor. As you can see from the photos it looks one hundred times better than before (and it smelt a lot better too!).
The van is now an empty shell and is ready to start the insulation process.
Next time: Fitting the insulation and moisture barrier
Do you have any stories of van converting? Please share them with us on Instagram or twitter @infinbucketlist
Camper Van Conversion: Stripping and Cleaning was originally published on Infinite Bucketlist
#adventure#builtnotbought#DIY camper#explore#homeonwheels#on the road#tinyvanhouse#travel#Van life#vanlifediaries#vanlifers#wanderlust
0 notes
Photo
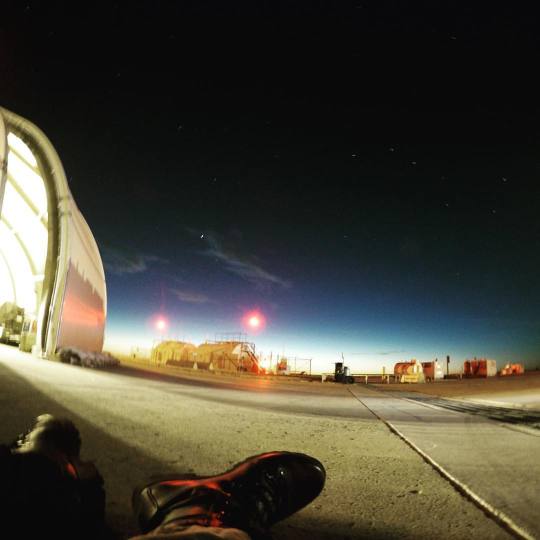
I am loving been able to really try out my go pro at low light! It has come up with some great results so far 😁 #photography #Canada #sunset #dusk
0 notes
Photo

The #auroraborealis were even stronger last night! It's just shame that it was cloudy! #aurora #borealis #canada #lights
0 notes
Photo
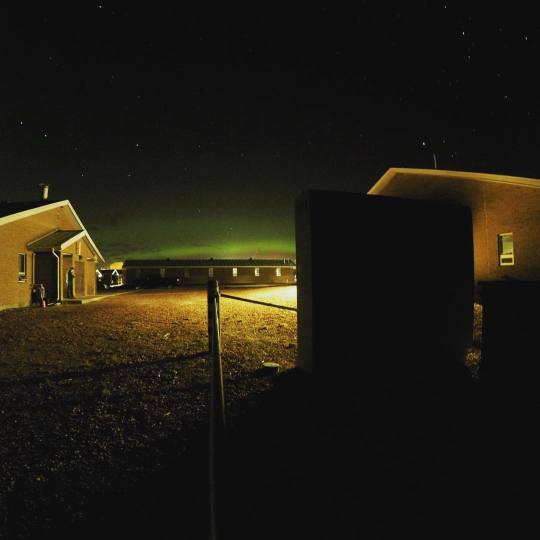
They were trying to come out last night ! #northernlights #auroraborealis #canada #prarielife
0 notes
Photo

The best but of light coming through the roof #heart #love
0 notes
Photo
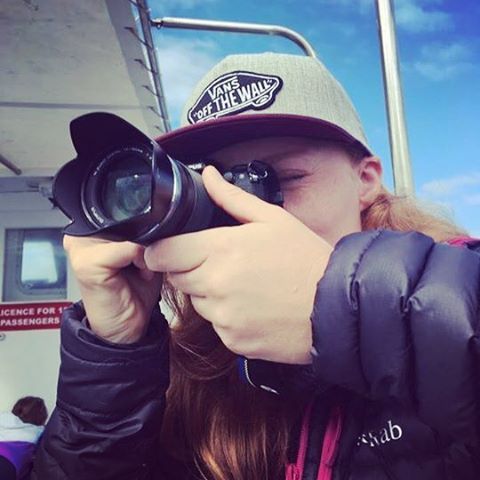
When I'm photographing on a trip and I'm getting photographed ... It's confusing. #photography #travelphotography 📷🚐😂
2 notes
·
View notes
Photo
It has been a whole year of adventure with this crazy awesome woman and I am very lucky :) #wanderlust #explore #travel #soulmate #fun #discover
1 note
·
View note
Photo
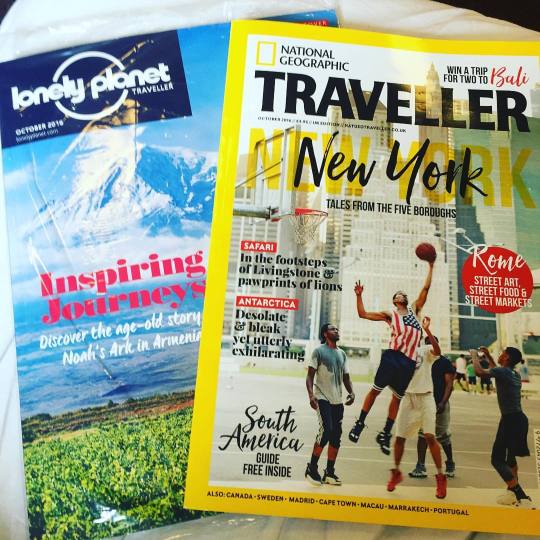
When you get back from holiday, check your post and both your subscriptions have arrived 😩😩 I want to go back!! #travel #lonelyplanet #natgeo #natgeotraveller @natgeotravel @lonelyplanettraveller #explore #wanderlust
0 notes
Photo
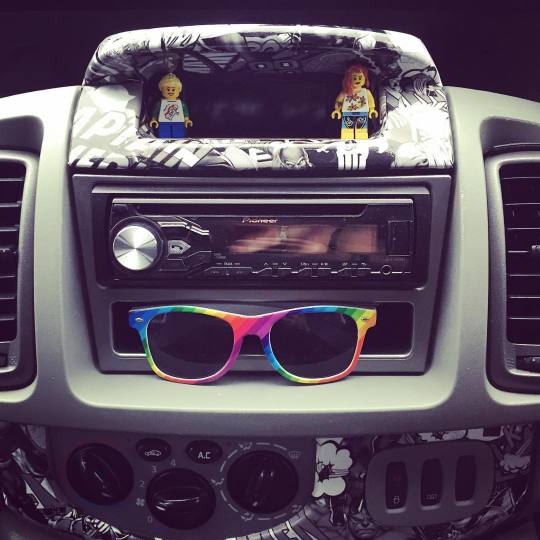
Ajax is all tidy after our 2 week road trip to Cornwall. Now we just need to get him washed and re fuelled plus a few mechanical jobs. Next stop he is off back up north so my parents can fit the furniture in whilst I am deployed 😞. We wanted to do it but our jobs are busy! #ajaxthevan #parentsrock
1 note
·
View note
Photo
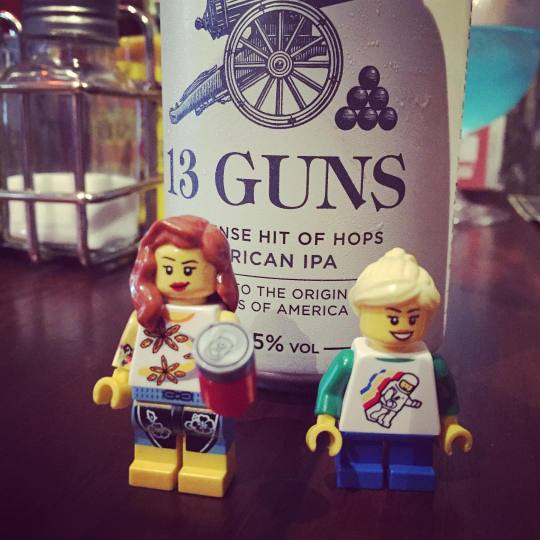
We do love a nice craft can. St Ives is full of craft beer, cider and ale and has some amazing old off licences that sell numerous wines and spirits! #13gunsipa #beer #alcohol (at Johns Off Licence & Confectionery)
0 notes
Photo
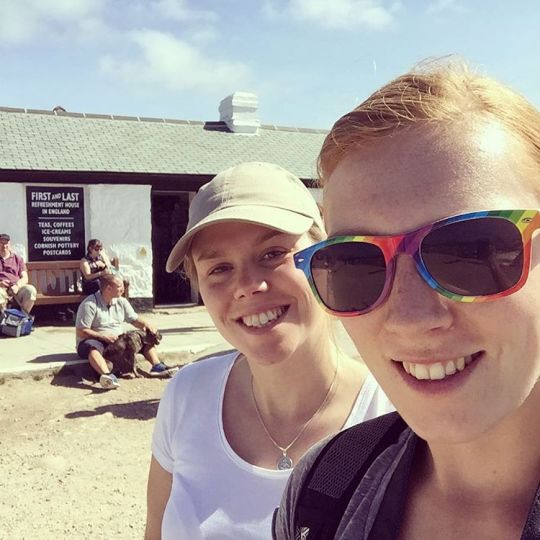
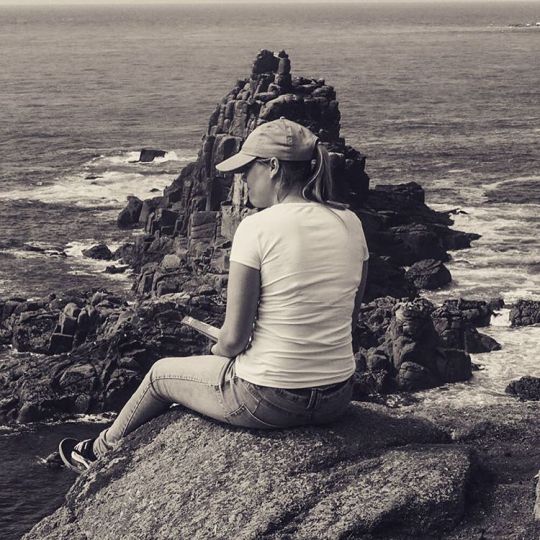
A photo from the other day at #landsend at the first and last refreshment house in England! #superrainbowglasses (at Land's End - Cornwall, England)
0 notes