
The Artistic endeavors of Kelsey Courtney Commissions are Open!
Don't wanna be here? Send us removal request.
Statistics
We looked inside some of the posts by kerisugi and here's what we found interesting.
Average Info
Notes Per Post
163K
Likes Per Post
92K
Reblog Per Post
71K
Reply Per Post
53
Time Between Posts
3 months
Number of Posts By Type
Text
9
Photo
8
Last Seen Tumblr Blogs


Fun Fact
The KCSC sent more than 20K requests to delete posts related to prostitution and porn to Tumblr from January to June 2017.
Text
They don't let kids in the library of congress. I went there ONCE as an adult to look at some correspondence between US presidents and political cartoonists. I was taken underground where they kept them. I could not check them out, and I had to wear gloves. I didn't have a smartphone back then, so I did not take pictures, just notes.
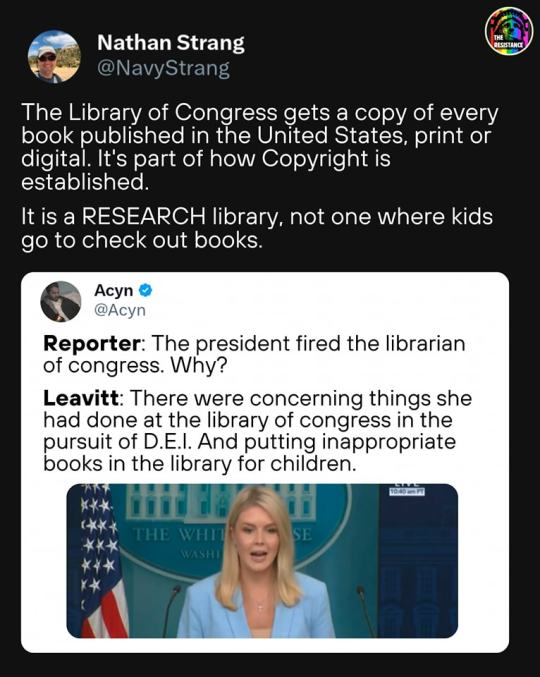

No children are allowed in the Library of Congress.
It's not that kind of library.
In other words...
You are being lied to
again
71K notes
·
View notes


Text
7K notes
·
View notes
Text
Making & using a lace brush in CSP
saw this tweet on twitter,
https://twitter.com/ClipStudioTips/status/1216735942658199554
which actually goes over using file objects to make repeating textures, which is the same method I used to make my lace brush shapes! I elaborated on the process on twitter, and I’m just crossposting this here.
So the first thing is to make a new file object as explained in the tweet, and then if you make use of CSP’s symmetry rulers you can make some complex repeating patterns like this!
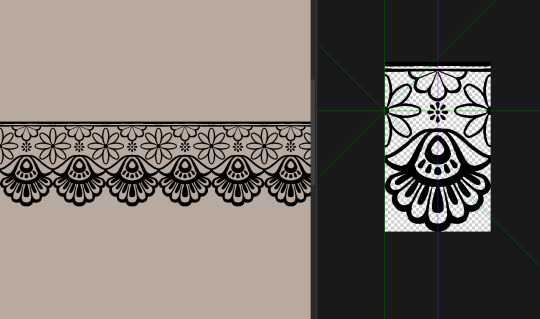
The flowers were all done using a 6 line symmetry ruler, and the part at the bottom used a 2 line ruler.

& when you set the file object to tiling, you can set what directions it tiles in, too!
Once you’re all done drawing your pattern, you want to make it a brush tip. You need to set this up correctly! CSP’s brush tip engine works as black = primary colour, white = secondary colour,
so to ensure that the brush changes colour as expected: make sure you’re working on a transparent background, and convert your layer to greyscale before you save it as a brush tip material!
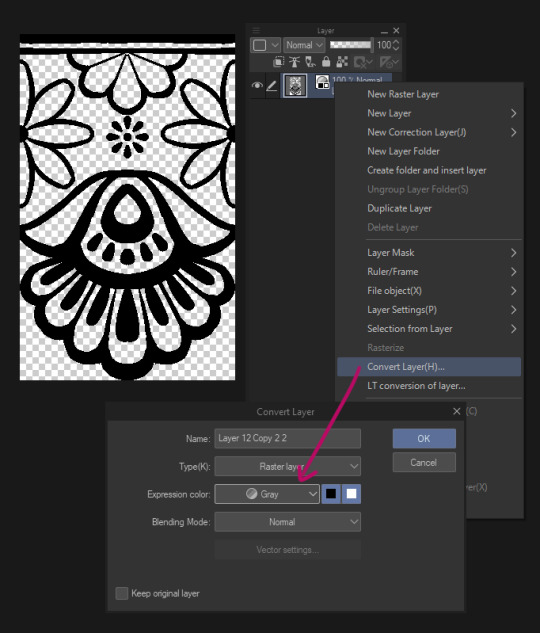
This step is important, if you don’t set the layer to greyscale, it will not change colour, even if it’s in black & white.
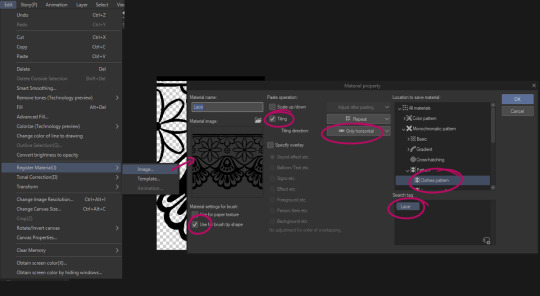
Anyway with that done you can make it into a brush tip shape by going to edit > register material > image… Here are the settings you’d want for a lace brush! Make sure to tag it so you can find it later.
Once that’s saved you can make it into a brush,


go to brush tip and change the material to your new lace tip
go to stroke, and enable ribbon
if it’s repeating in the wrong direction, go back to brush tip and change the angle to either 90 or 270 (depends which way up you want it)
And you’re done! But as for actually using it, actually prefer to have my lace brushes using the figure line tool, and to make a vector layer for them!
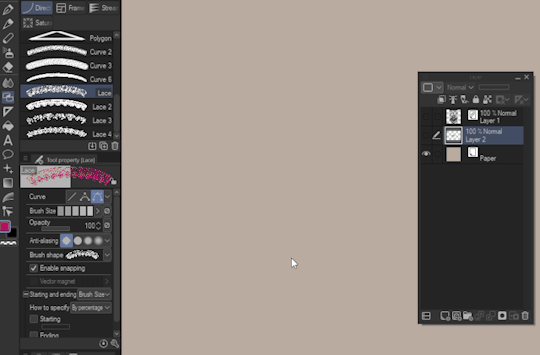
That way you can adjust the line as you need to create more realistic deformation. This works fine with the brush tool too, but drawing a line with the brush tool will create a lot of anchor points so it’s a little trickier to work with.
Anyway! Here’s an example of me using this method

9K notes
·
View notes
Text
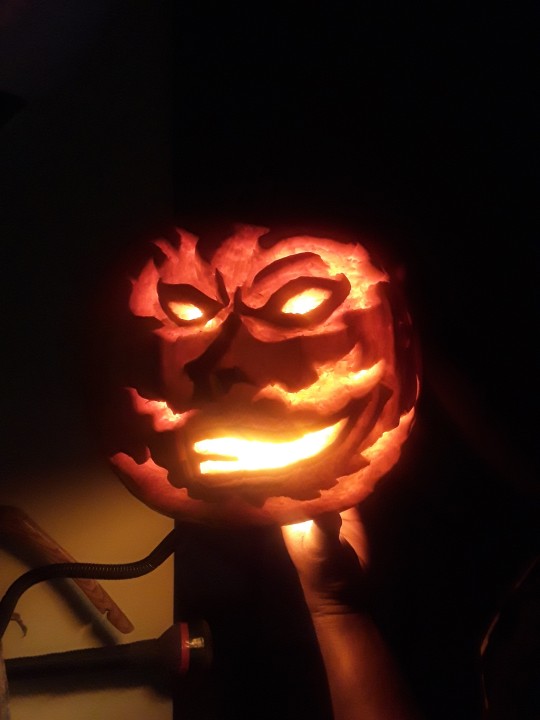

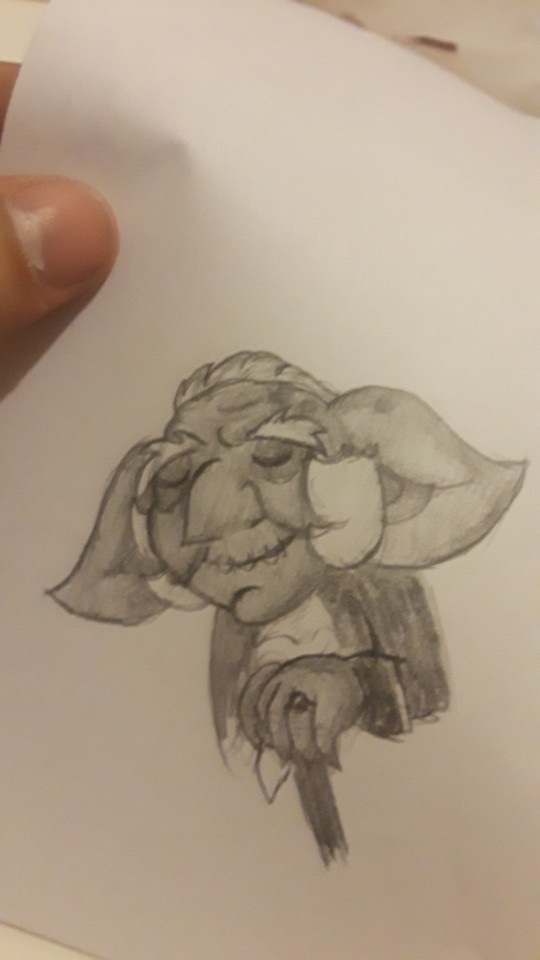
Jack-o-lantern 2018
5 notes
·
View notes
Text
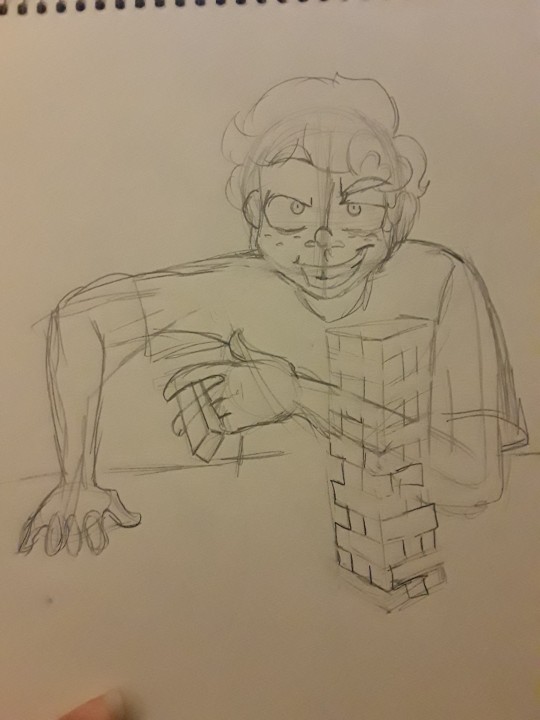


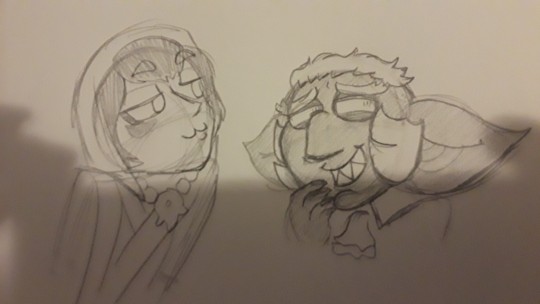
Sketches of Roger and his daughter
0 notes
Text


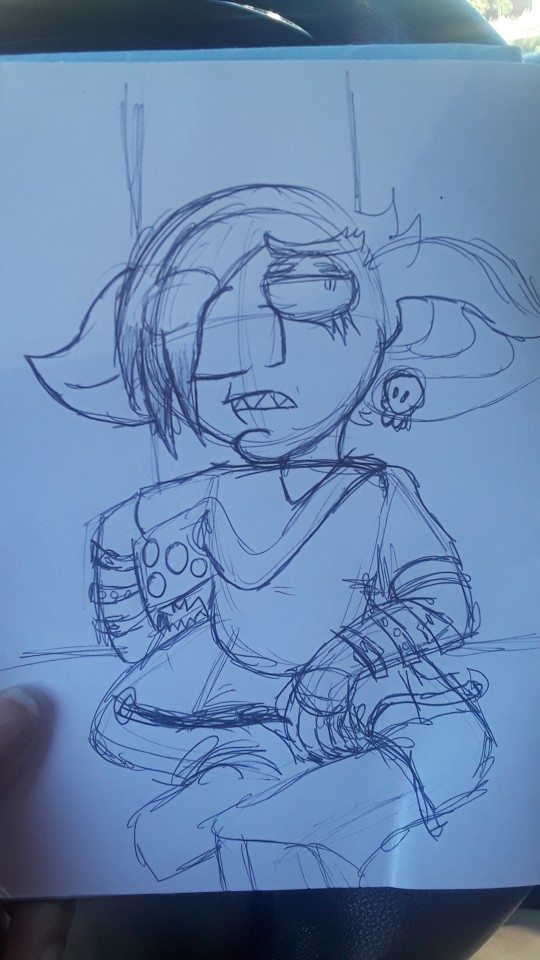

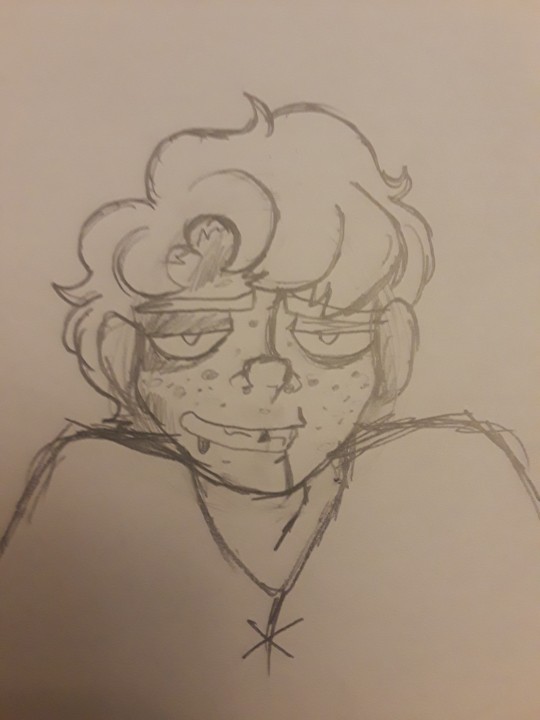
A collection of Dhegan sketches
6 notes
·
View notes

Photo

A commission for a friend
4 notes
·
View notes
Photo

The lovely Mel from @wearebeguiler
20 notes
·
View notes
Photo

Roger in Rapture
13 notes
·
View notes
Photo

Chuck, in Rapture
0 notes
Photo

Dhegan’s eternal struggle
1 note
·
View note
Photo

my sci-fi spaceship mechanic, Anthony Versilatrix
3 notes
·
View notes
Photo


Chuck, my werewolf OC
1 note
·
View note