
performanceandcharactercasebook
performance-and-character-casebook
My University casebook for my current animation class: Performance and Character
17 posts
Don't wanna be here? Send us removal request.
Last Seen Blogs

ask-modernday-assassins
Ask The Dumbasses

pointy-dainty-cactus
A blog to share, dare and fall into despair🌸


kunstherzart
ART!

pogtiste
Pogtiste
Text
Evaluation
This semester, I was tasked with creating a showreel comprising of several sequences which explore how a character can convey moods, thoughts, feelings, emotions and personality through gestures and movement. We were asked to look at how much could be said without words. We learn from a young age to interpret what people are feeling or saying purely through their movements, facial gestures, and posture. For example, If a person is sitting, shoulders hunched over, head bowed, and facial expression blank – this conveys that they are either dead tired, beaten down or sad. If they straighten up, look up in an alert way and tap their feet in an upbeat rhythm – then we understand that they are happy and present now. Some of the suggested performance areas were comedy, slapstick, dance, acrobatics or martial arts. I decided to explore curiosity, dance, comedy, boredom and slapstick.
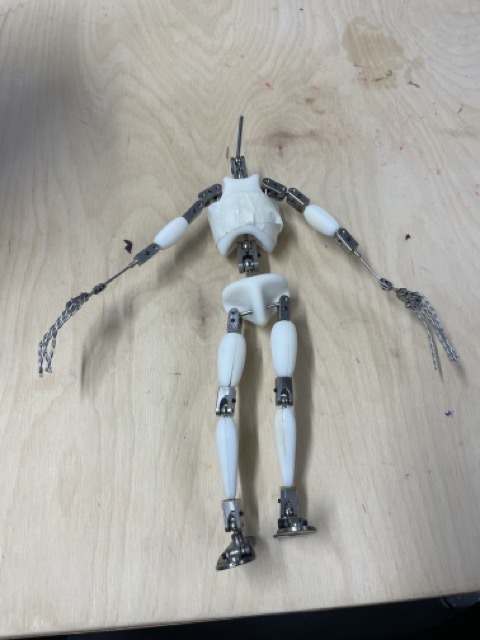
Once I decided on this, I started designing my character. I started by drawing some character design sketches in my sketchbook. I mostly drew by instinct, channelling the specific feeling I wanted to convey in the character. I took most inspiration for the character’s personality from my innocent and somewhat dim-witted ragdoll cat Muffin. I further developed this innocent yet animalistic personality in my first animation test with a blank armature. My only regret is that I was very busy juggling two different modules at this time, so I could not experiment with and develop the character and their design as deeply as I wanted to.
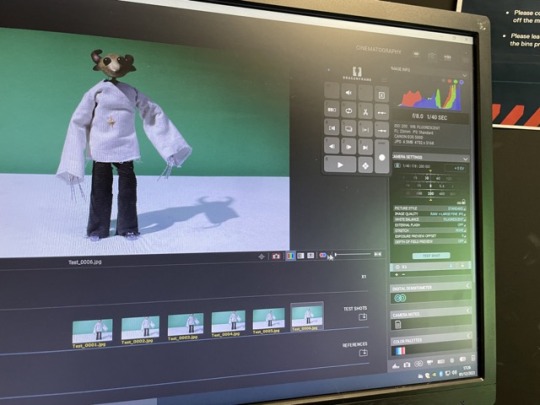
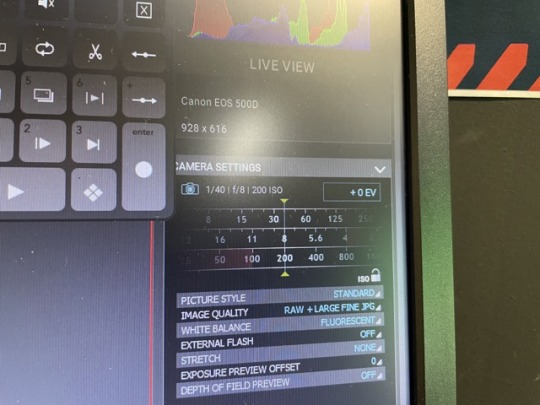
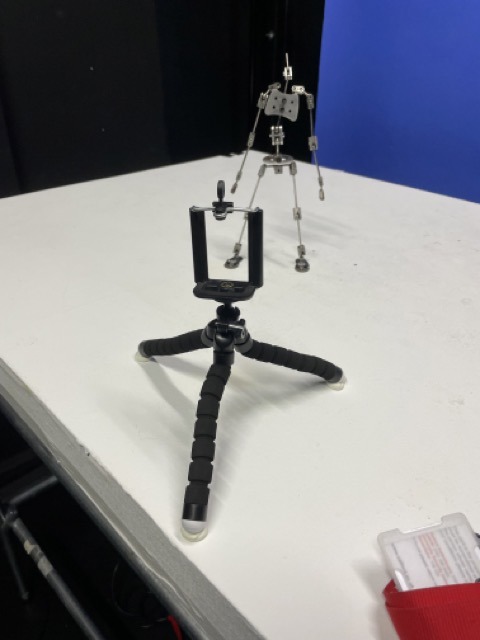
For the first animation test (and the other five animations I would make later), I didn’t come into many problems filming and animating. I had previously worked with Dragonframe and the Stop Motion iOS app in previous modules, so I had no issue using them. Unfortunately, I had been locked out of my computer for the day, so I improvised with a phone tripod in my bag and the stop motion app to animate instead.
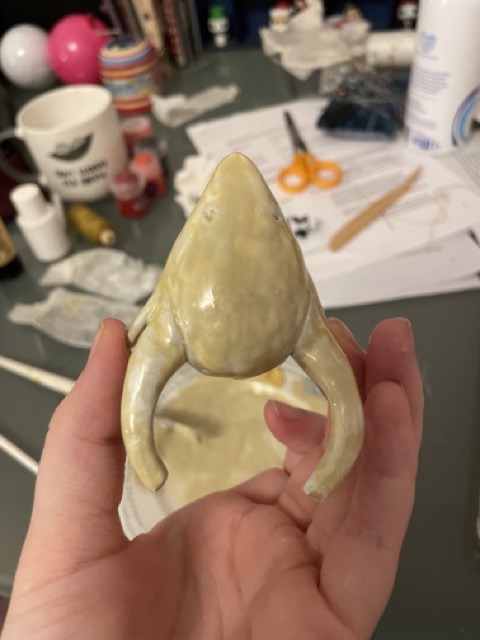
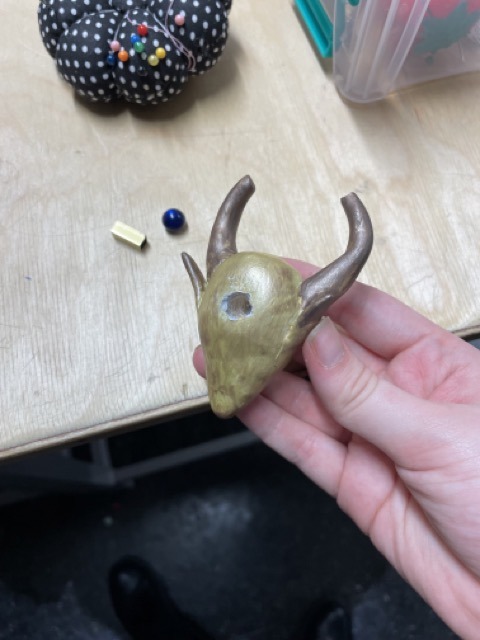
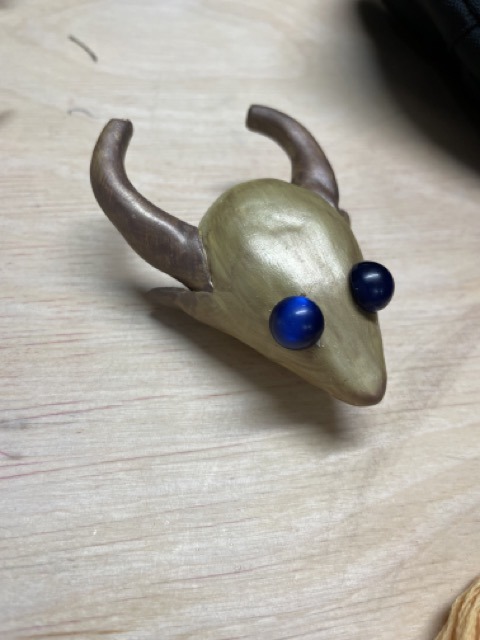
For the head of my character, I was undecided on many of the details of the face for a long time. I knew I wanted a tall, lanky character with a vague animal-like pointed head/snout, but I wasn’t sure on other features such as, in particular, the eyes. I liked the look of the shiny yet black-coloured eyes, yet I didn’t know how they'd be constructed (i.e. if they should be on the head or on stalks etc.). I made several maquettes made of Gallery putty and later plasticine. I experimented with different eye shapes and designs until I was happy with the final horned, pointy, blue-eyed design.
Once I finalised the design, I made a wooden base, sculpted Fimo clay around it, and then fired it in my oven. One issue I had was sculpting the horns; this was frustrating at first, as some of the mass felt bumpy and uneven. I kept smoothing out parts and added more clay in other areas where needed, re-doing several times before satisfied. I'm glad I made the plasticine maquette before moving on to the actual sculpt - this gave a good reference from which to work.used too much pressure at first and chipped the right ear off. Luckily, I was able to reattach it with two-part epoxy glue. In future, I will be more careful when I sand intricate parts of a build like this.
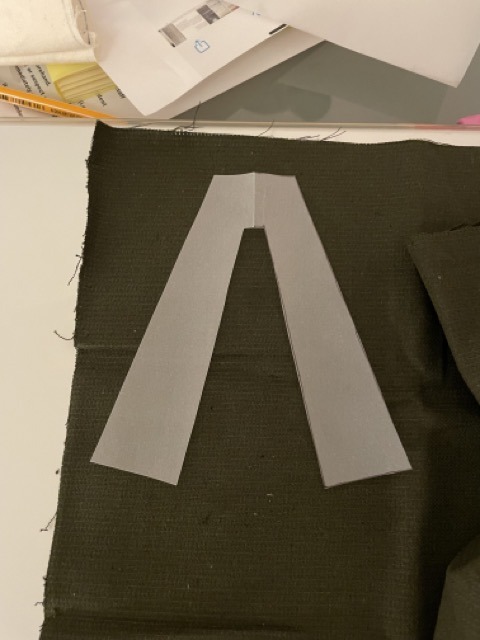
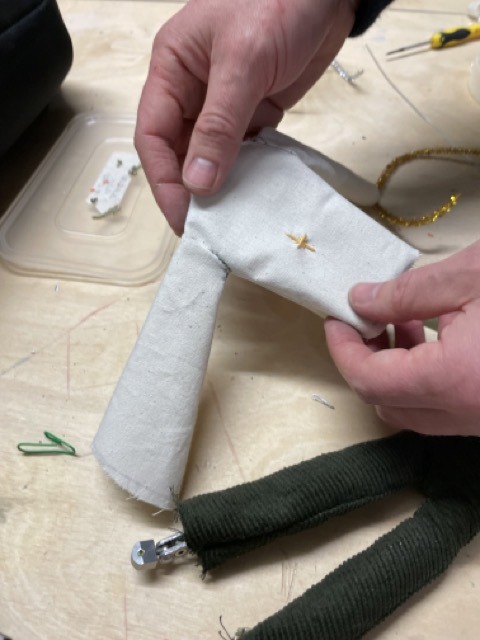
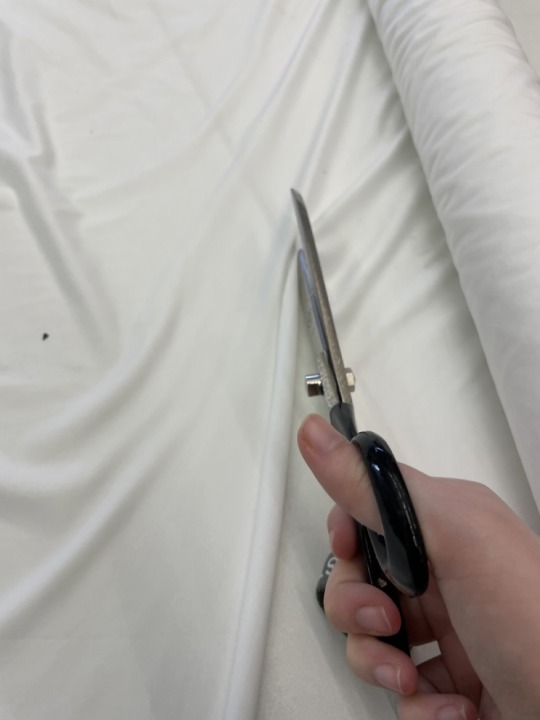
While picking out fabric for the costume, I wasn’t satisfied with the swatches available in the fab lab. I made a shirt from the linin there but didn’t find a suitable fabric for the pants colour-wise. So I got fabrics from other sources. In the end, I sourced some corduroy fabric squares with my own money.
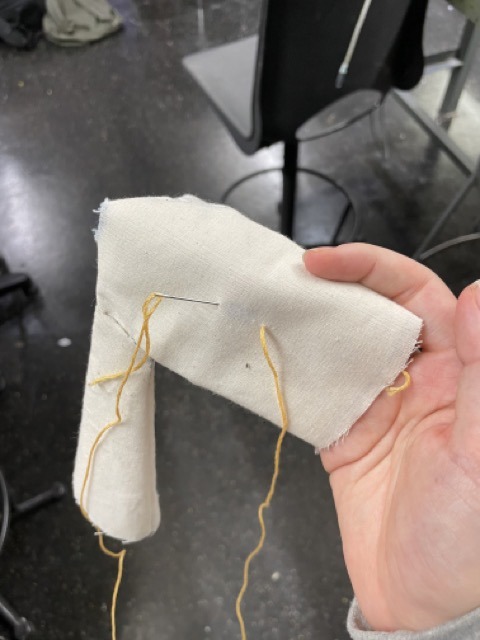
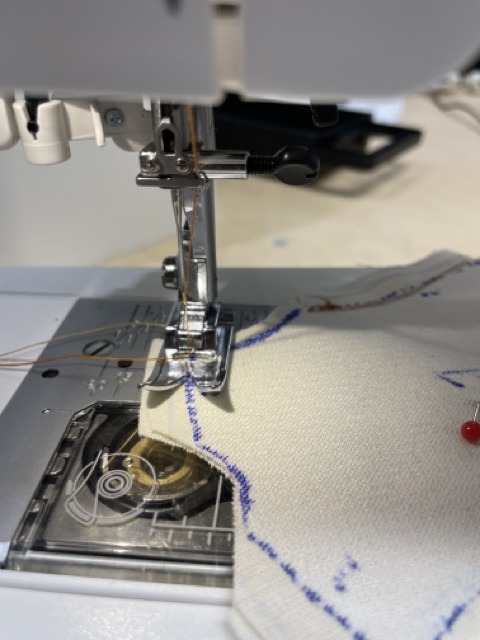
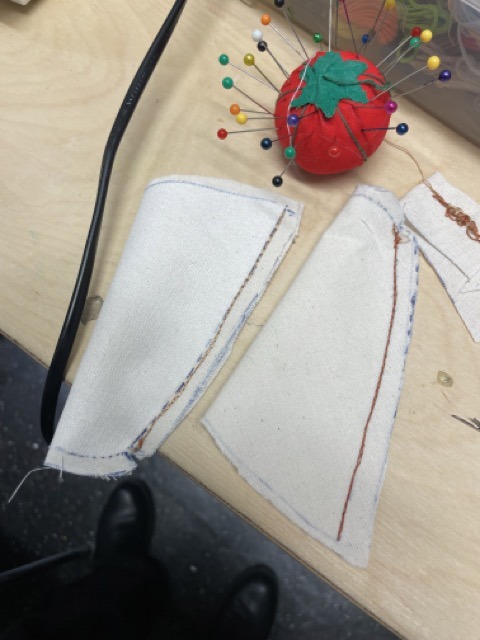
After this, I continued on the costume by making the parts for the shirt. While marking the shirt for cutting and sewing, I used a blue marker. Unfortunately, the ink bled through to the reverse side of the fabric - so I stitched a star shape over this area so it would not be distracting while filming. Next time I will use a fabric pen or chalk.
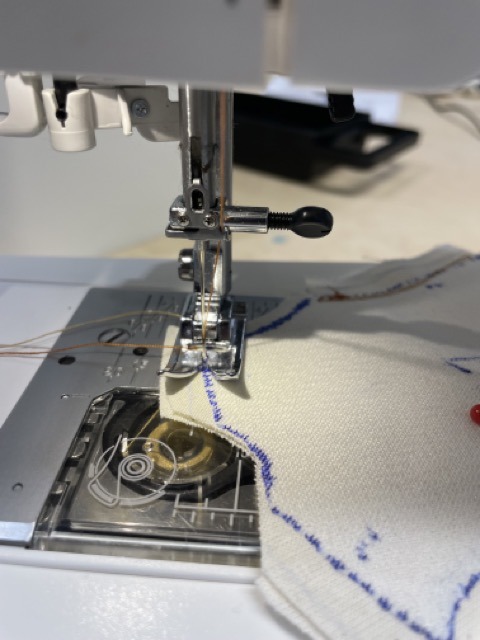
While sewing the shirt parts together, I used the wheel on the side of the machine manually to sew. Not only because the electric pedal was too sensitive and went way too fast at even the slightest pressure, but also sewing such a small garment meant it was better to use the machines hand wheel rather than the pedal as this gave more control when stitching.
With the sleeves and torso done, I decided to sew the arm holes and shoulder holes together by hand. A sewing mauver such as this would be problematic if attempted on an electric sewing machine. To make sure I didn’t accidentally stitch the hole shut, I put a sculpting tool through the shoulder and arm holes to keep both sides separate.
Making the pants was harder as I worked on them at home and had no school armature on hand to reference. But I had some measurements sent to me via email from a tutor, so I worked off these to make some pants. I later adjusted the measurements on the crotch of the pants, as it was too narrow on the original pattern. If I could go back and make them again, I would make them less skinny and more baggy, as the final pants were a tight fit that was hard to get on the bulky foam armature at first.
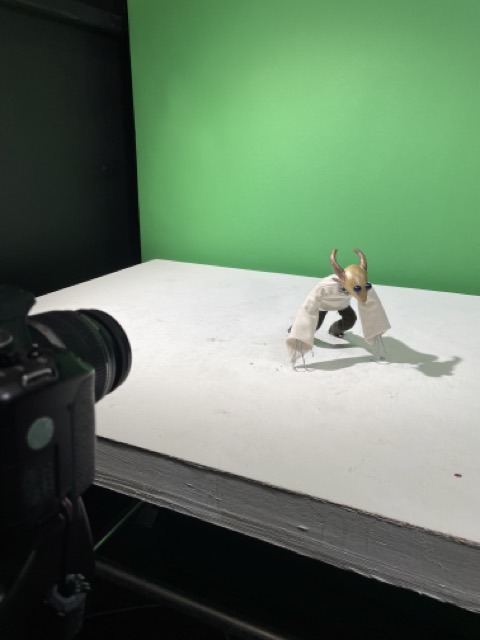
I made my first proper performance animation with my fully costumed stop-motion armature on Friday, the 2nd of December. I had previously been busy with other modules and hadn’t dedicated as much time to performance and character. So I hadn’t really planned out what I wanted to do for this first animation. As a result, I somewhat made up the actions as I went along. My idea was to have the puppet go up to their camera and sniff it like a cat. The camera, however, was too far from the table. So I instead had the puppet paw at the lens with its hand. When I go to make another one of these, I will try to draw up a rough storyboard or sketch to work from. I also went overlength slightly. In my install proposal, I outlined how I would make my animations 10 to 15 seconds or so. However, when I showed this animation to my tutor, he said it was fine
There was one moment in the animation where the creature initially puts its paw up and sort of gently scratches at the screen. When I initially animated that part and played it back in dragonframe, I noticed there was a part between the puppet putting its paw up and scratching at the screen where the paw held in place for a second. In my mind, it gave the impression that the creature was pre-meditating on this act of scratching at the screen. Which I thought would be out of character for it. It’s more of an animalistic character, not quite thinking things through before acting. So I deleted this part.
Although not perfect for fully conveying the personality of the character, who I might name Neph, after the biblical creatures the Nephilim, I am proud of this first attempt.
For the second animation, I made a rough storyboard and made it significantly shorter. I made sure from now on, each animation covered something different such as a dance or slapstick scene. I liked how this animation turned out. though, I wish for the last reaction I had, Neph stay in a more splayed-out position rather than making him go upright on his hands.
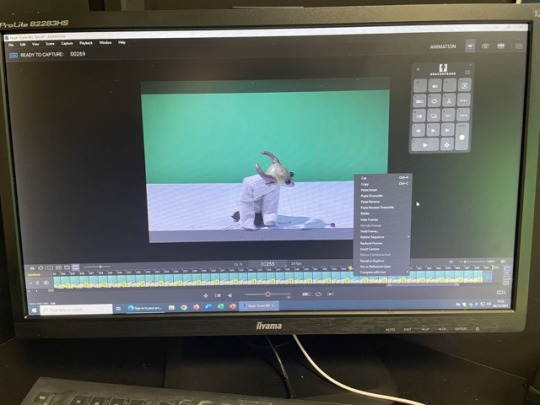
For the third animation, I made Neph dance. I didn't want to go with a more conventional dance as I felt this would feel rather generic and not feel authentic to Neph's personality. So I decided to reference this spinning dance Gorillas sometimes do as a form of play or expression of happiness. I must say, this is my favourite animation I've done for the project. Not only is the dance itself well animated, especially the twirling part, but I felt it's the first animation to truly capture what I was going for with Neph's personality. Being an animalistic yet naive and free-spirited creature.
For the fourth animation, I planned out an idea where Neph would jump into a box and get stuck in it. For this, I created a specific box for Neph to fit in. For certain sequences, like the part where Neph is under the box, the box wasn't short enough for the legs and hands to show through, so I had to get creative and find objects to place on top of Neph to elevate the box. Such as a pencil sharpener.
This animation was the simplest of all in terms of both animation and content: a slapstick short where the bug from the second animation returns and climbs on top of Neph, and Neph tries to hit it off, only to hit themselves in the face. For this last animation, for the first seconds of Neph wagging their feet back and forth, I decided not to loop the animation like I did with the previous opening "idol" animations, like the hand flapping in the first film or the sort of meditative hand waving in the second. This made the animation look more organic and made loops of the movement less jarring, and I'm proud of how it came out.
Once all these were done, I edited them all together onto a showreel I am overall proud of the work I was able to produce with this module. I learned many valuable skills, such as how to make clothes and heads for a professional stop-motion armature and how to convey personality and emotion through characters. If I did anything differently, I would dedicate more time to experimenting with and fleshing out the Character's personality from the beginning early on. I would also want to move away from the more slapstick gags present in most of the films and focus more on small character moments, like the dance sequence, which I felt was a better representation of my character and their personality.
0 notes
Text
Performance and Character: Animations
Over several weeks I filed my performance animations with my character, who I have called Neph.
Animation 1. Camera Interaction

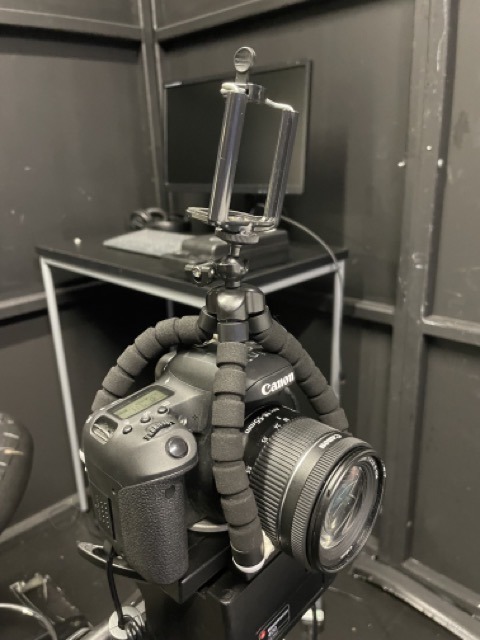
For the first animation, I re-aquainted myself with the Dragonframe software. My 1st sequence is Neph stepping towards the camera and sniffing it like a cat. I couldn't get him close enough to the camera, so instead I made him paw at the camera.
Animation 2. Surprise Reaction


I made a rough storyboard for this surprise reaction performance. I wish for the last reaction I had made Neph stay in a splayed position rather than making him upright on his hands.
Animation 3. Dancing


Here, Neph dances. I didn't want a more conventional dance as this would feel generic and not authentic to Nephs personality. I referenced a spinning dance gorillas do as a form of play/expression of happiness. This is my favourite animation for the project. I felt the dance, especially the twirling part, truly captures Neph's personality - animalistic yet naive and free-spirited.
Animation 4. Slapstick

I constructed a box for Neph to investigate, fall into and get stuck in.


Where Neph is under the box, it was too deep for the legs and hands to show, so I had to get creative and find objects to place on top of Neph to elevate the box.


Animation 5. Bug Interaction 2
A slapstick short where the bug returns from animation 2 climbs on Neph, but when Neph tries to hit it off, they hit themselves in the face. I decided not to loop the 1st few seconds of Neph waggling their feet instead filming each frame for a more 'organic' result.

I'm proud of these animations turned out I really pushed myself to create them within the timeframe.
0 notes
Text
Performance and Character: Head Painting and Costume Completion
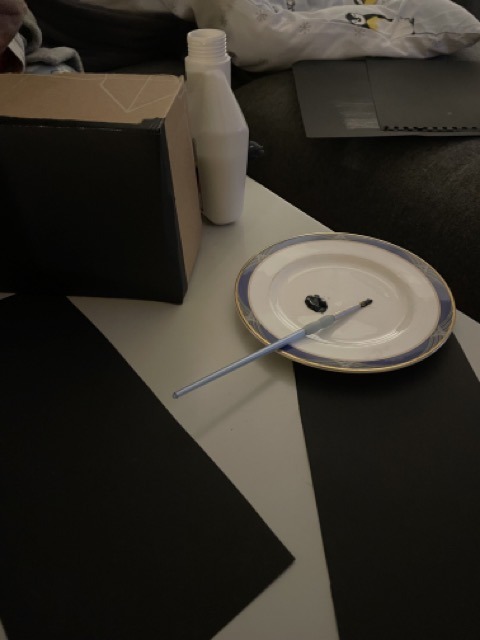
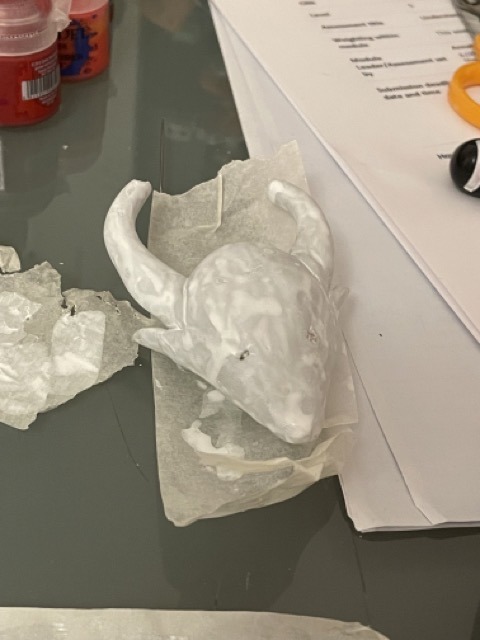
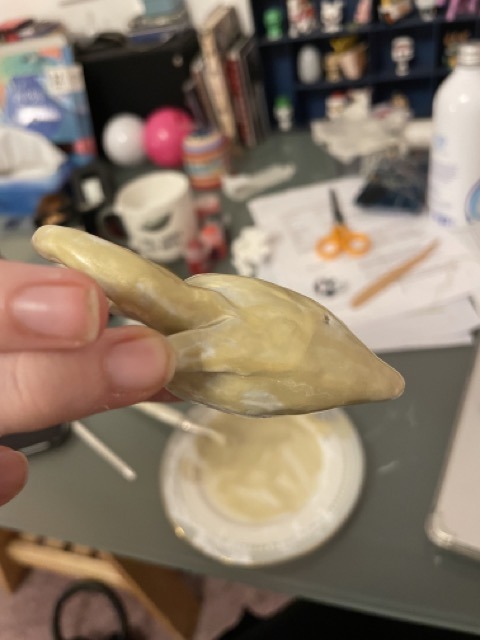
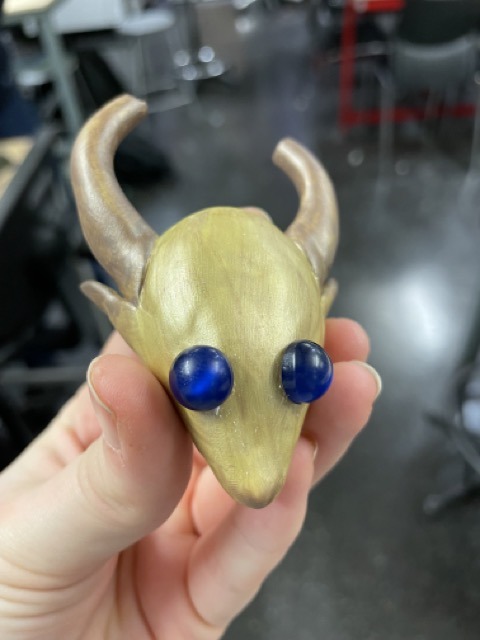
In this final stage I painted the character head. First applying a few coats of white primer miniature paint. Then a few coats of acrylic metallic paint over that once dried.
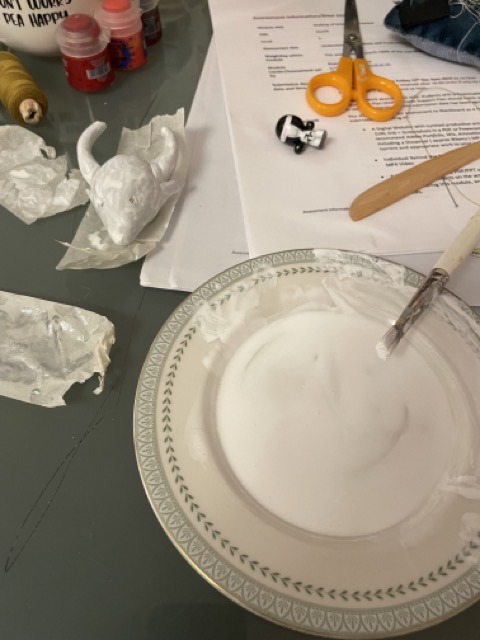
While these coats were drying, I worked on the pants for my characters costume.
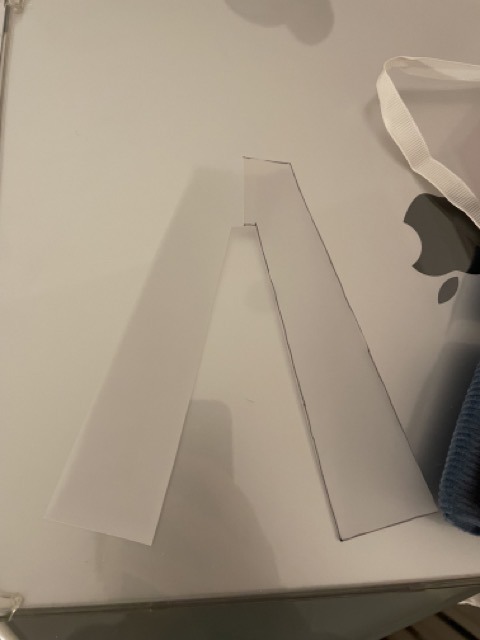
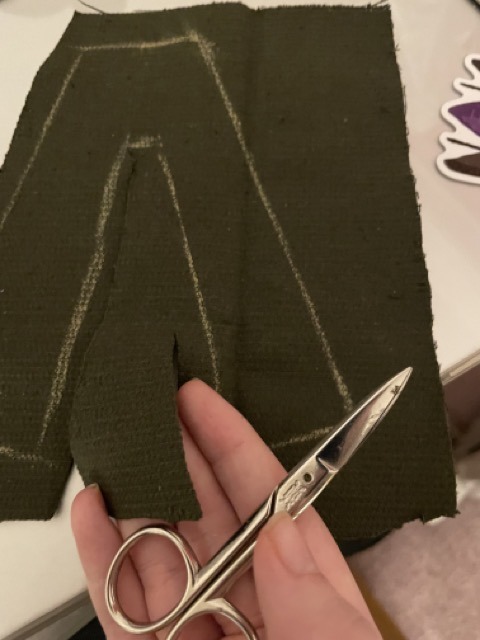
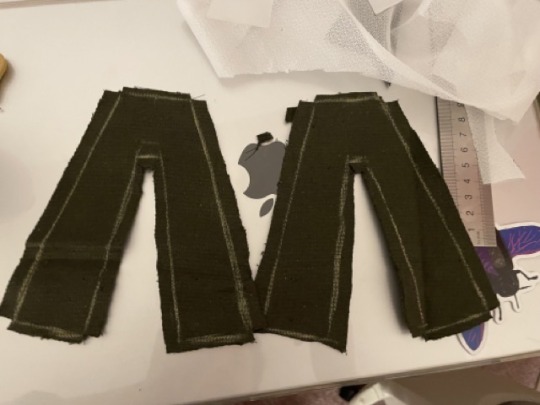
With armature measurements in hand, I began to make the pants. I later adjusted the measurements on the pants crotch, as it was too narrow on original pattern.
Having sewn together the pants, drilled a hole into bottom of the head (for armature neck) and drilled eyeholes (for button eyes), I put the character together.
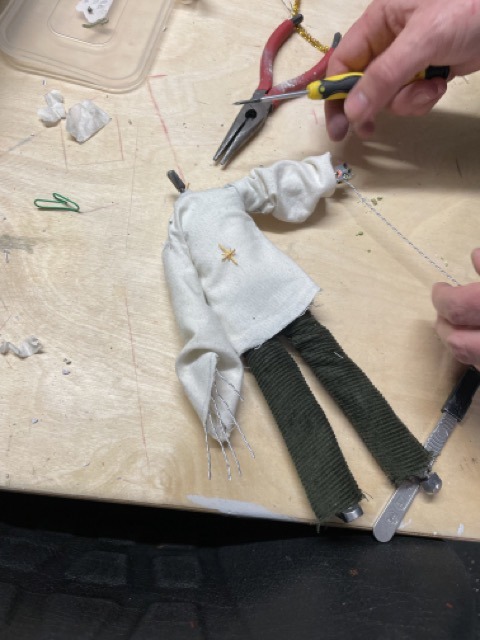
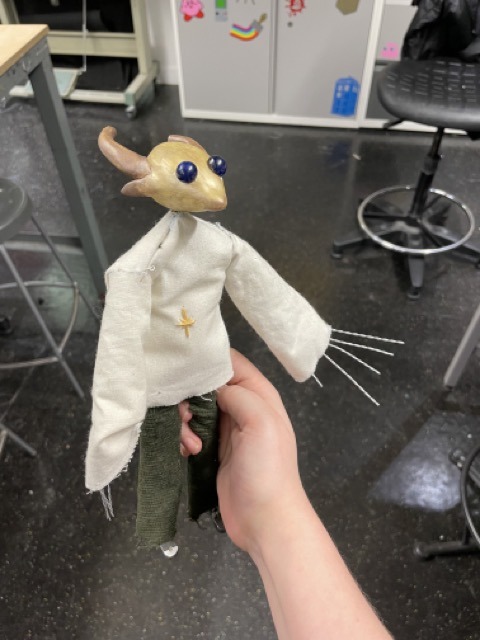
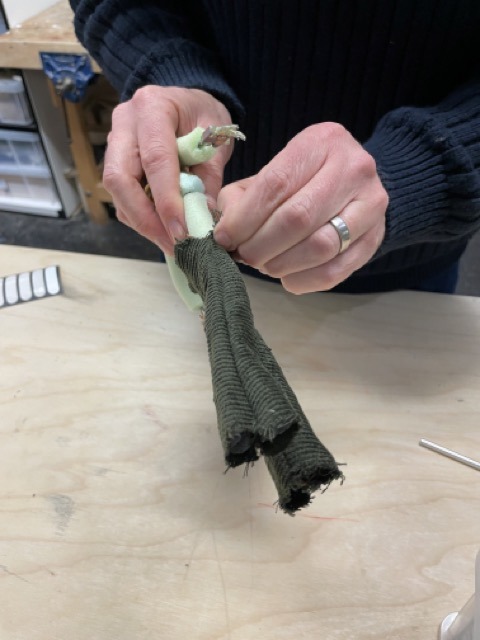
Dressing the puppet was difficult due to foam body and thickness of pants fabric.
#performance and character#stop motion#costume design#sewing#painting#miniature painting#model painting#embroidery
10 notes
·
View notes
Text
Performance and Character: Costume Fabrication - Pt 2


Continuing the costume making I now sewed together my shirt. Using the method I learned in the course I made a pattern for sleeves.


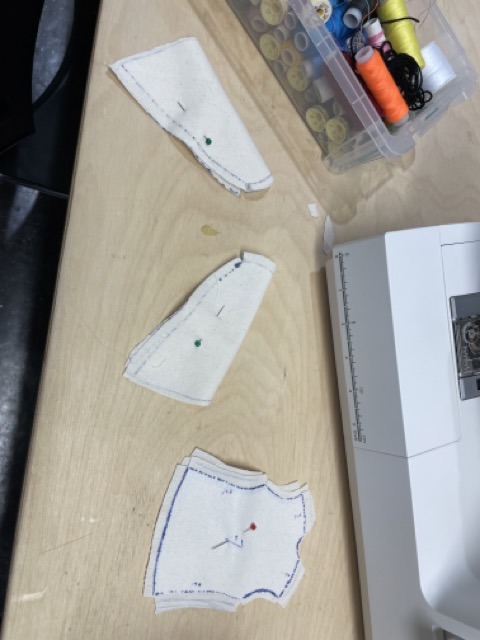
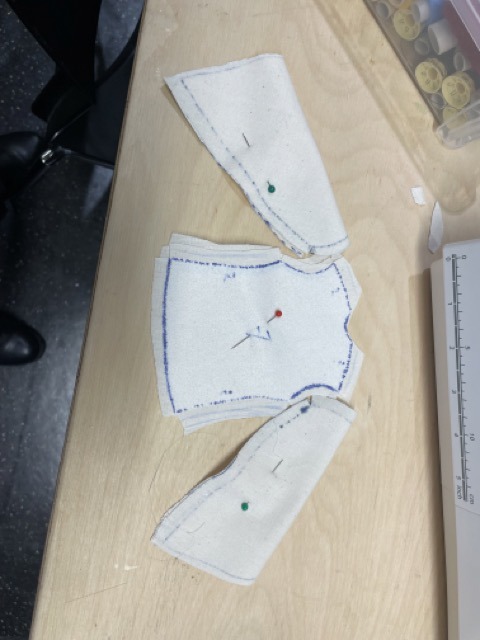
I then sewed the parts together using a sewing machine.


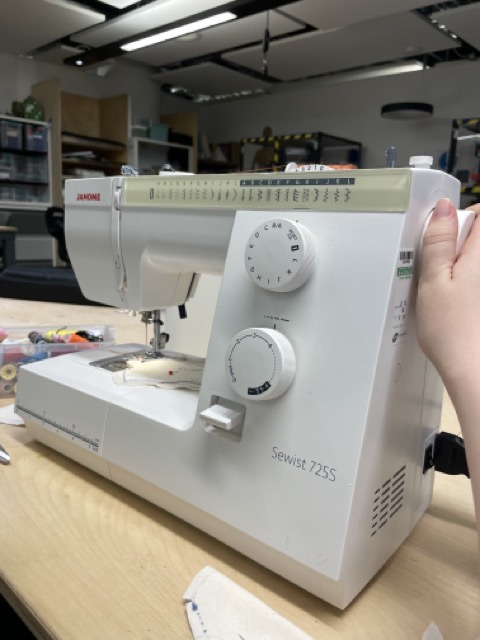
Sewing such a small garment meant it was better to use the machines hand wheel rather than the pedal as this gave more control when stitching.


Sleeves and torso done I now sewed them together by hand. I used a sculpting tool to keep the hole separate so I wouldn't accidentally sew these.

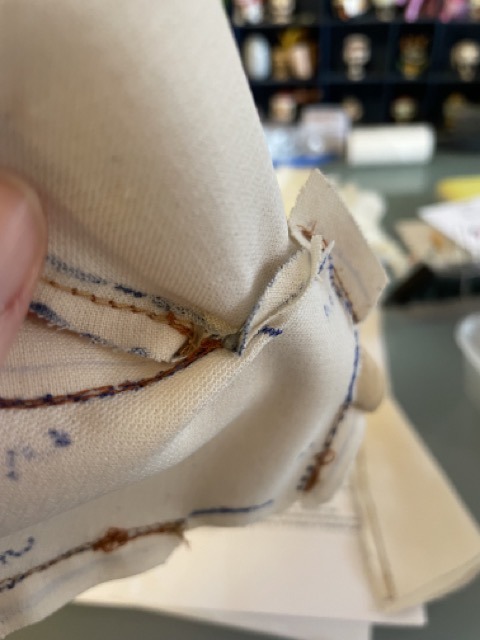


Sewing the shoulder and sleeves together was a challenge as I had not attempted anything like it before.
0 notes
Text
Performance and Character: Costume Fabrication
I attended a stop-motion Costume Making course by Amanda Thomas, who did the puppet fabrication for Fantastic Mr. Fox (2009), The Corpse Bride (2005) and Pinocchio (2022).


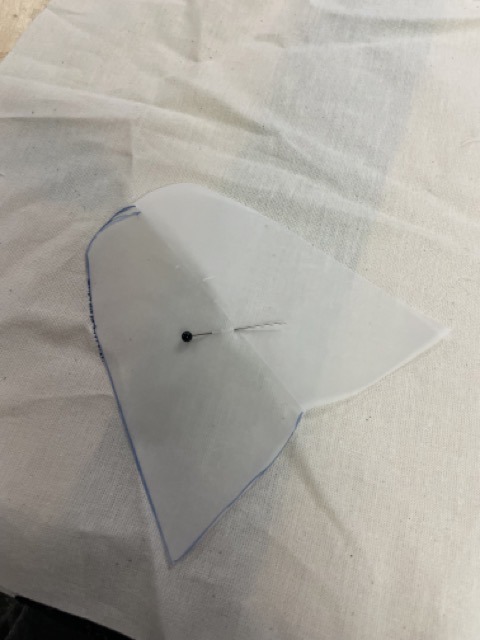
We learned how to make a basic shirt pattern. Using stretchy jersey fabric from a large roll, I stretched two parts onto the front and back of a foam armature.

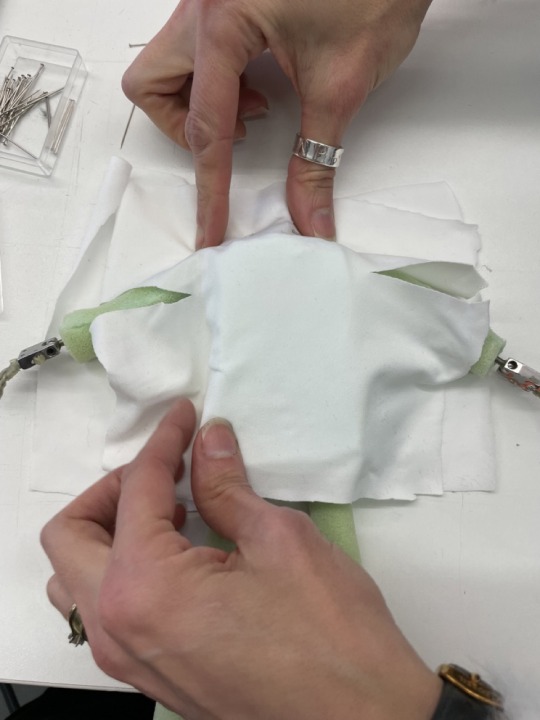


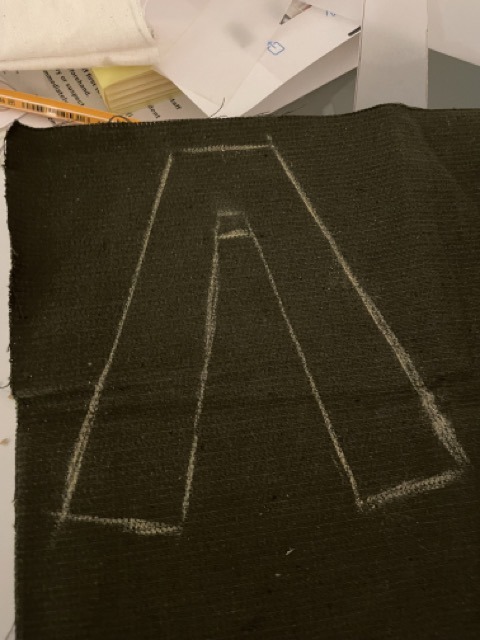
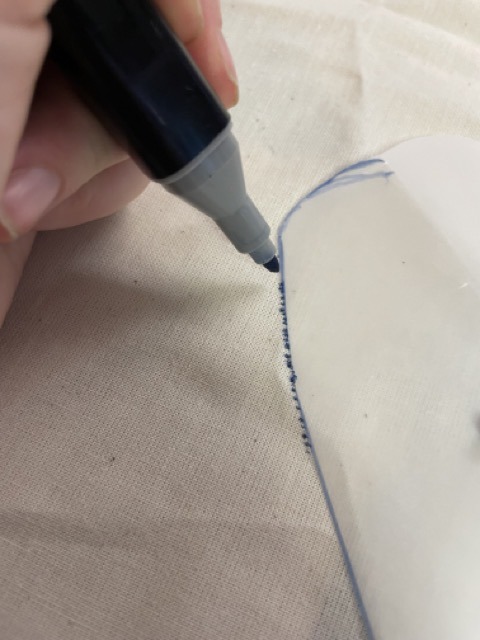
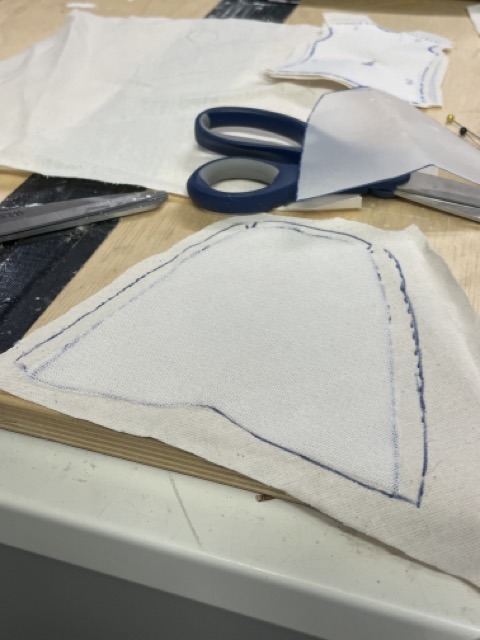
I then pinned and sewed the two pieces together and marked the sewing with tailors chalk.


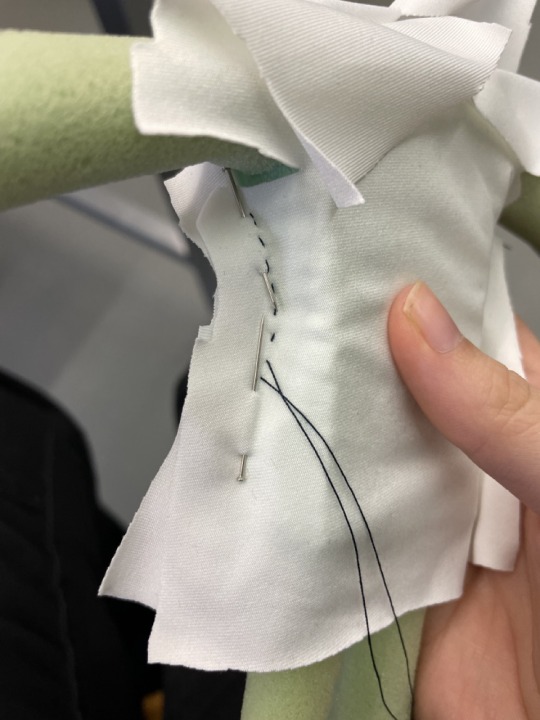


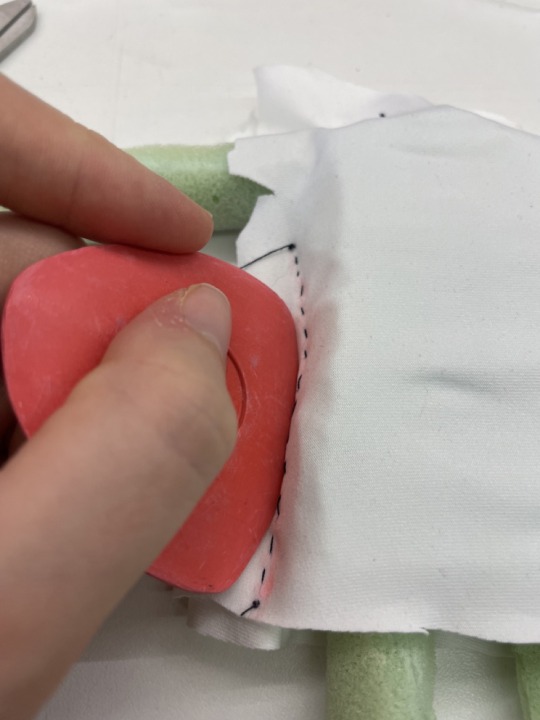
Once I'd marked these parts, I undid the stitching and marked again while flat.
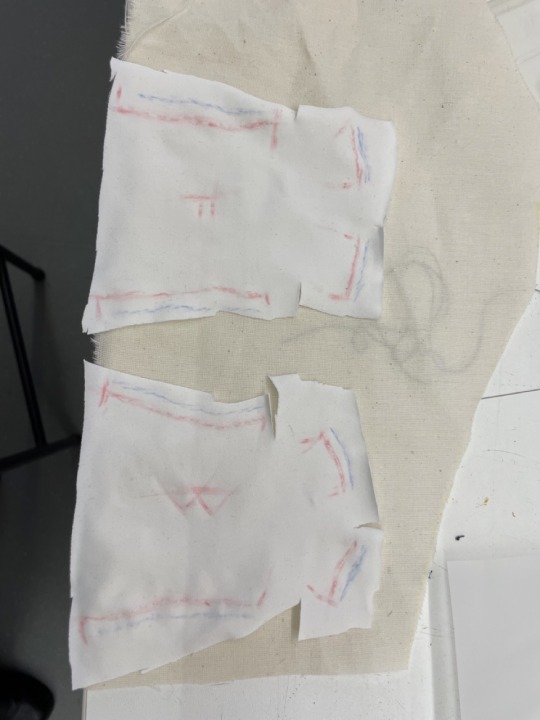
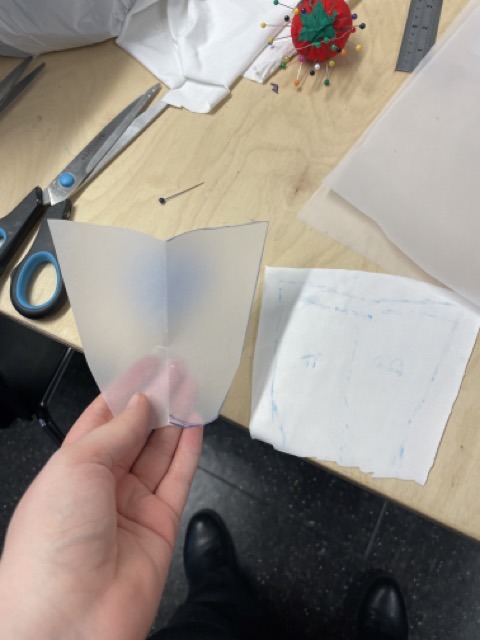
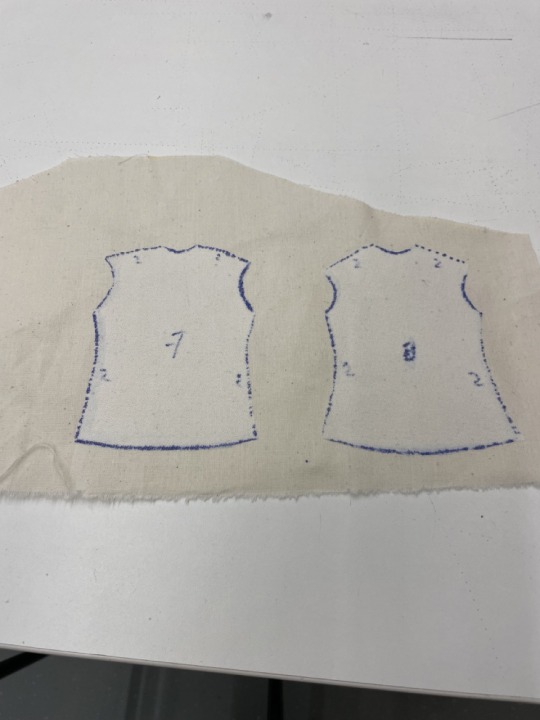
Then I traced over jersey templates and put translucent paper on them, tracing over the shirt measurements. By folding the paper in half I traced over the drawn half, so that the shirt would be symmetrical.


I then cut out the two pattern piecies.
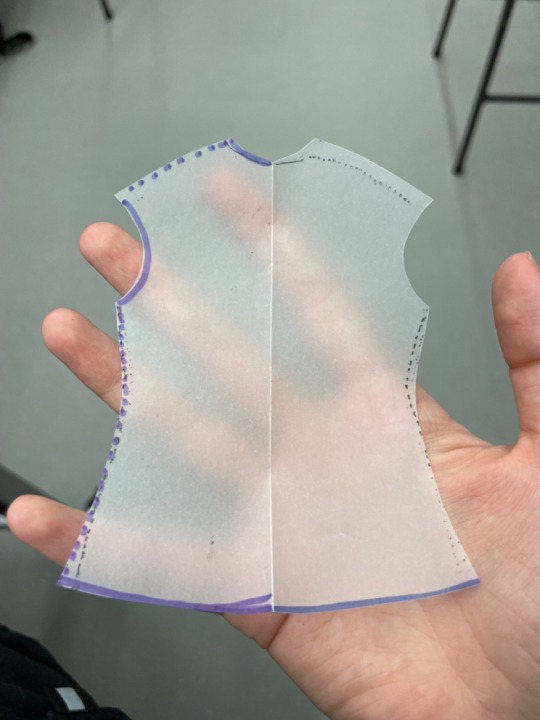

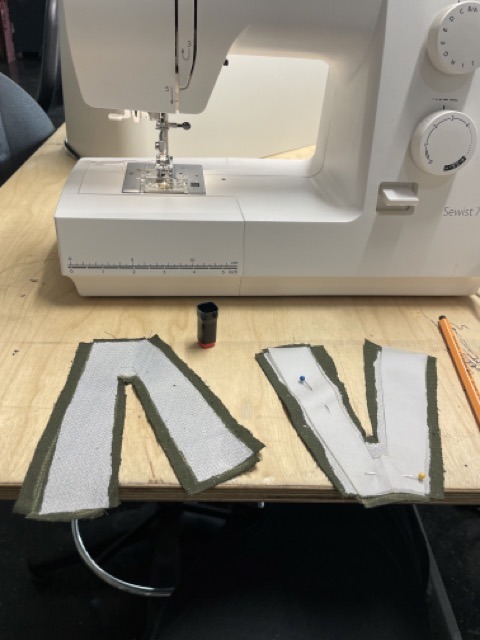
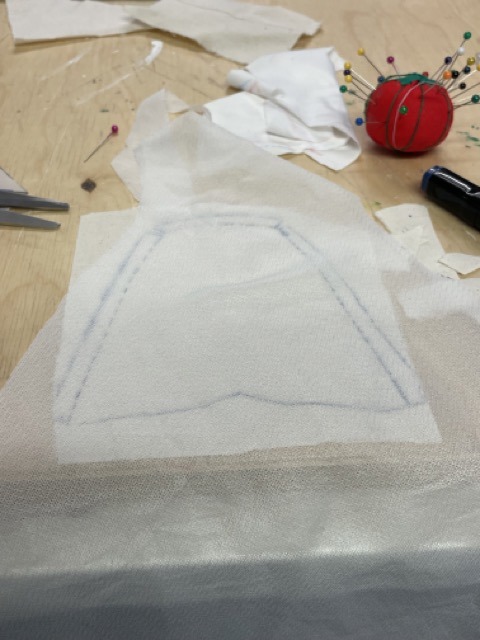
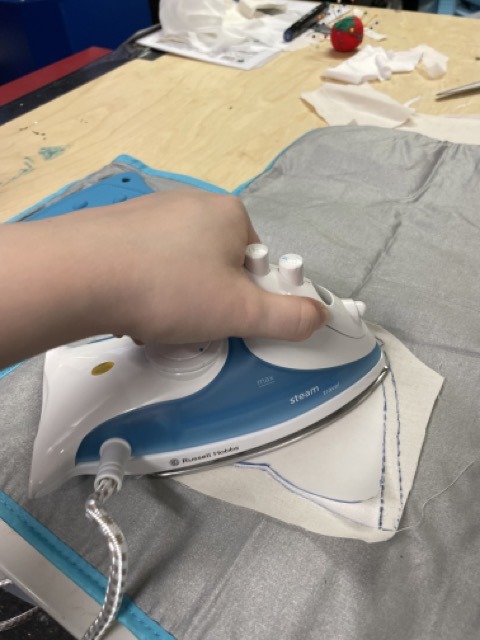
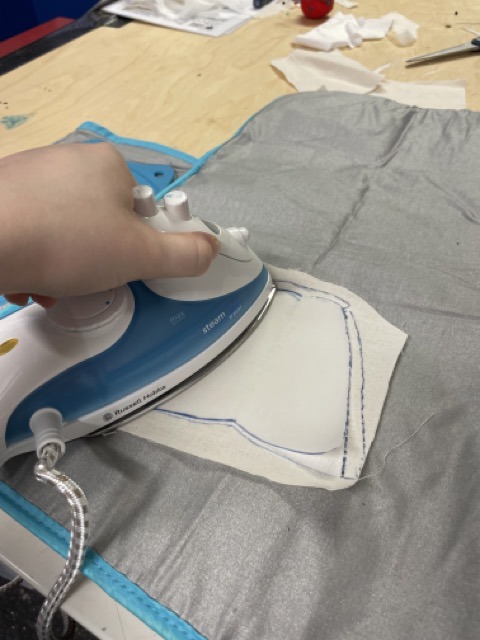
I then cut out some glue fabric. This is ironed onto the under part of the shirt to keep its shape and stop tearing.


I noticed that the blue marker pen I'd used was showing through in one place - so I will stitch a pattern or shape over this area, so this is not distracting while filming. Next time I will use non staining pen or chalk.

1 note
·
View note
Text
Performance and Character: Head Building Pt 3 - Sanding
I used sand paper to smooth off parts of my character head.

I used a sanding tool for grating larger pieces and scratched ends of the horns for a chipped away effect.


While sanding, right ear of the head chipped off. I was able to glue it back with epoxy glue.


0 notes
Text
Performance and Character: Head Building Part 2
I used a marker to mark the middle part of the wire going across its head and then cut it with wires.


The left horn wire was loose at the base, possibly the glue didn't set properly. So I was careful whilst sculpting the horns around this wire.


Sculpting the horns was frustrating at first as some of the mass felt bumpy and uneven. I kept smoothing out parts and added more clay in other areas where needed, re-doing several times before satisfied. I'm glad I made the plasticine maquette before moving on to the actual sculpt - this gave a good reference from which to work.

I left extra Fimo coming off from the wire so I could cut it off to give the effect of the horns being damaged. I did this with an exacto knife and added scratching details.
I then put the Fimo head in the oven at 130 degrees C and left it to harden for 5 minutes.


I will sand down the surface and drill holes where the eyes will go.
0 notes
Text
Performance and Character: Head Building


Began construction of head using Fimo.


Using Milliput glue and a drill, I drilled holes into the sides of the head and attached the two ends of armature wire for constructing the horns to provide structural reinforcement.
0 notes
Text
Performance and Character: Head Maquettes
Working with Steve in The FabLab We experimented in plasticine with different head shapes based on my sketches.


I gradually moved the eyes closer together and further forward so I could create an eye-line when it’s head points at something during the animated performance.


I began exploring clothing/fabrics for my character. I liked the texture of some of the fabrics in The FabLab but didn't like the colour palette. I drew a fluffy cape for the possible costume in my sketches, but decided a raggedy shirt and pants would be more in keeping with my character plus capes are more complicated to animate.


In a larger version of the maquettes head, whilst making the horns I decided to cut off the ends and add scratch marks to the stumps adding some suble backstory, as if the horns were once connected in a halo shape but broke at some point.


I knew for the final head that it would need to be lighter so Steve built me a head base made from plywood to build clay onto.


Rough plans for the costume.


Overall, I'm happy with how progress on puppet is coming along and will begin gathering materials for the head and clothing.
0 notes
Text
Performance and Character: Character Design Exploration
Sketchbook work. Rough character designs and concept art peices. Exploring possible designs and costumes.


I liked the pointy snout but not the eyes and other parts. Using gallery putty I made a rough head shape to experiment with different eye and face details.


for the above design, I made the eye stalks from wire and buttons:


The below head is the last design I made.


Design experimentation is still ongoing. I need to design a character that can express emotion so need a more expressive facial design. So far I'm not satisfied my creations have sufficient emotional range. Perhaps if I make a head prototype that can open its mouth? or give the eyes pupils?
0 notes
Text
Performance and Character: Character influences.
I drew on a number of influences for thier design and personality.
youtube
Marvel's Groot in (2017) Rocket & Groot shorts released on Disney XD. His character, despite being tall and an imposing figure, still has a child-like innocence.
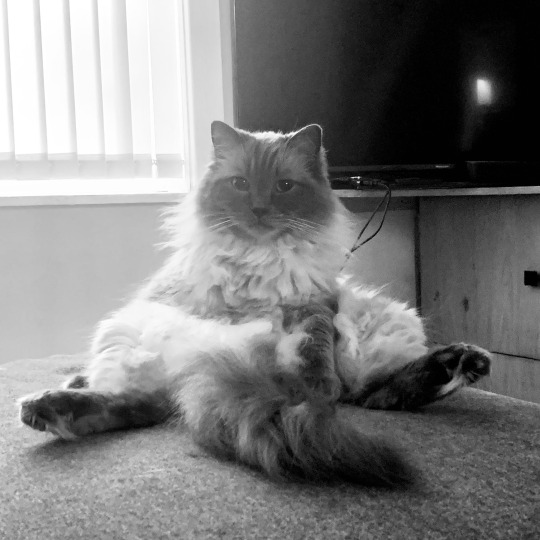
A non-fictional inspiration who has hyperactive, occasionally annoying, tendencies is my cat Muffin. I'd like to channel his extroverted, brave and energetic personality.

0 notes
Text
Performance and Character: Animation Test
Playing with ideas, I made a mini armature maquette from jewellery wire.
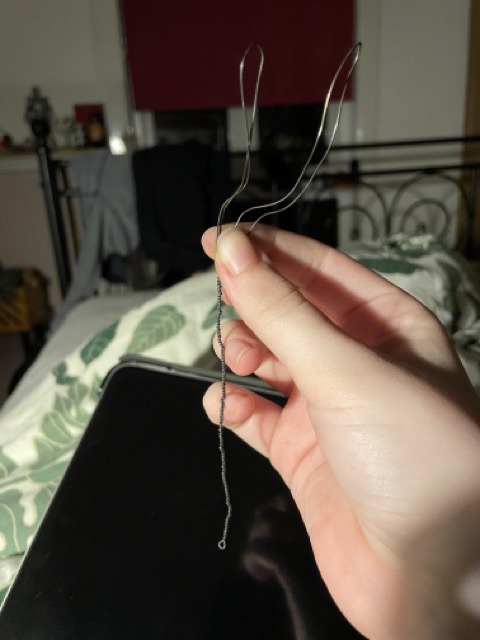

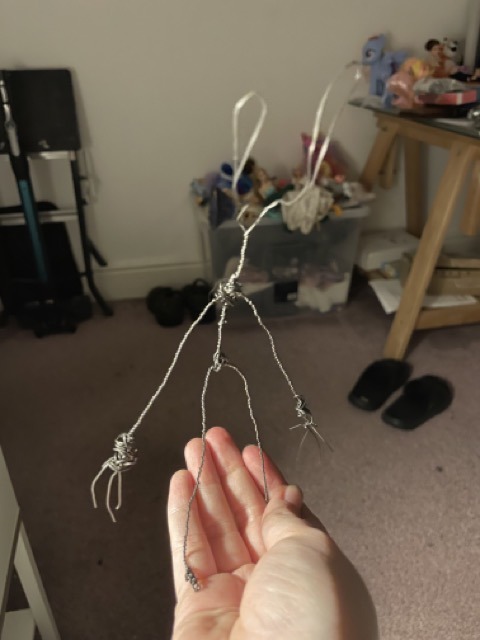
I liked the snail-like eyes I created while finding a shape for the head. It gives a cartoony and expressive quality. I might return to this motif in the future when I work on the actual character design.
Short animation test for my character using a metal armature.

I sketched out a plan from which to animate. I wanted the character to have a childlike and slightly animalistic quality to it, so there were instances where I made them walk on all fours.
Due to an issue I was unable to use Dragon Frame today. However, I used an iPhone tripod instead with the Stop Motion app to animate the sequence.


One part of animation I cut from the test was a part where I made the creature roll its shoulder. I cut this as I felt it gave the character a slyer and cockier attitude, which was not my intention.
0 notes
Text
Performance and Character: Statement of Intent


0 notes
Text
Performance and Character: Reading and Reference material
Ed Hooks, Acting for Animation 4th Edition and interviews with him on the subject of performance.
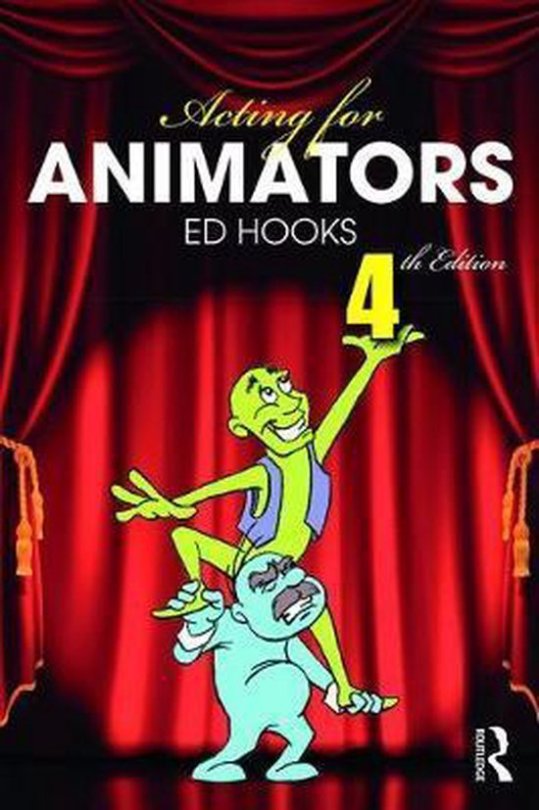
Acting, Art & Life - Ed Hooks Interview FMX 2017 - YouTube
we were given other further reading materials such as the YouTube video Stop Motion Acting & Motion, which demonstrates three types of acting and performance. Also Story by Robert McKee, a book on screenwriting.
1 note
·
View note
Text
Performance and character: What are your initial interests for the module, and which area of character animation do you hope to focus on for your animated performances?


1 note
·
View note
Text
Character and Performance: Video Short Examples.
Three examples of what could be done with performance in animation shown in class.
Mr.W. A live action short about a man who feels isolated due to involuntarily bothering people. He is revealed at the end to be a personification of the wind and the film is an ad for EPURON energy. Specifically, wind-powered energy.
youtube
Good example of how to give character and personality to abstract concepts. The wind - annoying people.


youtube
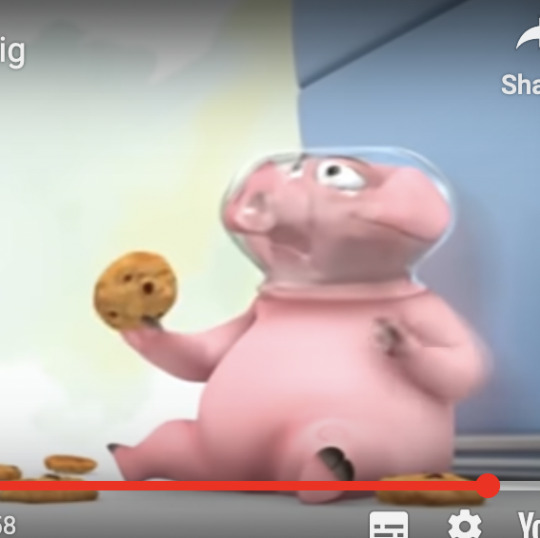
Ormie - An animation in the classic try, try and try again genre. The premise of pig vs cookie jar - just out of reach. I enjoyed the animation but not the music as it could have been synced better to the actions.


youtube
My favourite: Bench. A simple short about an interaction between two characters - one eating a sandwich and a hungry smaller one. I enjoyed the subtle expressions within the eyes of each character compared to the more overt body language/expressions of the Ormie short.


Overall an inspiring collection of shorts for my own animated performance ideas.
1 note
·
View note
Text
Performance and Character: Brief
Class Introduction:


Task: To create several animated character performances, each 5 to 20 seconds long. Using live-action footage and real-world observed behaviours as reference.
I will work in the stop-motion medium using body language, movement and reaction to convey emotions.
I'm excited by the challenge of bringing a character to life through performance.
2 notes
·
View notes