#Blender 4.1
Explore tagged Tumblr posts
Visit Tumblr Blog
Explore Tumblr blogs with no restrictions, modern design and the best experience.
Last Seen Tumblr Blogs


Fun Fact
28.6 is the average number of monthly visits per US mobile user.
Text
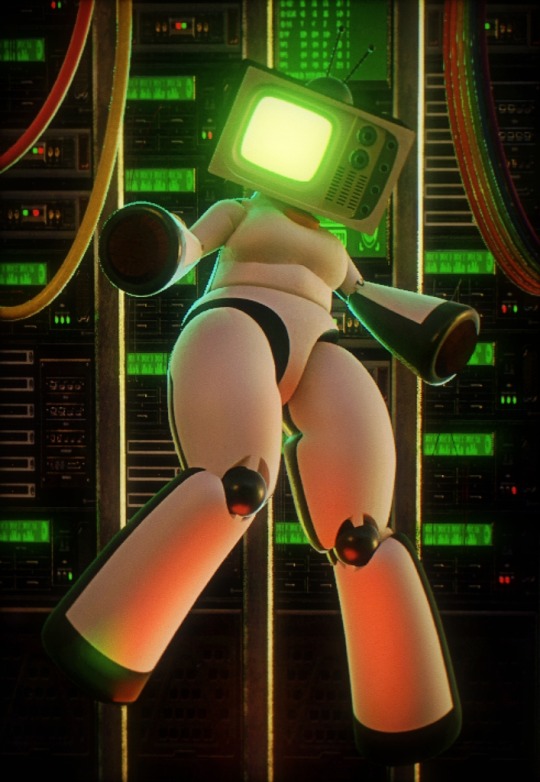
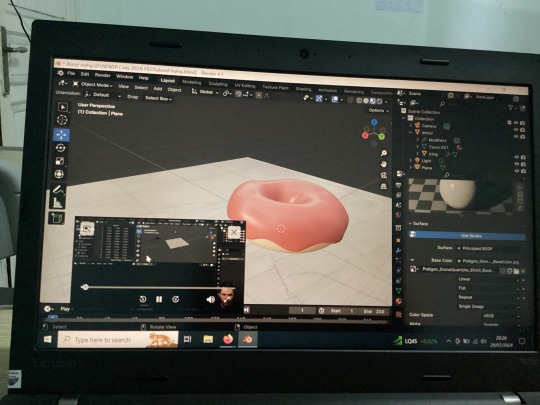
📺Server Room📺
#i finally figured out rigging#now i can use her for pose reference#drawing CiCI will be so easy heehoo#edit: i gorgot to put all the tags that make this eadier for me to find#donut posting#CiCi tv#robot girl#robot oc#my oc#original character#robosexual#robot art#robot fucker#objectum#objectophilia#techcore#blender 4.1#blender#3d model#3d modeling#3d art#3d modelling software#robophilia#i didnt give her any of her screws or her barcode cause this is just for pose references but this photo would look so nice with them#i DID give her all her cooling slots on the back of her head tho!
651 notes
·
View notes
Text

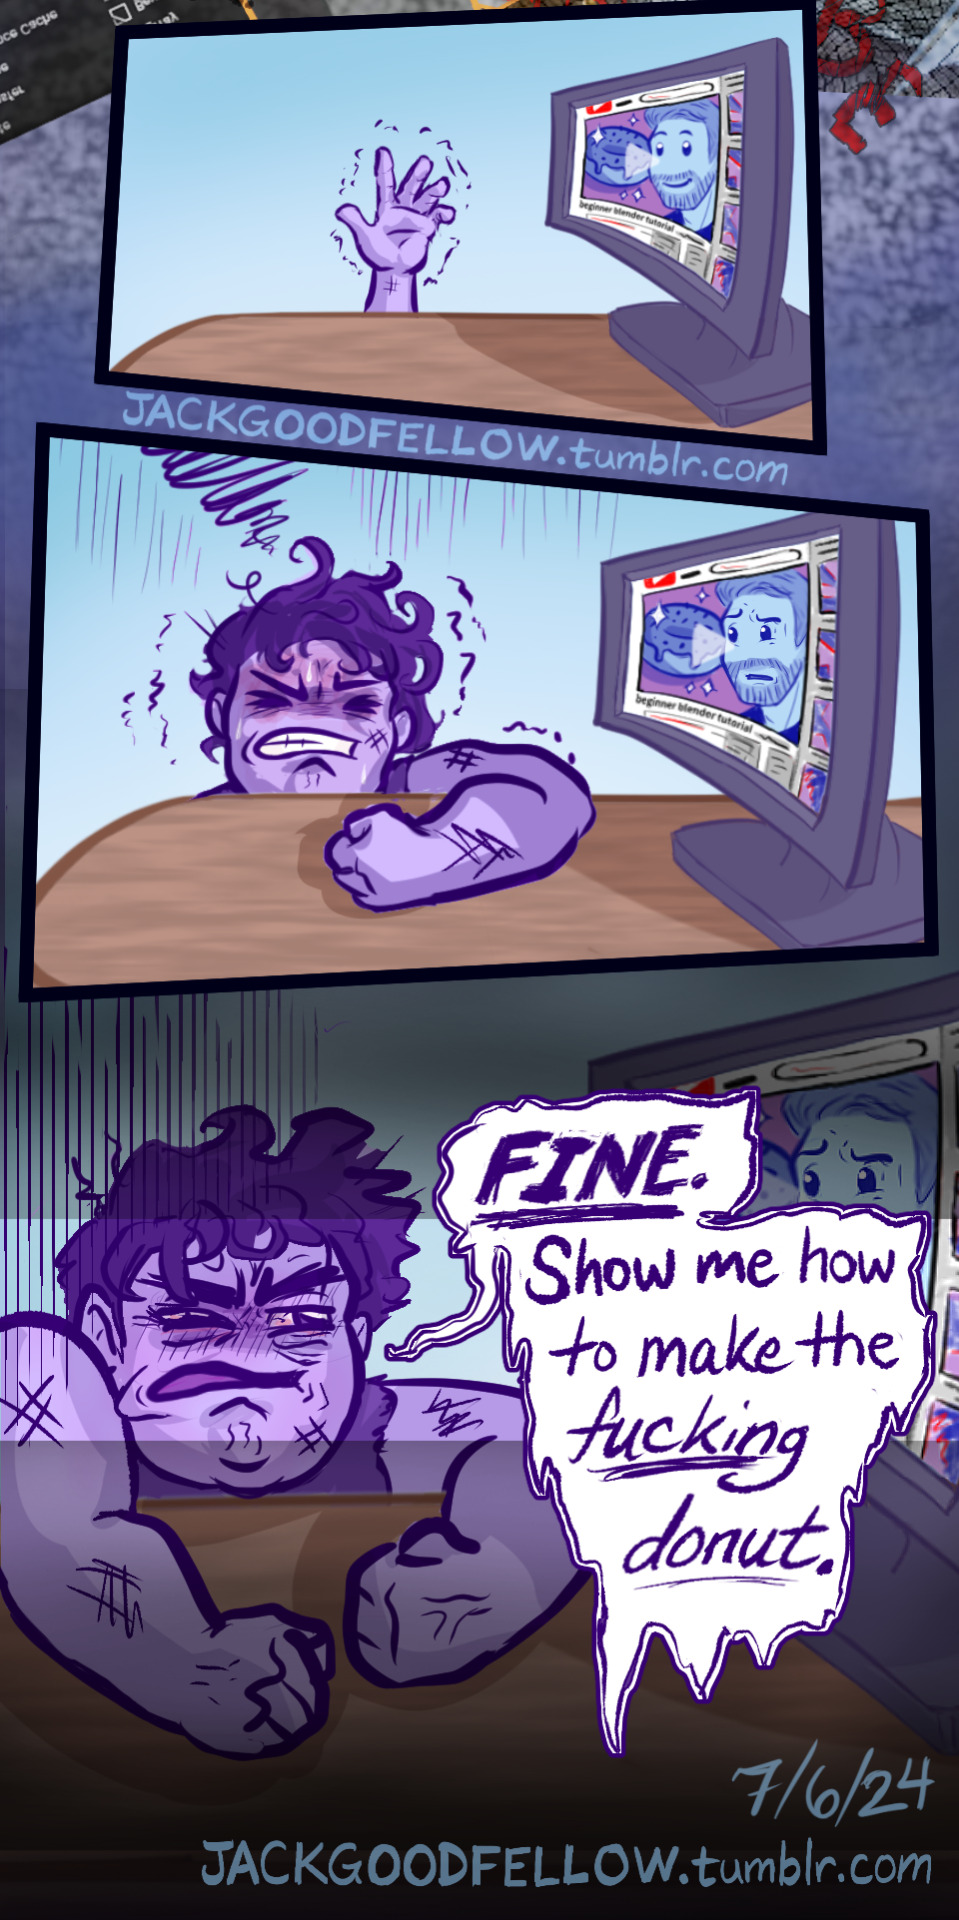
Anyway, it turns out setting art goals according to what Julia from Drawfee can do is like setting swim goals according to what sea otters can do.
#my art#alt-text#image description#blender#blender tutorial#blender donut#blender donut tutorial#learning blender#blender 4.1#blender 4.0#3d modeling#3d animation#3d memes#blender modeling#blender meme#blender community#blender cube#THE CUBE BECKONS#3d artist#julia lepetit#julia drawfee#drawfee
153 notes
·
View notes
Video
youtube
Here’s a new Blender video! I hope you enjoy! Thanks for all the love and support!
#youtube#Blender#blender 3D#Blender Render#Cute 3d art#Squidward#Squidward's House#Spongebob#SpongeBob Fan Art#Cute Fan Art#Blender Illustration#3D Art#3D Fan Art#spongebob squarepants#Blender 4.1#Blender Community#Blender Modeling#InsideGuppysWorld#InsideGuppysWorld Art#3D Digital Art#fanart#artists on tumblr#My Art#Blender Process#Blender Workflow
8 notes
·
View notes
Text


#simblr#my sims#lilith vatore#ts4 vampires#simblereen#my vision is complete🧘♀️ (<- the vision is zatanna zatara)#thank you DAI modding experience for giving me the patience and fortitude to make this outfit 🙏 ameen#this shit could’ve been done in two hours max but i spent so long figuring out the hotkeys in blender 4.1 :/#cuz I refuse to use the 2.7v i cant see shit in that place it’s so dark n scary#u dont even want to know how i uv mapped this together 💀
229 notes
·
View notes
Text


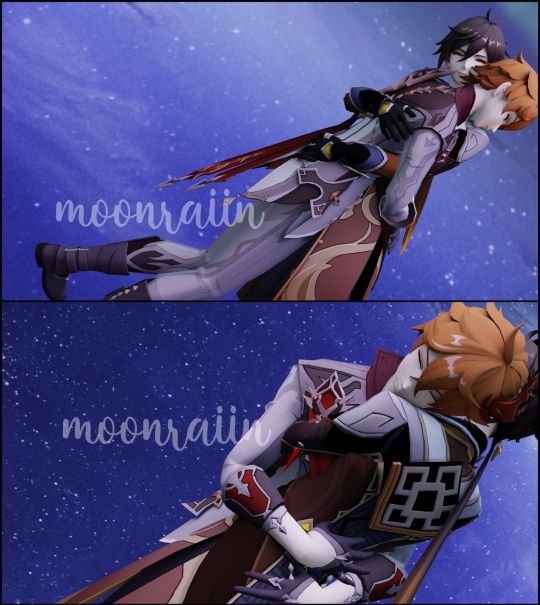
before and after. this render was a processssssss i think blender and photoshop crashed on me 15 million times
#blender 4.2 just ltierally stopped working while i was making this render i had to go back to 4.1#i had a lot of fun making it though! took a week and a half to work up the courage to post lmao#this is by far the most thought ive ever put into a render and details and stuff unfortunately.you dont have the context to get it#but its ok dont they look cool anyway<3
24 notes
·
View notes
Text
25 notes
·
View notes
Text
Retopology is a certain kind of hell
#originally I started with the BSurfaces Mod addon. not great but whatever#and then when I went to make a new mesh for a different object it just. would not#so I moved onto PolyQuilt which is great! love it! but I don't think its quite up to date for blender 4.1#so it crashes when I try to edge extrude#but if I don't edge extrude sometimes it'll make triangles instead of quads. pain and suffering on planet earth
3 notes
·
View notes
Text

I MADE DONUTS 🗣️‼️‼️‼️
(funfact: my friends drool over this)
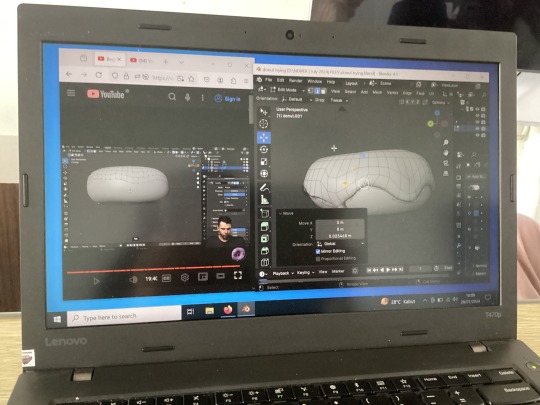

#blender#the canon event of making donuts in blender#I used blender since 2018 but lost halfway around 3-4 years and have to relearn everything#especially the version I used to use is 2.8 ish and now it’s ver 4.1???#with the whole 6 years it’s supposed to be expected for me lol#tropicalmonitor
0 notes
Text
If theres a model meant for mmd or xnalara theres specific blender plugins that can import them!
alright whole other thing but yall im on my knees. nowhere can you get a princess elise model that can be used in blender. help me.
#imported an Omega model meant for mmd this way#he ended up with his roughness and specular maps a lil jacked up but thats easily fixable with blender’s node editor#and he could be posed as normal#you’ll have to ask me for the forks of mmdtools and xps importer that work in 4.1 and above though#cause the base versions dont work in those versions
38 notes
·
View notes
Text
How to convert Sims 4 3D CAS Rooms to Sims 3

Disclaimer: If you’re not familiar with Blender/TSRW/UVs then this tutorial may not be for you. If you don’t have Sims 4 Studio which needs the Sims 4 base game (or don’t know how to extract the meshes without it) this tutorial may not be for you. Honestly it’s pretty straight forward, but there’s a lot of trial and error and going in game and out of game checking placement, etc. I use Blender 4.1 for this, but you should still be able to do the same things in the older versions. I'm trying to make this as easy as possible. I’m here to answer any questions though 💕 Tutorial below
Things you’ll need:
Blender (whatever version you prefer)
Sims 4 Studio
TSRW ( I use version 2.0.86)
My Christmas CAS Room here
My TSRW work file here
Tutorial:
Find a Sims 4 CAS room that you like and open it up in Sims4Studio. This is the one I'll be using for the tutorial.

In the Texture tab, export the textures. The only textures that matter are the first 3 diffuse. Go to the Meshes tab and export the mesh, it will save as a .blend file. After that you can close out of Sims4Studio.


Open my Christmas CAS Room in TSRW. You'll get this message. Hit ignore and don't send. We only need this file as a reference to resize the SIms 4 CAS room. Export the mesh as an obj, name it whatever you like. You can close TSRW for now.

Open Blender and open the .blend file you exported from Sims4Studio. Make sure to delete studio_mesh_0 as it's just the shadow map and we don't need that. This is what mine looks like after fixing the textures.

Then import the wavefront obj you just exported from TSRW. Again we're just using this as a size reference.
This is what it looks like after I added the obj. I scaled, moved, and rotated the room to match up as close as I could with my reference mesh. When you have it lined up to your liking you can delete the reference mesh. I usually import the sims 3 body to see where my sim would be in CAS as well so feel free to do that too.

Now we have to separate the objects that use transparency in the scene to their own group. The transparent objects will always be located on studio_mesh_1. I usually do this in UV mode. Make sure UV Sync Selection is on. Where the red arrow is, that's the UV Selection button. It's blue so that means its on.

Tip: If you're using the same Blender version I am (I'm not sure if the older versions below Blender 3.0 do this) you can disconnect the alpha in shader editor and then you can easily see what uses transparency because it has a black background like the plants. Don't worry about the one outside the window as that's on the backdrop image and doesn't show in CAS.
Important: Also, make sure you delete the back of the mirror frame or it will show through the mirror in game. I usually select it in the UV editor as well and delete it.

After selecting all the objects that use transparency, I go to the 3D viewport window and press P, then selection. Now they're on their own layer as you can see. That's a very important step so please don't miss it.

Sims 4 CAS Rooms don't have a closed room like ts3 and if you don't add walls/ceiling with planes you'll be able to see that it in CAS. You can do this in any way you're comfortable with. If you don't understand how to do it feel free to ask me. For this tutorial I will not be doing this perfectly lol I've done enough rooms and I'm just trying to teach here 😩

Okay now last is renaming groups to import into TSRW. Make sure it's in this exact order and uses the exact group numbers.
Group 0 - Mirror
Group 1 - Windows/Curtains
Group 2 - View outside the window
Group 3 - Walls
Group 4 - Objects with transparency
Depending on the CAS Room you convert, yours may not have a mirror you know. You can delete groups in TSRW, experiment, feel free to ask me questions as well.
After renaming the groups, select only the groups you renamed and export as an obj. Make sure that object groups is checked so that they can stay in groups.

Open TSRW and open the testroom_cas.wrk file.
After opening the file you'll see this exact room in this tutorial lol because I had to test some things first 😅

Import the CAS room you converted from ts4. You'll get these two messages. Click yes on the first and no on the second.
Disclaimer: Make sure you reduce polygon sizes or it won't import and give you an error


Import your textures (yours may be different than mine depends on the converter) but most have been the same that I've seen. Group 0 is the mirror it doesn't require a texture. Group 1 and Group 4 usually have the same texture.
Disclaimer: TSRW an be finnicky with textures sizes, I havent gotten any issues since using the 4GB patch, but just in case. Texture sizes from ts4 can run pretty big 4096x2048 even 8196x4096. I would resize to no bigger than 2048x1024 in my opinion, but whatever works for you.
After export to sims3pack or export as package file. Make sure you compress your files and you should be good to test your CAS room in game.

This is the finished product. Should look something like this or better lol considering this was quick 😅
If you would like to make your own from the original ts3 cas room, I would suggest watching this Youtube video (it's for TS4 but it still applies and is helpful) and the link to the original ts3 cas room is here. Since we can convert ts4 to ours you could probably just build your own and go from there as well.
Thanks to @mookymilksims for testing things for me and converting her own. If you would like to try this tutorial out and experiment with room placements using @boringbones Ultra wide CAS mod which changes the field of view in cas so that you can see the whole cas room, it is here. I didn't use it for mine, but that's only because I found out about it after from Mooky lol and I'm tired of converting them 😅 but feel free to ask me any questions if you need help 😊
#ts3#tutorial#sims3#I hope this helped#been procrastinating finishing this 🙃#cas room tutorial#sorry if it's long#tried to be thorough and make sure everything was correct
158 notes
·
View notes
Text
Studio updates for For Rent
Hi all, both versions of Studio (Windows & Mac) are updated for the For Rent expansion pack and associated patch.

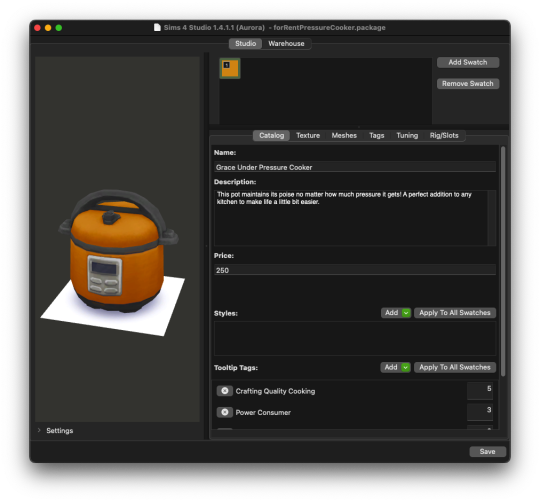
Additional features:
support for Blender 4.0 and 4.1
handles columns, spandrels, and friezes
trim meshes should now import correctly
batch edit option to My CC Folder menu - "Change Display Index
performance enhancements
bug fixes
Further details can be found in the changelog for each version in its download thread.
If you run into an issue with a new or updated feature, please report it!
Select your version to download HERE.
756 notes
·
View notes
Text


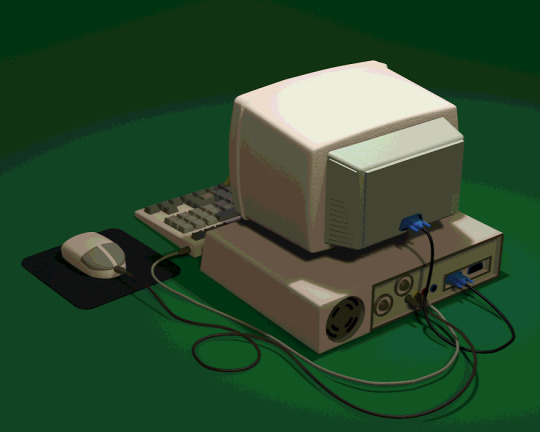

🖳 NEW! NUCLEAR ELECTRICS CRT1 Model 69 🖳
➮ With Interactive Virtual Assistant CiCi PC
➮ State of the art Graphics Integration
➮ Color and Contrast adjustment never before seen
The CRT1-M-69 is a perfect addition to your home life and your work life alike. Unlike older computers CRT1-M-69 is equipped with an integrated graphics interface (no more pesky lines of code), our CiCi PC Virtual Assistant, and 'round the clock support!
Purchase Today for $420.69 ᵒʳ ʲᵘˢᵗ ᵗʷᵉˡᵛᵉ ᵉᵃˢʸ ᵖᵃʸᵐᵉⁿᵗˢ ᵒᶠ ᵗʰᶦʳᵗʸᶠᶦᵛᵉ ᶠᶦ���ᵗʸᶠᶦᵛᵉ
#blender 4.1#blender 3d#3d model#3d modelling software#3d render#old computers#fake ads#fake advertisement#fake advertising#CiCi tv#OC#my OC#original character#donut posting#vintage computer#casette futurism#robot oc#robot girl#objectum#techcore#old tech#retro tech#crt monitor#crt
81 notes
·
View notes
Text
GMDC Importer/Exporter for Blender 4.1+
You might have noticed that the GMDC importer/exporter by DjAlex88 doesn't work with Blender 4.1+. So I made a compatible version… with a new feature I needed.
Download on GitHub
I've never made a Blender add-in or coded in Python before, so I hope I didn't break anything.
Please let me know if it works the same as before once you have tested it.
151 notes
·
View notes
Text

Flatland (2007) models by Otis Le PoOtis (me) in Blender 4.1
#flatland#flatland 2007#flatland art#flatland fanart#flatland the film#I've been a Flatland fan since 2016 and I've known that Flatland had a following on Tumblr but this is my first participating myself
113 notes
·
View notes
Text


PS1 RENDER ATTEMPT #2 ADELE (Gift for @larvamars)
Had much fun doin' this one. Also, saving the model presets was the best desicion in my life, i saved much more time with it (i spent 4 days making the previous model lmao, this one took 1,5 day only) Anyways, today's character is Adele! LarvaMars' Resident Evil OC! Hope ya like it :) (i'll post it on twt too be aware) Program used: Blender 4.1
192 notes
·
View notes
Note
hii!! i really want to start making my own casual butttt... where do i start? what do i use? 😭 I'm really confused so i thought I'd ask u, cuz i saw the hairs your made and o.m.g🥹
thank uu💞
omg hello anon! sorry if this is SUPER late
i started with frankenmeshing. the very first hair i made was a mashup of the face framing bangs from Vampires and ponytail from Get Famous, it was basic but i learned a lot!
here are some of the tutorials i followed. keep in mind that i bookmarked these videos years ago, so they're a bit old and my process has changed quite a bit since then (also i use Blender 4.1 currently)
youtube
youtube
these days, i mostly make hairs from scratch using curves thanks to this tutorial by @aler-ii <3
youtube
hope this helps!
59 notes
·
View notes