#my pearl design took 5 hours to draw because i was planning as i went lol
Text

totally normal guy thats never had anything weird happen to them
#artists on tumblr#digital art#fanart#mcyt#hermitcraft#joe hills#time taken: like almost three fucking hours#normally its clean-lined colored and shaded drawings that take 3ish hours but this one involved A Pose and i was designing as i went#my pearl design took 5 hours to draw because i was planning as i went lol#i dont know what the blue is. its not supposed to be frostbite but it kind of looks like i was trying to draw frostbite#i finished this drawing without any of teh blue and didnt like how it looked so i added just Some Weird Stuff with no specific goal#thats also why theres blood on his shoes lol it just felt correct. genuienly no 'dark' reason i just wnated it#id in alt
187 notes
·
View notes
Text
rosenmarille’s embroidery tutorial

hey anon you made my entire week and i love you
Let me preface this by saying that I’m in no way an expert and I’ve literally only been doing this for less than a month, so most of what I do is making it up as I go along. hopefully you find my tips helpful though!! <3
I wasnt sure which part you wanted to know about so i made a rundown of everything from start to end
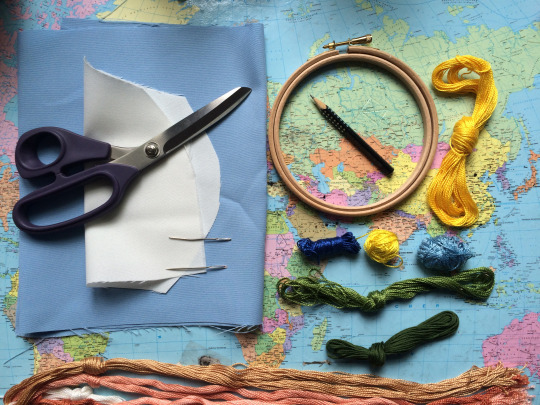
1) List of things you’ll need:
Embroidery frame (I just went to the nearest crafts store and got them in two sizes. Theyre quite cheap and sometimes also come in plastic or different shapes)
Fabric (the less stretchy the better, though if youre planning to decorate clothing I think it really depends on how determined you are. what ive got here is some leftover polyester fabric from cosplay and other sewing projects. you can even sew different pieces together if one isnt big enough for the frame but in that case you need to iron the sewed piece flat or else it will be very difficult to keep straight and neat)
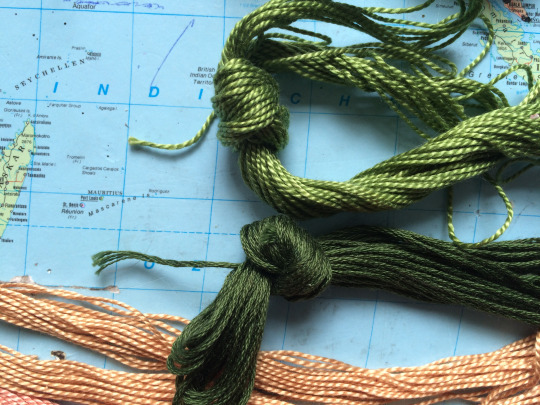
Embroidery yarn (see pic) (theres two types, and ive only used pearl yarn (top) so far but the other one allows for more precision since you can pick how many strands of yarn you need)
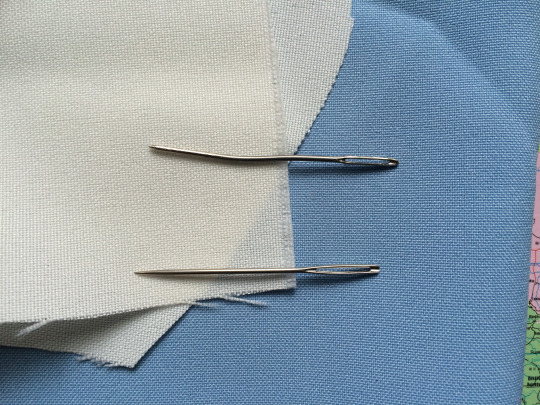
Needle (see pic) (properly pointy, not like the crappy one above. I mainly use that for crochet things because it actually bends and that’s NOT what you want here)
Scissors and a pencil
2) Sketch:
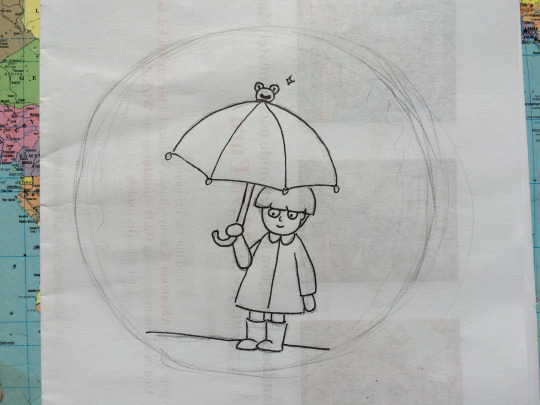
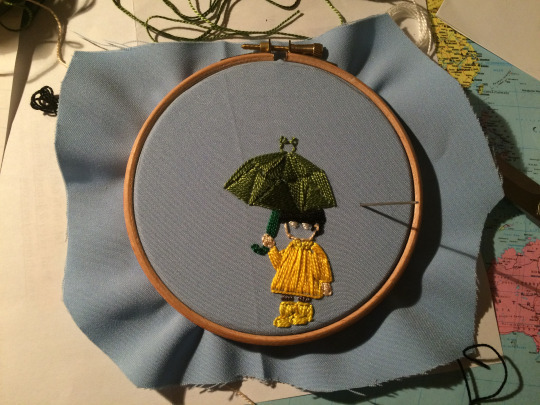
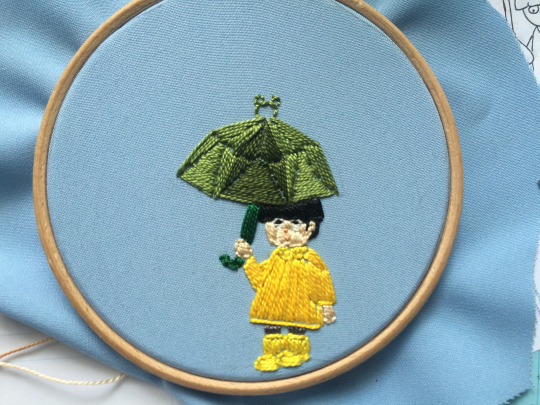
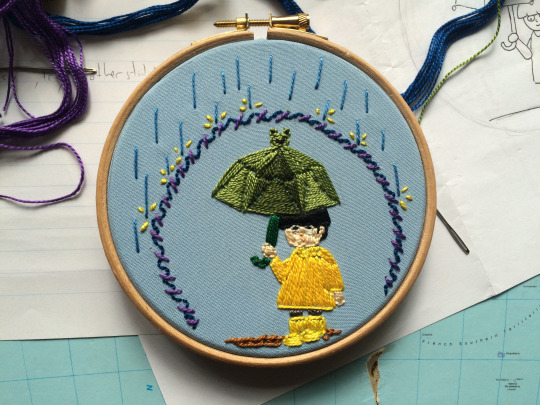
Pick an image of what you want to do. I’ve found that at first, practicing with basic shapes and colours is a lot easier to get used to the whole thing, it helps give you a feel of how the yarn ends up looking stitched to the fabric. So far I almost only did screenshots, and I didn’t have to draw something up myself. In mobs case, I based it off a doodle I did in class and added a little colour to it
3) Pick fabric and yarn:
That’s mainly up to you, depends on what youre going for, but as a fair warning, very light fabric colours will show the stitches and leftover yarn from behind, so you need to tuck them behind the main body of your embroidery later on
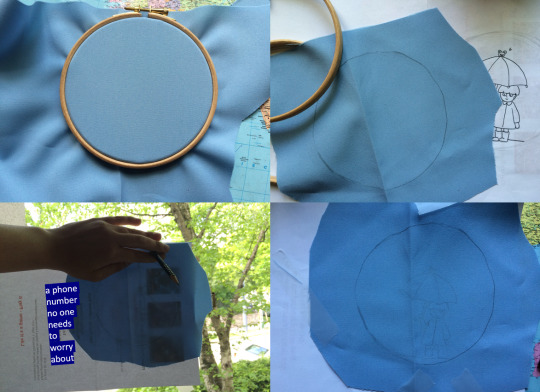
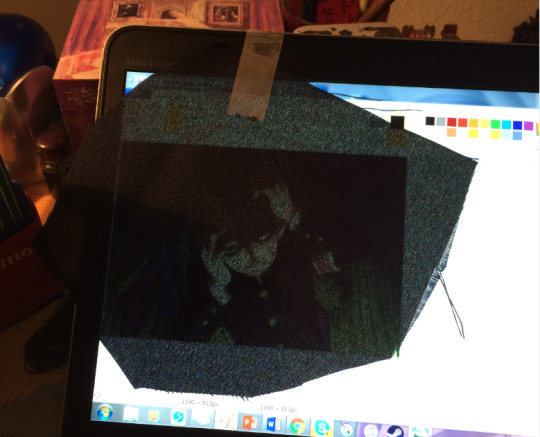
4) Apply to fabric:
2 ways, both pretty much self explanatory, only heres where the stretchiness of the fabric comes into play. As you can see ive developed a fool proof technique, ive had tape stuck to the top of my laptop for weeks now, im not about to waste it? (use more than one tape, this is an old pic i took because the concept was hilarious in the moment)
Pro tip: don’t draw your sketch on paper advertising dnd game sets because youre gonna have a hard time seeing the pattern through everything and youll curse yourself for doing that instead of paying attention in class
Pro tip 2: dark fabrics demand a white colour pencil, you literally wont be able to see anything else
5) Stitches:
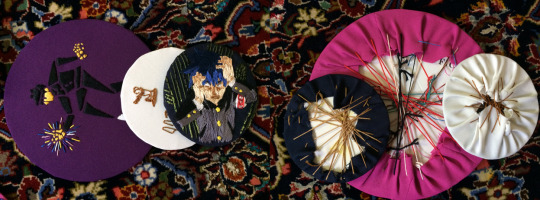
heres a LINK to the page I use to find all the different stitches I could possibly use. Practice makes perfect, i spent about two hours trying each of these out on an irrelevant piece of fabric to see how theyd work and how difficult they are, and still use that bit as ref to consider how a stitch would look on my current piece. Of these, ive only used about three in my finished broids, since theyre mostly for decorative things I think. Don’t let that stop you though, get creative and use the things im too lazy to incorporate!! (ill be using these terms for the rest of the tutorial, so if you dont know a word its probably in there)
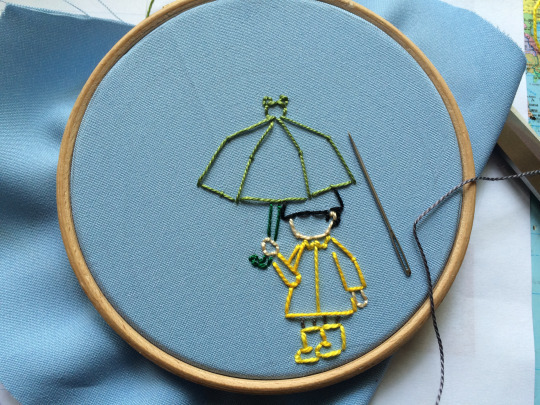
6) Outlines/shading:
Start by outlining your sketch with a few backstitches to get a feel for where everything needs to be. If theres shading then itd be useful to do those lines in the other colour already, or youre going to have to fix all that later and itll be a huge pain and make you want to stop altogether. It happens
Im not sure if that’s how its supposed to work but I fill in the shades first, it gives me a good sense of what direction the main colour stitches need to go to make it look dynamic.
7) Fill in mains:
This is where all those handy dandy stitches from that library probably wont help you too much if you want to do something relatively simple. Ive only used normal satin stitches to fill in colour so far, though what the link doesn’t mention is that it wastes a shitton of yarn. Yarn is expensive, so what you can do is come up for point 3 not back next to 1 but instead next to 2.
Warning: that does warp the way the yarn lies though, so use that one accordingly (for example: I do Not use it when doing small delicate places, or things that need to be detailed in general)
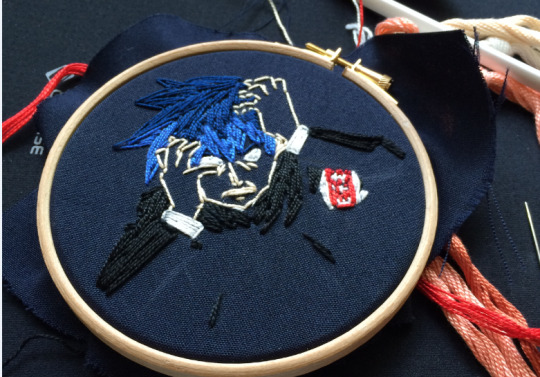
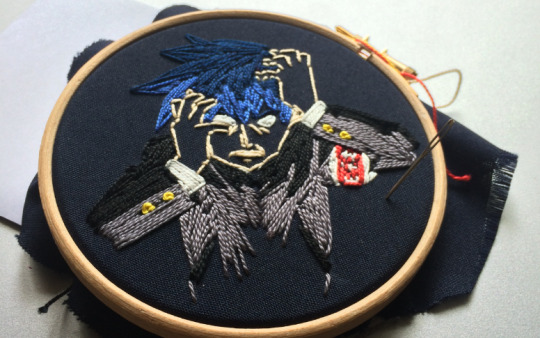
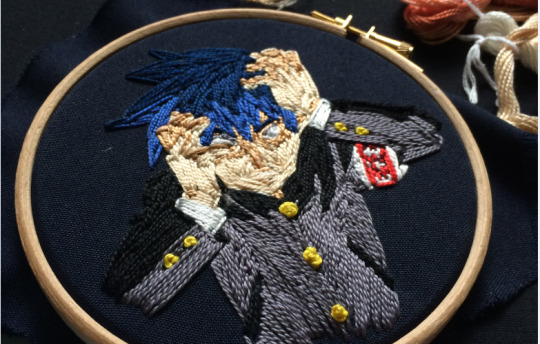
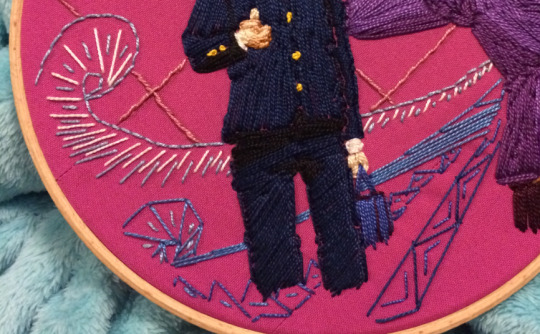
Mob was fairly simple as far as that went since i didnt add a lot of pattern, but ritsu is a little more complicated. Like i said earlier, adding shade before the main colour helps because now i know where the folds in his clothes are and how the fabric would bend to accommodate it.
8) Add details (like faces!):
Again, here I cant tell you exactly how you need to stitch to get everything looking good, just try to follow the way a face has its dynamics. Is it a long face, make lots of long vertical stitches, is it a round one, try to stick to the edges (but don’t spiral)
Facial features are a little more difficult because its hard to make a round nub or dots for pupils on something very small but its better to try 5 times and get it right the 6th instead of leaving the 1st try (i took ritsus entire face apart at least 3 times and t b q h i still think it doesnt look good but ¯\_(ツ)_/¯)
9) Background:
Get real fancy on that shit, heres where you can try out those cool rose shaped stitches from up there in the link, go wild lol
10) Lastly: PATIENCE
I cant stress this enough, this WILL take a loooot of time, the first ritsu I did took me a literal week, while the second one took me roughly four hours in total (and that was a rather simple design).
Accept the fact that it wont look as good as you imagined it. That may sound harsh but for me that’s been my main issue, imagining how a string would lie exactly and then looking on in disgust when that doesn’t work out. You’re not drawing, the medium doesn’t exactly translate, but that doesn’t have to be a bad thing! Try to figure out what methods work best for embroidery exclusively.
Don’t be afraid to undo, be careful about it though. I use those big scissors and it’s a bad idea, don’t do that. Unpicking from the back to save the yarn also works but it gets difficult (and at some point impossible) once the strands start getting woven together on their own
And there you have it, a finished piece of embroidery!!
You can now either hang it up in its frame and cut away the excess fabric at the sides or tie it around a piece of cardboard like so. it’s a little hard to get right at first but practice amiright
I hope i could be of help!! if you have any more questions feel free to come to my ask anytime!! ^^ <33
#embroidery#pari stickt#tutorial#i still cant believe someone actually asked me to do this#anon who are you i want to hug you omg#also i hope you see this??? id have tagged you :0
37 notes
·
View notes
Last Seen Blogs


ravenadottir
ravena dottir (hiatus)
askfatsidon
Hearty Sidon Muenière

babyreine
baby reine

smazzmatazz
Smazz M'atazz