#scaniverse
Text
sketchfab
Chained boat. Solza. by kambalka on Sketchfab
0 notes
Photo

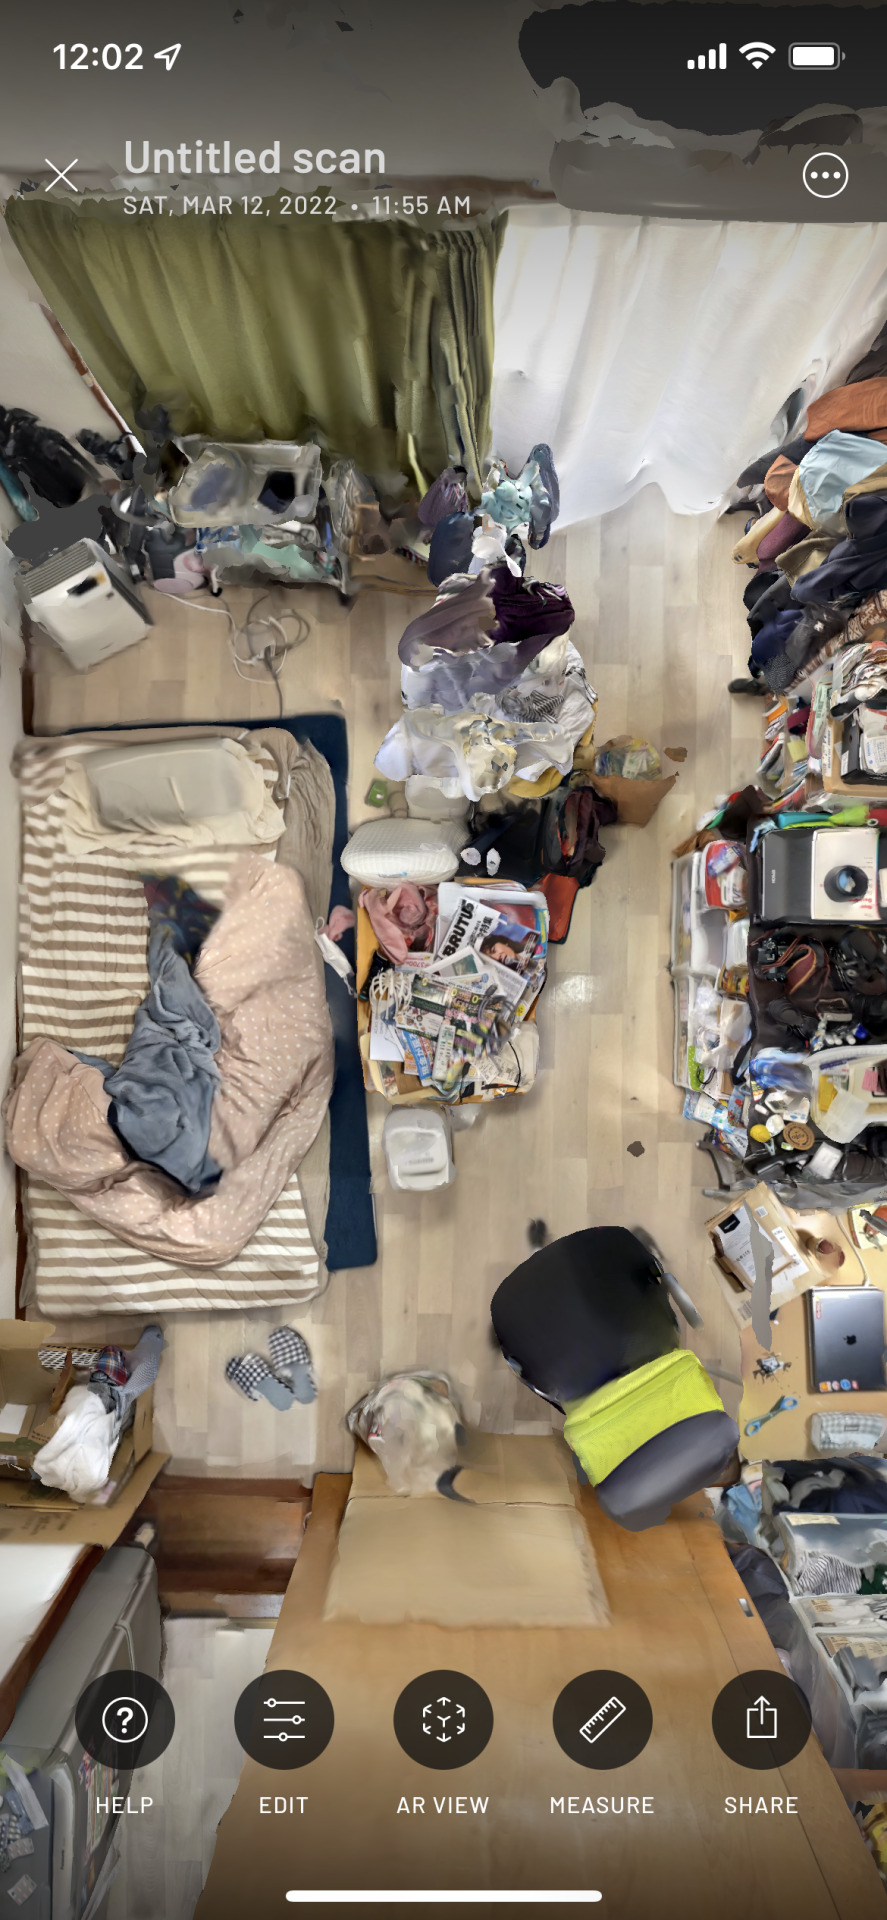
Do workshop de digitalização 3D ontem, no @lababertofablab. Foi giro, mas ainda nãoéo modelo certo para abordar estatecnologia. #3dprinting #3dscanning #scaniverse #polycam #lumaai #widar #photogrammetry https://www.instagram.com/p/CnJjA-lDoeK/?igshid=NGJjMDIxMWI=
0 notes
Link
By laser-targeting an object and timing how long it takes for the reflected light to return to the receiver, a LiDAR sensor may calculate the distance to the target. These days, smartphones also use this technology, which is used in a wide range of diverse businesses.
LiDAR sensors have been a part of Apple’s yearly range ever since the iPhone 12 was released. A few software developers have produced programs that employ the LiDAR sensor to convert 2D things into 3D objects, which is quick to follow.
0 notes
Text
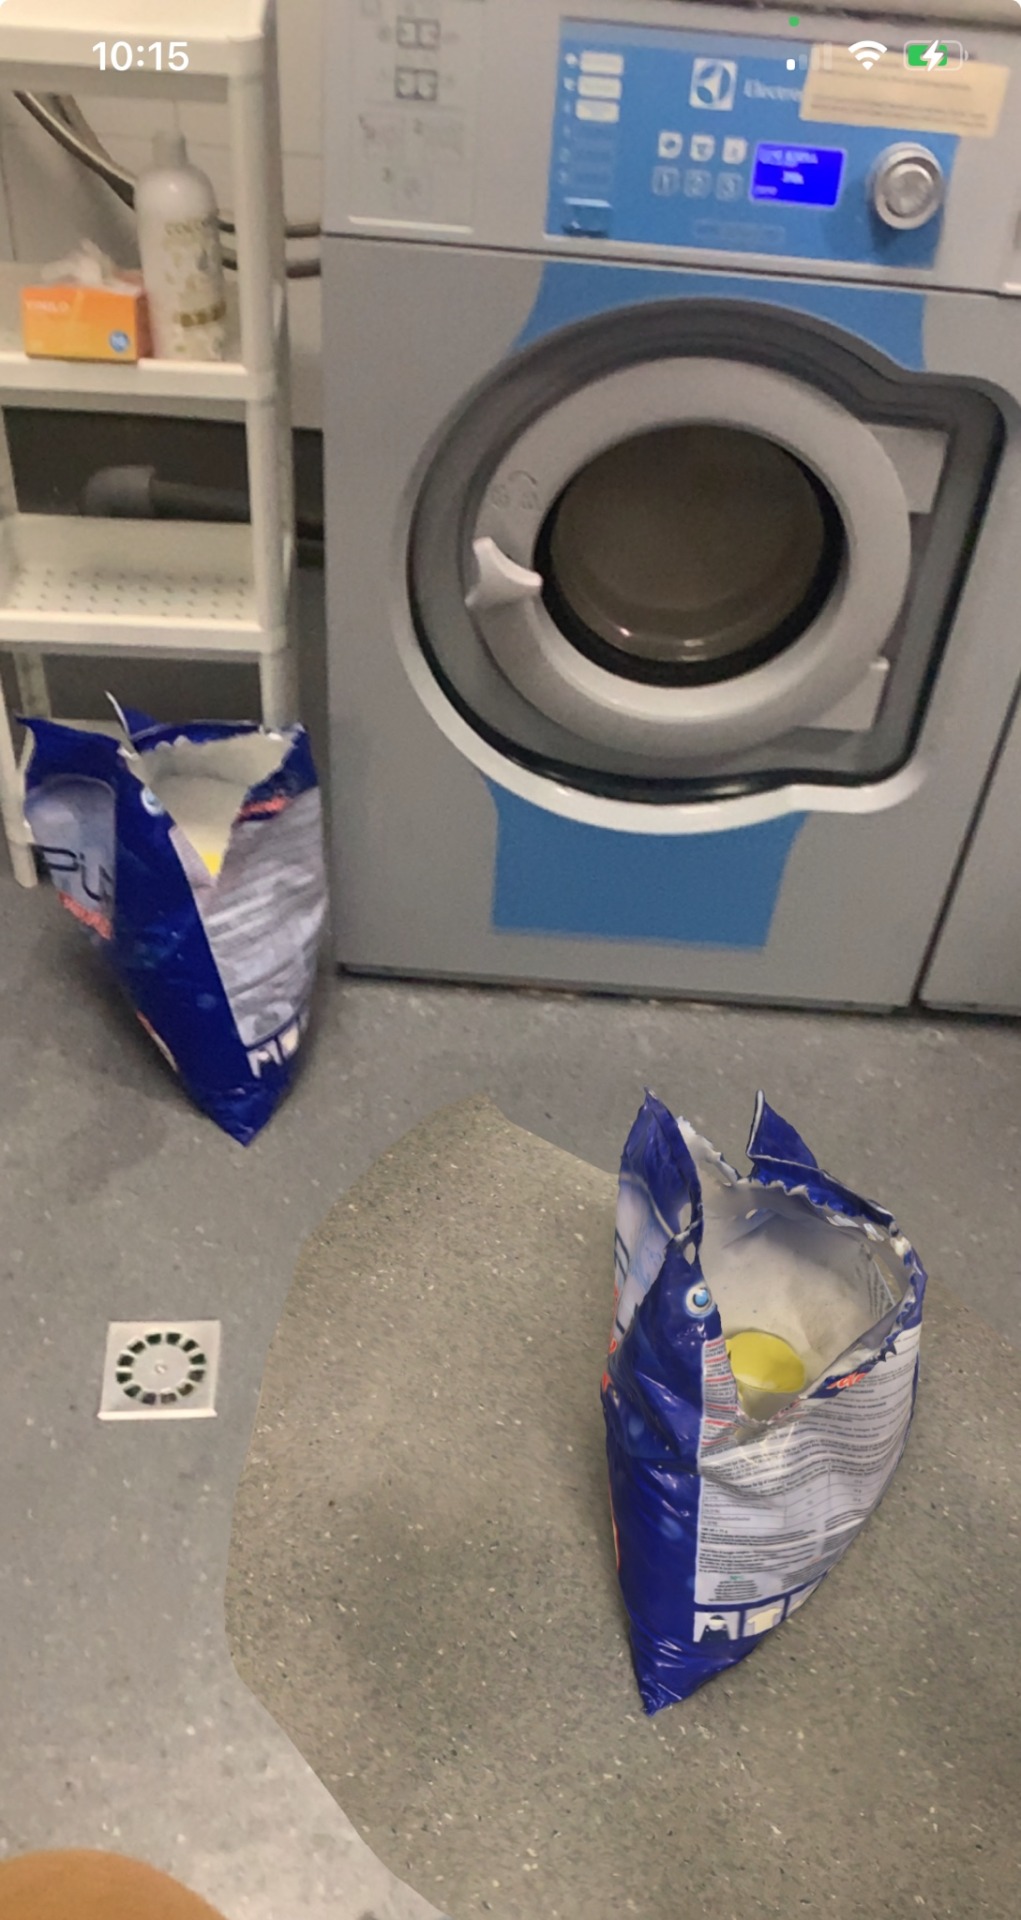
I took a high-res 3D (scaniverse app) scan of a bag of laundry detergent and then placed it next to itself with my iPhone’s AR viewer
(the 3D scan/image is on the bottom right of the screenshot)
2 notes
·
View notes
Text
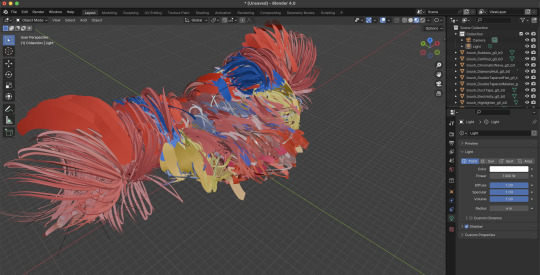
WEEK 9 Workflow Testing
(test point cloud vr animation)
Through the lengthy and complex process of 3D scanning, converting to point cloud, creating animation, rendering to VR video, and finally publishing, I've encountered various challenges. However, I've confirmed that my initial project concept is achievable, and I've learned the necessary software, steps, and time required. This process has been quite demanding, and there is millions of times that I want to quite because of the geometry node and operational steps. Some difficulties I've faced include:
1. Problem: Blender, even with the Point Cloud Visualizer plugin, fails to display the colors of PLY files correctly.
Solution: Probably due to the incorrect import method in Blender; the correct approach is to use "add" instead of "import."

2. Problem: In Blender, PLY files cannot be converted to a geometry node for further editing.
Solution: No direct solution found. I employed an alternative method by manually adding geometry nodes to create a point cloud from a GLB file.
3. Problem: Lengthy rendering time in Blender for animations.
Solution: Utilize GPU instead of CPU for rendering. Additionally, reduce the “resolution scale” or set the “step” to 2 for lower-quality previews before rendering the final full-resolution animation.

4. Problem: Blender renders VR videos as PNG files instead of a complete video file.
Solution: Create a sequence in Premiere Pro (PR) using all the PNG frames to render a complete video. Rendering frames as PNG has the advantage of preserving previous progress in case of clash or pause, allowing continuous rendering.

5. Problem: Visible black boundaries in VR videos created from Blender-rendered PNG sequences in PR.

Solution: Ensure consistency between PR's sequence settings and Blender's render settings. A more simple and direct way is right click on the clip, and choose Scale to Frame Size.

6. Problem: Incompatibility of Open Brush files exported in GLB format with Mac computers when using standalone VR headsets.
Solution: Create an Open Brush account and link it to a Google account to sync/back up all the media files to Google Drive, including desired GLB file. Then downloaded it from Google Drive on the Mac computer.
(OpenBrush model download and open in Blender using GLB file format)
Based on these challenges and solutions, I've documented a detailed workflow for creating a point cloud animation, following tutorial links:
1. Obtain a base model through 3D scan using Scaniverse (free, supports multiple formats) and Sitescape (for larger buildings, supports PLY format only).
2. Export 3d scan to GLB format, import into Blender, and follow tutorials to create nodes for point cloud and transformations:
youtube
3. Add noise for ambiance and lighting effects, referring to specific timestamps 57 and 60 minutes in tutorial videos:
youtube
4. Set up camera shots, animate using keyframes, and employ plugins like Camera Shakify for handheld motion effects:
manually add:
youtube
use plugin(recommend): https://github.com/EatTheFuture/camera_shakify
5. Render VR animation frames in Blender and compile them into a video sequence in PR.
youtube
6. Edit VR video in PR as per Canvas module course guidelines, or for headset editing, refer to Adobe's VR support documentation.
7. Preview and check for seamlessness in Vimeo before finalizing the project.
Currently, my concerns is still about Blender's slow rendering speed and seamless transition between clips. I plan to discuss these issues and explore previewing methods and final presentation options with my instructor next week.
0 notes
Text
0 notes
Text


VRchat world 2023.08
White tile
白いタイル貼りの誰かの部屋をつくりました
VRChatに登録している方は以下URLから入ることが可能です
https://vrchat.com/home/launch?worldId=wrld_1544f2bc-e6db-4810-b450-483376745f7a
Credit
SHADER / PARTICLE
CustomFog - rakurai
https://booth.pm/ja/items/3718968
Fake Glass - Silent
https://booth.pm/ja/items/2336731
Rain Puddle Shader - noriben
https://booth.pm/ja/items/4993546
GIMMICK
CyanTrigger - CyanLaser
https://booth.pm/ja/items/3194594
Lura's Switch - Lura
https://booth.pm/ja/items/1969082
iwaSync3 - Hoshino Labs.
https://booth.pm/ja/items/2666275
FootStepSystem - サックーギア
https://booth.pm/ja/items/3251072
QvPen - ureishi
https://65536.booth.pm/items/1555789
Simple UI for QvPen - 山の豚
https://booth.pm/ja/items/3676322
BGM / SOUND
limpid ghost - uytrere
https://booth.pm/ja/items/3300811
アスファルトの上を歩く1 - 効果音ラボ
https://soundeffect-lab.info/sound/various/
風 - VSQ plus+
https://vsq.co.jp/plus/sound/category_sub/weather/
3DMODEL
Grassy Landscape with Snow - Šimon Ustal
https://sketchfab.com/3d-models/grassy-landscape-with-snow-007846cc3c3942239e7250bc2e90b5ab
Faucet - Christian Rankers
https://sketchfab.com/3d-models/faucet-exercise-69de7b6bd3004eba8c6aa41d37858d86
Table lamp 1358 model - LoftDesigne
https://3dsky.org/3dmodels/show/nastolnaia_lampa_loftdesigne_1358_model
Paging speaker - Sousinho
https://sketchfab.com/3d-models/paging-speaker-fe79c69dd27e4caab8aa79cbd0ed588f
Fluorescent Lamp - Shedmon
https://sketchfab.com/3d-models/fluorescent-lamp-af93d3b7cb034d72b9369460722efb0b
Brick Rub - JFN
https://sketchfab.com/3d-models/brick-rubble-scaniverse-lidar-7ac50f1ea45844d9a05541870960f8b2
Simple chair - MrFreeman
https://sketchfab.com/3d-models/simple-chair-0efe6f9479c044cda34265b75b067704
Stamp Envelope - kelvladmail
https://sketchfab.com/3d-models/stamp-envelope-b2be990d9e93441d939631c49738f591
Surgical Instruments - AssetKit
https://www.turbosquid.com/ja/3d-models/3d-surgical-instruments—medical-equipment-model/1072101
ホテル ベッド - とむぬーく
https://booth.pm/ja/items/2673246
エバーフレッシュ - とむぬーく
https://toq.booth.pm/items/2367224
フィカス - とむぬーく
https://toq.booth.pm/items/1351292
SPECIAL THANKS
knfoxl さん
https://twitter.com/knfoxl
0 notes
Text
sketchfab
Rust tank. Solza. by kambalka on Sketchfab
1 note
·
View note
Text
0 notes
Photo
なんか凄い! 簡単に外界をスキャンしてデータ化できる。 #scaniverse https://www.instagram.com/p/CVG24j2h-iV/?utm_medium=tumblr
0 notes
Text
LiDARスキャナを使った空間スキャニング
2021/09/18(Sat.)
バーチャル空間を使った配信演出のために、Lidarセンサーを使った空間スキャニングの実験を行いました。スキャニングにはScaniverseというソフトを使いました。何度もテストを繰り返すうちに一度にスキャニングで空間全体を取り込もうとするとデータの欠損が大きくなったため、細かくスキャニングする方法を採用しました。具体的にはScaniverseで壁面の一面をスキャンし、Blenderの中で断片的なスキャンデータを貼り合わせました。今回は3Dプリンターで出力するような目的ではなく、視覚的に一つの空間になれば良いので、単純にそれぞれのスキャンデータを重ね合わせました。もしも、これをしっかりと一つのメッシュデータとして成立させようとすると大変な労力が必要でしょうね。とりあえず今日は空間のス���ャンデータの作成手法の開発とScaniverseの使い方を覚えたのが収穫でした〜

▲スキャンした空間の一部
0 notes
Text
youtube
Importing the real world as models into 3D spaces.
0 notes
Last Seen Blogs

alunasky-blog
Alunasky

remain-scientist-general-inter
Untitled

tat31
Untitled

acerockswwe
AceRocks
bydogalaxy
BYDO