#t2i
Video
LincolnBust by Jerry Engelman
0 notes
Text

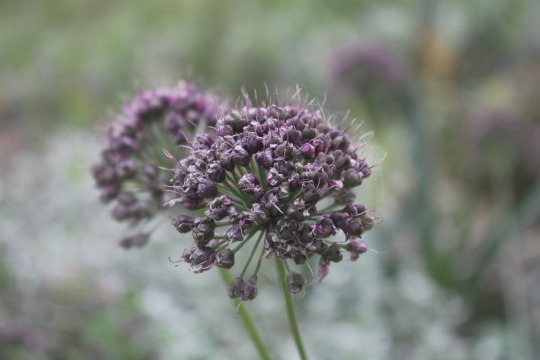
Graveflower
#mine#film#35 mm#my photography#glasgow#scotland#uk#canon#canon t2i#lifelabs#35 mm film#film photography
160 notes
·
View notes
Text

A Third in a Series of Photos in Ocean Beach...
taken just South of the O.B. Pier after a storm finished blowing through the county.
936 notes
·
View notes
Note
quick question! what camera do you use to take pictures with you and teddy? you've inspired me to take pictures of my plushies when we go out but i'm always in awe of the quality of your photos! i appreciate any and all advice given. have a wonderful day!
Thank you! Maybe a not so quick answer.
All the photos of Teddy here have been taken on a Canon t2i, most all on the stock lens. At this point you could get the body for pretty cheap as it's such an older model.
I always shoot in manual so I'm deciding the settings for each shot. I started off shooting in aperture so I picked the depth of field/amount of light coming in (think small aperture more light with smaller depth, large aperture less light more depth) and the camera chose the shutter speed (how long the shutter is open exposing the frame - light) for me. I have always chosen my own ISO (light again) in part because if you get too high on that your photos will get pretty grainy. As I gained knowledge of the camera and figured out a feel for things (maybe 20k frames later?) I started shooting all in manual. I decided that I needed more control of my shots. Definitely still a work in progress but as I'm getting to over 200k frames on this camera and it's thinking about dying on me I feel pretty comfortable looking at a scene and having a decent idea of what my settings should be before I take a shot. Then if needed I end up dialing in the settings a bit. The most important thing when starting is go take a ton of photos! Play around with the camera and get comfortable! Practice, practice, practice, 10,000 hours to mastery, all the sayings that all come back to: do something a ton to get good at it.
There is something to be said for having an 'eye' for a shot. The Rule of Thirds can definitely help guide you to better photos. Paying attention to lines in the shots, seeing where your eye is drawn naturally and trying to set things up to play on that. I have a few shots that I am extremely proud of, a lot that I am happy with and still others that bother me because they are just not quite right. Then untold numbers that are for me to remember a place but aren't worth sharing away from my eyes.
Doing some color correction in Photoshop can help photos to the next level too, personally I try to keep things pretty natural and don't like a photo when it's been touched too much. But everyone has their own style. To be blunt you don't really see photos anymore, at least ones that are widely consumed, that haven't been touched up in some way.
I could probably ramble away for a lot longer and would happily dive deeper on anything that you want more information on. Keep a sense of wonder in the world, explore and know that there is always more to learn and you'll be off to a good start!
#teddy#adventures with teddy#Canon#photographers on tumblr#original photographers#photography#adventureswithteddy#bear#travel#plushie#plush#Ask#Answer#answered#Canon t2i#Sorry it's a long one
37 notes
·
View notes
Text


Went to the beach where I’m from in Canada today 🌊☀️
Photos are taken by me
#my photography#photography#beach#canada#nova scotia#ocean#canon rebel t2i#nature photos#blue sky#sky#nature photography#ocean waves
8 notes
·
View notes
Text


misc photos i've taken on my walks, trying to figure out the old camera i have. some from summer, some from fall.
#tw bugs#tw insects#photography#nature photography#canon eos rebel t2i#hate hate hate the white glowy stuff on the cicada shell pic. don't know/don't remember how to get rid of it#my photos
12 notes
·
View notes
Text

T2i Kiss X4 (2) (3) (4) by Colin
8 notes
·
View notes
Text

#Repost @edmundyliang
・・・
The weekend is here. 📸 w/ T2i.
.
.
.
#edmundliang #documentaryphotographer #fashionphotographer #photojournalism #photojournalist #stressfree #hotsprings #goldenhour #gaysinnature #magichour #wildlifephotography
10 notes
·
View notes
Text
Free Art! Diagon Alley


Useful especially in A1111, to replicate sets, style, look/feel, and location:
-txt2img (to generate as a similar background)
ControlNet
-IP Adaptor
-Reference
-T2I-ADAPTOR-color_grid
-T2I-ADAPTOR-style_clipvision
-img2img (t generate variations on the specific image, with new added elements)
Img2img
Similar to txt2img with ControlNet, but more based on the original img
Inpaint
Add elements to image (ex: characters)
Expand to see the last two images in the color block phase of editing


2 notes
·
View notes
Photo

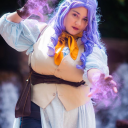
“[ Wonder-woman Pixar Style ] #stablediffusion #t2i #pixar #aiart #wonderwoman #soywhite”
Give us a follow on Twitter: @StableDiffusion
ht Choidonhyeon
#ai art#ai artwork#art#stability ai#digital art#StableDiffusion#stable diffusion#aiart#ai generated art#dream#generated artwork#ai generated#generative ai#ai#digital painting#deep dream#unreality#generative art
11 notes
·
View notes
Text
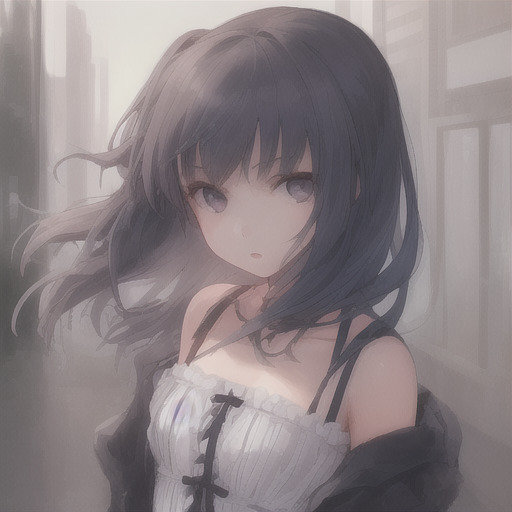
Stable Diffusionを使ってみた

今更ながら画像生成AIの Stable Diffusionを試してみたので、その結果を投稿しておきたいと思います。
まず今回使ったのは Stable Diffusionのautomatic1111というローカル環境で動かせる Stable Diffusionです。
設定方法はググるかGPTれば出てくると思います。(新しい情報なのでGPTっても出ないかも)
幸いにも少し前にRTX 3060 Tiを買っていたのでそれなりに動かせる環境が出来ていました。(後々にはメモリ12GB以上のグラボが欲しい)
最初に試したのはanything-v4というモデルを使って生成してみました。

なんとなく女性のような何かが生成されました。
ちょっと人体錬成の禁忌を犯したような気持ちになりました。
この時は俗に呪文と呼ばれるプロンプトを何も指定していなかったのでAIも困ってこんな感じの画像が提示されてしまったものだと思われます。
次にプロンプトを「girl」だけ入力して生成してみました。
めっちゃすごい!
たった4文字を入力しただけで自分で描いた絵を余裕で超えてきました。
ただ、ここまでくるともっと欲が出てきてしまいクオリティを上げていきたくなってきました。
そこでプロンプトをもっと増やしてみました。
特にネガティブプロンプトと呼ばれるこういう絵は欲しくない!という文言の量は莫大でまさに呪文です。
プロンプト「(best quality, masterpiece:1.2), white background」
ネガティブプロンプト「(worst quality, low quality:1.2), bad anatomy, bad hands, missing arms, text error, missing fingers, jpeg artifacts, long neck, signature, watermark, blurry, fisheye lens, animal, deformed mutated disfigured, mutated hands, missing hands, extra hands, liquid hands, poorly drawn hands, mutated fingers, bad fingers, extra fingers, liquid fingers, poorly drawn fingers, bad legs, missing legs, extra legs, bad arms, extra arms, long torso, thick thighs, partial head, bad face, partial face, bad eyebrows」

すばらしい!
プロンプトは白い背景としか要求していないのにここまで描いてくれるとは
ここまで来たらもっと実用的な絵を生成したいと思い自作ゲーム「星の心」に出てくる「星の女神」を描けないか試してみました。

これは自作の絵です。
この絵をプロンプトだけで再現できないか試してみました。
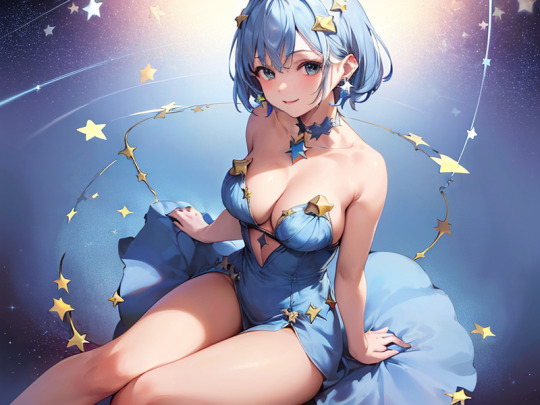
悪くはない(むしろいい)
ただ、乗っている星の再現は非常に難しかったです。
ちなみにここまでで最初の生成から2時間ぐらいでいけました。
ではもっと再現させるにはどうしたら良いか。
今まではプロンプトのみで画像を生成するt2i(Text to Image)というやり方でやっていましたが、
i2i (Image to Image)というやり方では元画像をベースとしてプロンプトの情報も入れつつ生成してくれます。
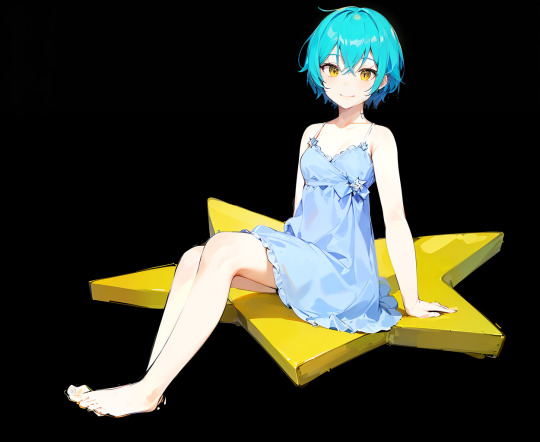
これはまじですごい!!
しかも黒背景なので透過してこのままゲーム内で使えます。
目のあたりは使用するモデルに寄ってしまうのでそこだけ自分好みに修正したりすることも出来ます。
モデルによってはちょっと不気味の谷に入ってしまいますが実写風にも出来ます。

ここまではゲームで使えそうな形で使ってみました。
最後は完全に自分の趣味になってしまいますが、推し声優の久保ユリカさん風の画像を生成していきたいと思います。
まず、ベースとなるモデルを作るのは非常に大変だと思うのでLORAと呼ばれるベースモデルに追加学習できる方法で久保ユリカさんの画像を学習させました。
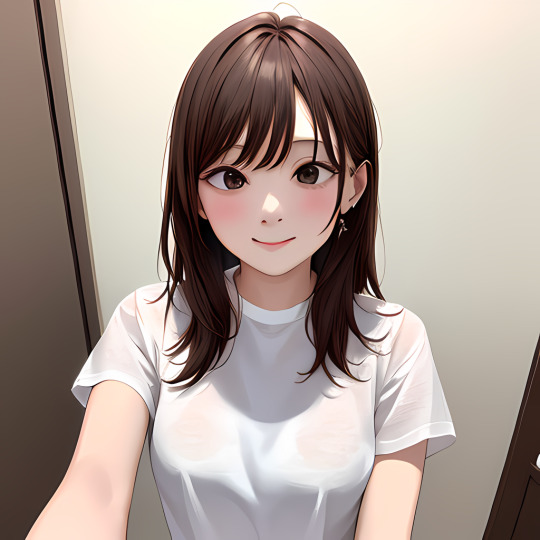
だいぶ雰囲気ありませんか?(自撮りしているような感じ)

顔の面積が減ると途端に雰囲気が弱くなりますが写真集風の画像も生成できます。
結果、Stable Diffusionを使ってみてかなり満足することが出来たと同時に、ある程度自分の描きたい絵をベースにしたゲームの立ち絵にも使えそうだなと思いました。
正直立ち絵はゲーム製作の占める割合としては結構大きいのでAIの手を借りて時短していくのも有りだと思いました。
9 notes
·
View notes
Text

A Photo of the Ocean Beach Pier in San Diego...
That I took several years ago after a storm blew through the county.
601 notes
·
View notes
Text
i am so excited. i bought a used canon rebel t2i on poshmark that looks like itll be in really good condition & it comes with an 18-135mm lens & case. and all for like four hundred bucks less than what its selling for used on amazon. it was still a chunk out of my credit but ive been wanting a camera for sooo long even an older model like this will be so nice to have.
2 notes
·
View notes
Text
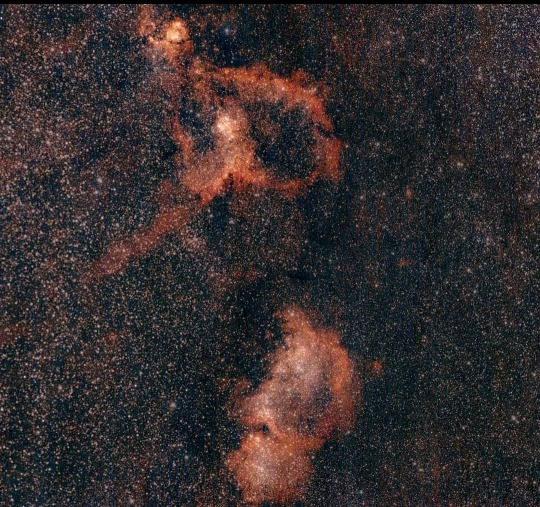
Heart and Soul nebulae, taken with an astromodded Canon T2i and Roki 135mm lens, tracked, unguided. Processed in Siril and GIMP.
2 notes
·
View notes
Text


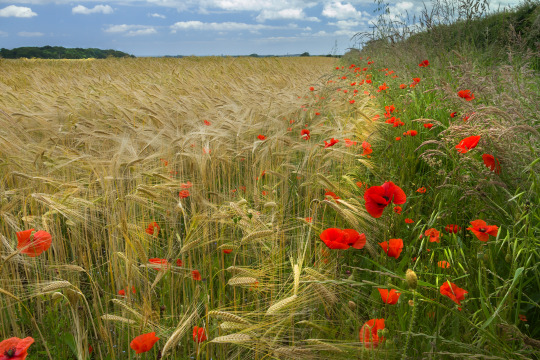
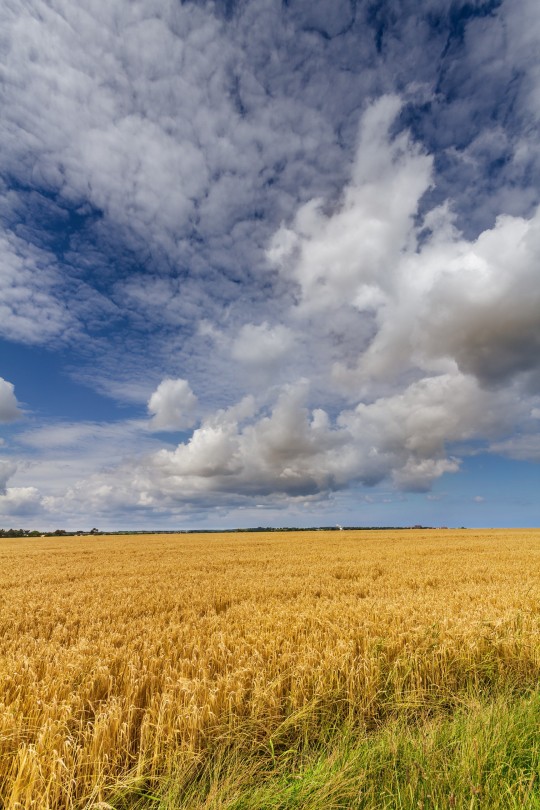
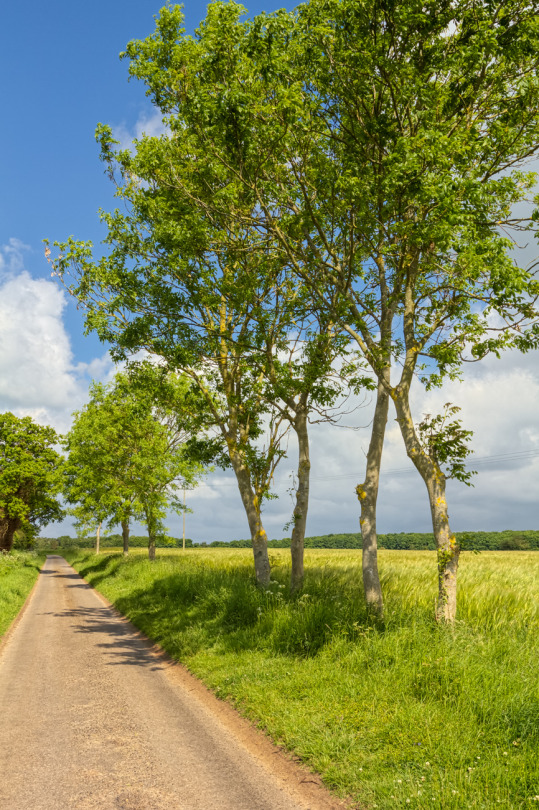
Pictures taken on my morning walk, wanted to get out before the frost melted.
#nature photography#photography#canon eos rebel t2i#mushroom photography#figured out the white balance so now my pictures can SLAY!!!#this camera is 13 years old#my photos
0 notes
Text
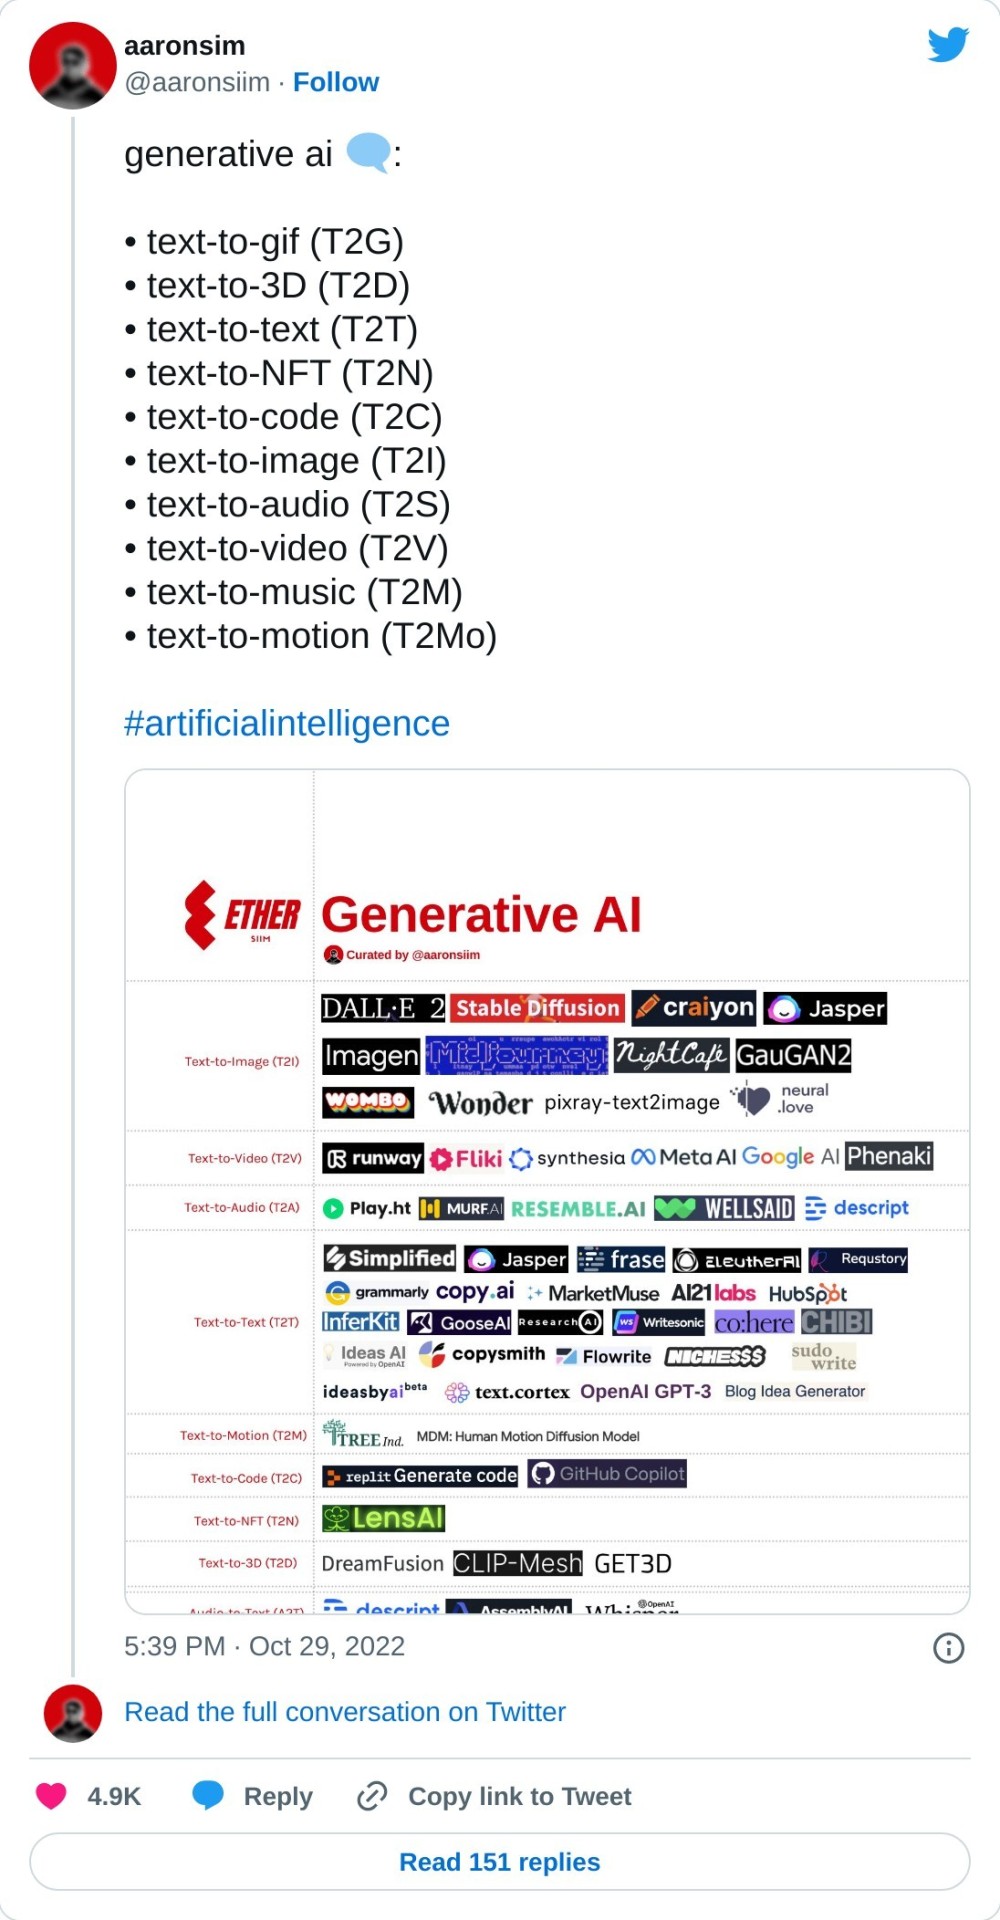
Generative AI 🗨️:
• text-to-gif (T2G)
• text-to-3D (T2D)
• text-to-text (T2T)
• text-to-NFT (T2N)
• text-to-code (T2C)
• text-to-image (T2I)
• text-to-audio (T2S)
• text-to-video (T2V)
• text-to-music (T2M)
• text-to-motion (T2Mo)
2 notes
·
View notes
Last Seen Blogs
lostdreamcosplay
❌løstdream❌

scentedgoateekid
İsimsiz

florschutz
florschutz

silent-november
you are not alone