#Legend of Zelda Project
Text
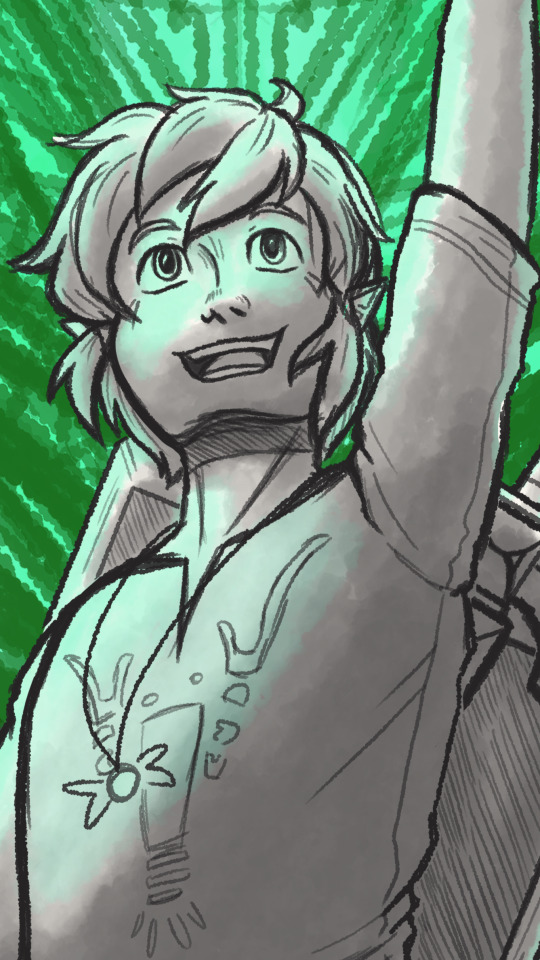
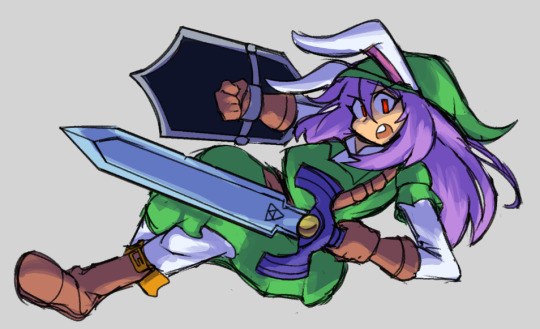
A project coming ahead...
It will Zelda based and it is one that I have been planning far before Tears of the Kingdom released.
I am already investing time and effort into it and will go out in making art before I start releasing chapters. But I will have a question with the art if enough people show enough interest.
it will be a Zelda story before Breath of the Wild and I will be writing it as though I am writing a game. With mechanics, levels, dungeons, items, lore and all that jazz
As a sneak peek, I will show this

and in hopes people will find it interesting.
15 notes
·
View notes
Text

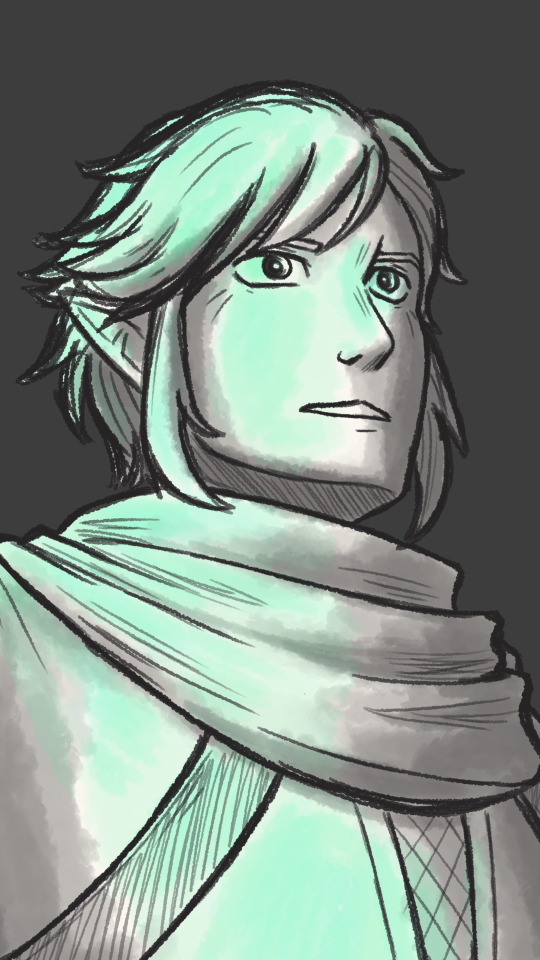
My page for @sheikahzine; about Impaz's duty to her village, empty of people and full of memories.
[id in alt text]
#legend of zelda#loz#twilight princess#loz tp#i'm still reeling that someone sent me an ask about this one.. that they took the time to find my tumblr and tell me they liked it#it really meant a lot; thank you to anyone that stops to leave comments like that. they make me happy#but yeah! here's the usual symbolism ramble:#i thought it'd be cool to have the 'spirits' flowing one way and the cats walking through them the other way#to kinda show the difference in life inhabiting the village in the past and present#link's face is covered because impaz was just waiting for 'the hero' so his clothes are what matters; not his face#and it (hopefully) gives a surreal and intangible sense to 'the hero' she could only hope would actually show up#you can feel free to interpret the glowy blue sheikah as ghosts or just as memories of the past! i couldn't decide either way#the one on the bottom left is oot impa since she's implied to be the village founder. so i guess she would be a ghost actually?#fan art#my art#project stuff#and ahhh the book-- everyone's stuff is so beautiful!!#especially the writing. some of the fics made me really tear up and some were so fun and clever. i really love them#a lot of them captured the sheer burden of the role of the sheikah; all of the time and grief and doubt#i know i always say this stuff about every project but. the people i get to work with in these are truly so skilled every time
4K notes
·
View notes
Text

Light Noodle spinn
#18 frames of agony#i dont usually animate so a fun project#legend of zelda#tears of the kingdom#totk#totk spoilers#light dragon#art#animation#procreate#procreate animation#artists on tumblr
7K notes
·
View notes
Text

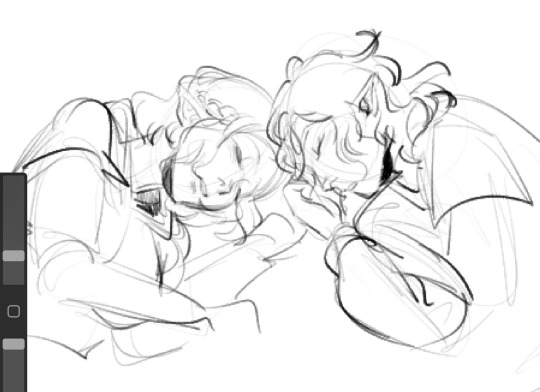
A little out of it.
1K notes
·
View notes
Text


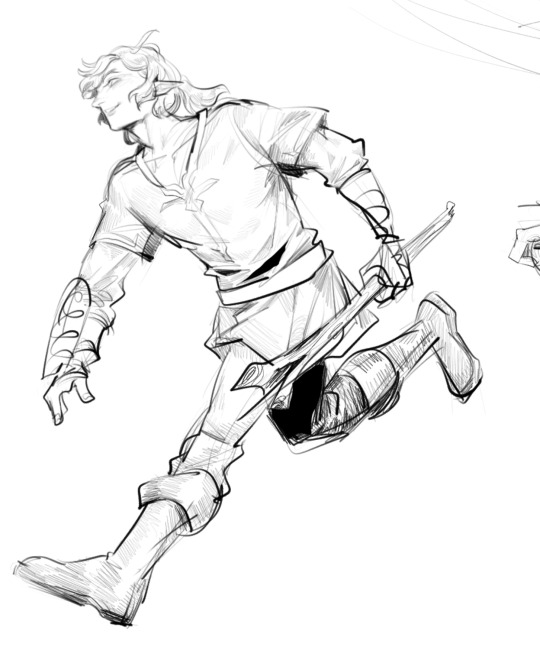

Long time no see here are some botw/totk doodles from this week. Hope this makes your day better :)
#zelink#botw#loz fanart#totk#loz totk#I stand by trans link (I am projecting)#imagine if they let link cry during the dragon tears quest my god#thé zelink doodles are coming back really totk turned me into a zelinker#the legend of zelda#they are so comfort ship to me
1K notes
·
View notes
Text


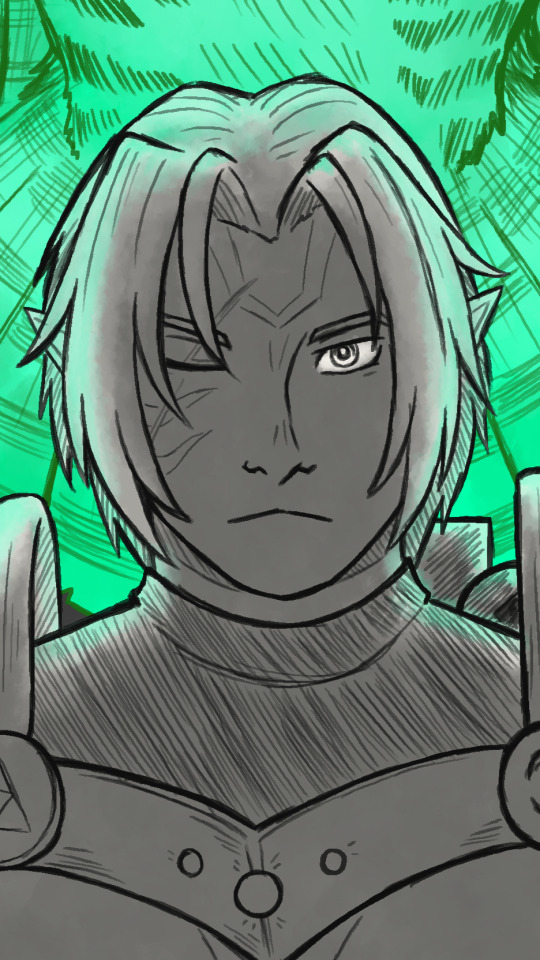

[LinkedUniverse AU] F̶̝̼̪̆̿a̸̧̛̪̫͉̔̈͘r̵̫͌̓̈͠ô̵͍̟r̴̨͉̮͆e̷̡̞̙̯̔ SPIRITS Series - final sketch preview
Here's all nine of the featured Heroes. It took me a while to get to this point but made it nonetheless. Also the series' now renamed to just [SPIRITS Series]....for lore reasons I have in mind.
It will take me a while to complete all nine parts so please bear with me for taking so long. I hope to complete this series within this year!
#was it a great idea to take on three big art projects at once? no...no its not but...here I am#legend of zelda#linked universe#linkeduniverse au#linkeduniverse#sketch#sketch wip#lu spirits series#farore's spirits series#totk#botw2
527 notes
·
View notes
Text
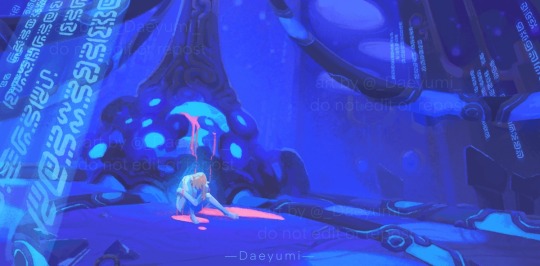
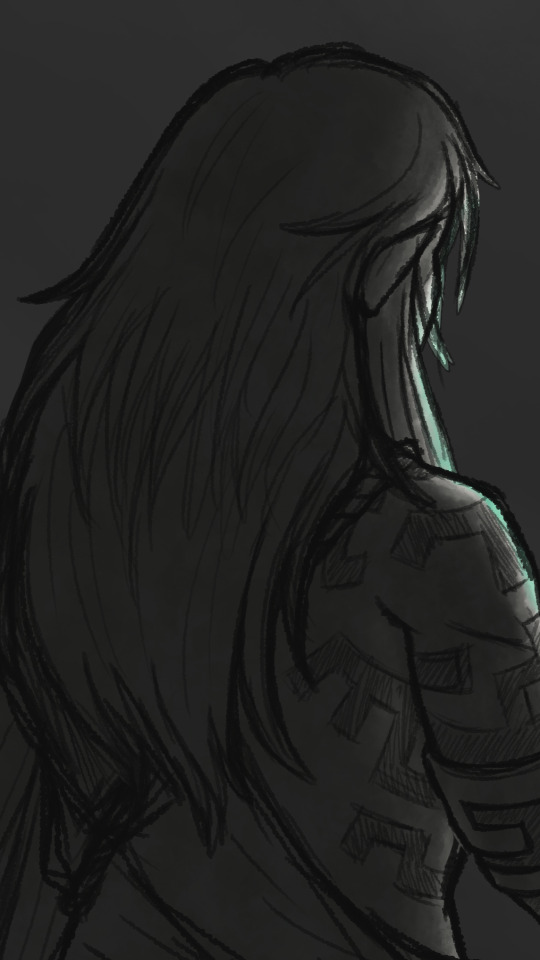
🔹🔷🌌 Synthesis 🖲️🧿🔹
[Cycle of the Stars au]
#zelda#legend of zelda#zelda au#loz au#zelda fanart#link#au link#legend of zelda au#daeyumi art#cycle of the stars#cycle of the stars au#sheikah tech#the place where my au starts. it’s most similar to the shrine of resurrection in botw because that was the initial inspiration for my au#i drew this piece earlier this year#drawing out the sheikah text projections on the walls of the room took way longer than it should have lol
576 notes
·
View notes
Text
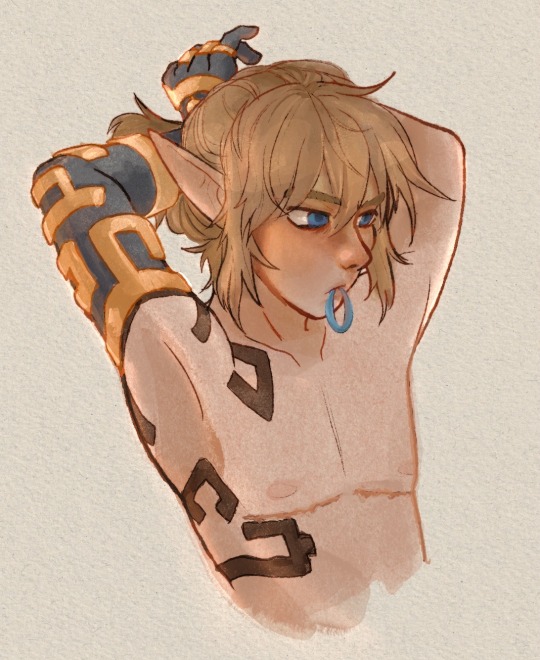
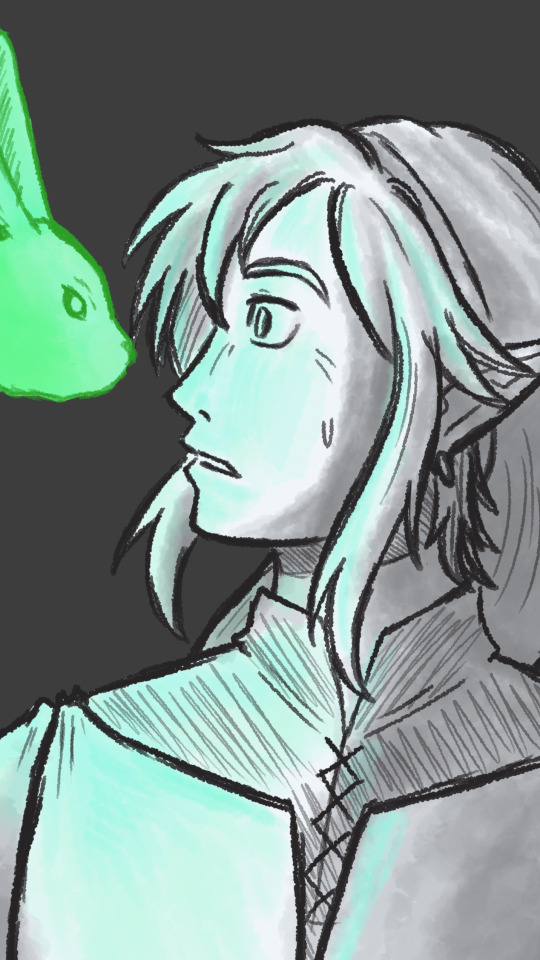
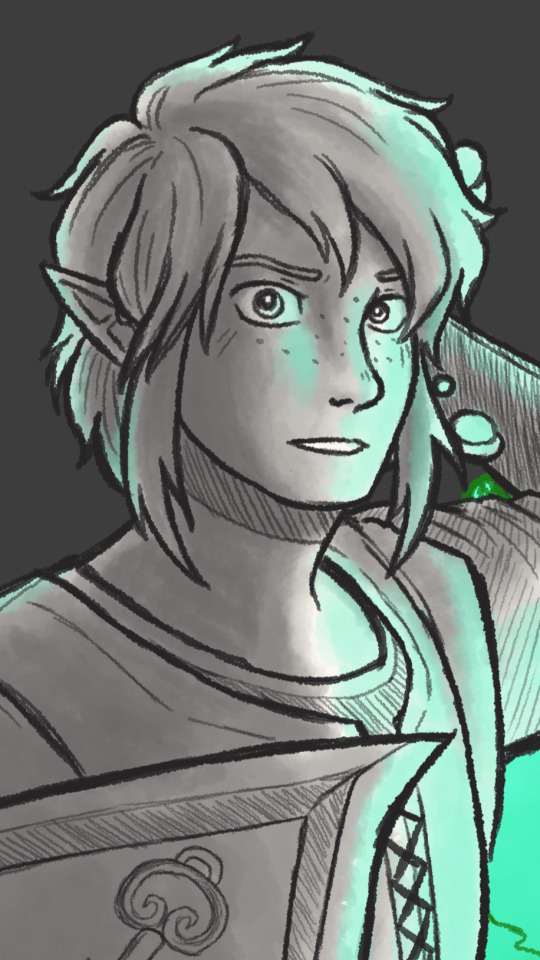
putting it back up
#tears of the kingdom#tloz totk#the legend of zelda#breath of the wild#link totk#link botw#artists on tumblr#transmasc link#trans boy link#art#digital art#my art#totk fanart#botw fanart#let me project myself onto him ok
319 notes
·
View notes
Text
“Haha I love Wars so much he’s my favorite!!” I say as I give him horrible chronic pain issues, a chronic blood sugar issue, horrible mental health, and torture him regularly in the fics I write. I also gave him facial scarring-
this poor man’s life was sooo much better before I started writing fics about him….
#i swear i love him#hes my favorite :)#and im DEFINIETLY am not projecting AT ALL haha why would you think that#linked universe#linkeduniverse#lu warriors#lu wars#warriors linked universe#linked universe warriors#the legend of zelda#jes talks#jes headcanons
258 notes
·
View notes
Text
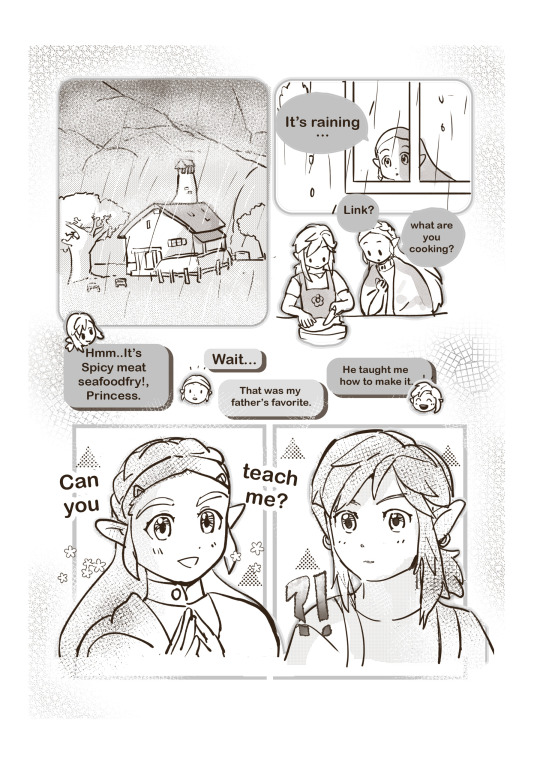
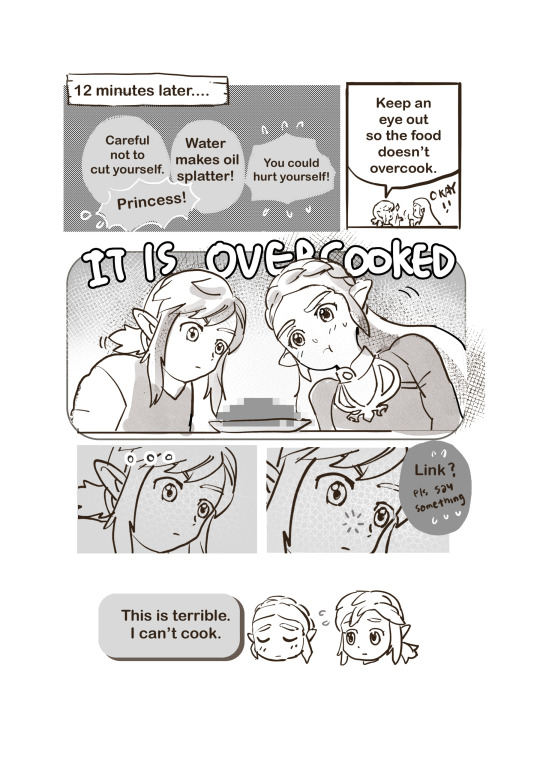
Cook with ME! Link and Zelda~~ What are they cooking???
this is a collab between Me! and missbeatriz (@sllentprincess on twitter)
You can read the full version in Ao3!
Thank you for reading!
#It's been fun to do this little fun project!!#fan art#my art#legend of zelda#princess zelda#zelink#zelda#link botw
231 notes
·
View notes
Text

#ravioli#raviolink#link x ravio#legend of zelda ravio#legend of zelda link#legend of zelda#a link between worlds ravio#a link between worlds link#a link between worlds#albw ravio#albw link#albw#tried a new style of shading hopefully it looks good#also sneak-peak into that 'big project' I was talkin' about with these two uwu#AmaCurses AU#AmaFushi AU#Designs subject to /some/ change#not linked universe#Lost Woods AU
272 notes
·
View notes
Note
Sir Ganondorf can you please tell me it’s alright to start a new project even though i’m worried about how long it will take or that it may not turn out well in the end?

#disclaimer do not. kidnap children that is not a constructive long term project#loz#tloz#the legend of zelda#ganondorf#good advice ganondorf#good advice
504 notes
·
View notes
Text
painted sketch of Reisen in Link's outfit for @spiritual-sister 's birthday today :D
#krystalphantasmart#artwork#artists on tumblr#touhou#touhou project#fanart#digital art#reisen udongein inaba#touhou reisen#legend of zelda
405 notes
·
View notes
Text
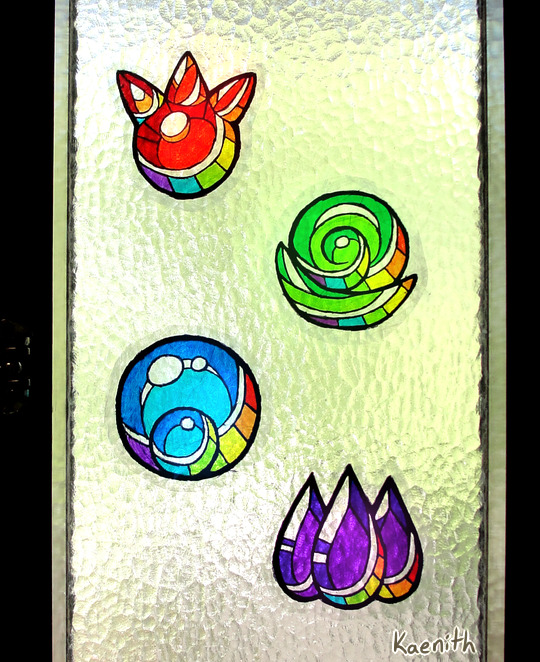
I've been making window clingies of the elemental gems from Minish Cap and Four Swords (plus rainbows because pride month) and I thought I'd put together a tutorial :)
Materials needed:
Permanent markers
Clear cellophane wrap
Scisors
Paper to sketch or print your design on
Not strictly necessary but useful:
Tape (for holding your pattern in place)
Something with a straight edge, like a ruler or bone folder (for smoothing out the plastic)
Step one:
Decide on a design. I drew mine digitally and printed it out. The printer had an issue, but eh, I can still see the lines, it's good enough ¯\_(ツ)_/¯

Step two:
Fold a sheet of cellophane wrap in half to make a double-layered sheet that is a little bigger than your intended design. Try your best not to get it too crumply and wrinkled, but in my experience a little bit of crinkling is unavoidable. Best not to get too perfectionist about it, and just embrace it as part of the stained-glass look!
Unfortunately, cellophane being clear, this step is hard to photograph ^^;;
Step three:
Lay the double-sided cellophane sheet over the top of your design. The best way I found to keep everything in place was to tape the pattern to a smooth surface and stick the plastic down around it.
Starting with the lightest colors first to avoid color bleed, start coloring your design, leaving the lineart for last.
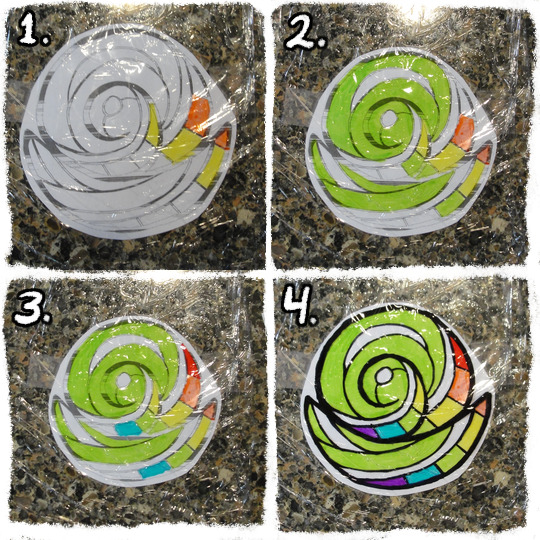
Step four:
At this point, the colors might look nice and vibrant against the white paper, but when you pick the plastic up and hold it up to the light, it will likely look washed-out and/or streaky.
To build up the colors more, fold another layer of cellophane and place it on top of the inked side of your current sheet. Then go over the colors and lines again, once again in order from lightest to darkest.
Keep adding layers until you're satisfied with the darkness of the colors. You can even get some interesting effects and shading by combining layers of different colors!

Step five:
When you're done, add one final layer of cellophane to the top to protect the inks. If you have a ruler or bone folder, I recommend using it now to smooth out the plastic and press the layers together as much as possible.
Then just trim around the edges and slap it on your window! :D
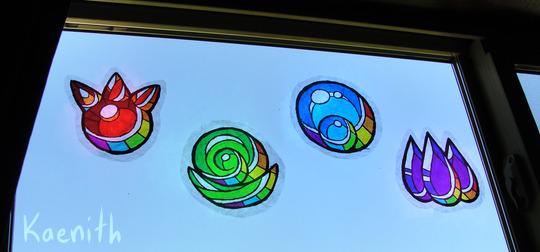
#legend of zelda#four swords#minish cap#tutorial#tutorials#craft project#craft projects#to pluralize or not? it seems I have done both in the past#pretty colors#my art#fanart
662 notes
·
View notes
Text
The top FOUR bands from this poll will go through! Good luck!
#preliminary round#the monkees#phineas and ferb#phantom of the paradise#project sekai colorful stage#the mighty boosh#that thing you do#they might be giants#american dad#legend of zelda majora's mask#heathers
211 notes
·
View notes

Last Seen Blogs
ur-daily-inspiration
Landscape, Animals & Quotes

rosiecobalt
rose

hjclarksremovalsblackpool-blog
HJ CLARKS
gremlinbabe
In Desperate Need Of A Nap & Serotonin