#also this entire thing is rough and sketchy and experimental and i... like it
Explore tagged Tumblr posts
Visit Tumblr Blog
Explore Tumblr blogs with no restrictions, modern design and the best experience.
Last Seen Tumblr Blogs


Fun Fact
Mobile US users spent an average of 115.8 minutes on Tumblr app monthly.
Text
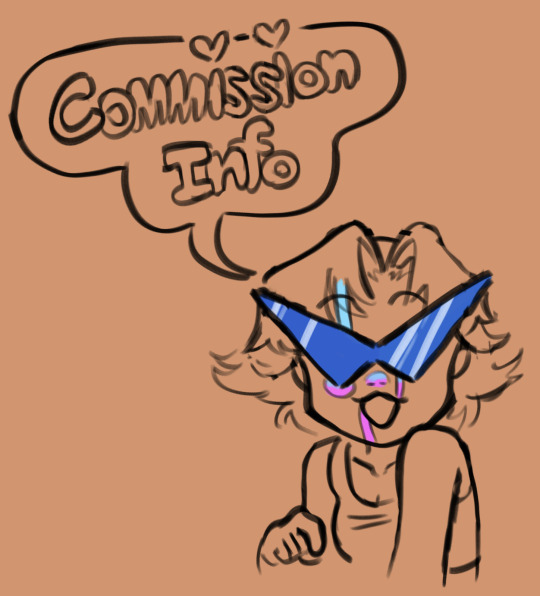
Commission Info!
This post is going to go over my commission information. Mostly for character illustrations, but there will be other kinds of commissions included. I'll be breaking up the information and prices into chunks based on: - Art Style - Pose - Additional Elements (i.e. backgrounds, props, additional characters...) - Experimental Commissions (i.e. comics, animations, etc...) - Terms of Service. There will be example images provided and a short paragraph explaining the information. Should be a long post so it will all be under the read-more.
Art Style
The style decides the base price of your commission. Sketch: $15
The sketch style means I only do a sketch of the character. I generally will keep it clean but they will often have a rough feeling to them still. I am generally okay with the inclusion of one, somewhat sparse color in a sketch commission used for occasional detailing. Colored Doodle: $20
With a colored doodle, you get a rough and sketchy drawing but with some simple coloring. The amount of detail and complexity depends on additional commission add-ons. However, I get a lot more say in how the end result looks with these, meaning the general "roughness," presence/amount of shading, etc are all at my own discretion. Flat Colors: $30

This style means I keep it to flat colors only. The line art will be cleaner than the sketch or colored doodle. However, there will be no shading whatsoever. Rendered: $50

A fully rendered commission includes full color and shading. I will often use textured brushes in these, but if you want something smoother then you can ask for that. I include Disco Elysium styled portraits here and not in "style imitation" (further down) generally because I feel better attempting that style as I've had attempts with it in the past.
Pose
From here on, prices are considered "add-ons" meaning they are added on to the base price from the selected commission style. Bust: +$0 A bust commission includes the head, shoulders, and sometimes chest of a character. Half Body: +$10 Half body commissions can include hips and above on a character. If you want a bust commission but also wanted to include a character's hands in the pose, it is considered a half body commission. Full Body: +$20 Generally includes anything beyond the hips. If you can see the whole body, it feels self explanatory that a full body commission is what you are looking for.
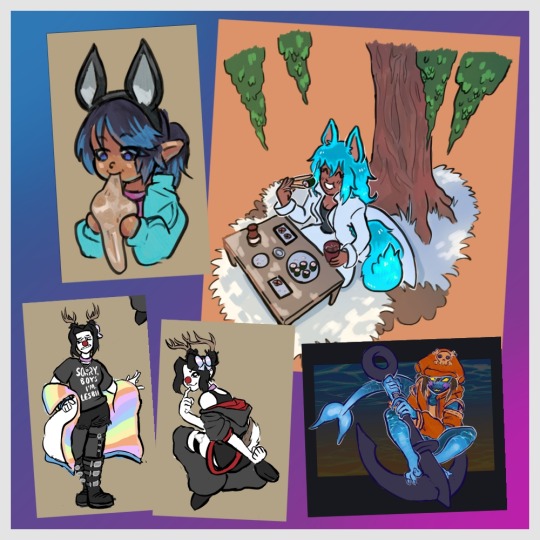
Additional Elements
Backgrounds Transparent/Single Color: +$0 If nothing is specified for the background, the commission will simply have whatever color my default "paper" layer current is set to as the background. If you want something different feel free to ask, you can even send a specific hex code if you'd like. A transparent background is available to all commission levels, just ask me to also send a version without a background. Simple Design: +$5 This generally includes things like simple shapes or more complex multiple color backgrounds. Complex Background: +$20 A simple background can include a few objects/background elements. Generally if you want you character sitting in a chair, at a table, under a tree, leaning against a wall, etc, you'd be asking for a simple background. Scene: +$50 If you would like a whole scene, covering the entire background with many complex and sometimes intricate elements then would like a Scene background. This would also include whatever props your character would have, so if you get a Scene commission, you can ignore the next "Props" section. Props (Price covers one to three props) Simple Prop: +$5 A simple prop often just includes something the character is perhaps holding or a larger prop with a simple design. Complex Prop: +$10 If the design for the prop is more intricate then the price is increased. Additional Characters: +$15 Any additional character is another $15.
Experimental Commissions
Experimental commissions are commissions I would like to start doing, but don't have much experience doing for other people. As such, they generally include a few additional caveats when compared to a normal commission.
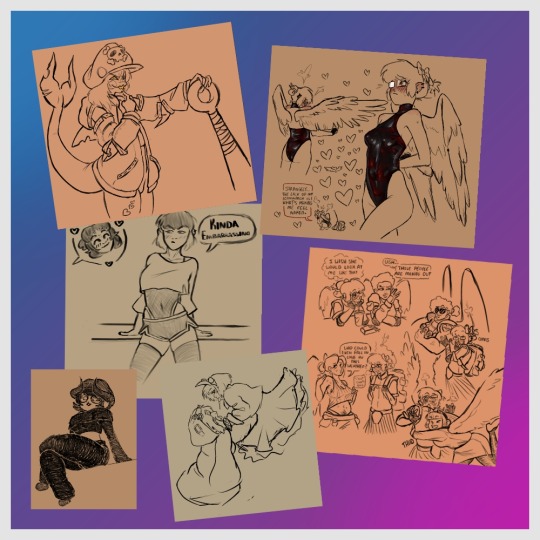
Style Imitation: +$20

I can attempt to imitate a style, the "Style" base price is dependent on the style I will be imitating. This is just something I'd like more practice with to be honest. I also really only would consider imitating the styles from famous cartoonists or the styles of certain games, comics, or animated shows. I won't imitate another random online illustrator's style. Simply because it feels a little rude lol. Examples provided include: Peanuts and The Far Side (both showing scenes from the Maia Kobabe memoir, Gender Queer), Deathloop, Darkest Dungeon II, and Sweet Bro and Hella Jeff. Comics: $20

The styles are limited to Sketch, Colored Doodle, and Flat colors for the time being. They are also intended to be more like a comedic webcomic, and not something like a comic book or graphic novel. I may include stuff like that in the future though, priced per page. For now, the base $20 includes up to 4 panels and another $10 per additional panel. Animations: $35 per ten frames I am still somewhat new to animating, so the style for these are limited to only the Sketch style. Since this is a skill I am learning you should keep the request somewhat simple. (For now there are no example to show because my only animations are NSFW in nature. When I have more SFW examples to show off here, I will add them. For now, you will just have to look for the animations I have already done in my #animation tag) PNGtubers:

The price for these can vary. The style is limited to Flat Colors and the poses are limited to Bust or Half Body. Those decide the base price. Additional expressions (blinking, open mouth, etc) are +$5 because these are often simple and easily made changes just on the face. Additional poses (hands up, additional props, etc) are +$10 The backgrounds are of course Transparent.
Terms of Service
I am fine drawing most anything (so NSFW is allowed), just ask to be sure.
I can refuse a commission for any reason
Please have references for me. - If you are having me design a character with no official design be sure to bring reference of examples of what you want your character to look like (like hair and facial features).
Delivery time - Commissions will be done in the order they were received. - For especially complex commissions, expect a few months for completion simply because of my schedule. I do these in my free time. - Simpler commissions can take a few days or maybe weeks. - Please be aware, just because I upload a personal drawing does not mean I am not working on commission.
Revisions - I will check in with you on occasion to ask for input or desired changes. - Please keep bigger changes towards the early parts of the process. As the commission progresses I will be less willing to do larger changes to the commission.
Payment - I only accept payment via Paypal Invoice (you don't need a Paypal account, it will be sent to you via email and you can pay in the link sent) and Ko-fi. - Also, if you are especially happy with you commission, you can even leave a tip on Ko-fi ;3
#honkful art#commission info#making a whole post dedicated to this as opposed to just an image or series of images is far better i think#now if i ever need to update the information i can just edit this post as opposed to having to make new little graphics
76 notes
·
View notes
Note
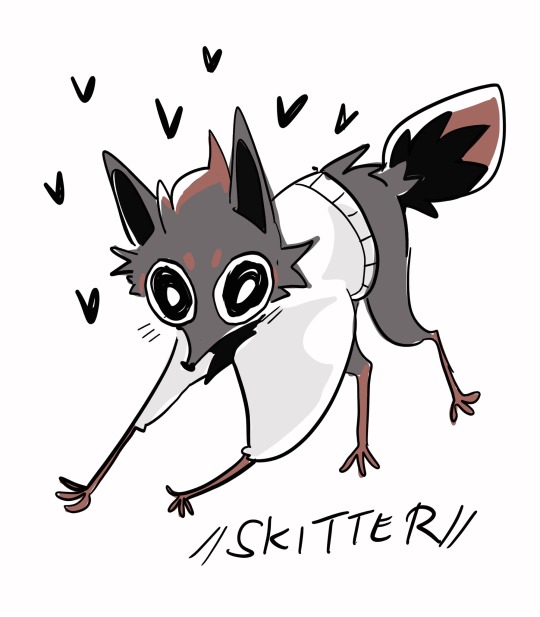
I finally got all my brain ducks into enough of a row to send this! I just wanted to say that Tumblr recommended your art to me on a whim, and I am actually OBSESSED now lol. I had no prior investment in Submas or anything tangentially related to it prior to this (aside from liking Pokémon generally lol), but I couldn’t help but tear through everything you’ve drawn for these silly little rat children and I love them so much now!!! I wanna pick them up and shake him around like little action figures! The shenanigans and the heartfelt moments are just,, UGH so good! I have no words! Thank you for the food I am going FERAL over them <3
Your art is also high key goals for me now tbh. I absolutely ADORE your coloring and rendering style, and also they way you draw Pokémon in general?? Very animalistic but still recognizably Pokémon?? Literally galaxy brained. I’m going to SCREAM. I know you already posted a bit of your art process, but I’d love to know if you’ve got any rendering tips and/or how you get that clean but sketchy look. It looks so good I want to eat it lol.
(Also I really love the way you’ve been formatting Elesa’s dialog, with the extra lines around the letters. It really gives the vibe that her grasp on Galarian is currently shaky at best and idk, I like that you’ve managed to find a way to convey that over text. I think that’s pretty cool :D)
I SAW YOU REBLOG A WHOLE BUNCH AND IM,,, (throwing hearts at you)
Thank you so so much! I’m glad you love these terrible little guys wandering Unova just as much as I do, haha!
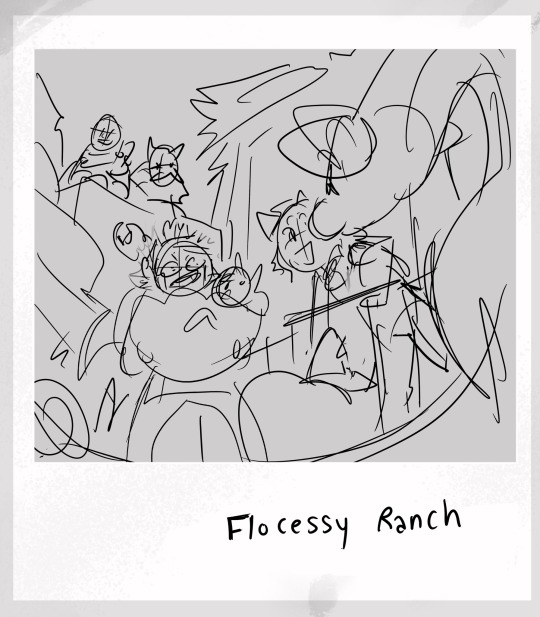
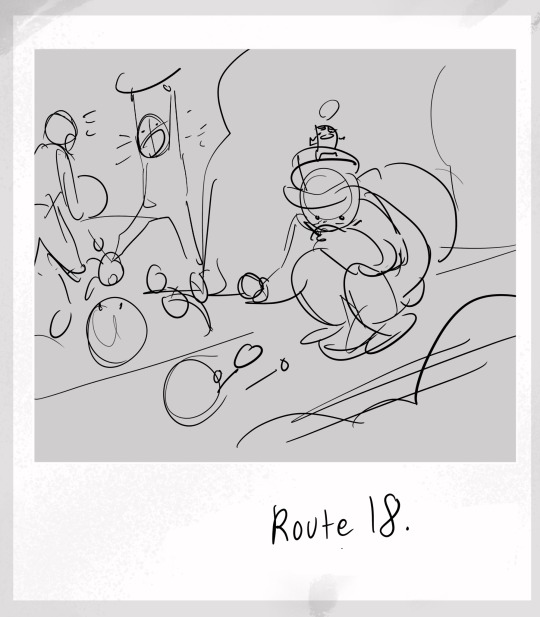
As a treat, lemme pull out some drafting for the mini illustrations. I usually start every snapshot with a run down of what I remember from the area, possible shenanigans encountered, and then a doodle of ideas to come.
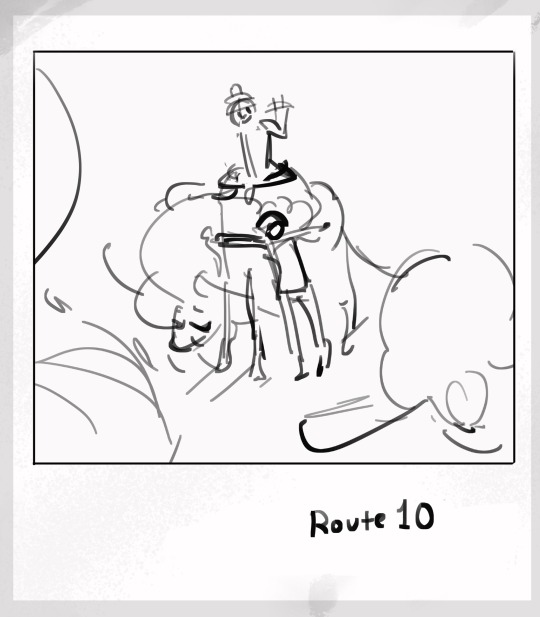
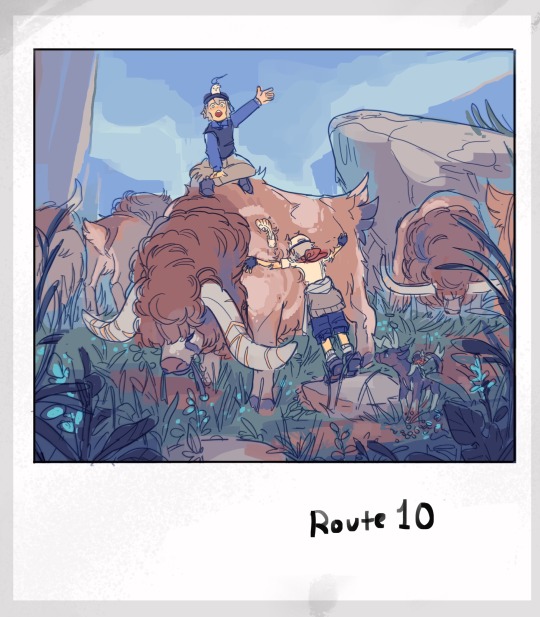
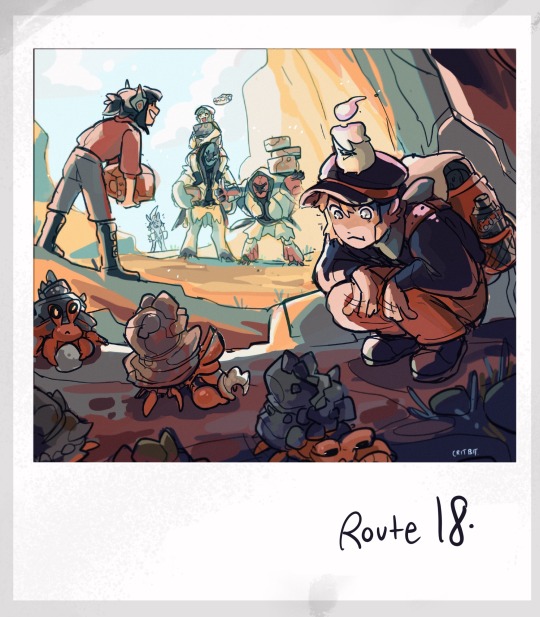
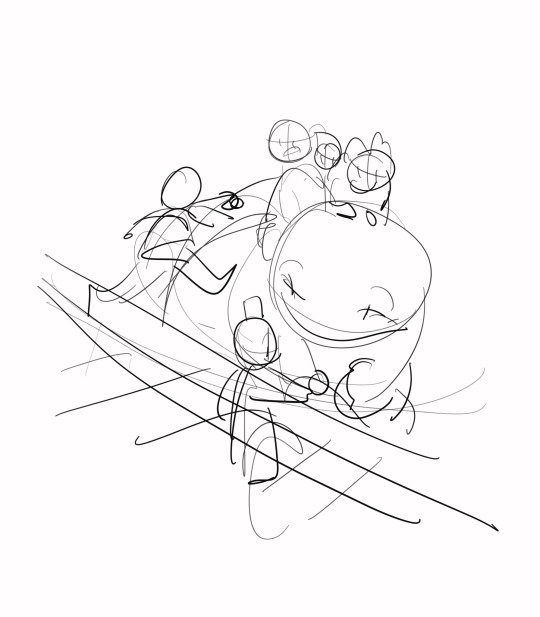
From there, it’s a SUPER rough sketch, followed by lineart and rough color, and then cleanup!
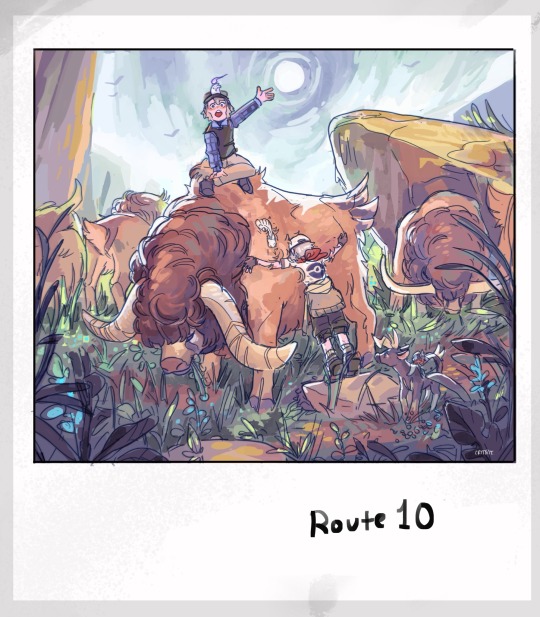
(More thumbs and their finals below!)
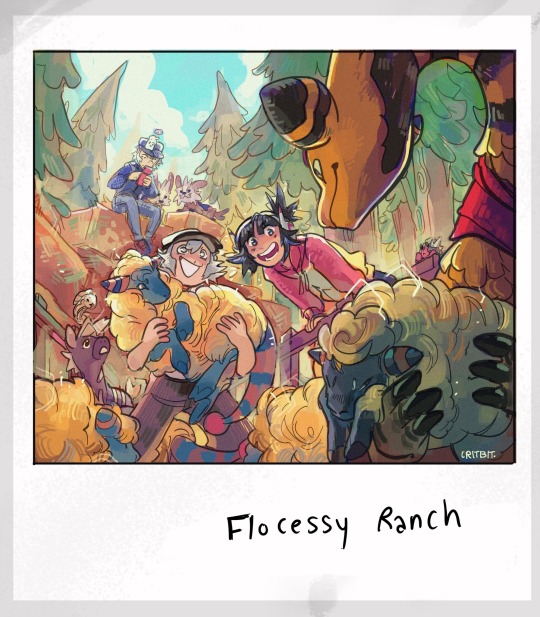
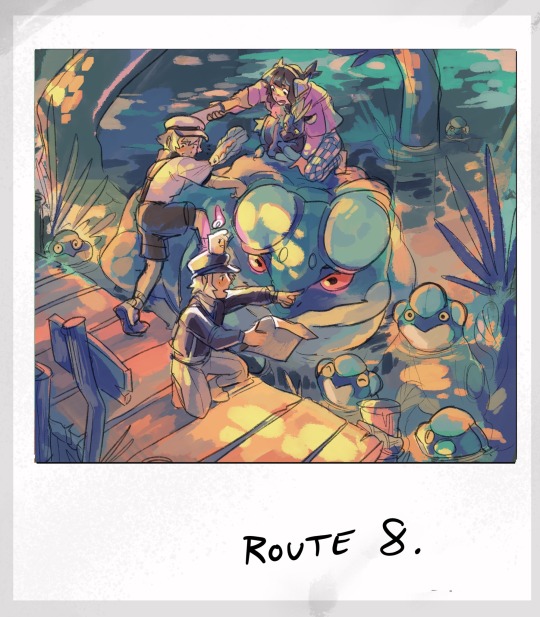
At the end of the day, all my lines are VERY sketchy. I’m a lot stronger when it comes to mashing colors. That, and if you set your line layer from normal to multiply, the lines will always be automatically darker then whatever layer is placed underneath. It’s a trick used quite a bit for placing cel shadows in animation, but it’s useful for lineart in a pinch.
For colors, I like to stick to a limited pallet and branch out only after setting my primary colors. This entire series has been very experimental for me though, as you can probably tell.
As for the last bit— YES… YOU GET IT! As Elesa grows, the lines in her dialogue will start appearing less and less. It’s the little things that map the span of time for these guys.
Yippee!
#ask#mailbox#aah… scared to respond to my inbox because there r so MANY asks but#this one’s asking for tips and i love getting on my soapboxes#and also the sheer amount u reblogged??? holy shit okay if ur gonna put the effort so shall i!!#ANYWAYS!#critterbitter screams into the void#critterbitter
355 notes
·
View notes
Photo
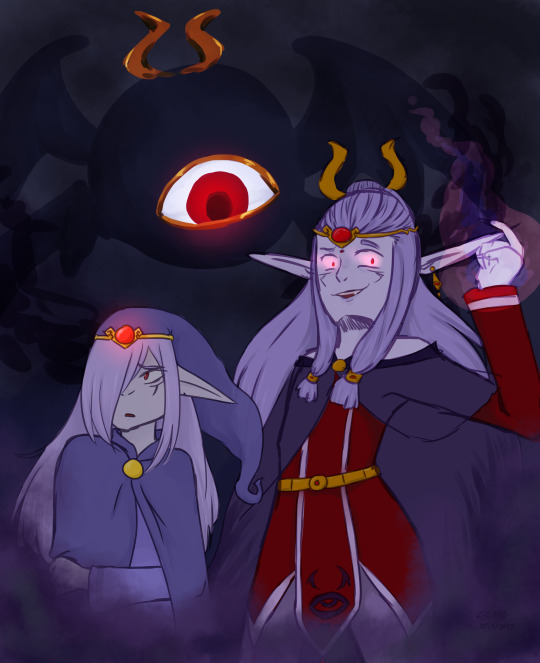
Is this another dream, or just a nightmare? Unnerving, concerning, (who's out there?) The clock isn't set to last, my time is fading fast
I can't keep running into spirits of the past
#vaati#the minish cap#minish cap#legend of zelda#my art#throws this into the tags despite being heavily verse-dependent bc dammit i worked hard on this#ok to reblog#anyways *hands you a boy with a god complex**hands you a boy with a god complex**hands you a boy with a god complex**hands you a boy with a#im so upset bc i've fallen (into vaati hell) and i can't get up#i love my shitty gremlin son who's learning how to feel Emotions#learning how to Not just be a sadist#(i mean he's still a sadist. but. he can be other things too)#also this entire thing is rough and sketchy and experimental and i... like it#i'll post my ref sheet of god!vaati soon just for fun lmao#; 𝔟𝔢𝔣𝔬𝔯𝔢 𝔱𝔥𝔢 𝔩𝔞𝔰𝔱 𝔟𝔢𝔩𝔩 𝔱𝔬𝔩𝔩𝔰 { OOC }#; 𝔞 𝔰𝔬𝔲𝔩 𝔪𝔞𝔡𝔢 𝔬𝔣 𝔴𝔦𝔫𝔡 𝔞𝔫𝔡 𝔡𝔞𝔯𝔨𝔫𝔢𝔰𝔰 { MUSE }#; 𝔞 𝔩𝔢𝔤𝔞𝔠𝔶 𝔠𝔞𝔯𝔳𝔢𝔡 𝔦𝔫 𝔰𝔱𝔞𝔦𝔫𝔢𝔡 𝔤𝔩𝔞𝔰𝔰 { ALBUM }#; 𝔱𝔥𝔢 𝔭𝔯𝔦𝔠𝔢 𝔶𝔬𝔲 𝔭𝔞𝔦𝔡 𝔣𝔬𝔯 𝔭𝔢𝔯𝔣𝔢𝔠𝔱𝔦𝔬𝔫 { CHALLENGE }
22 notes
·
View notes
Photo


Mystery Box: An Introduction to Animatics
In this week’s animatic masterclass, we were introduced to the idea of an animatic as a way to plan our animations. Whilst we had the opportunity to create our own animatic, I first wanted to delve into the use of animatics in the industry of animation, looking at a few examples and the purpose they serve in the production of an animated sequence. This isn’t in response to any points from Helen herself, who simply gave us the task and how to produce it in the given software, but instead, this post is an opportunity for me to develop my own independent research into the use of animatics in animation.
What is an Animatic? Last week, we explored the idea of storyboards, and how these hand-drawn frames can show the stages of a scene in rough camera placements. Here, issues with the story can be fixed easily, and allow the director/s to tell if the story is clear and works as a visual narrative. However, storyboards cannot tell us the timing or pacing of the sequence. To do that, editors and artists take the storyboard panels and translate them into an animatic.
In its most basic form, an animatic is a collection of static storyboards edited together into a sequence. Using an editing package, we are able to put the storyboards into a timeline and see how the timing works for the animation, even adding cuts and camera movements which are often timed to any dialogue or music that will be used in the final product.
Similar to storyboards, animatics are used to bridge the gap between an idea and a finished animation. We need to see how it might feel, and ‘get more of a grasp’ of the scene. In contrast to storyboards, animatics are very particular to animation. They are a way to layout the timing, pacing and the visuals of the entire thing without having to create it in animation. Animatics are used to get the flow of camera work, pacing and characters interactions. Typically, the sketches in animatics are rough and instead focus on timing and pacing, rather than appealing illustrations.
Industry Practices In an illuminating video revealing the entire CG animation pipeline at Dreamworks Studios, lead editor Nick Fletcher explains the process in a way better than I ever could, simply because it’s his job to create animatics for Dreamworks’ feature films.
‘We take the storyboard panels and build a sequence out of those. Some times, we don’t have any dialogue, so we record ourselves doing the voices. We add a little music, sound effects and whatever is needed to fully tell the story. Try to make it as polished as possible so that the storyboard reel [or animatic] becomes a sort of foundation for the movie.’
Nick Fletcher, Editor and Animatic Creator for Dreamworks
In this early stage, the actors haven’t yet recorded their performances, so the editors effectively produce a rough pass as a way to present a preliminary vision of the film to directors, producers and executives, who will then green light the project to the next stage if they like what they see.
Interestingly, the inclusion of sound is a characteristic of almost every animatic I’ve come across, whether it be for a feature film animation or fan-made short on Youtube. Sound is a key part of producing an exciting and engaging animated film, and it’s not something that I want to disregard for this project either. When filming my own reference, I had the opportunity to verbally act out the performance and as such, I’ve essentially already got a rough audio track for my animatic, if I choose to include it. Despite the fact that sound isn’t mentioned in the brief, I feel like it could only be a good idea to include this aspect as a way to again push the limitations of this assignment and produce a piece of work that is of an industry standard: this is something that I want to consider when creating my own animatic.
With animatics, the drawings are often loose and sketchy: the focus is on telling the story and simply working out the timing and pacing of the sequence. A common industry practice of both storyboards and animatics is the use of spot colours or shading to simply separate the background and foreground, rendering the main characters in a shade of grey different to the background and foreground elements to direct the eye to the most important information and focal points of the shot. In my own animatic, I plan to produce a sketched version using simple line work and develop upon this by adding a grey tonal value to each of the elements as a way to evidence an understanding of key industry practices.
One final aspect to consider when creating an animatic is the program itself. After doing a little bit of digging online, I’ve found that the industry standard for animatic production is a combination of Adobe Photoshop to draw the frames and to sequence them using After Effects or Premiere Pro, both of which allow us to add cinematic touches and camera movements in this early stage. Already, I’ve had the opportunity to explore the use of virtual cameras within After Effects, and I can see the potential for more complex shot types and camera movements to be created simply using this technique of changing 2D illustrations into 3D flat objects that a virtual camera can then move around to give the illusion of depth.
Into the Spider-Verse: A Cinematic Approach This idea of a cinematic approach to animatics, making use of more complex shots even at this early stage in production, can be seen in Alberto Mielgo’s initial animatics for the massively successful Spider-Man: Into the Spider-Verse. Mielgo created the tests using the Adobe Creative Cloud suite, drawing with pencil and digitally in Photoshop, and compositing the sketches in After Effects before doing any final editing in Premiere.
The shots are intensely cinematic, presenting a new vision of a hand-drawn, 3D world. This example represents a more complex approach to an animatic, as Mielgo presents an inherently cinematic, hand-drawn 3D world. Through panning virtual cameras and zooms through converted 2D illustrations, the audience is able to get a sense of the scale of the film and the city of Brooklyn. Looking at these animatics, there’s a clear understanding of editing and cinematography here, with a mix of blurred lenses, fades and cuts that outline the overall look and feel of the final film.
Here, Mielgo was creating key moments and shot compositions that the final film still adheres to, with his initial animatics playing a key role in establishing the film’s stylistic visual language and a new, snappy approach to animation. The idea to use comic book panels, illustrated onomatopoeia and an experimental approach to composition was the work of Mielgo’s early development in the project, and within these, we can see how an animatic can be used to plan out the action not only in terms of layout and timing, but also the visual language of the film and even more editing elements such as how to cut a shot.
Gorilliaz: Animatics in Music Videos Animatics can also be found outside of the realm of animated feature films, however. For example, we can take a look at an animatic from the legendary animated band Gorillaz, an experiment blending animation and a genre-bending array of musical tastes that has become a world-wide hit since they first dropped their debut single in 2001, with ‘Clint Eastwood’. The song and music video are one and the same, each working to build off the other, and exemplifies the band’s use of mixing musical styles: combining hip hop, electronic and dubstep influences to defy musical genre, and instead embrace storytelling.
In the animatic for ‘Clint Eastwood’, we can see how the creators were able to pre-visualise their sequence by moving the camera around the 2D illustrations, which instantly gives the flat designs a sense of depth and cinematic charm. The slow arcing motion of each of the band members is shown clearly in the animatic, a shot that is now iconic to the band itself. It’s important to note that for the more complex moves, still images of the characters are used to act as visual place holders for the animation. With this example, the focus is on getting that smooth arcing camera movement, and focusing on each singular band member, and as such are represented with still frames. This is a common industry practice, and as such, animatics typically have little actual animation. Rather than a series of frames to create the illusion of movement, an animatic presents the action across a series of storyboarded panels that convey the motion through rough drawings.
Something interesting to note about this particular animatic is the varied use of mediums that creates a very tactical effect that hammers home to the audience that these sequences are created by hand. In a music video, one important element is the use of lip-synching early on - and as such, the animatic presents a nearly fully-animated lip-sync, animated traditionally on paper. This allows the animators a more considered and polished visualisation of the sequence to work from, and since it is a focal point of the video, it seems natural to want to develop upon this early on in the project.
Looking at the animatic, we can see how the creators have used a mix of near-fully animated sequences and moving still images to convey the story of the video. With more complex shots including detailed landscapes and multiple characters, only a handful of frames are shown - but it’s enough for the directors and creators to work from. In these more dynamic compositions, the characters are rendered with simple stick-figure bodies, taking the focus away from staying on model and more on sketching the shot and timing correct.
Additionally, the animatic also uses a range of camera effects to give the illusion of depth to these 2D characters, using a shaky cam to demonstrate a character jumping and slamming down onto the ground or arcing pan-up movements that evoke a real sense of cinematic composition and camera work - going beyond the traditional animation approach. It was quite interesting to see how the editors would recycle animations and shots for the video, allowing creators to save time using cycle animations for certain shots. Comparing these animatics to the final shots demonstrates how crucial and helpful the animatic is to a project like this: despite the colours, final polish and smooth animation, the sequence has effectively stayed to the initial compositions and camera movements outlined in the animatic.
Summary In this post, I’ve been able to explore the use of animatics in the animation industry, taking the time to delve into some examples that I personally find inspiring and exciting, and how these ultimately outline the final feature. As an animator, creating an animatic is interestingly something that I’ve never actually done before. However, I can really see a benefit and the purpose of doing so - and with this, my next move is to take the ideas that I’ve found here and apply them in my own creative practice: developing my own animatic based on my final storyboard.
References
Into the Spider-Verse Storyboards. (2019). Alberto Mielgo. https://vimeo.com/311716775.
Clint Eastwood (Animatic). (2010). Gorillaz. https://www.youtube.com/watch?v=JPC0n_ml4kc Clint Eastwood. (2001). Gorillaz. https://www.youtube.com/watch?v=1V_xRb0x9aw
What is an Animatic? (2014). Pluralsight Creative. https://www.youtube.com/watch?v=3sE5ox9kkUg
CGI Dreamworks Animation Studio Pipeline. (2016). CGMeetup. https://www.youtube.com/watch?v=ru0tQRJ4qKs&t=249s
2 notes
·
View notes