#gpose guides
Explore tagged Tumblr posts
Visit Tumblr Blog
Explore Tumblr blogs with no restrictions, modern design and the best experience.
Last Seen Tumblr Blogs


Fun Fact
Tumblr posted its first advertisements in May 2012 and subsequently earned $13M in revenue.
Text
Reshade Guide: Chromakey
Level: 🌻
In case anyone is interested, Im slowly making little guides to teach some of the techniques I use to up your gpose to the next level! Im not great with video editing so bear with me 😘
123 notes
·
View notes
Text
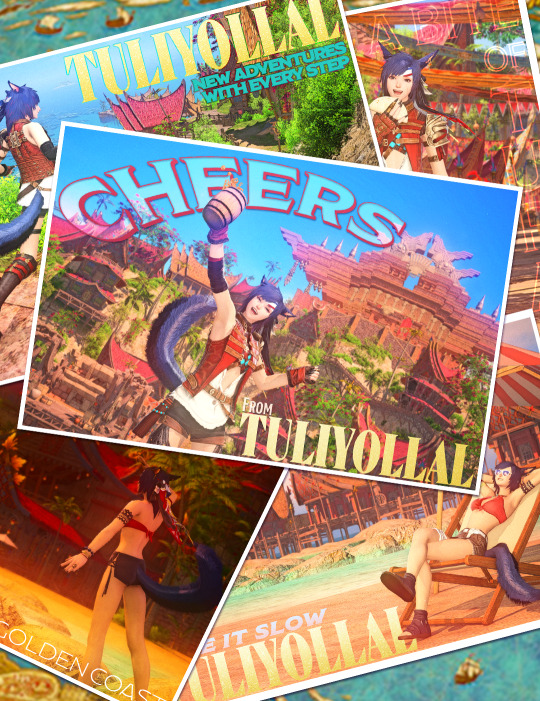

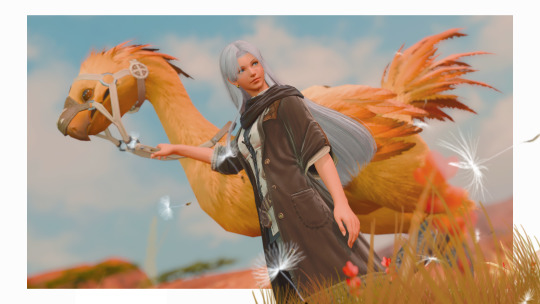
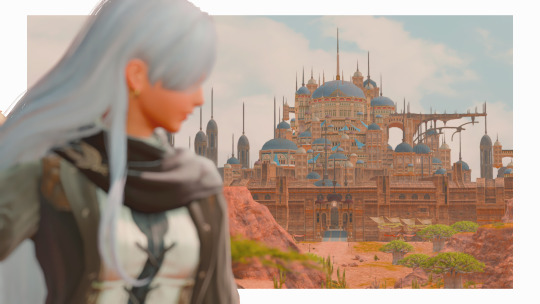
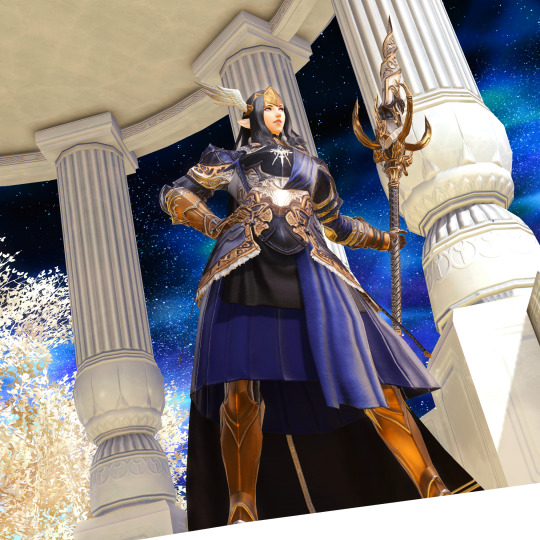
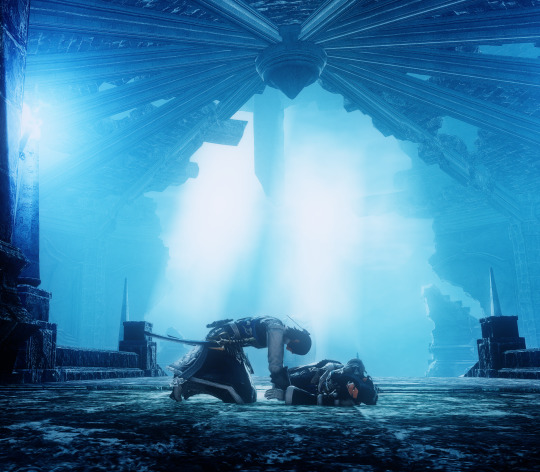
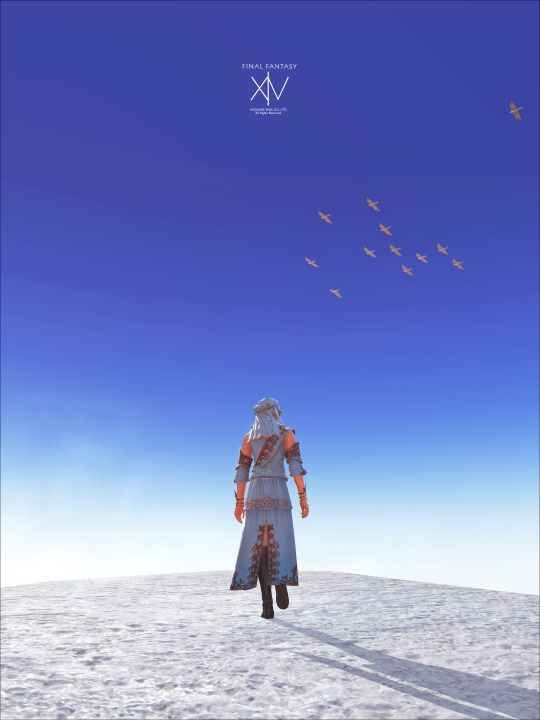
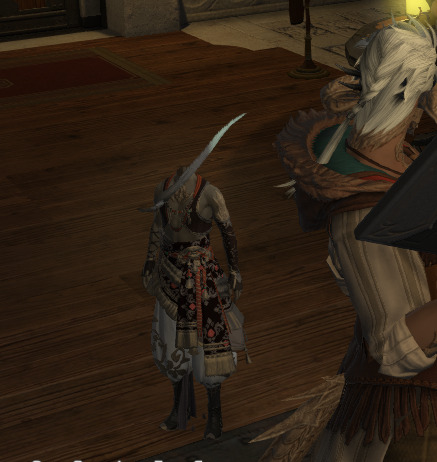
MiqoMarch Day 28 - Favourite City
In collaboration with the Board of Turalism and at the behest of the Vow of Resolve, a limited run of postcards featuring Eorzea's very own Warrior of Light was created in hopes to better the image of Tural across the salt.


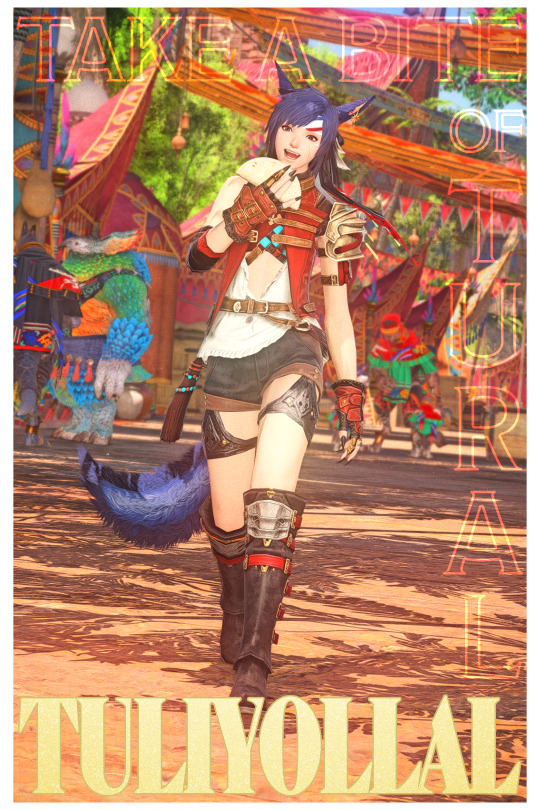


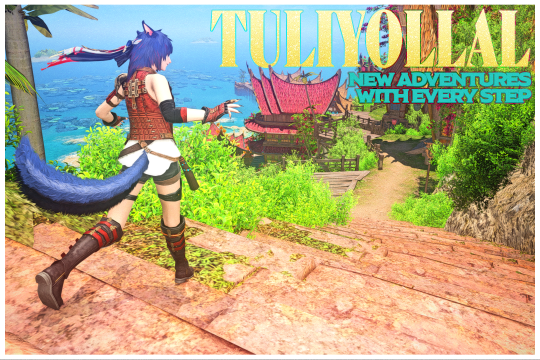
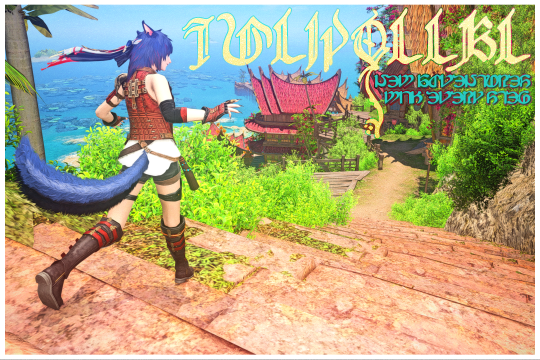
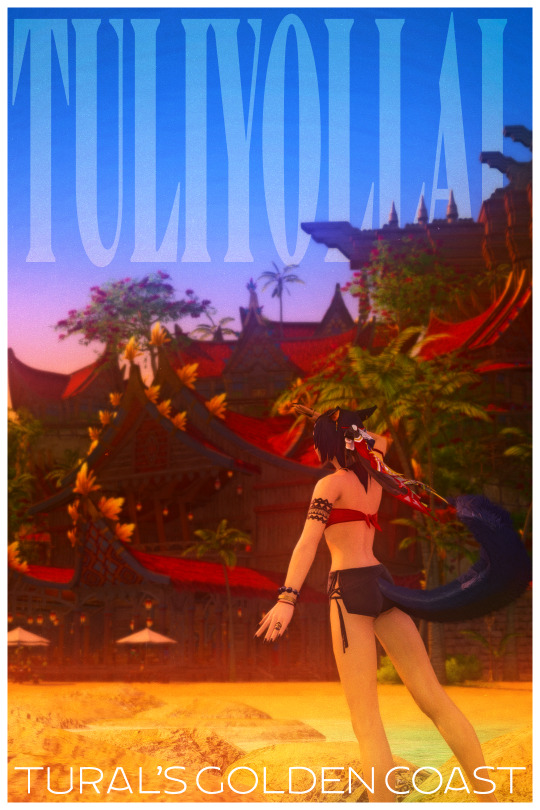
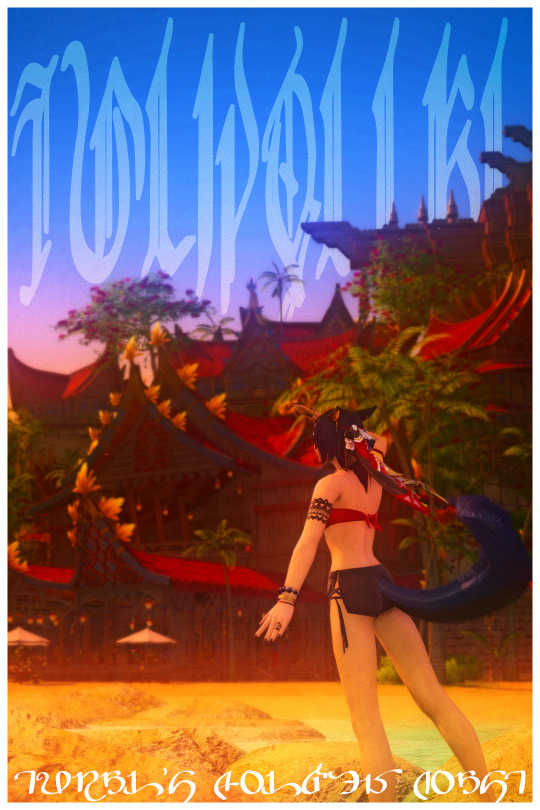
#ffxiv#miqomarch#miqomarch2025#ffxiv gpose#dawntrail#Arsay Nun#Not canon but like the magazine thing i did last year im just having fun#graphic design is my passion and my curse etc.#I was inspired by the north american tour tural marketing campaign!! I really loved what they did. major props to the artists involved#I actually found the company's portfolio site and they posted the branding guide for the campaign so I was able to follow the design scheme#Im just... such a sucker for travel esque stuff and vintage adventure vibes#also the fact they got Rhys Darby in those commercials was kinda goated ngl#I opted to put Arsay in her gunbreaker fit cause it had more like tan shirt adventuring get up vibes to it >w<#but also needed a few beach shots cause like.. cmon its arsay shes gonna go to the beach each
116 notes
·
View notes
Text

FEBHYURARY 2025 | 12. Journey
Heart, don’t fail me now. Courage, don’t desert me.
#i used renn and yukia's makeup guide to give her freckles and i'm !!!#febhyurary#ffxiv gpose#thatcher rose#ffxiv#ff14
87 notes
·
View notes
Text
Roevember #28: Memory

echoes of her past carried by bright blue wings. ryssrael had never thought moths could feel so heavy or so warm, but with friendly hands guiding her own, they feel easier to carry
with @ahollowgrave's odette <3
#roevemberxiv#roevemberxiv2024#gpose#ffxiv#ryssrael#echoes of ryss's old family visiting odette and guiding her to ryss was pigeon's idea and honestly i'm obsessed#also... the moths on her hands are from swyn and servan and the one like a brooch on her jacket is from r'osen#bc he's always been a bit more distant in his way of showing love :)
64 notes
·
View notes
Text
Virtual Photography Guide: Composition

One of the in-game activities I enjoy the most is trying to replicate real-life photography techniques in gpose, and it’s surprising how much can be achieved. So today, let’s play around with composition!
Leading Lines
Leading lines can help guide the viewer's eye through an image. They’re visual elements that form lines, like buildings or roads, or even an area with high contrast, like the horizon line. So by aligning convergent lines to create these ‘focal zones’ you build a sense of depth and lead the viewer's gaze toward it.


Framing
You can use elements within the scene to enclose or surround your main subject. These elements could be natural, like branches or foliage, or architectural, like doorways or windows. This adds depth and context, and helps the viewers immerse themselves in the scene:

Symmetry
Symmetry creates a pleasing sense of order and balance in an image. You can do this by dividing your frame equally and positioning similar elements on either side:

Depth and Layering
Adding depth to your virtual photographs enhances the sense of immersion. By placing objects of interest in the foreground, middle ground, and background, you can create a layered effect that adds depth and dimension to your composition. DoF (Depth of Field) shaders are particularly well suited for cases like these:

Point of View
Experimenting with different and unusual camera angles and perspectives can yield surprisingly dynamic and engaging shots. For example, positioning the camera at a low angle and looking up at the character can create a very impactful composition:


On the other hand, top-down pictures can not only give the viewer a sensation of being ‘in the scene’ but also help put elements together that would otherwise be scattered around in a horizontal shot:

Negative Space
Negative space refers to the empty or minimalistic areas in your composition. It provides breathing room for your main subject and can evoke emotions, or create a sense of balance and calmness.


And let’s not forget the most important rule of all:
Break the rules
These principles serve more as guidelines than anything. Sometimes trying to force a composition into one of those categories can detract from an unusual yet powerful shot, so trust your eye and aesthetic sense.
I'll cover more composition techniques like the Rule of Thirds, Rule of Odds, Rule of Space, Golden Ratio, and others in part 2. Enjoy!
611 notes
·
View notes
Text

I love her weird fish eyes
#mermaid au#mermaid viola#ffxiv gpose#they're slightly derpy XD#also I'm really pleased with the glow it took some fussing but making eyes glow isn't too difficult when armed with a guide and photopea
30 notes
·
View notes
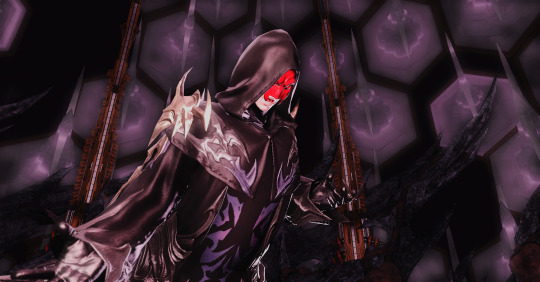
Text


my lord dalamud, loyal hound of my mother and my grandmother's goddess, i beseech you - take this body as your vessel, your voice, and deliver us unto salvation.
#GPOSE.#*dawntread#oc: lilith moonseeker#not only did i use /diamonddust because its cool as fuck. it's also thematically appropriate#except oops! turns out there was a giant evil dragon inside the moon!#also the clipping on the shoulder is kind of bugging the shit out of me but i liked the shot too much#so let's collectively pretend we don't see it . ok? <3#anyway local mooncat and their family indoctrinated into moon dog cult and mooncat has special powers (the echo) that get them chosen to be#the moon dog's voice for when he visits calamity upon the realm and his loyal devotees must be guided to safety#until that big evil dragon bursts out of the not-moon and fucks up everything#and i STILL dont know what lilith's pronouns are . they don't know either their memory got fucked up during the calamity#for ~reasons
26 notes
·
View notes
Text

oh love... even the early morning dawn is a pale shame to the picture of you.
auraugust 2024 - golden
#ffxiv#final fantasy xiv#ff14#final fantasy 14#au ra#wol#estinien varlineau#wol x estinien#wol goes by they/them#auraugust2024#auraugust#⭐ mine#and thats a rap#crazy dude holy shite#i went from almost never gposeing (cause a funny game mental illness makes of things you enjoy)#to gposing everyday#and i loved every minute of it#for the last one you get ito being the light of not only my life but estiniens#🎐 may the wind guide me back to you
68 notes
·
View notes
Text
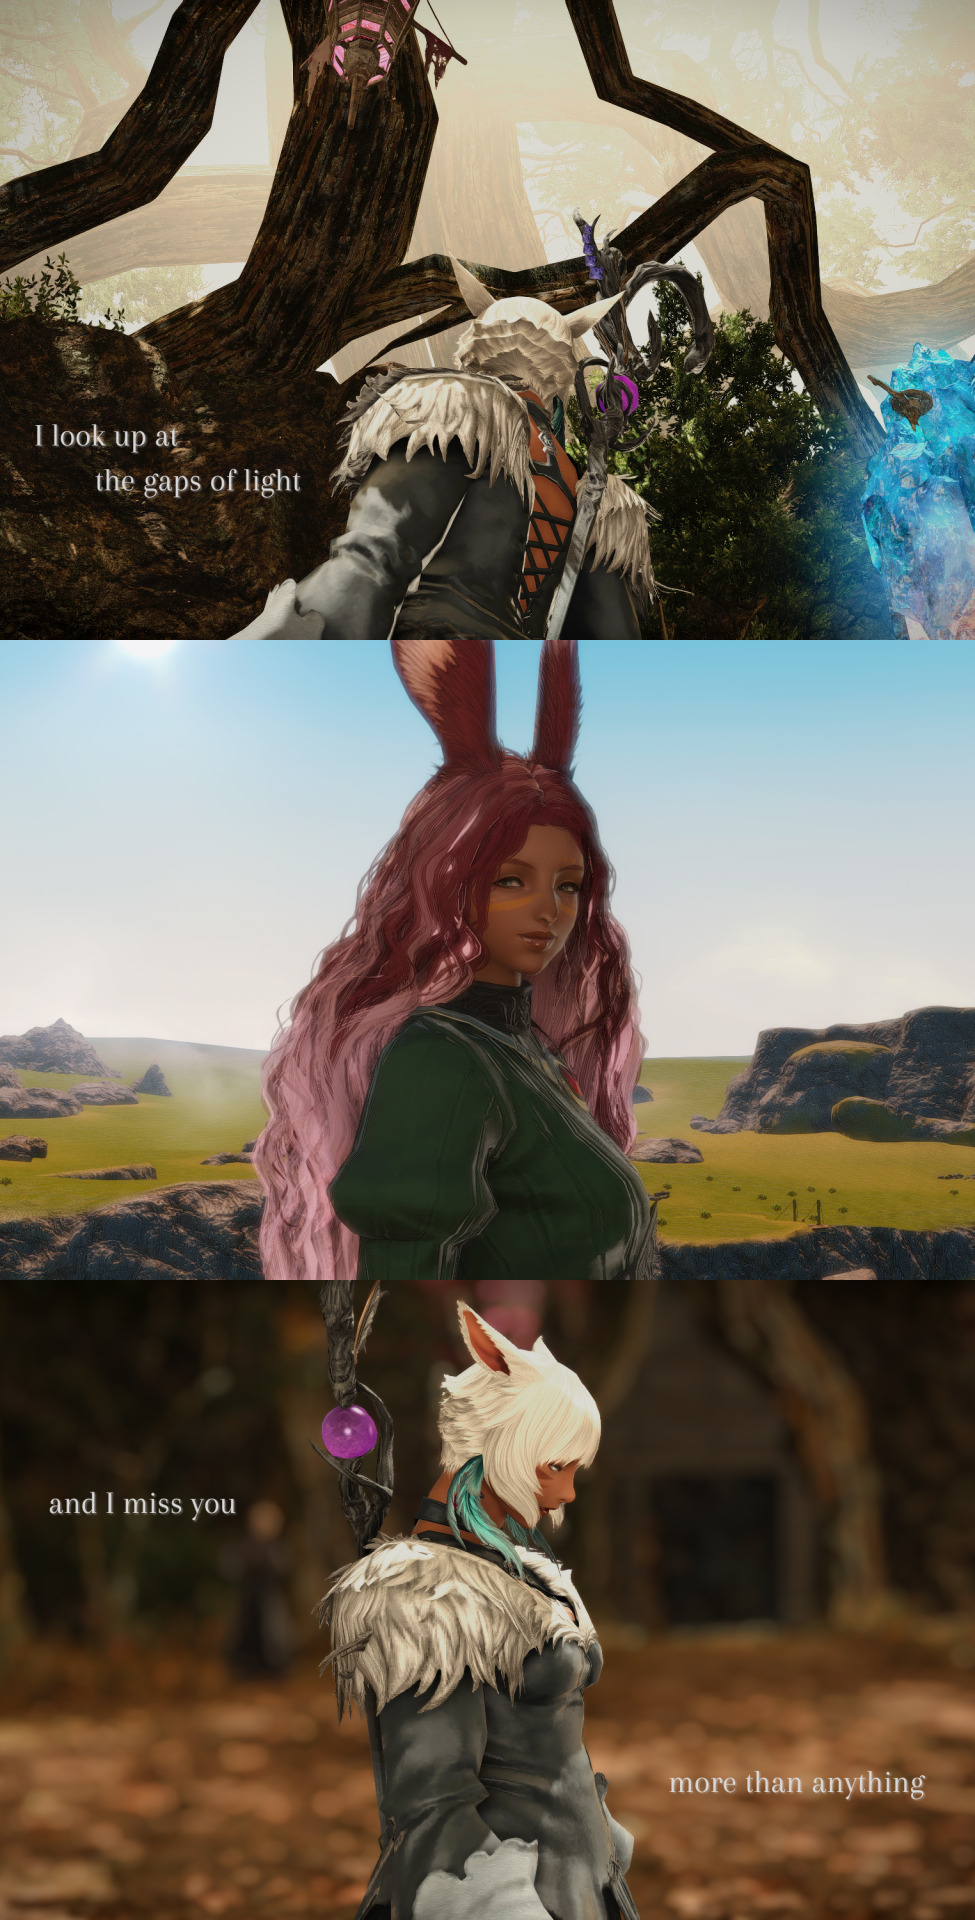
i miss you more than anything (x)
#oc: corisande ymir#ffxiv#y'shtola rhul#is this anything...it is to me akldjsfds#i think so much about those 3 years.....knowing what fate might await them...knowing they will come eventually because they need their help#but also just having faith they'll be together again. and just missing her because that's her best friend!!!someone who knows her real name#someone she doesnt have to keep a refined front up in front of!! someone to whom she is not mentor nor guide but an equal!!!!#i hope the middle pic is dreamy enough...i tried to make it still fit with the others#also idk how so many of you are not sizing down your pics but tumblr is also not compressing tf out of them. tell me your secrets#shadowbringers spoilers#gpose#corishtola#corishtola gpose
65 notes
·
View notes
Text
How to make a child model in Anam/Ktisis!
Disclaimer: I am NOT an expert in the use of these mods! I'm still very new and learning the ins and outs of them! This method worked for me, and maybe there are better ways to do it, but I'm just explaining how I created my baby Shiun. If you know of a better way, or have any tips and tricks, please feel free to comment or reblog with your advice for the sake of other gpose newbies! :D Link to Ktisis's download page | Link to Anam's download page Guide and Tips/Warnings below the cut! Hope this helps <3
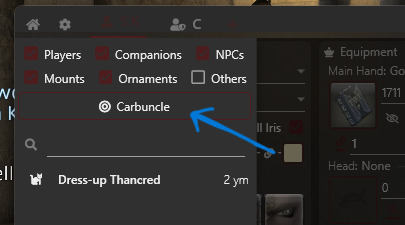
Summon your partner in crime. So first off, I equipped my summoner job stone and summoned my trusty companion, Carbie.
2. Add your Carbie to your actors. Open up Anam and add your carbie to your list of actors, by clicking the plus sign at the top of the menu next to your character's name (remember that with Anam, you can only edit appearances OUTSIDE of gpose). Click on the little button labeled "Carbuncle" to add them.
3. Turn your Carbie into a person. With your Cabie selected, go to the "Import NPC" at the bottom right and pull up the list. Find an NPC that is the same race as your desired character and select it. In this example, I just chose the first au ra NPC I saw in the list. (You can also directly choose your desired race in the customize menu and start from scratch, but I just do it the Import way, lol) ⚠️As far as I've experienced, it's a 50/50 chance on whether or not you can alter the age of your character's actor directly. Every time I've tried this, it breaks the model and never works the way it should. For simplicity's sake, I've always just used my friend Carbie.


4. Change the age of your new actor. Now if you look at the top left of the Anam window, there's a series of dropdowns next to "Race."

What you want is the bottom right menu. Click it and you'll see "Old," "Normal," and "Young." Clicking "Young" will turn your carbie into the child version of the race it's currently disguised as!
5. Customize and boot up gpose! Now you can customize them to be the adorable mini version of your beloved WoL/OC!! The bones are compatible with Ktisis and should be as easy to manipulate and pose as adult models. If you use the Carbie method as I have in this explanation, you can simply hide your main model in the default Gpose menu for pictures.
Some things to keep in mind! ----
⚠️Not every race has a child model. The only races that have child models are:
au ra - male & female
hyur - male & female
elezen - male & female
miqo'te - female only
⚠️It is very likely that the models will break or look a little funky when you first spawn them. They have a very limited number of faces, and a limited number of available hairstyles. If you choose an option the game does not have, it will create some... interesting results. Most other customizations beyond skin color, hair color, and eye color will also likely not work (tail type/length, jaw type, etc.).
Left: invalid face selected --- Right: invalid hairstyle selected
Usually, faces 1 & 2 are the only viable options, and hairstyles 1-5 are okay. (Note: the pictures of the hairstyle icons will NOT match the hairstyle on the model.)
⚠️Clothing is also fairly limited! I'm not sure what dictates what child models can and cannot wear, so as far as I know, it's just a game of trial and error. You'll know immediately if an article of clothing isn't compatible lmaoo. Hats... rarely ever work...
✨Don't forget that you can save your model's data! When your model is customized to your liking, click "Export" at the bottom right of the menu to save the data to Anam. That way, you can load the appearance immediately without rebuilding it every time!
It's a mixed bag of what will and won't work on the model. My best advice is to experiment and play around with it! It took me a little bit to figure all of this out, so hopefully this silly little explanation helps out all the other new gposers out there :)
If you have any questions, please don't hesitate to reach out and ask! I'll do my best to help! I may edit this as I go to correct things and/or add onto it!
#ffxiv#ff14#final fantasy xiv#ffxiv gpose#ffxiv resources#ktisis#anamnesis#hope this little guide is useful :)#make sure to read the comments/reblogs for extra info!!
153 notes
·
View notes
Text


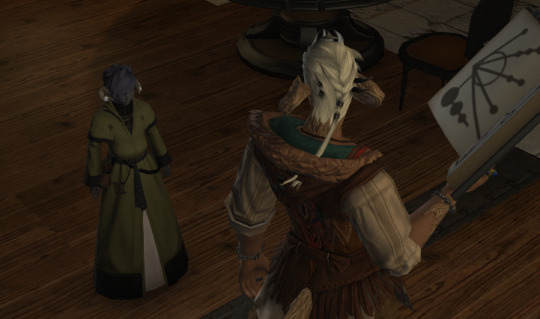
Marian ◦ "Please, allow me to show you the way."
#final fantasy xiv#ffxiv#ff14#final fantasy 14#ffxiv screenshots#ffxiv screenies#ffxiv gpose#ff14 gpose#final fantasy gpose#my wol#ffxiv oc#marian varlineau#ffxiv au#au ra#ffxiv au ra#ffxiv red mage#ffxiv dgn crawler#marian the guide#ffxiv kugane castle#ffxiv makai#she will keep you safe#her hand extends to yours#brave & beautiful#sunkissed scales
18 notes
·
View notes
Text

Does anyone know how to fix those on the shader? Started after Dawntrail.
I get it in Umbral Wind weather, Dohn Meg, P12, and a few other duties. I also get it with anyone using Shield Bash. I do NOT get it on my UI for any class (so Bard, Astro, Monk, are all fine)
I've tried every possible guide and thing to fix this I could find. I just spent almost 2 hours with the GF trying to troubleshoot it out, with her sending me her shaders/presets/textures/addons/dll files even. I even got the same layout weird thing she had but I got this still and she doesn't and at this point I can't possibly think of what is different between our installs that I get this and she doesn't.
#ffxiv gpose#every time I try to poke at this#I end up having to a full re-install of everything for my shaders like 6 times or something#to end up with nothing and having to put my backed up presets back#I'm so fucking tired of trying to fix this since DT came out#and I don't know anyone else who's having this issue still#everyone I knew that did fixed it but me#I try all guides and they never work#my GF uses the exact same shit as me but she NEVER had an issue in the first place
2 notes
·
View notes
Text
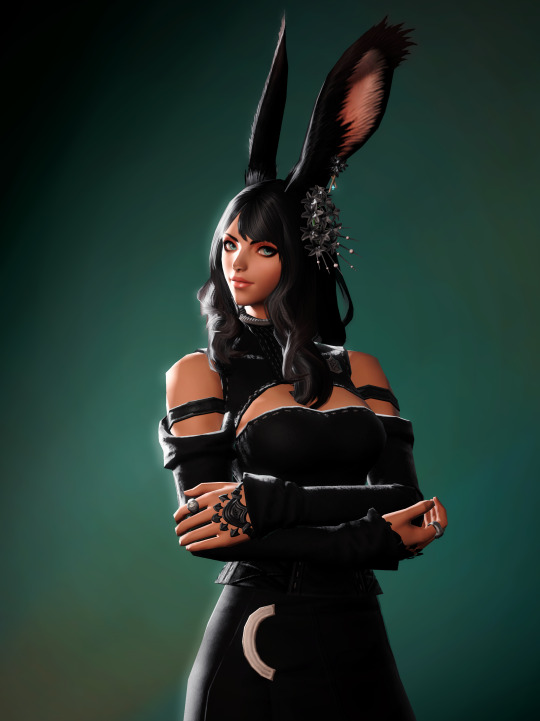
So I got this ask in my inbox, and though I was going to answer it in my asks, I think a little, actual post-tutorial would be best. But first, a disclaimer, as I like to cover my bases:
By no means am I an artist; my process is very much a case-by-case basis, and I edit as I need to for each picture that I do end up editing. My method is far from perfect but it is one that works for me for -my character-, so you may have to experiment on your own using these tips to find a method that suits your wants.
This little guide is using ClipStudio Paint, but you can get the same/similar results with really any photo editing program you choose that has brushes (GIMP, PaintTool Sai, Photoshop, Photopea (which is free), etc)
I'm going to use a painted over face texture as an example (basically a face diffuse I just painted over with it's base skintone), versus a full-on gpose shot (this way I can get a good swatch/an approximate measure of what skintone I'm used to working on).
Big Tip: ALWAYS WORK IN LAYERS, this way you can adjust everything accordingly without going back a million steps.

Use a basic soft-spray brush for your base, and pick a color a few shades lighter than the skintone you're working on (use your color-picking tool, it is your best friend). Set your first work layer to "add (glow), and make a little splotch like this. You can either leave it as is or blur it out/adjust the layer opacity if you desire, but again, it all depends on the state of your gpose/where you're adding it. I often blur out the edges to help blend it into the skin more naturally, on a low setting as to not erase it completely.
Before & after adjusting blur/opacity:


Next, you'll want a basic shimmer brush; there are dozens of free ones out there, so look around and experiment! Just like before, you're gonna want to make another layer, but this time, set it to white (or gold/copper if your character has medium/darker skintones, as it flatters them more and doesn't wash them out where as white is more for fair skintones).
Unfortunately, I can't seem to find the source of the shimmer brush I use, but what works for me may not work for you so it would be best to look at what's available and what suits your tastes more.
Now, working in layers using the "add (glow)" effect, slowly build up the shimmer, first, adding a quick couple swipes, then build it up. Once you're satisfied, focus more on the center
TIP: If you want to make it look more natural, when building your layers, blur out the edges a small bit to hide any possible lines and creases.


And that's pretty much it! Adding shimmer effects is all about trial and error, and just simply adding shimmer where your character catches the light.
I'd post examples but a lot of my shimmer examples are on very much lewd gposes and I'm not trying to get tumblr staff mad at me.
And again, another disclaimer: this is not a one-size-fits-all-guide, I seriously cannot emphasize enough that the best thing for you to do is just EXPERIMENT, this is merely a guideline to give you a lil push in the right direction. Editing gposes is supposed to be fun, and the best way to get experience is to simply practice and learn your tools with your own hands.
I hope this helps, and have fun gposing!

#OOC#ffxiv gpose#Gpose Tips & Guides#Whew I am sincerely sorry for the lengthy guide#But I do hope this helps take some of the intimidating factors out of editing#Also remember I am not an artist#I am just a goth dumbass who someone trusted with a tablet and CSP#Now go and do a crime my children
46 notes
·
View notes
Text
How-To: Soft Studio Gradient Backgrounds
Want a super cheap way to spice up that studio shot? Indirect Lighting has a great visual effect that you can use, and you can block its light source with other furnitures to give you more lighting control!

Check the guide here!
135 notes
·
View notes
Text

hi hello there
I've been wondering if any of you would appreciate some sort of informal guide on some gpose tips?
I'm not tooting my own horn here, it's just I've gotten some comments/tags on asking how I do expressions and fabrics.
#if there's anything in specific you want to know/see maybe you could write in the comments#not that i've ever made a guide before but#ffxiv#gpose
11 notes
·
View notes
Text

day 10: free day anger
she's made a lot of enemies in her time but lahabrea sticks with her. he killed her!!!! she's never forgiven him for that!!!! she takes a few creative liberties with her retellings of how her final fight with him went- igeyorhm who? what do you mean it wasn't an epic showdown between just the two of them with her ultimately coming out on top and him DEFINITELY actually being taken down by someone else. please believe her.
#ffxiv#miqomarch#miqo'te#seeker of the sun#gpose#oc: m'seyli#m'seyli in game has a very specific curse and it's that i've never had a good run of ascian prime#like.#her first msq run i did with npcs and was dcing so hard it took me about half an hour#EVERY SUBSEQUENT RUN. has had a full party of completely clueless sprouts who i have to guide through the fight mechanic by mechanic#and while i personally find that fun#m'seyli is so sick of dying to lahabrea and igeyorhm#unfortunately for igeyorhm i didn't feel like posing two ascians and she's got something personal against lahabrea after prae so
9 notes
·
View notes