#skip the tutorial fanart
Explore tagged Tumblr posts
Visit Tumblr Blog
Explore Tumblr blogs with no restrictions, modern design and the best experience.
Last Seen Tumblr Blogs


Fun Fact
Tumblr.com is the 103rd most visited website in the world.
Text
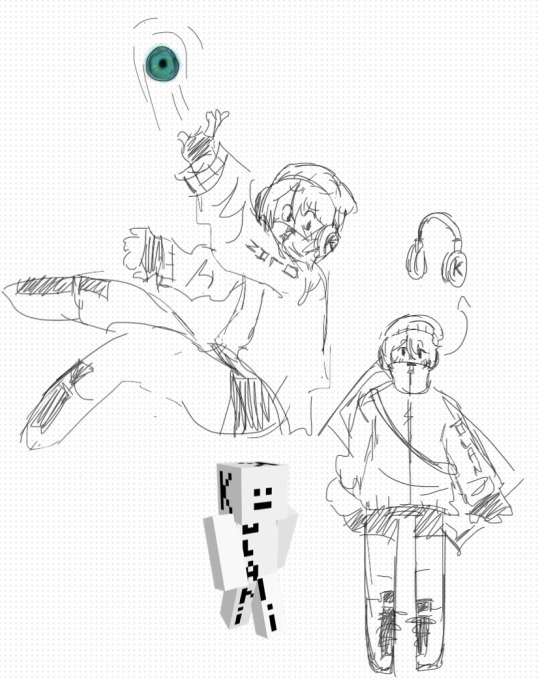
Oh yeah these three lol. Does anyone even know who these guys are?
#skip the tutorial#jaymoji#failboat#skip the tutorial fanart#jaymoji fanart#failboat fanart#my art#<3#ibispaint art#mcyt fanart#fanart#do they count as mcyt? ik skip is mainly known for mcyt but not dan or jay#dan makes mainly kirby content. and i think jay does splatoon or something?#but they all play minecraft together lol
28 notes
·
View notes
Text
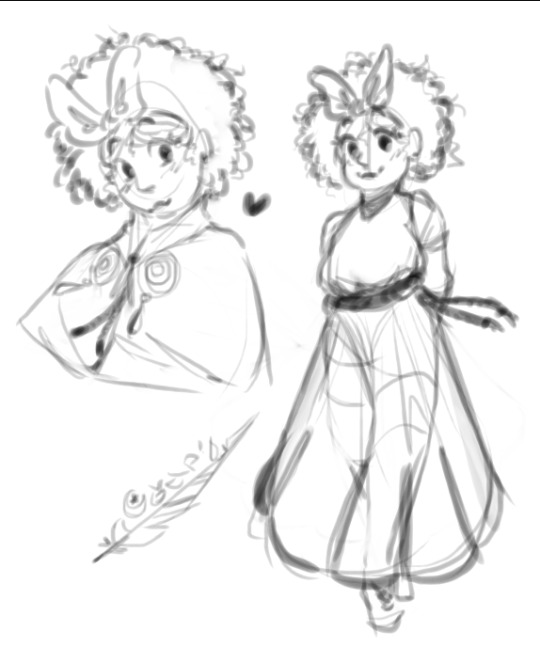
omg :3 mirabelle :3 mira mirabelle :3 miraaaa :333
#my honest reaction with her#at least 80% of the time going up the house i wouldnt skip the tutorial just to make her happy...#zach creates#my drawings#isat#isat mirabelle#in stars and time fanart#in stars and time#i like her dress :3
293 notes
·
View notes
Text

chapter 13! wow, hope you guys handled that 48 hour period well! :D
hope nothing too crazy happens which might be hinted at in that silly lil picture i drew!
full clean sketch that i saved cuz i thought the whole pose looked really cool, but the crop was more dramatic, so i cropped it, whatever. it's under the cut is my point
#gravity falls#gravity falls au#H!MBAW!AU#stanley pines#stanford pines#fiddleford hadron mcgucket#stan pines#ford pines#fiddleford mcgucket#fiddauthor#my art#digital art#ao3#didnt know how to draw fur before this#looked up exactly one tutorial on ytb#skipped through it cuz i didnt like the audio mixing#came out of it hearing uncle roger in my head (use fingaaa hayaa) but im pretty sure it worked out in the end#at least a lil bit#i finished this on the day arcane season 2 act 2 dropped#i was sitting in my chair like THIS COULDVE BEEN SUCH A BANGER WARWICK FANART NOOOOO#not that i regret enriching my fanfic experience with art BUT I COULDVE DRAWN WARWICK BROOOOO#'so draw warwick?' the vibe is off now id never finish it 😔
261 notes
·
View notes
Text
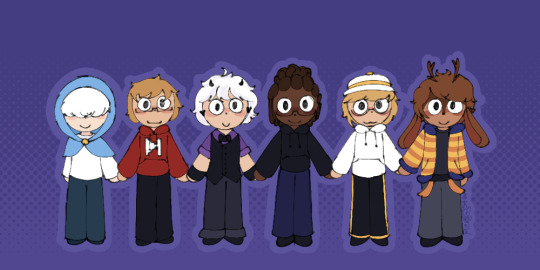


freak poly nonamers & 2 skip drawings & 1 failboat drawing
39 notes
·
View notes
Text
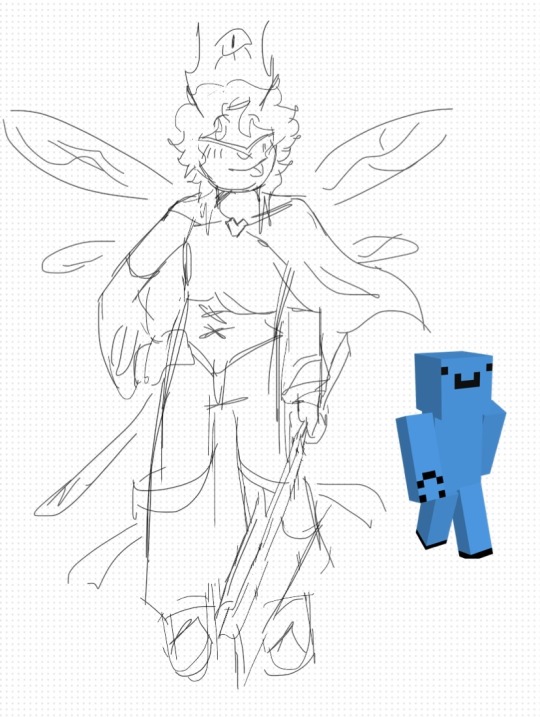
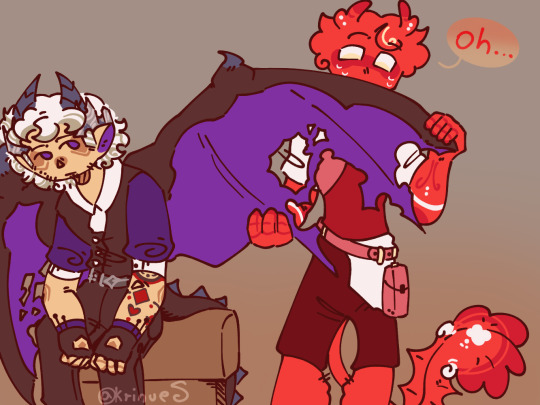
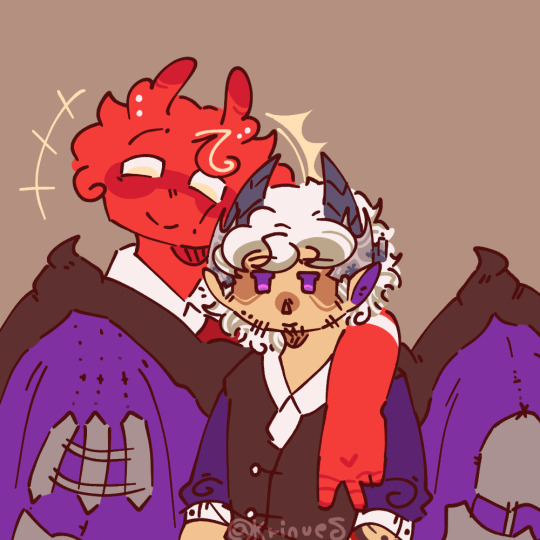
They are flying!
79 notes
·
View notes
Text
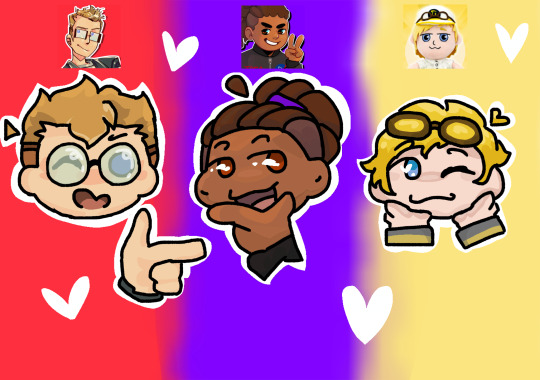
My favorite mod reviewers
(You should really check out SkipTheTutorial on YouTube!)

#skip the tutorial#failboat#branzycraft#jaymoji#jaymoji fanart#branzy fanart#failboat fanart#skipthetutorial fanart
32 notes
·
View notes
Text

the skip i promised as well
hes sooo goofy and i love him
12 notes
·
View notes
Text

mmmm i still watch this guy i just draw him so much
#my art#digital art#skipthetutorial#skip the tutorial#skippy t#minecraft#minecraft youtube#youtuber#minecraft fanart
13 notes
·
View notes
Text
Guys did you know I love skiplabs
#seabone art#skipthetutorial#skip the tutorial#skipthetutorial fanart#skippy t#scenarioshipping#scenario smp#these are inside jokes with my forgelabs autistic partner#forgelabs#forgelabs fanart#sean forgelabs#skiplabs#skiplabs crackship
8 notes
·
View notes
Text
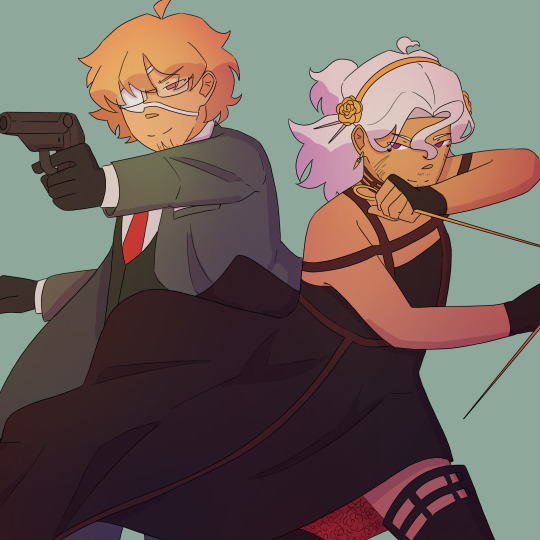
nonametober day 5: spy (family)
65 notes
·
View notes
Text

some doodles
#ohh i love turning basic skins into complex designs#kolanii#kolanii fanart#sandiction#sandiction fanart#skipthetutorial#skip the tutorial#skipthetutorial fanart#mcyt#my art#froggiesir art#art#fanart#no name smp#i mean i dont watch that but sandiction and skip are in it right?#so#ig that counts
29 notes
·
View notes
Text
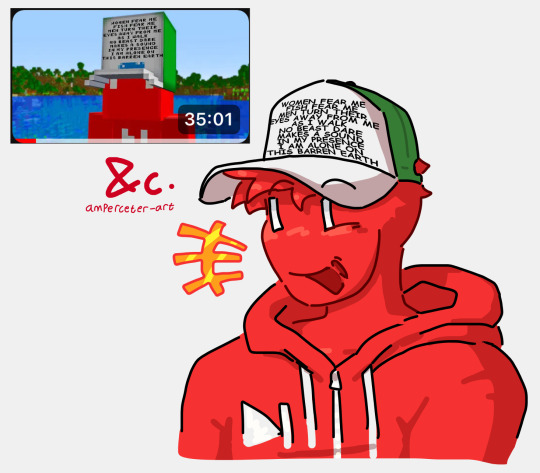

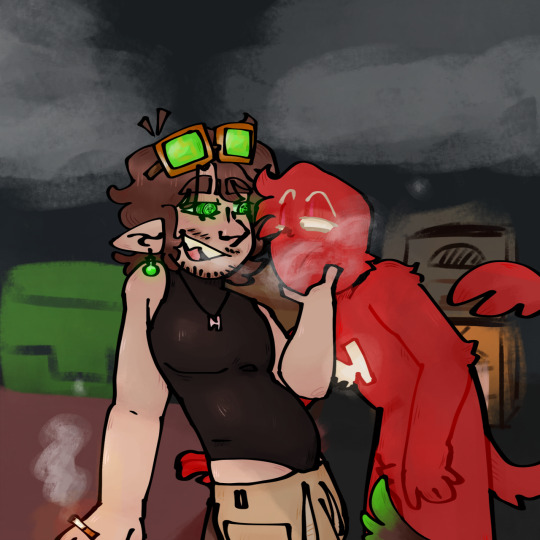
no name and the july series got me a certain way
hes so red slime to me a little bit. more red than slime
#skipthetutorial#skip the tutorial#skippy t#mcyt fanart#branzycraft#branzy#is also here minorly#fanart#amperceterart#no name smp#nnsmp#the july series#sys art#brz
102 notes
·
View notes
Note
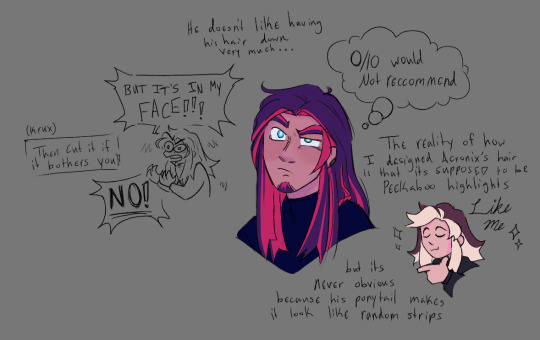
HEY IT WORKED HE ACTUALLY LOOKS. LIKE ACRONIX MORE

If you don’t mind my asking, how draw time twins hair? Krux looks to much like a Hershey’s kiss and I dunno how to draw long hair that ain’t wavy without it looking like a plank😭
I hope these lil process things I've drawn up help! Their hair is seriously my favorite things about them to draw


As I've shown in these it's mostly thinking about the direction the hair is moving in and what it may be interacting with / laying on top of!
And honestly?? Doing this has made me realize that Acronix's hair being in a ponytail is one of the reasons that I DON'T have alot of trouble drawing it,, why is trying to get the hair part and head shape right on long straight hair so HARD
#Never skip a mayday art tutorial guys this is a life saviour for real#I just gotta practice more#Hopefully you don't mind if I do ^^#Ninjago acronix#lego ninjago fanart
101 notes
·
View notes
Text

happy 10M subscribers skip the tutorial!
11 notes
·
View notes
Text
not to out myself as a big Nintendo nerd but omg Splatoon turns 10 years old today and damn that's gotten me emotional. I have so much nostalgia from this franchise.
I spent literally all the start of lockdown playing the original game on my family's dusty Wii u (justic for the Wii u btw) and as soon as we got a switch I literally spent ALL day playing splatoon 2 and octo expansion. The day the first trailer for splatoon 3 came out I skipped online learning so I could obsessively watch it. Younger me poured so much time into this franchise looking at fanart and YouTube videos and game tutorials. I read the manga over and over and I listened to the music so much I could sing it in the squid language. It's been a hot minute since that moment in time and it's definitely been a couple months since I actually played one of the games but I'm listening to the S1 story mode music on Nintendo music and low-key getting emotional haha. The og Splatoon was the last game I played on the Wii u before the online service got cut off and I will forever be grateful for that. Anyway, yeah, not to get sappy and emotional over a baby's first shooter game about squid people that I haven't played in months but this game meant so much to younger me and I can't believe it's 10 years old :)
#Thanks if you read all that lmao#not to get emotional or anything#ik this isn't my usual type of post haha#anyway yeah#happy 10th birthday splatoon#also little me was the biggest pearlina and bobble hat x headphones shipper#splatoon#splatoon 2#Splatoon 3#splat3#Splat2#octo expansion#coroika#lyra talks to herself#Also#No clue if anyone will see this let alone get it but#Still pissed Denny's story on yt was never finished#that was the first gay ship I shipped lmal
14 notes
·
View notes
Text
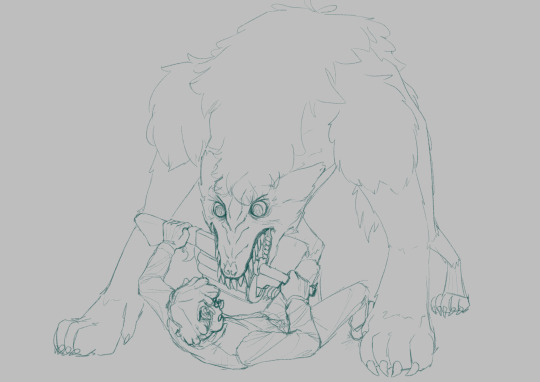
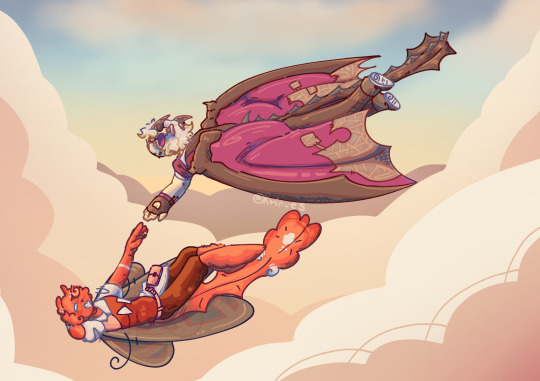
NoNameSMP! Branzy and Skip but Branzy is a dragon hybrid which was hunted to (almost) extinction and thanks to that he cannot fly due to his damaged wings, so Skip decides to fix Branzy's wings so he can make fun of him by showing that he flies better w his elytra
105 notes
·
View notes