
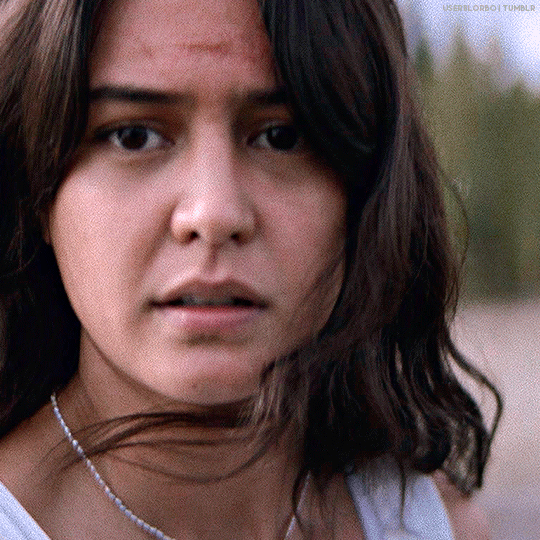
𝐘𝐨𝐮 𝐜𝐚𝐧 𝐬𝐥𝐚𝐲 𝐭𝐡𝐞 𝐝𝐫𝐚𝐠𝐨𝐧 𝐥𝐢𝐤𝐞 𝐚 𝐦𝐨𝐭𝐡𝐞𝐫𝐟𝐮𝐜𝐤𝐢𝐧' 𝐦𝐚𝐧 𝐁𝐮𝐭 𝐠𝐢𝐯𝐞 𝐦𝐞 𝐭𝐡𝐫𝐞𝐞 𝐝𝐚𝐲𝐬, 𝐲𝐨𝐮'𝐥𝐥 𝐛𝐨𝐭𝐡 𝐛𝐞 𝐞𝐚𝐭𝐢𝐧' 𝐟𝐫𝐨𝐦 𝐦𝐲 𝐡𝐚𝐧𝐝 #𝙪𝙨𝙚𝙧𝙗𝙚𝙨𝙨
Don't wanna be here? Send us removal request.
Statistics
We looked inside some of the posts by mvthr and here's what we found interesting.
Average Info
Notes Per Post
28K
Likes Per Post
18K
Reblog Per Post
10K
Reply Per Post
15
Time Between Posts
10 hours
Number of Posts By Type
Text
16
Photo
1
Last Seen Tumblr Blogs


Fun Fact
The Tumblr office adopted Tommy, an 11-year-old Pomeranian.
Text


MADISON PETTIS @ Coachella for Revolve
290 notes
·
View notes
Text

CRIMESHOWSOURCE is looking for new members! We're looking for high quality gif makers who can post fairly frequently (at least once every 3 months) and can join our discord server. We're also always accepting new affiliates. (Doesn't have to be crime related)
We post/reblog all different kinds of crime/crime related shows from any year. To help us find things more easily, please tag us - we track #crimeshowsource! If you're not sure if we post/reblog a show, feel free to ask us or just tag us anyway.
If you're interested in joining, you can do so here. If you have any questions, please feel free to reach out to us here.
47 notes
·
View notes
Text


Courtney Eaton as Lottie Matthews and Jane Widdop as Laura Lee Yellowjackets | Saints
174 notes
·
View notes
Text

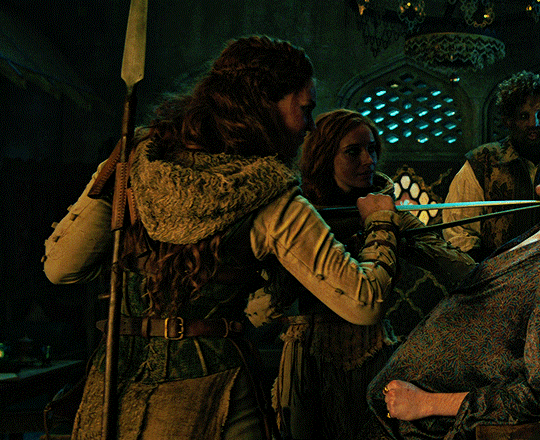
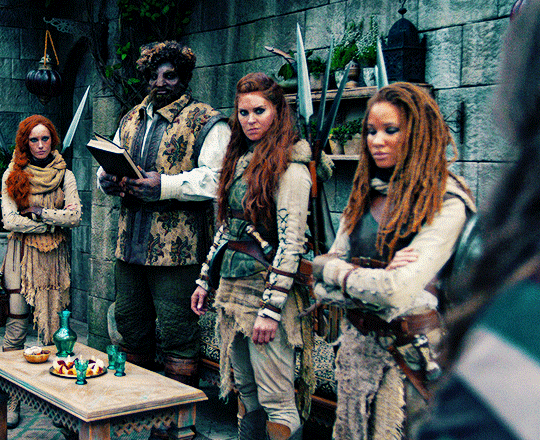

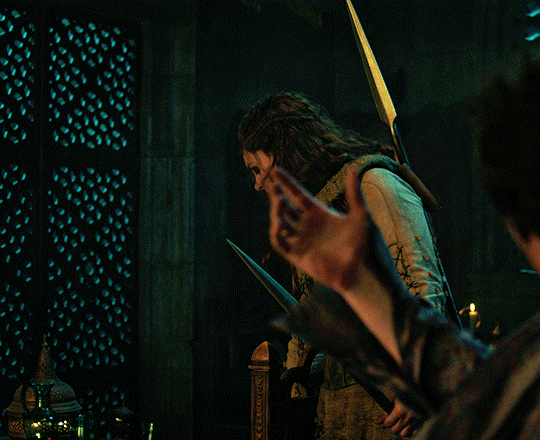

Ragga Ragnars as Bain in The Wheel of Time (S03E01)
229 notes
·
View notes
Text


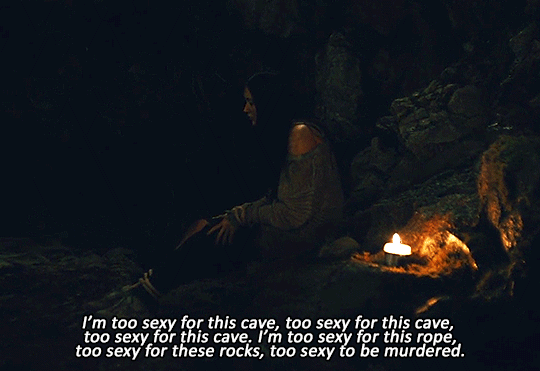
I shame my father, I failed my brother, I lost my mother and sister—and rather than fix it like a man should, Lord, I run like a coward. I run to the bottle, I run to the grift, I run to bad beds... I laid down with a man. I laid down with the Devil! And he has roots in me—all his spindly roots in me—and I can't think nothin' anymore but his voice and his words! Please! Help me!
Season 1: Part 1 Interview with the Vampire (2022–)
339 notes
·
View notes


Text


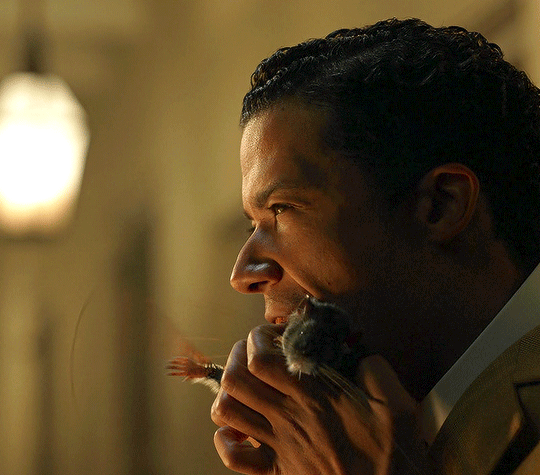
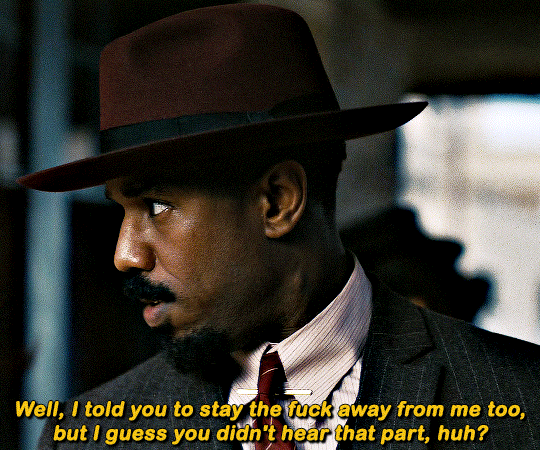
YAO as Bo Chow SINNERS (2025) dir. Ryan Coogler
5K notes
·
View notes
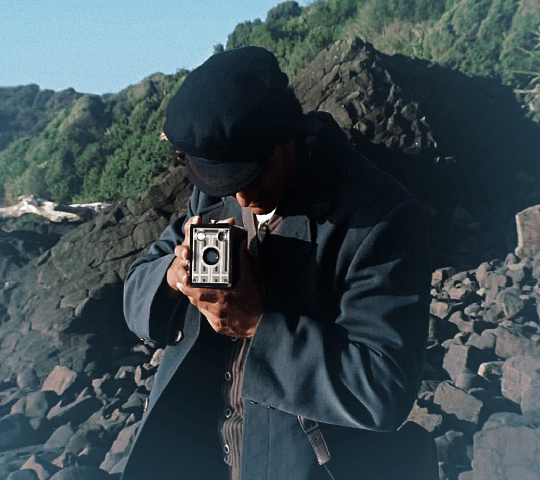
Photo


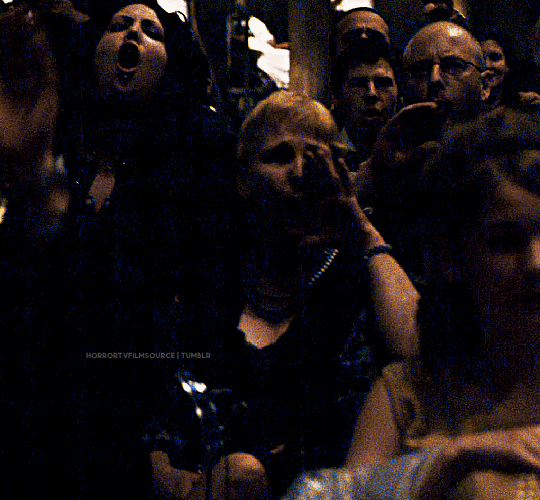
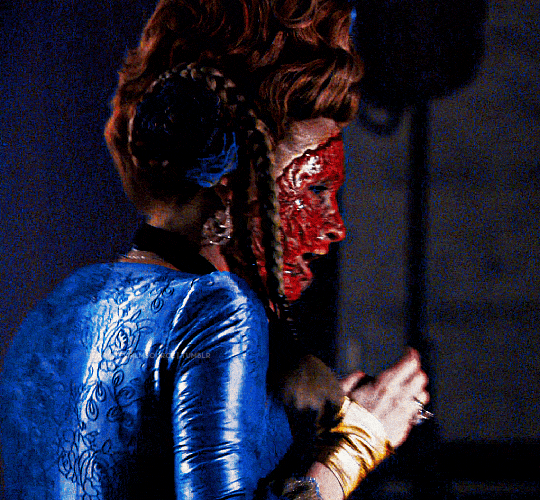


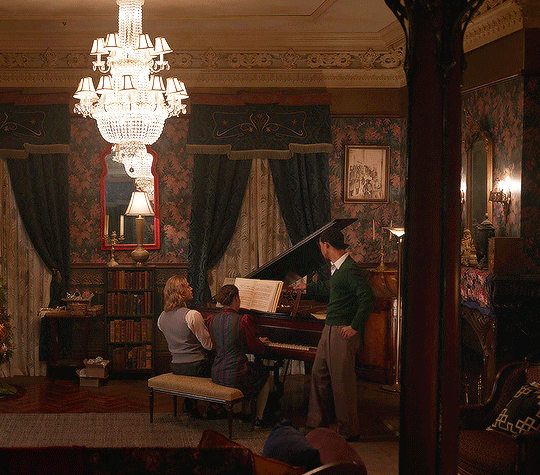
REPO! THE GENETIC OPERA (2008) dir. Darren Lynn Bousman
214 notes
·
View notes
Text


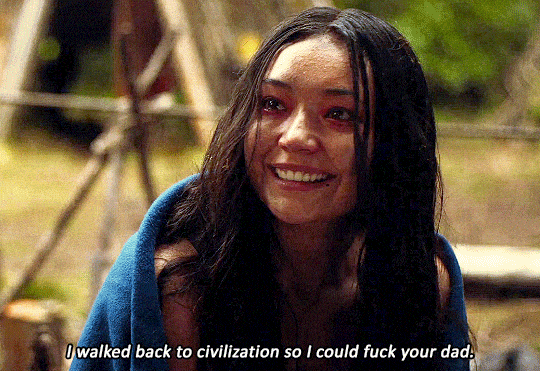


Yellowjackets (2021-). MQP - Most Quotable Player.
@yellowjacketsweek day 04 - favorite quotes/moments
250 notes
·
View notes
Text


@lgbtqcreators BINGO -> redo of an old creation / animation / blending / free choice
39 notes
·
View notes
Text


PEDRO PASCAL 'Eddington' Photocall | 78th Cannes Film Festival — May 17, 2025
2K notes
·
View notes
Text


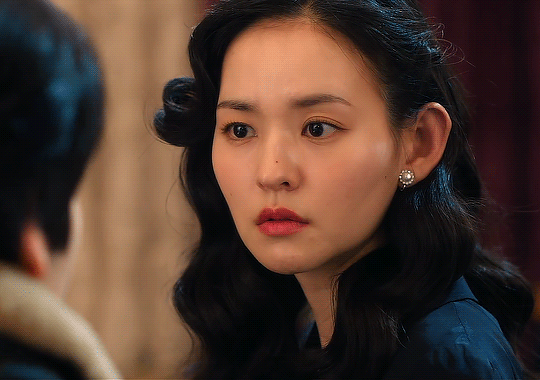
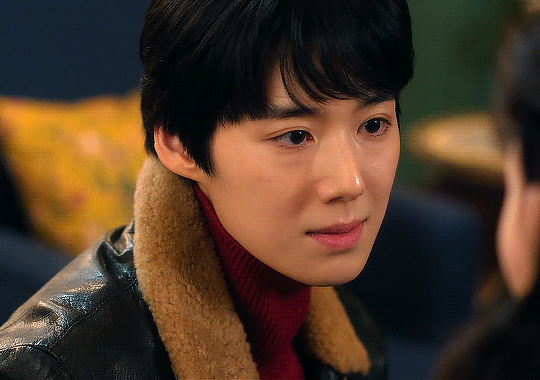
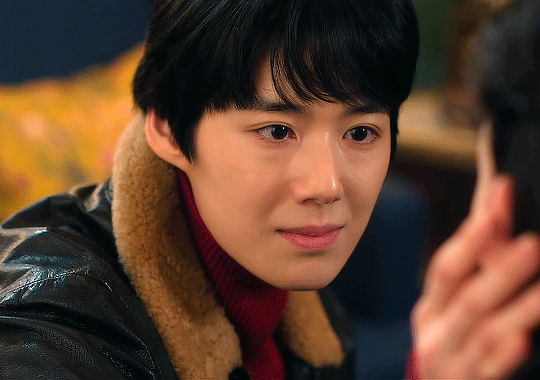


The audition may change who'll take the antagonist or minor roles, but I'll take the male lead, and you'll take the female lead. Who else is good enough to take the leads than us? JEONGNYEON: THE STAR IS BORN (2024) dir. Jung Ji In
302 notes
·
View notes
Text
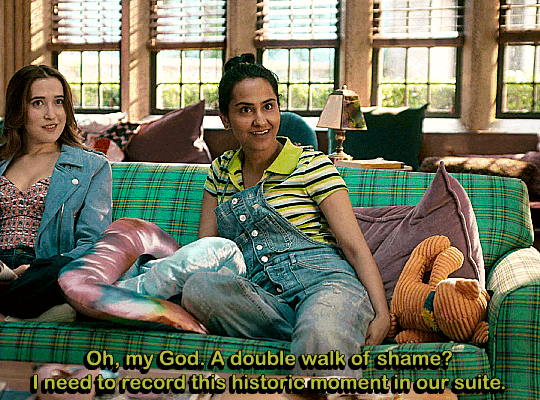
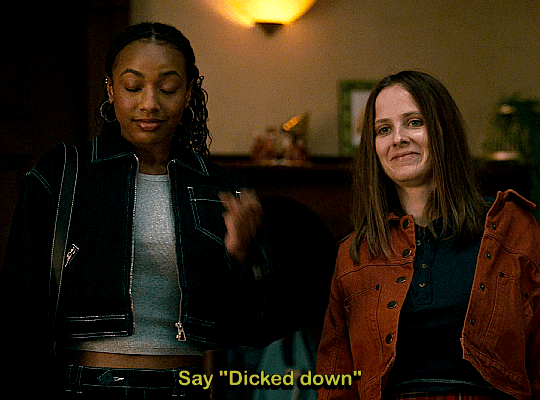


The Sex Lives of College Girls | 3.04 "Franklin the Fox"
254 notes
·
View notes
Text


SINNERS 2025 — dir. Ryan Coogler
6K notes
·
View notes
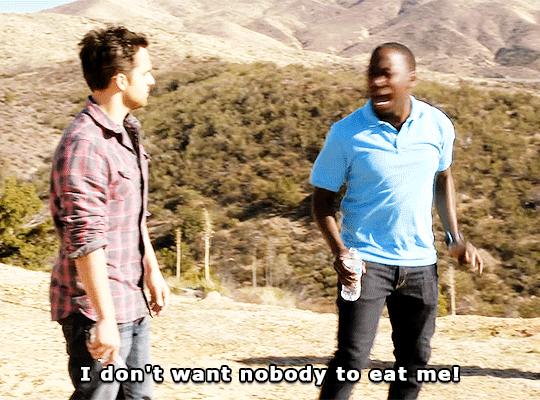
Text
accidentally stumbling upon something you used to love and finding you still feel the same way about it
9K notes
·
View notes
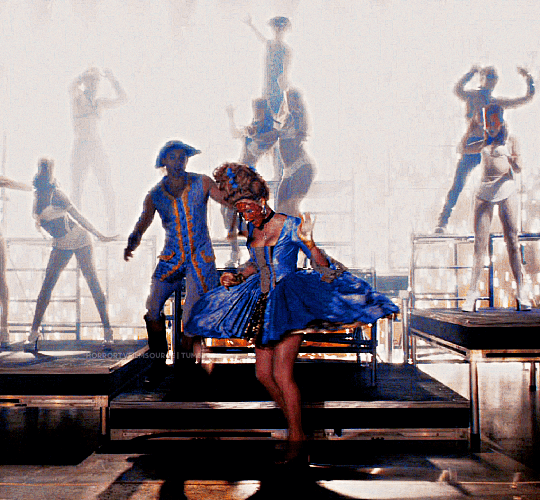
Text
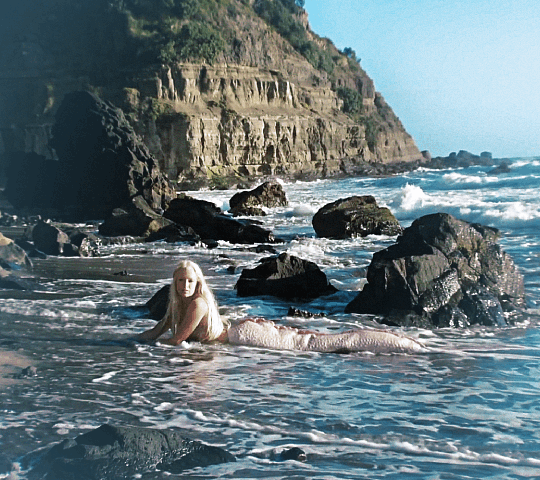
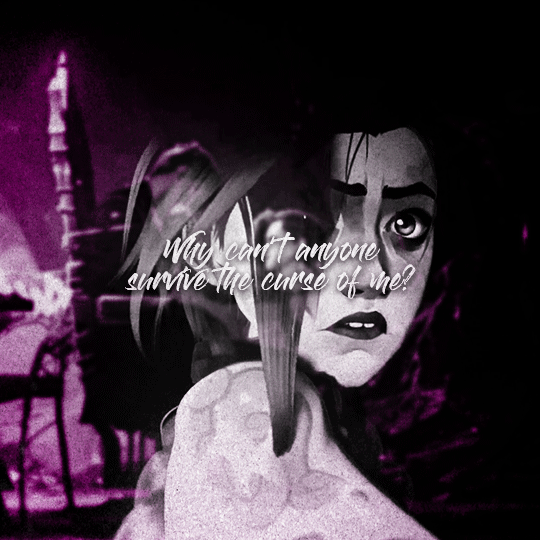
SYRENA AND THE SAILOR
@lgbtqcreators creator bingo - redo of an old creation, forbidden love, free choice, fantasy
#kiki rockwell#usergif#photopeablr#userlgbtq#femalegifsource#userblues#dailymusicsource#dailymusicqueens#mermaid core#mvedit#mermaidedit#fantasyblr#made by me#kikirockwelledit#dailymusicians#usermusic#madebyme#learning how to gif again#syrena#siren core
23 notes
·
View notes
Text
Hey crew, I know I've been offline for a lot of time but I need your help. My cat, Nina, swallowed a piece of silicone and I had to take her to the emergency vet and she needed an endoscopy. ANY help would be so so appreciated, I'm rly struggling.
k0-fi link


2K notes
·
View notes