
Home of a gaming nerd who also happens to build props and electronics.
Don't wanna be here? Send us removal request.
Statistics
We looked inside some of the posts by circuitgarden and here's what we found interesting.
Average Info
Notes Per Post
18
Likes Per Post
13
Reblog Per Post
4
Reply Per Post
1
Time Between Posts
16 days
Number of Posts By Type
Photo
13
Link
1
Text
1
Note
2
Last Seen Tumblr Blogs


Fun Fact
Premium Tumblr themes are available from anywhere between $9 to $49.
Photo
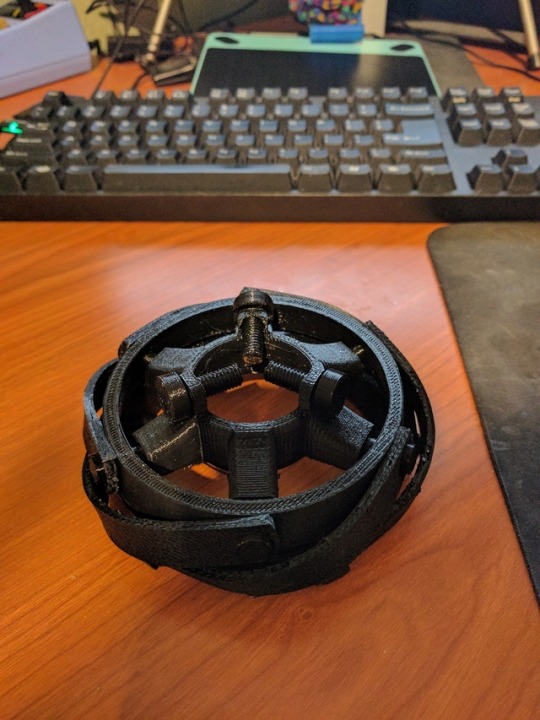

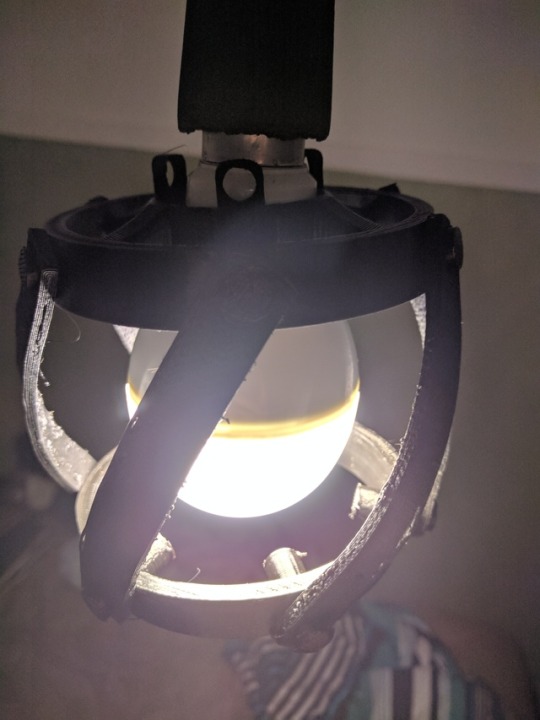
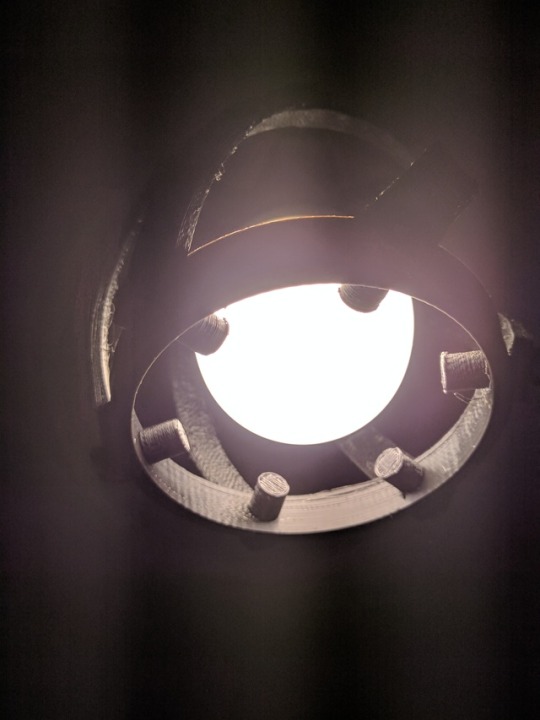
Lamp number 2, This lamp was fully 3d printing and should in theory fit any lamp because it uses screws to clamp onto the plug. I think out of the three this is easily my favorite because it has movement and combines materials in a way i haven’t done before. Using flexible filament as a hinge to allow the lamp to collapse for easy storage or packaging
4 notes
·
View notes
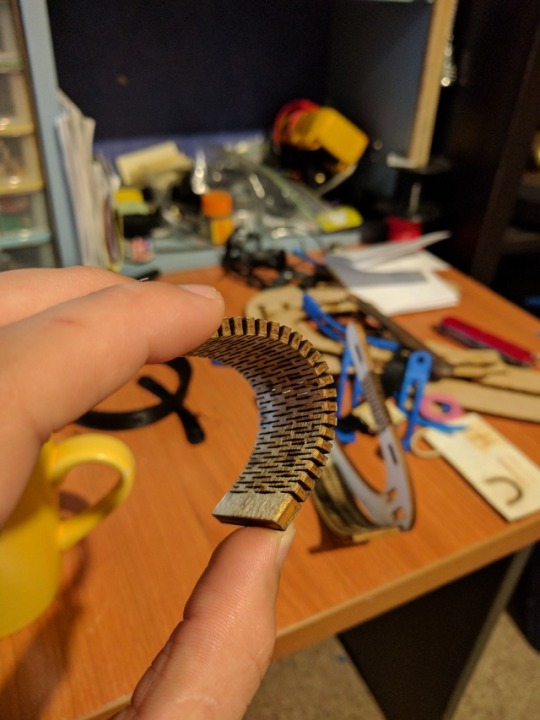
Photo
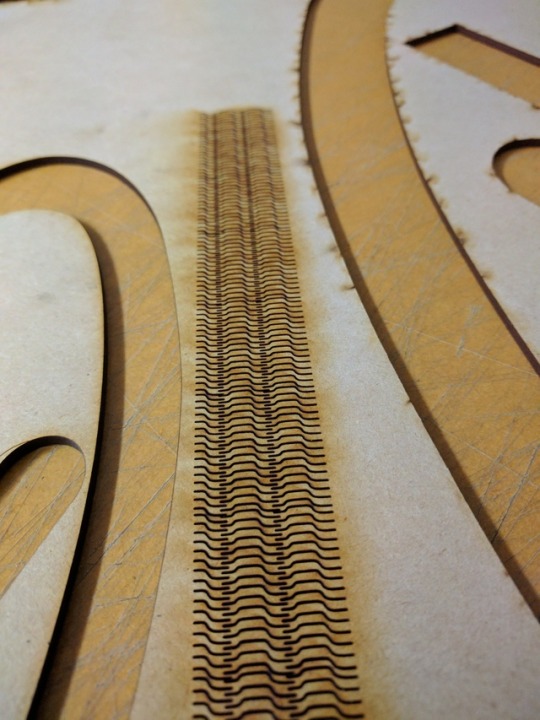
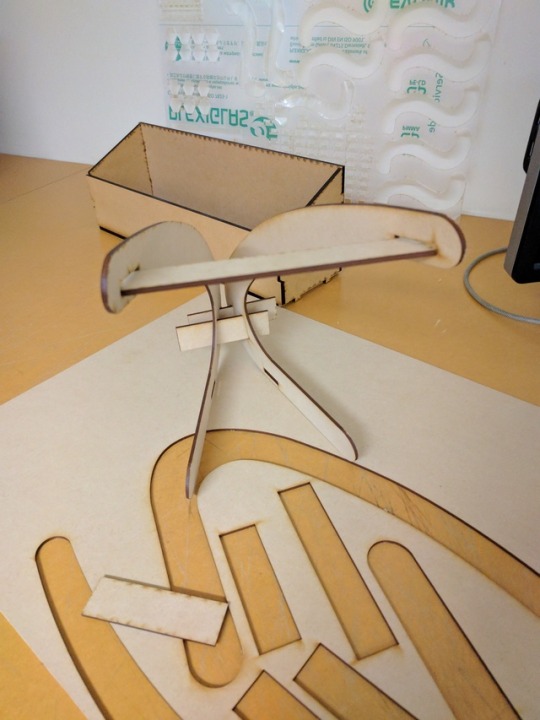
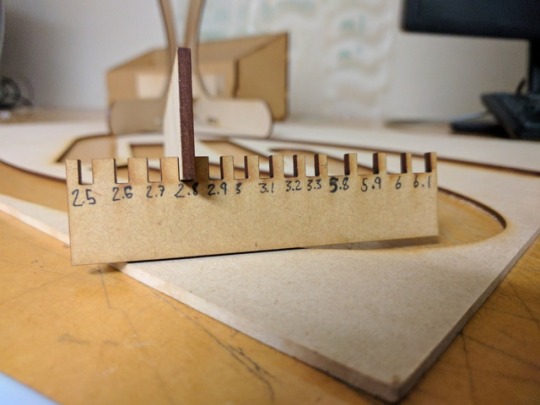
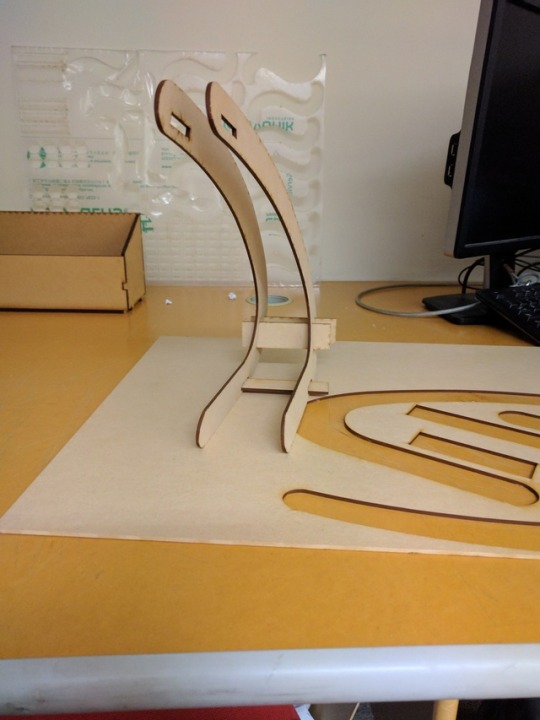
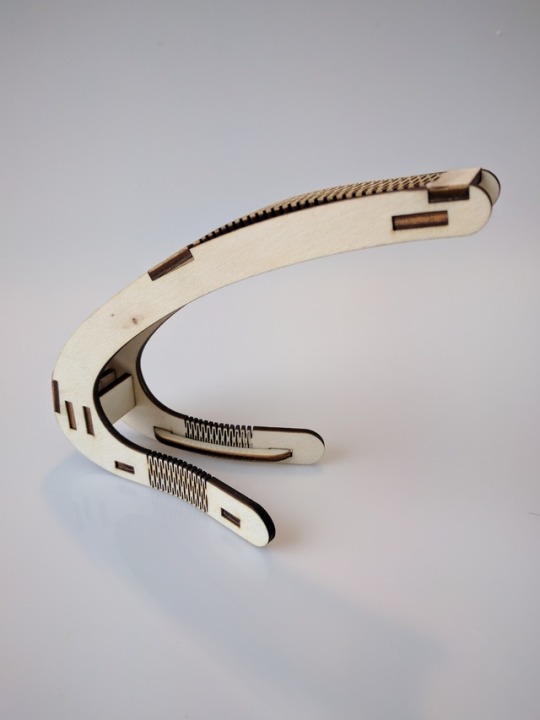
Small scale prototype of a lamp for my first Uni project. We had 6 weeks to conceptualize, design and build/prototype our designs. And this is what came out of it. There were three models all up, This one is design to have a bulb hanging from the end of the arm. This was my first time ever using a laser cutter and I’m fairly happy with the result but a working prototype would be more interesting personally even if not required by the brief.
0 notes
Link
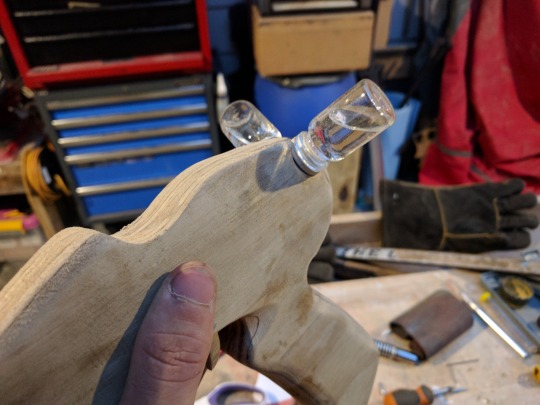
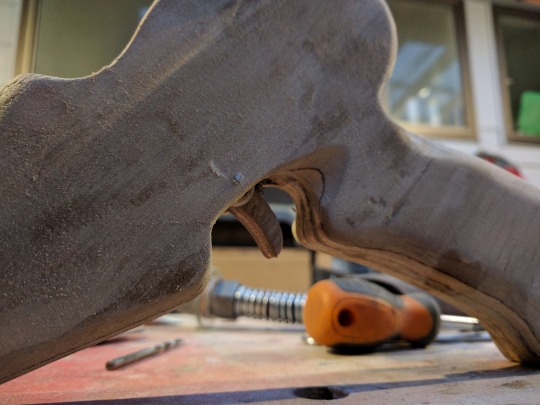
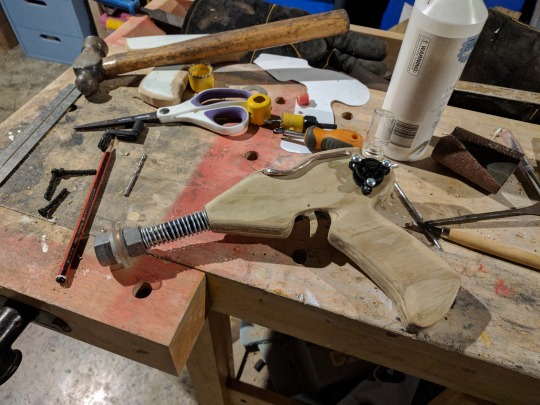
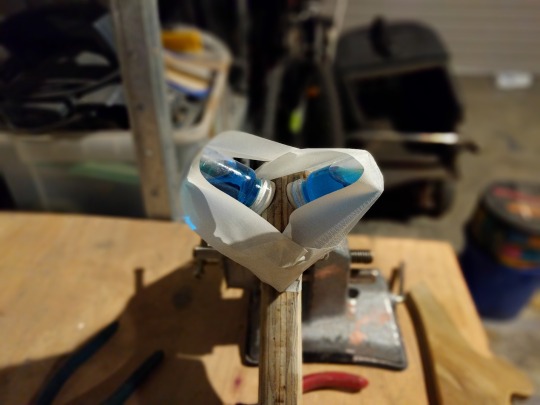
A little bit late but here’s the pipe pistol references. Again the measurements are very rudimentary as the pistol is largely scrap.
Quick parts list:
2X big side bolts, 1X thin reload bolt 1X medium trigger bolt, 1x length of bracing/strapping metal for grip (I got a 1m length which is more than I needed, Another note is I would recommend a slightly thicker strap than what I used because the grip on mine bends a bit if it’s handled roughly), small bits of sheet metal roughly 1-2mm thick (not aluminum as it’s a lot harder to weather because most paints markings just wipe off, similarly with stainless), gardening wire, 1X big bolt, 2Xnuts to fit big bolt for bolting grip to body, ~21mm OD pipe, slightly smaller spring for cocking mechanism, For the cocking mechanism i actually used a bit of wood and sanding it to the size of the ID in the barrel and glued a small bit of the tube on to it for the metallic look. It would like be easier to just find a bit of pipe that’s very slightly smaller than the ID of the barrel, There is another bolt inside the barrel which sits inside the spring. this is largely to keep the spring straight so just use one that’s smaller than your spring.
@shitpostsgalore
1 note
·
View note
Text
Antikurosensei knife
Here’s a model for those wanting to print their own antikurosensei knives for cosplays. http://www.thingiverse.com/thing:2141597
#Antikurosensei knife#antikurosensei#assassination classroom#kurosensei#assassination#classroom#anime
0 notes
Note
Hey, can I ask for a parts list for the bolt-action pipe pistol you built? As I'm quite interested in building one myself. Thanks!
That's kinda a tough one. The pipe pistol is made mostly from scrap metal and bits and bobs because the concept of the weapon is that its kinda cobbled together from the wasteland. I can when I get home give you kinda a vague list of parts and some sizings but nothing kinda concrete.
1 note
·
View note
Photo
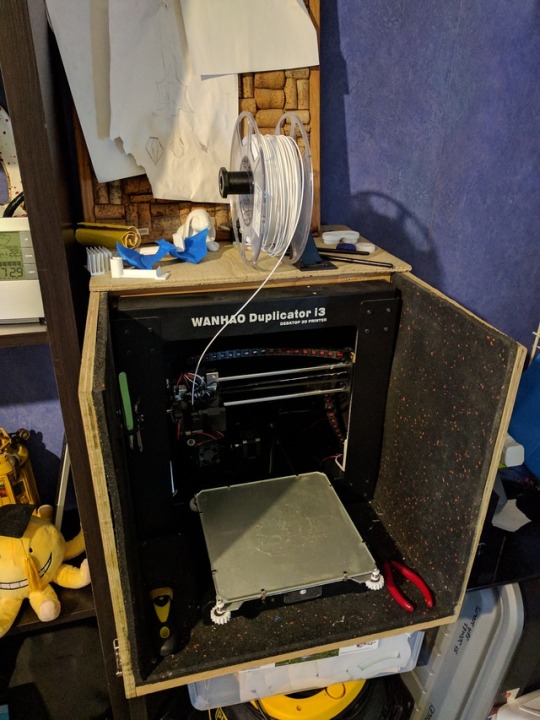
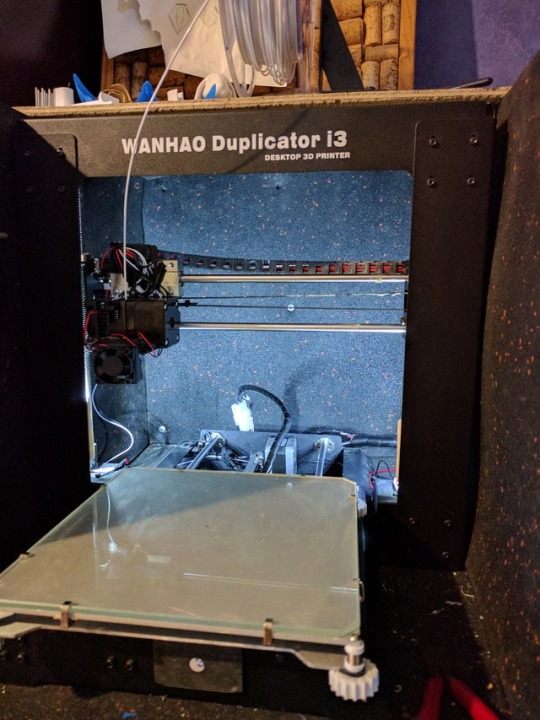
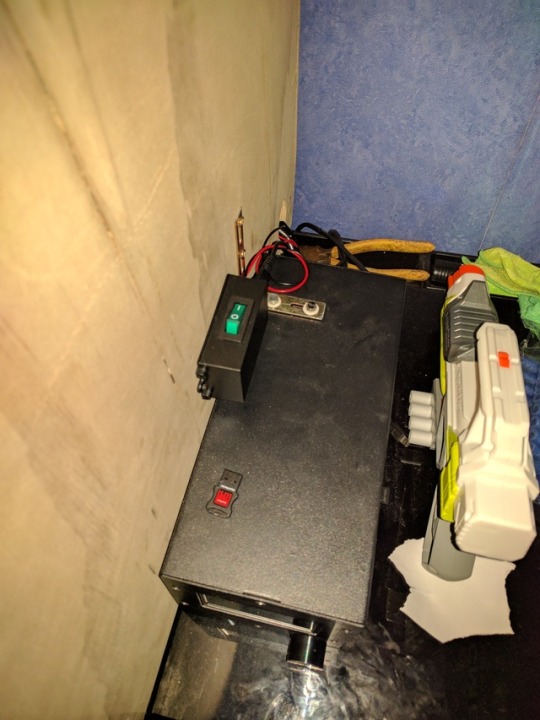

A bit of a twofer this time. Built a little while ago now a silence box for the printer so it wouldn’t scream at my new flatmates. And recently I went through and added some LED’s so you can see the print progress with the lid it. (It’s a very rough and quick build so yes I know it looks a bit crap). On another note I’m sorry for the long radio silence that was largely due to me moving into a flat and starting university. Hopefully I can update more often now i’m a bit more settled down. Should be bigger and better projects too.
3 notes
·
View notes
Note
Have you considered uploading the assassination classroom knife on thingiverse or selling it on something like etsy?
I did consider it but at the time i was considering selling them which i might revisit. I do think I'll upload the model on thingiverse anyway. Hopefully nobody steals the model and starts selling them before I do.
2 notes
·
View notes
Photo
The completed Steampunk Raygun, Pretty happy with the simplistic style of this but I might revisit it and add a couple of things like a leather wrap on the grip etc.
0 notes
Photo
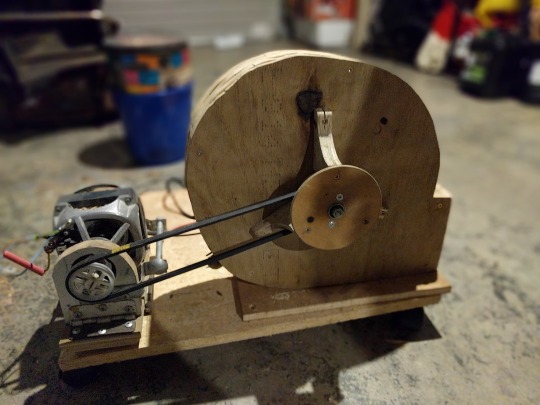
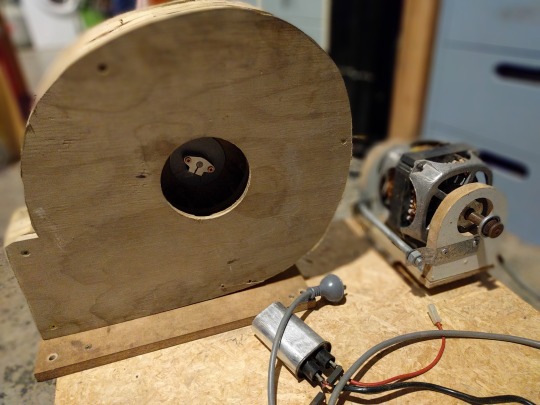
The vacuum part of a shop vac in progress done. Just a little side project but an interesting one. Old dryer motors are cool as all heck.
0 notes
Photo
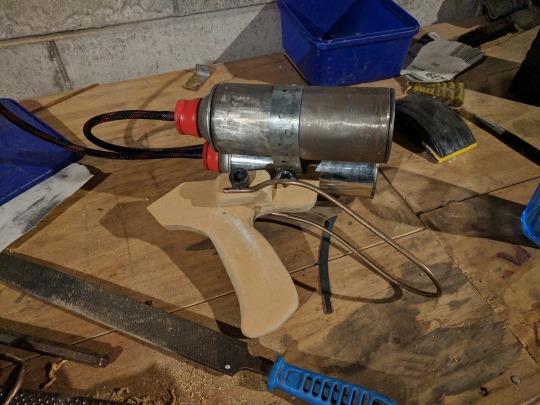
Playing around with some spare bits and bobs to see what comes of it. So far it seems to be some sort of paint based spray gun. Not quite sure where this one is going to go. Yay for some more originality.
0 notes
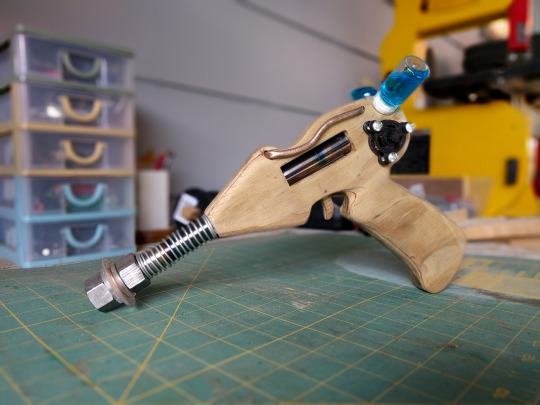
Photo
Trying out a steampunk style Ray Gun, For once not based off of anything. It’s rather simplistic but I'm actually rather chuffed with it. Will post some final pics fairly soon. Just need all the glue to set. I did consider painting the planetary gears but I think paint would just seize the joints up. I want to get some brass or copper filament for the 3d printer, I could see some pretty awesome designs coming from that.
1 note
·
View note
Photo
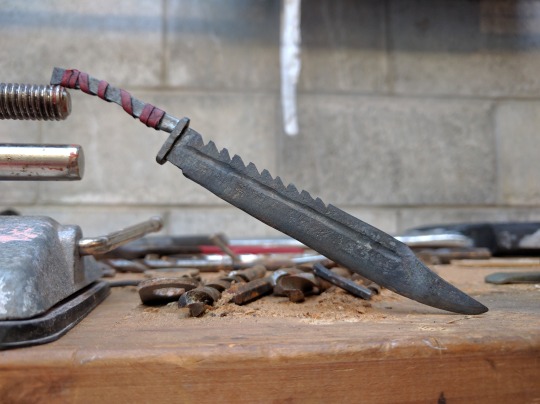

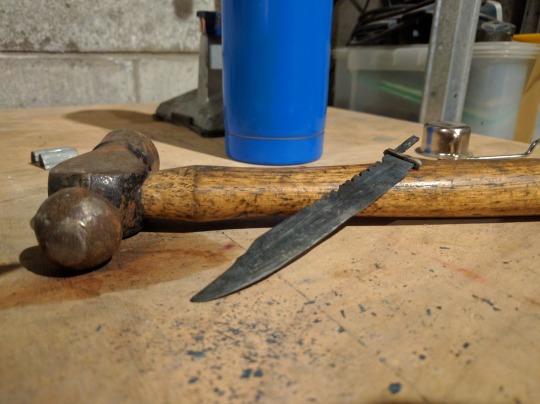
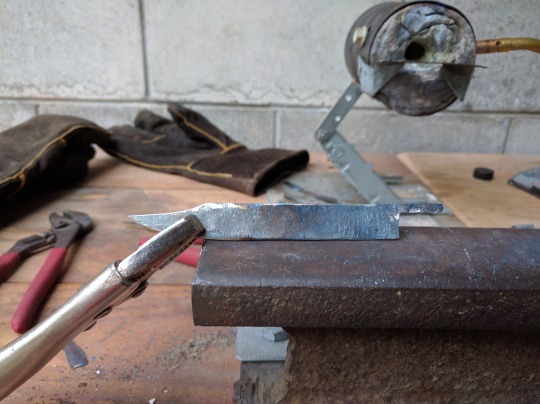
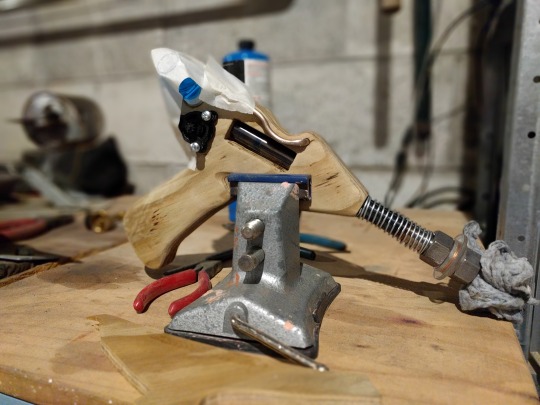
Woo, another miniature sword done. This time It’s pyramid’s head sword from Silent Hill. This was actually a lot of fun and the largest/most complex miniature sword I've made so far. It was actually smithed from a bolt hence the larger size, it was actually almost too big for the forge. I’m still considering doing the blood stains but I'm pretty happy with it for now.
1 note
·
View note
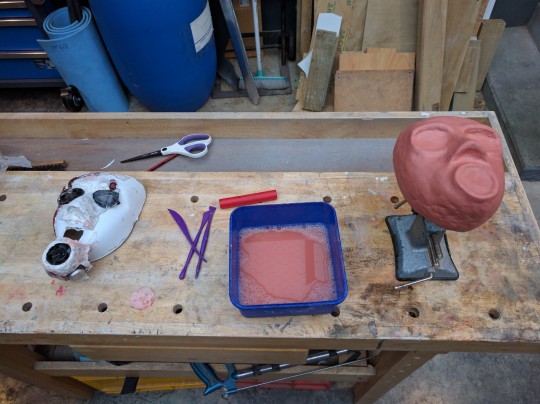
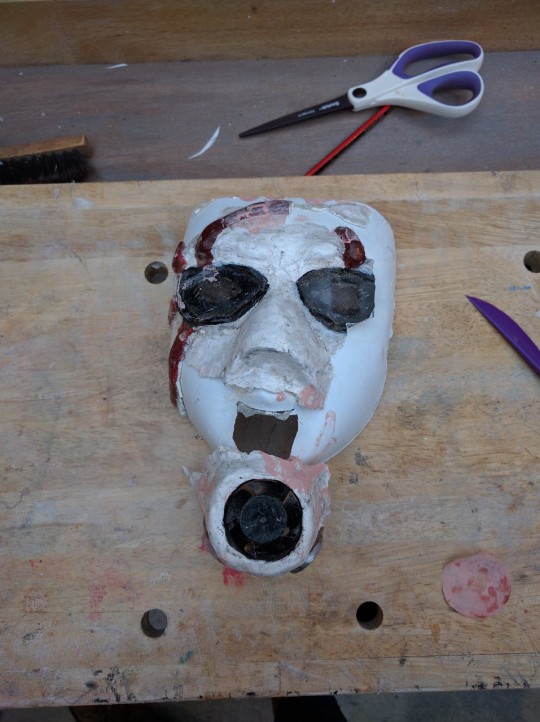
Photo
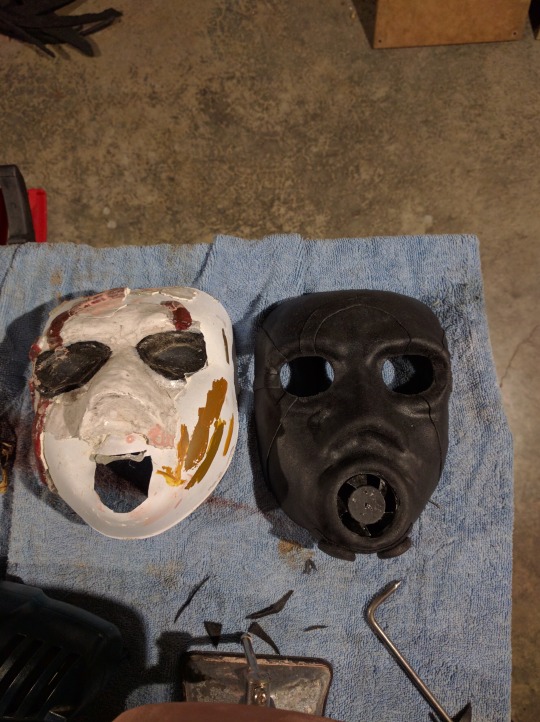
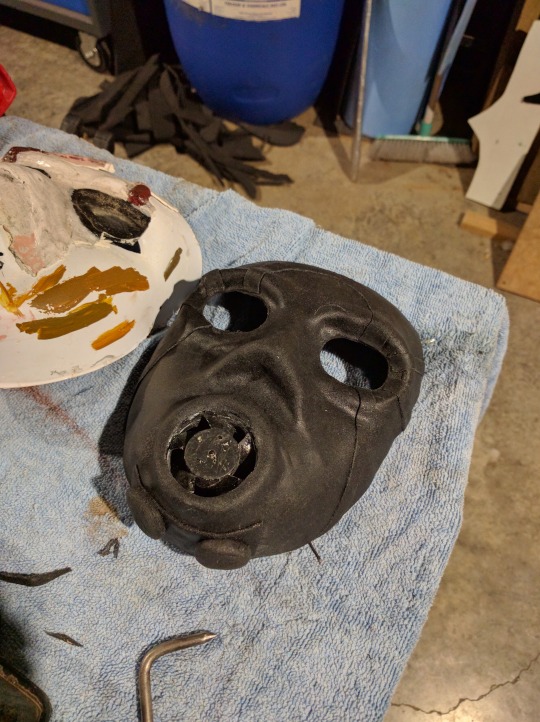
First test ‘cast’ of the psycho mask. Actually pretty happy with the shaped of this. It’s a huge improvement over the original clay one and is much easier on the face and less heavy. Might relook at how the front straps fit on the next attempt because I want to go for a closer to origin look with them.
3 notes
·
View notes
Photo
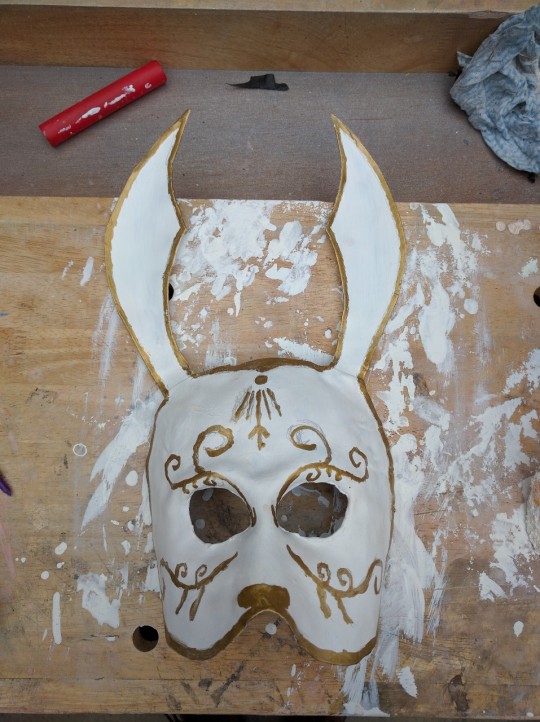
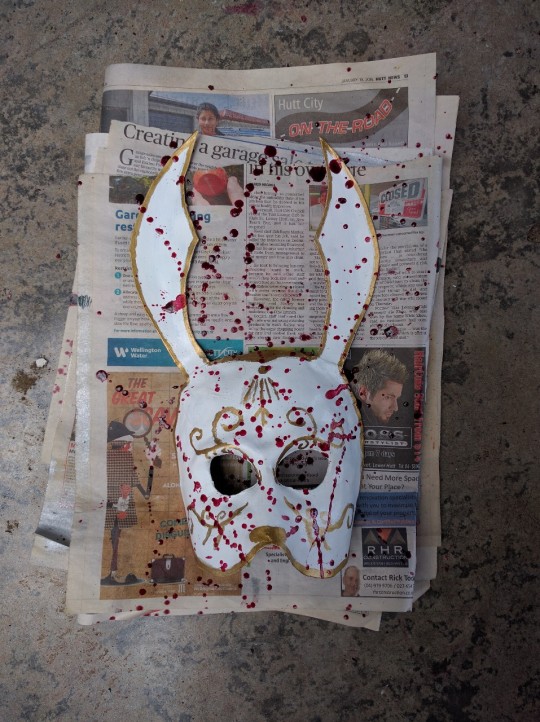
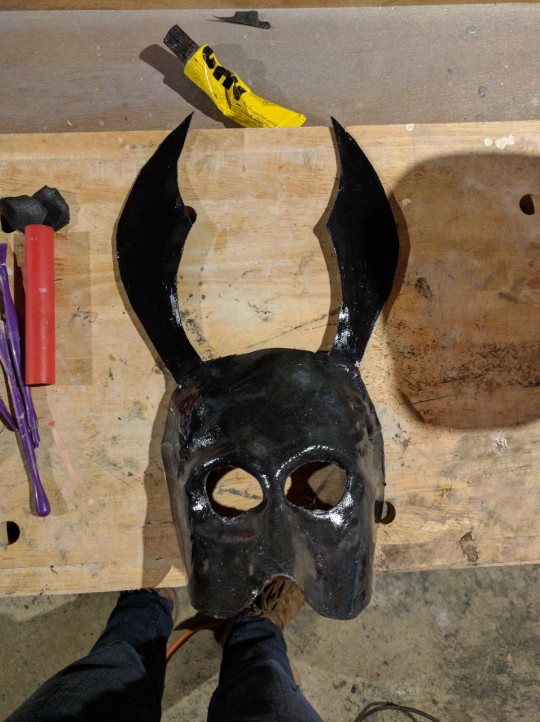
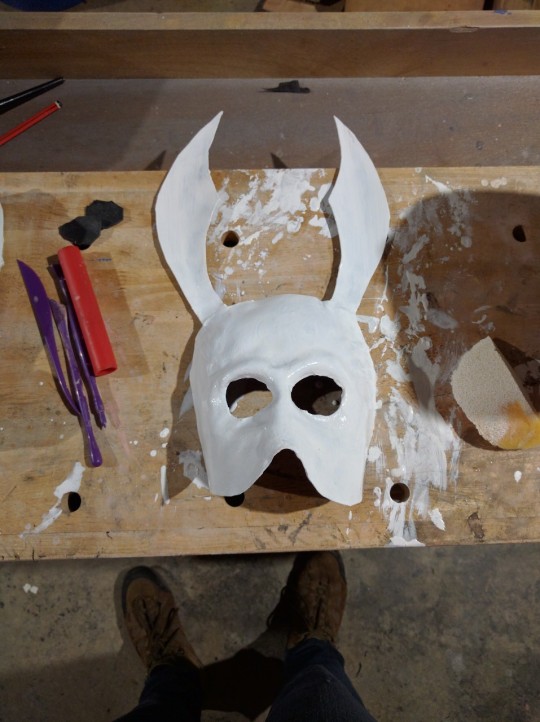
From the same cosplay as the bloodied sickle weapons this is one of the bunny masks worn by some splicers in the original bioshock. Again this one was done in about 3 hours using Worbla (thermoplastic) for the base and sealing it with the same glue used for model airplanes. Which i highly recommend for foam. Worbla or anything you want a clean see through glue for.
1 note
·
View note
Photo
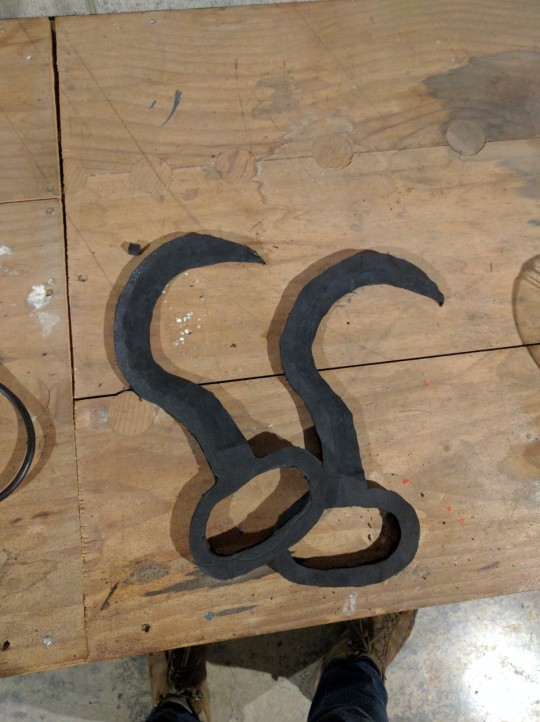
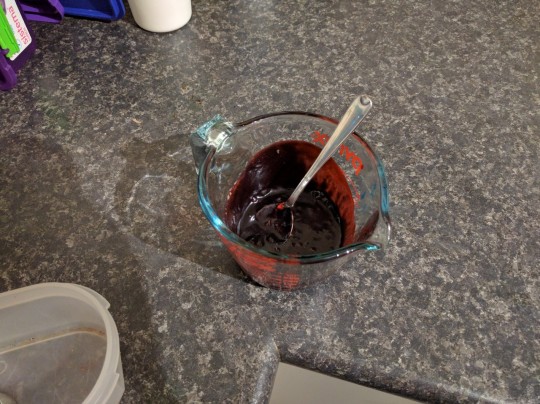
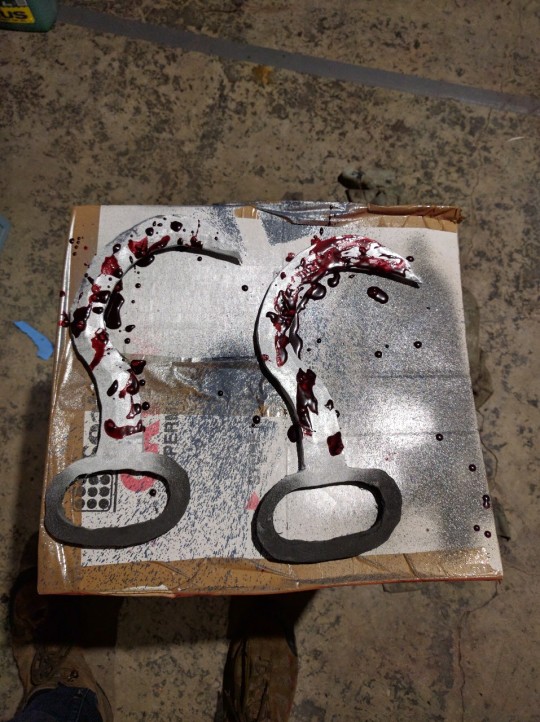
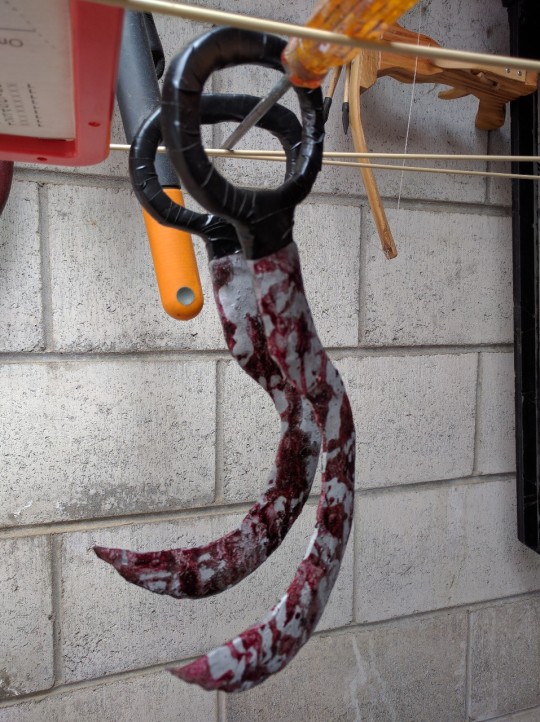
Good ol bioshock this time. These were actually for a halloween cosplay. These are not up to my usual standard but they were also made in about 3 hours from start to finish. Which happens to be the fastest I have ever made a prop. 10mm foam cut to shape with a jig saw. dremel to give the blade an edge and clean up the curves. then a ton of super fast painting.
0 notes
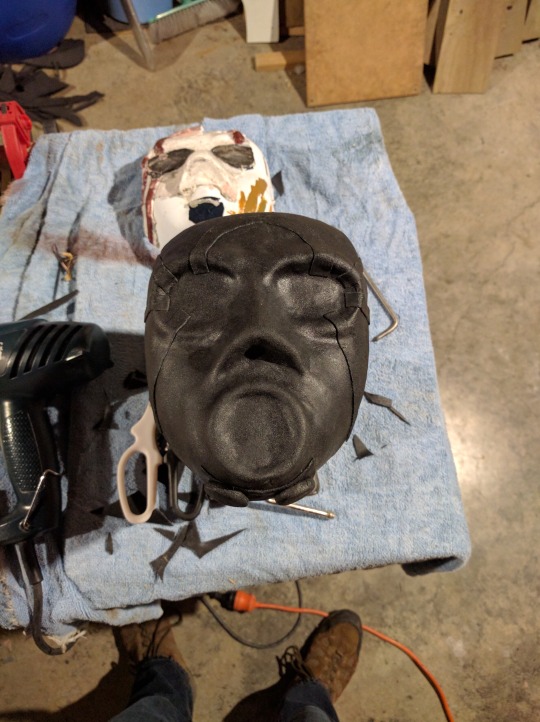
Photo
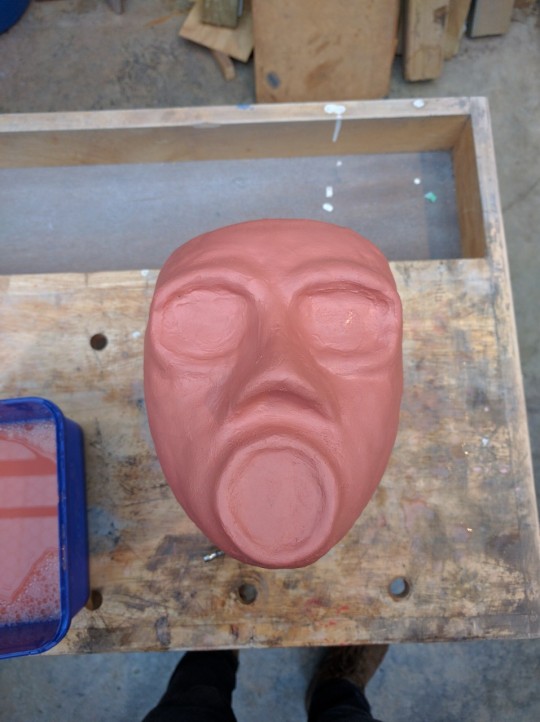
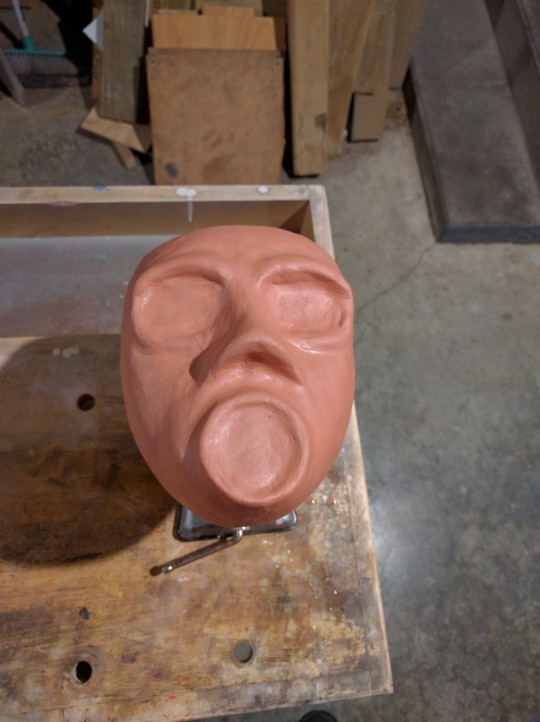
And the remake is underway. The psycho mask from a looong time ago had an unfortune fall off my shelf and is now a little worse for wear. So I have decided to remake it but this time useing the knowledge i've gained to make it stronger, better and less of a pain to wear. This timr i've gone the route of making a mold rather than creating the actual mask from clay. I'm going to be useing a thermoplastic called worbla and press that over the clay mold.
1 note
·
View note
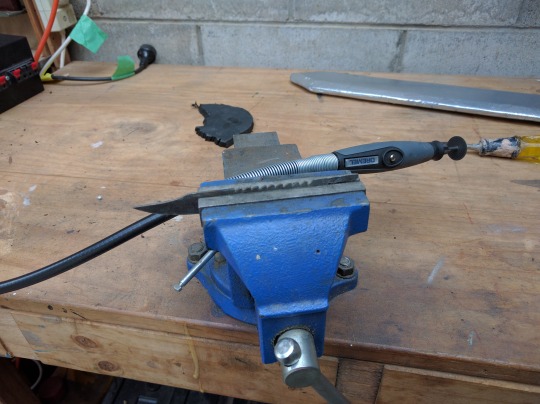
Photo
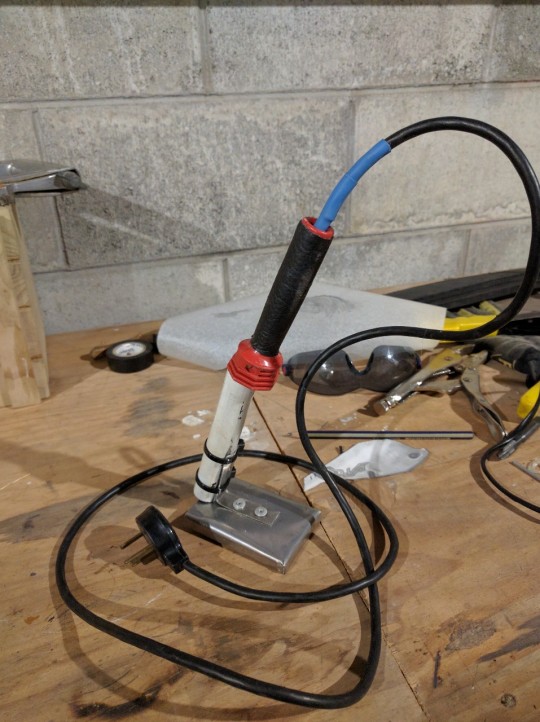
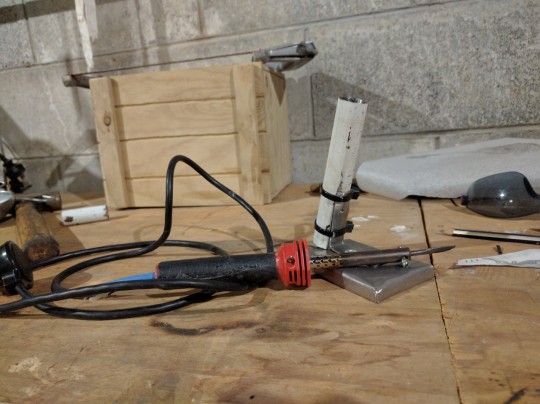
Have modified an old soldering iron I had laying around into a foam knife. Which consisted of flattening the end and sharpening it. also gave the cord better protection and wraped the grip in vinyl leather. So far it has worked surprisingly well. Cuts through foam like a warm knife through butter. Pretty clean cuts too.
0 notes