#wavlink wifi extender setup
Text


#Wavlink Wifi extender#Ap Setup#Ap setup Wavlink#Wavlink wifi extender setup#wavlink setup#wavlink repeater setup#wavlink wifi booster#wavlink wifi setup#wavlink wifi extender setup
2 notes
·
View notes
Text
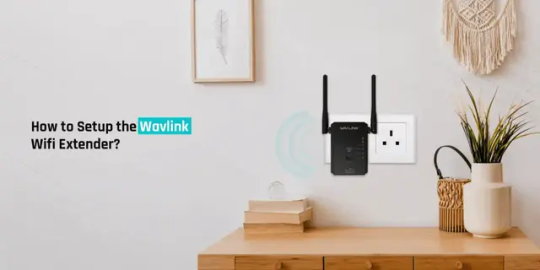
How to setup Wavlink WiFi extender?
To initiate the Wavlink WiFi extender setup process, connect it to your router. Later, plug in the extender and connect it to your computer device. Now, open an internet browser and type in the web address of your extender in the address bar. Tap on Enter and follow the on-screen instructions. In case of any difficulty during the setup procedure, you can get in touch with our experts!
0 notes
Text
Wavlink WiFi Extender Setup
Consider that you have a big house and your Wi-Fi is unable to provide Wi-Fi in your entire house. Simply don’t roam around your home in search of a strong Wi-Fi network. Thus, you must complete the Wavlink WiFi Extender Setup to establish an uninterrupted & flawless network coverage. Through this blog post, you will learn to set up the Wavlink extender. So, go through this blog post right away.
Steps for Wavlink WiFi Extender Setup
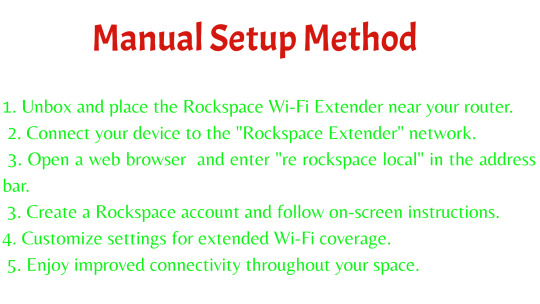
Now that you want to extend your Wi-Fi network, you can carry out the Wavlink WiFi extender's setup process. You can set up your Wavlink extender through the web address as well as using the "WavRouter" app. Simply follow the below setup process now.
Connect your smartphone or computer to the Wavlink extender's WiFi network.
You will find the extender's network name (SSID) & password on the extender's label.
Once the connection is established, open a web browser on your device.
After that, type in the default web address or IP address for the Wavlink extender.
It's usually something like "wifi.wavlink" and "192.168.10.1".
Consequently, you must hit the Enter button to access the configuration page.
Next, follow the on-screen instructions and set up your Wavlink extender.
Hereon, you must choose your existing Wi-Fi network and enter the network password.
Once you are done, save the configured settings and wait for your extender to restart. This will eventually complete the Wavlink WiFi extender setup process.
Wrapping Up
At last, this blog post includes the complete Wavlink extender setup process. But if you are still facing certain issues during the extender setup process, connect with our technical experts now. Our technical experts will guide you through the complete setup process.
0 notes
Text
How to Fix Wavlink Extender Not Working Issue
Though there are several solutions available to resolve the Wavlink extender not working error, you can use them reliably. Such as you can change the extender placement and the power socket as well into which the extender is plugged. The other troubleshooting tips involve making the connection again and power cycling the extender and the router as well. Now, plug in the extender and check it's working after making a connection with it. If that still keeps occurring, then choose the reset process. There will be a dedicated reset button on the extender panel through which you can reset it. So, push and hold this button after locating it and seeing the light indicator on it. Unhold the button when you start getting the blinking light on the extender as it means it is resetting. Finally, do the setup again after getting the solid and stable light once you are done with the reset process.
0 notes
Link
#Wavlink AC1200 WiFi extender setup#Wavlink AC1200 extender setup#wavlink wifi extender setup#ap.setup#ap setup
0 notes
Text
Wavlink Router Keeps Dropping WiFi? Here’s the Fix!
When it comes to high-quality internet service, many people turn to the well-known brand name of Wavlink. It is a leader in the manufacture of devices used for establishing connections across networks. Everyone who has a Wavlink WiFi router has experienced the frustrating problem of intermittent connection loss. The problem is not easy to fix. There are a number of issues that users without a technical background may encounter. You must be very careful and vigilant while implementing the solutions, despite their apparent simplicity. An innocent mistake might end up wreaking havoc on your Wavlink wireless router.
Fixed: Wavlink Router Keeps Dropping WiFi
There are a number of potential causes for your Wavlink Router to lose WiFi connection. In spite of the fact that complex problems may sometimes need technological investigation, sometimes just a temporary solution will do. The first step in finding a solution to any issue is recognizing that there even is one. It is far more likely that you will discover simple answers if you first determine what is causing the problems, rather than just guessing.
Reason 1: An Intermittent Snag
Insignificant issues, such as prolonged device use, might degrade WiFi signal strength. Experiencing little disruptions now and again is very normal and nothing to worry about. In order to prevent this problem, be sure to restart your router once a week for routine maintenance.
It doesn’t require much from you but you have to switch off your Wavlink router for some time in order to do away with technical hiccups. Once you devote enough time to your Wavlink router, consider powering it up and seeing whether you are still experiencing the connection issue.
Reason 2: Sudden Power Outage
If you have a sudden loss of power, your WiFi may become unreliable or completely unavailable. In such a scenario, you need not worry; the problem can be quickly resolved. Just give a fresh start to the router and you should be ready to go.
Reason 3: Unstrategic location of Router
Where you put your Wavlink router and other devices make a difference in how well they work. If your gadget is constantly outside of the range of your router, you should expect frequent disconnections. Thus, before you face issues even accessing the Wavlink router IP address, consider giving a new location to your device:
A WiFi router's signal may be strengthened if it is placed in a strategic location, such as the middle of the house or a large open room.
If your router is tucked away in a cupboard, in a far part of the home, or in many rooms distant from your device, you may have spotty WiFi connectivity.
It's possible that relocating either yourself or your Wavlink router to a more convenient location would fix the problem.
It's easier to create a solid connection between your device and the router if you're closer to it.
Reason 4: External Obstruction
Large metal objects or electrical devices placed too near a router might cause disruptions in the signal.
When possible, it is best if the device can actually see the router. The gadgets will then always have a solid WiFi connection. An improved and more reliable connection is achieved when there are fewer obstacles between the device and the router. If you want to learn more about how interference and physical barriers may reduce or eliminate a wireless router's signal strength.
Reason 5: Outdated Firmware
Physical damage, debris, or excessive heat may all cause hardware issues that cause the router to lose the network. In contrast, the problem may be software-related and easy to fix. Firmware updates for Wavlink routers may be tricky and need accuracy. When updating a router's firmware, it's important to have the model number handy.
The problem of dropped WiFi connections may be fixed by installing the latest firmware update for your Wavlink router.
Sum Up
With this last hack, the post revealing troubleshooting techniques to resolve dropping WiFi connections of Wavlink routers is ending. However, if they don’t suffice, you can reset the extender and do Wavlink router setup again.
#set up wavlink wifi extender#Wavlink WiFi Extender Setup#wavlink login#wavlink wifi extender login#wifi wavlink com ap setup
0 notes
Text
Wavlink WiFi Extender Setup | wavlink wifi range extender setup
Are you trying to do Wavlink WiFi extender setup? Get in touch with our experts and learn how to set up Wavlink WiFi extender & wavlink extender login. We at apwavlinkwifi.com provide online support and information for issues with Wavlink WiFi devices. In case you are still struggling to perform Wavlink setup or need help managing your extender, contact our experts for quick help.
#set up wavlink wifi extender#Wavlink WiFi Extender Setup#Wavlink setup#wifi wavlink com#wavlink login#ap.setup wavlink login
1 note
·
View note
Text
#wavlink setup#wavlink wifi setup#wifi.wavlink.com setup#ap.setup wavlink login#wavlink login#wavlink extender login
0 notes
Text
Wavlink Av500 Powerline Setup?

The Wavlink AV500 Powerline Wifi extender setup. Start by supplying one adapter with the provided Ethernet wire to a power outlet close to your router. The second adapter should then be connected to a power strip in the place where you wish to grow your network. On both adapters, press the Pair/Reset button to create a secure connection. An effective connection will be confirmed by the powerline LED signs. Now, attach your devices to the second adapter using extra Ethernet cables or, if in line, the built-in Wi-Fi function. With the Wavlink AV500 Powerline kit, you can expand your network by utilizing the electrical wiring in your home in an effective and straightforward manner.
Requirement for Wavlink AV500 Wi-Fi setup?
The following items are all you need to set up the Wavlink AV500 Powerline:.
Ensure that there are open power outlets in the area of your router and where you plan to grow your network.
When setting up your router, have an Ethernet cable open to connect one adapter to it.
Read More:-
1 note
·
View note
Text

The Wavlink powerline setup functions as a WiFi extender kit designed to enhance the performance of your existing router. Whether in a spacious home or a multi-story office, it effectively extends router signals to every corner. To make the most of this service, it’s crucial to understand its configuration and other essential aspects. Familiarize yourself with these points for optimal use.
0 notes
Text
Wavlink Extender Setup
Wavlink Extender Setup involves a series of steps to ensure proper configuration and optimal performance. Please refer to the user manual that came with your specific Wavlink extender model for detailed instructions, as setup steps may vary slightly between models. In case you are facing some problems while using the Wavlink WiFi extender. Just follow certain troubleshooting ways to sort out the issue.
1 note
·
View note
Text
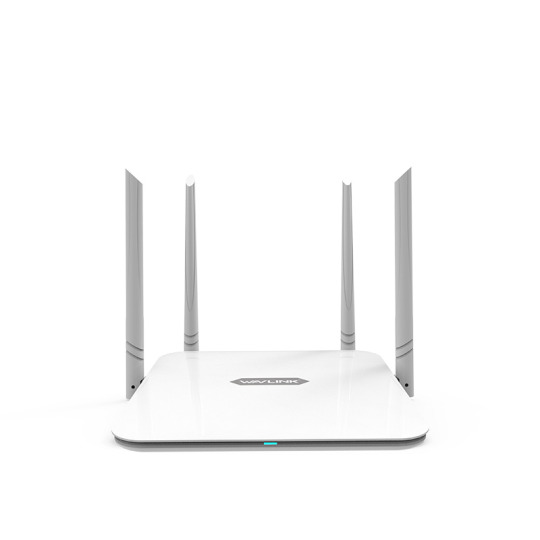
How Do I Setup My Wavlink AC1200 Wifi Extender?
Wavlink AC1200 provides fast speeds and reliable connections for multiple devices. With two high-gain antennas, it provides wide coverage and stable connections. A USB port allows users to access shared files easily. The device is easy to set up and use and works with most wireless devices. You can also set up parental controls to keep your children safe online. It takes a few minutes to complete the Wavlink AC1200 setup. You can use the WPS and web browser to start the setup process of the Wavlink AC1200 wifi extender.
WPS Method To Wavlink AC1200 Setup
A step-by-step guide to Wavelink AC1200 Setup WPS is here.
Your extender's power adapter can be connected to a power outlet.
Isolate all wires before connecting them.
When the extender is powered on, a blue light will appear.
The Wavlink extender can be connected to your WiFi router.
You must press the WPS button on both the router and the extender at the same time.
The two buttons need to be pressed together for two minutes for this step.
Ensure that the LED light is solid blue.
When the router and extender are both connected, a solid blue LED will illuminate.
Whenever an extender is connected to a wireless network, it automatically boosts it. Both devices will have the same SSID and password.
It will be possible for you to log in using the same password.
You can use your Wavlink AC1200 device after you complete the setup process.
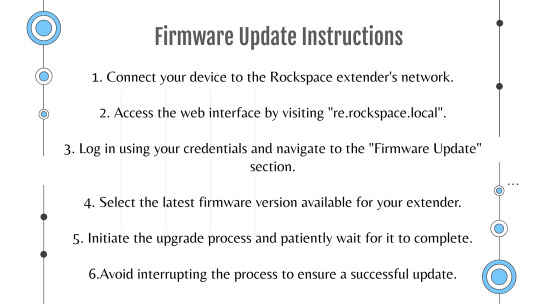
Using a Web Browser for Wavlink AC1200 Setup
The Wavlink AC1200 setup can also be done via a web browser. It also depends on users' preferences which they want to use. Here are the steps for setting up the system.
Wavlink AC1200 devices must be plugged into power outlets.
You will need to configure your device to repeat the connection.
You can find the network settings on your laptop by going to the settings menu.
By finding the network, you can connect to Wavlink.AC 1200.
To access 192.168.10.1, launch any web browser and type the address in the address bar.
There will be a configuration page for the Wavlink AC1200.
By following the instructions on the screen, you can now connect your home's network to the extender.
The Wavlink AC1200 setup is now ready for use. Once the router is plugged in, the LED lights will indicate when the router is properly connected to the modem. After that, users can access the router's settings page via any web browser to customize their network setup and connect their devices to the internet.
Once the LED lights are lit, users will be able to connect their devices to the router's network and access the internet. They can also access the router's settings page, which will allow them to customize their network setup and adjust settings such as the network name and password.
Wrapping Up
You can use above both methods for the Wavlink AC1200 setup. Users need to read all the instructions so they can follow all steps perfectly.
0 notes
Text
#wifi repeater setup#wifi.wavlink.com extender setup#wifi.wavlink.com repeater setup#setup tutorial#wavlink wifi repeater setup#wavlink ac600 setup#wavlink n300 wifi repeater setup#wavlink router setup#how to setup wavlink n300 wifi router#wavlink extender setup#wavlink n300 wifi range extender setup#wifi.wavlink.com#wifi.wavlink setup#wifi.wavlink.com login#wifi extender setup#wavlink setup#how to setup wifi extender#wifi range extender setup
0 notes
Link
If you are facing an issue regarding the wavlink wifi extender setup and wavlink router setup then you can go to or official website on wavlinkwifi.com and solve your issue regarding the extender and router setup
0 notes
Last Seen Blogs

rather-b-laid-2-death
rather be getting laid into a ditch.

hammurabifh-blog
Hammurabi Firma Hukum

normalguy100
YOU ARE GOING TO SEE PEE ON HERE. IF YOU SCROLL.

kr-210-r2700-prime
keep sucking it’s flat face

gothic-digital-circus-askblog
🖤[Hello and welcome to the show folks!!] 🖤