A small space for my various creative musings. I document nifty stuff for artists under the Resources tag!
Don't wanna be here? Send us removal request.
Statistics
We looked inside some of the posts by here-be-dragons-and-whatnot and here's what we found interesting.
Average Info
Notes Per Post
56
Likes Per Post
43
Reblog Per Post
11
Reply Per Post
2
Time Between Posts
3 days
Number of Posts By Type
Text
17
Last Seen Tumblr Blogs


Fun Fact
Tumblr was named as a finalist in Lead411’s New York City Hot 125 in Aug 2010.
Text
youtube
By the way, I'm on YouTube now! Not sure how often I'll post, but I'd like to get better at making videos so it's a start! Enjoy this avatar update :D
1 note
·
View note
Text
Man I don't know what I clicked but Tumblr is suddenly showering me with ads for AI girlfriends in compromising poses. This seems at odds with the amount of my posts that were suddenly labeled NSFW in spite of being terrifically un-sexy... Unless you really like 3D printed pulleys?
#tbf it was a pretty nice pulley#but why the AI gfs?#I prefer my ladies in meatspace thank you very much
0 notes
Text

Still can't draw fur, so I rendered it instead. Or at least, I tried to. Fur grooming is weirdly difficult and I don't understand it, but I feel this is leagues better than the last time I attempted 3D Disney fan art. At some point I will probably switch gears to Houdini which is built for simulations, is free for non-profit use, and comes with a lot of training that I suspect will cover principles of hair and fur simulation which is the sort of information I'm missing from Youtube Blender content.
This was sculpted in Blender, retopologized with Retopoflow, Painted with Ucupaint, lit with an HDRI from Blenderkit, and has some very light editing in Affininity Photo to correct some stray hairs I couldn't seem to control in Blender. Also, the eyes come from the TinyEye addon. All these tools (except for Affinity Photo) are free!
5 notes
·
View notes
Text
Starting Your Journey, Week 2


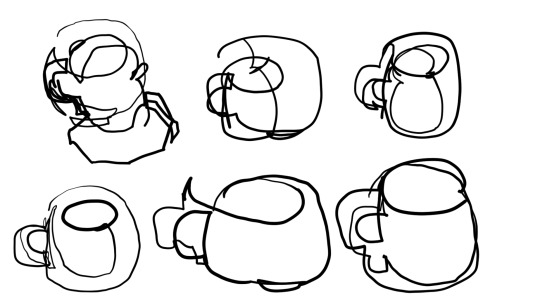

Week 2 was all about line and shape, or more specifically the emotions implied by each. We started with line drawing warmups and then moved into depicting emotion using nothing but line. Next, we did the same thing using primitive shapes and value. We wrapped up with blind contours--a classic drawing exercise where a form is rendered without looking at the page or lifting your pen. Even though they're jank as hell (the goal is to practice hand/eye coordination rather than produce a nice-looking drawing) I've always loved blind contours.
Even though I've done these sort of exercises 3-4 times in the past, I feel like I'm finally at a point where I can understand and apply them to more complex images. I'm excited for the rest of the course! Exercises are courtesy of the Staring Your Journey course by Cody Gramstad on Schoolism.
3 notes
·
View notes
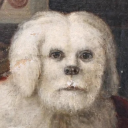
Text

Still can't cell shade fur, but at least I got a cool Simba drawing out of it
23 notes
·
View notes
Text
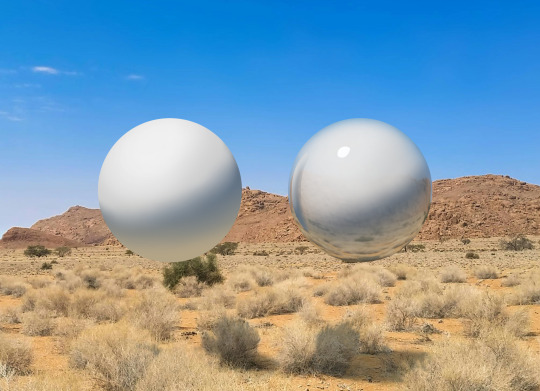
Along the theme of stuff I completely forgot to post: this is why I want to make a matte shading tutorial. It's so much easier than it looks?? As per usual, I am so impressed with what Krita can do (and also very excited to learn how to draw actual environments)
0 notes
Text
Did I post this here? I don't think I posted this here. This blog goes real quiet every time I have an avatar commission, LOL. Not only was this a fairly detailed mesh, but I picked up Substance Painter right in time for texturing so there was a surprise learning curve in the middle of the project. This is still a WIP, but all I have to do is make his visemes and he's ready to go!


1 note
·
View note
Text

Here's a 2.5 hr sketch from week one of Staring Your Journey by Cody Gramstad on Schoolism. Finished illustrations are definitely a weak point for me, so this will serve as a nice starting point for the course.
#schoolism course#artist on tumblr#epic battle#not a clue where the idea for this came from#stab that squid
0 notes
Text

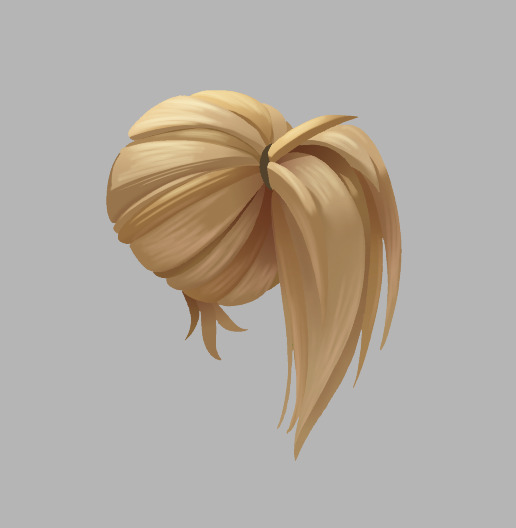
Oh, and this is what spurred Art School. I want to make a tutorial on my Krita Matte Shading technique but I need a better grasp on materials and textures. The first sample is matte vs. glossy shading (and yes, it's painted by hand; it's not a 3D render) and the second is me struggling with how the hell to paint fur and hair. This really highlighted how some of my art skills are decent and others have giant gaps.
3 notes
·
View notes
Text

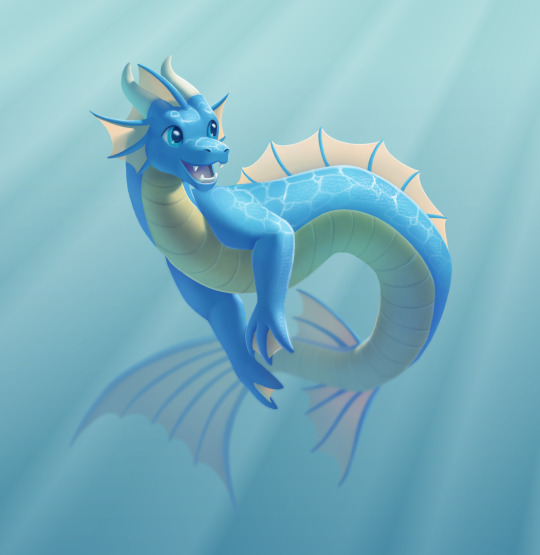
Did somebody say #Mermay? (this probably won't post until June LMAO)
9 notes
·
View notes
Text
So I've been doing a lot of reflection on where I want to be with my life and career, and one thing is for sure. I can't ignore art. For the past couple years I've had fun doing whatever creative project came to mind and it has been an excellent recharge for creative energy. But now the gaps in my fundamentals feel like they're holding me back, so I'm starting a new design project: Putting myself through self-taught Art School.
For content, I have my CGCookie and Schoolism subscriptions--and even without them, a few hours of googling could find good alternatives. It could be done for free with the library and Youtube, although there would be more time spent searching for quality information. My main focus with this project is actually pacing; how can I sustain effort for months on end without getting burnt out, bored, or stagnating? I have some thoughts (compliments of pedagogical research) but the main strategy is restraint and rest. I have a tendency to grind hard for the duration of my attention span, and usually that's enough to see me through most projects. This time, I want to try taking bite-sized pieces with intentional breaks. I'm very excited to see where it leads, and I spent all weekend making lesson plans. I'm doing three tracks (lol): illustration, 3D animation, and UI design. Here are my anticipated curricula for the first two:


If anyone is interested, I'd be happy to translate this into links. I'm sure it will evolve as I move through it (and when my whims take charge) but I'm excited to see where this takes me.
3 notes
·
View notes
Text
Hey you! Do you like matcaps? And do you also like free stuff? Well boy howdy do I have a treat for you! https://github.com/nidorx/matcaps
0 notes
Text
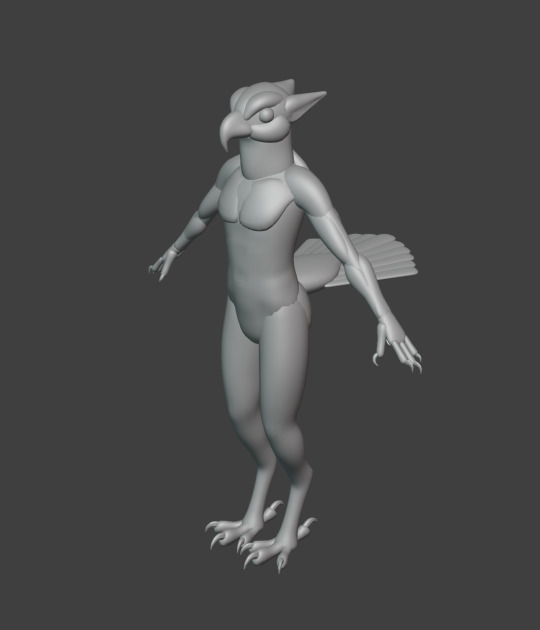
Wanted something a little nicer to test the skin folding, so I made a lil guy. His name is Pajamas.
3 notes
·
View notes
Text
Since I have a vested interest in making creatures, I'm curios to see if I can make realistic skin dynamics. Namely, skin should slide over muscle and bone and stretch, compress, and wrinkle. I got some of that working today, namely the wrinkling part. It doesn't work very well--I didn't topologize the mesh quite right--but it's surprisingly passable in some areas?? It's unfortunate that Blender doesn't have native support for tension maps and I have to run a cloth sim to do this, but I'm surprised it actually worked given how much I have struggled with cloth sims in the past.
0 notes
Text
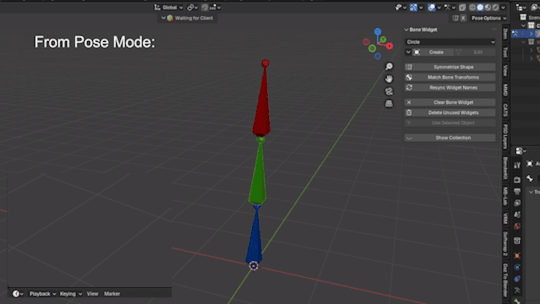
Some useful, free rigging tools for Blender
All the rig stuff has me looking into tools to make it easier, and I found a few worth sharing. (it might take a minute for the GIFs to load)
BoneWidget: This add-on automates the process of assigning widget shapes to bones. Normally this requires you to either make or import a control shape and then dig trough menus to assign it to your bone. The add-on does it in one easy process--plus it comes with a bunch of shapes already built in!
2. Bone and Vertex Group Merge: The function is pretty straight forward with this one. Sometimes it's helpful to reduce bone count when porting a model to a game engine (or just trying to simplify a rig), and this add-on lets you do it in one click.

3. VRM Add-on for Blender: This add-on is meant for making 3D Vtubers straight out of Blender--a real gift if you don't want to mess with Unity. But it has one glorious rigging option that makes it worth the install, and that is a Humanoid rig that is ready to go with one click. All the bones are named and parented properly, so if you plan on exporting to a game engine this will save you the trouble of building (or appending) a rig.

2 notes
·
View notes
Text
More dragon rigs


Remember that time I absolutely could not make Avira's spines and web work right? Well, I figured it out! The animation on this is jank, but I got the rig working properly! The spines now follow segments of B-bones with no stretching/deformation and the web stretches properly between them. What's even better is that I did no manual weight painting; this works properly out of the box. The rig has 26 bones, but I only needed two to animate this sequence.

I also played around with materials. A couple weeks back I built a scale texture generator with geometry nodes and I used that to bake a displacement map for the blue scales. It's very light weight (and less work) than a particle system or god forbid modeling, but it's kind of rough up close. The cutoff doesn't look good either. The yellow plates are four faces and a bezier curve with like 7 modifiers stacked on top. Overall, I'm quite pleased with the efficiency of this; the whole thing came together in 2 hrs.
0 notes
Text

I'm trying to make sure I still have time for personal stuff amidst all the commissions and professional projects. I was talking to someone about rigging in Blender and had an idea for dragon wings. Last time I tried this, it was a major hassle--although I was trying to make it work with Rigify samples and that was... a decision, lol. This rig is significantly more simple and also works better with more automation than my Rigify solution. In fact, it only took 5 control bones to animate this whole thing. Obviously the model and actual animation is really rough, but it's a serviceable proof of concept.

The rig works with three layers: deformation bones, mechanism bones, and control bones. Deformation bones are what actually move the model. The next layer of mechanism bones handles under-the-hood stuff like IK constraints. Finally, the control bones are what I actually use to animate. All of the wing bones have rotation constraints, so all I had to do was move that red control and and the folding happened automatically. The membrane is a cloth simulation. There are some clipping issues with the body, but that's likely quite solvable with more time. The next step with a good wing rig is figuring out how to have a 2-sided wing membrane without messing up the cloth simulation. (also limbs and head so it doesn't look so much like a tadpole, LOL)

3 notes
·
View notes