#heat transfer designs
Text


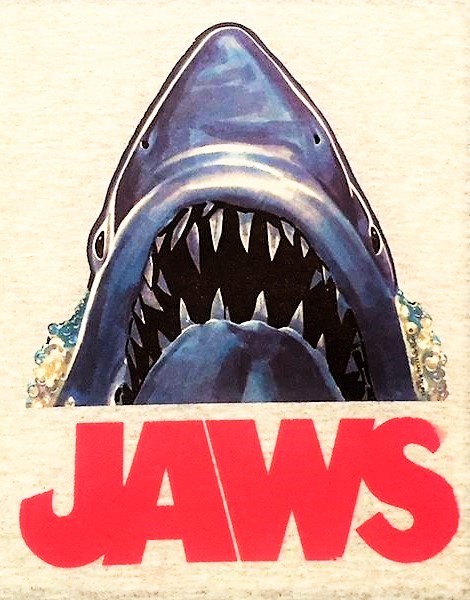
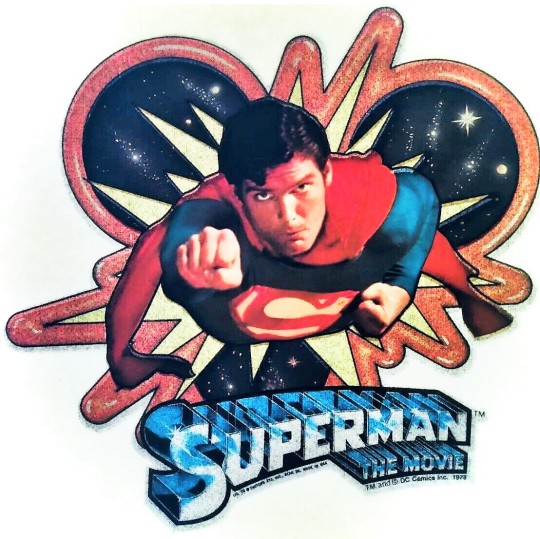


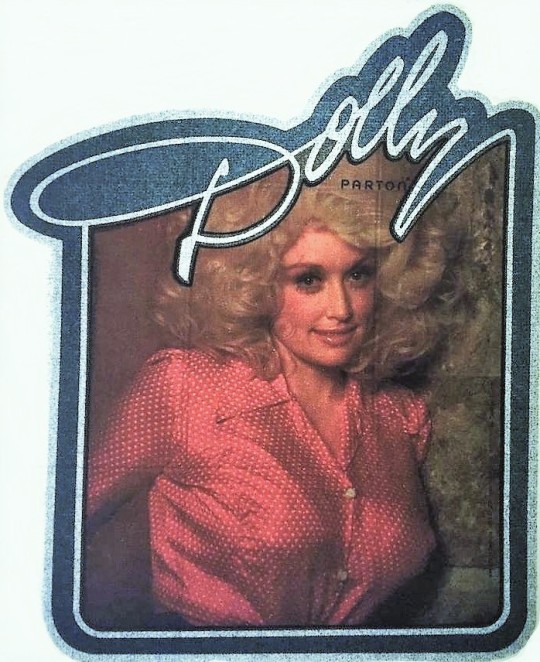

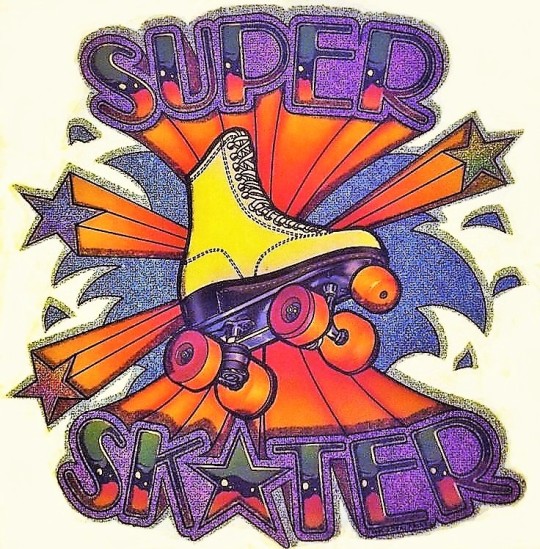


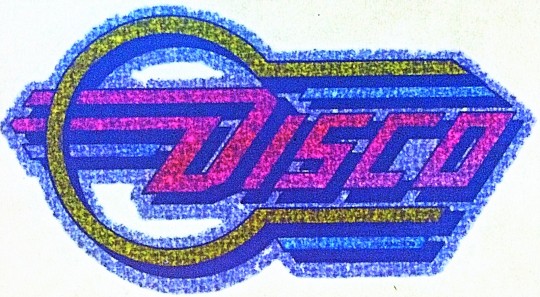

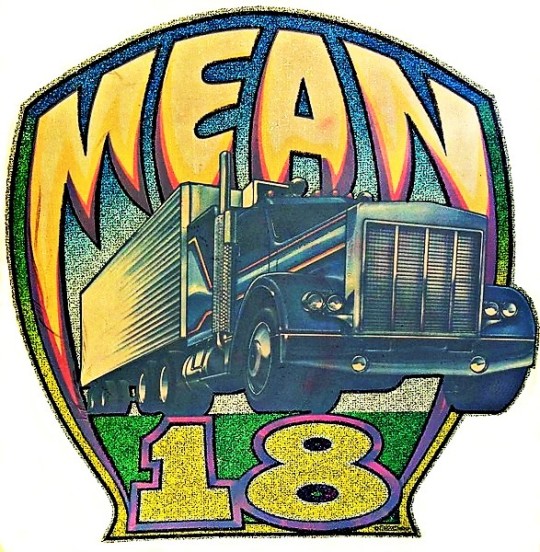
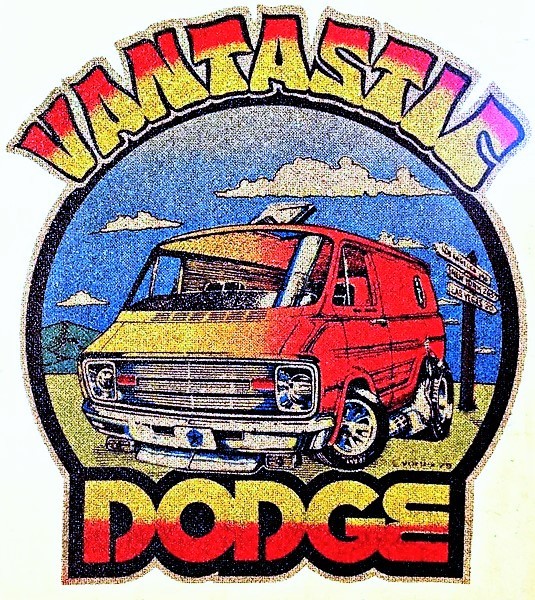


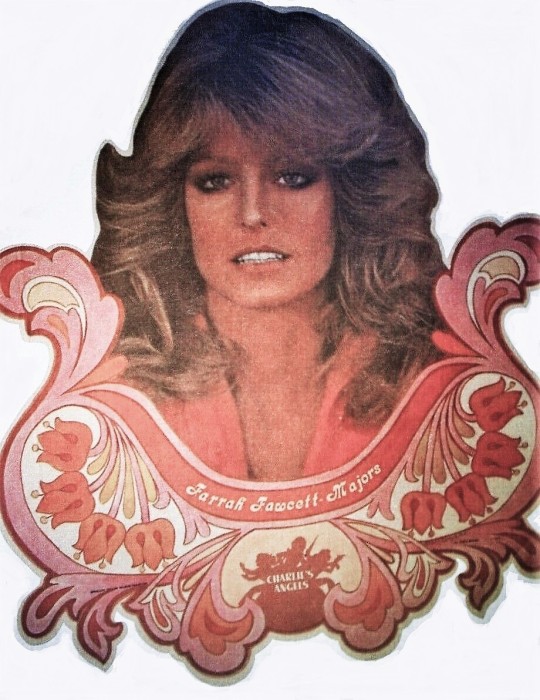


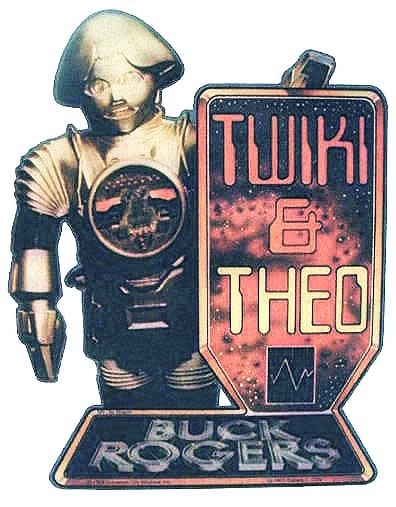

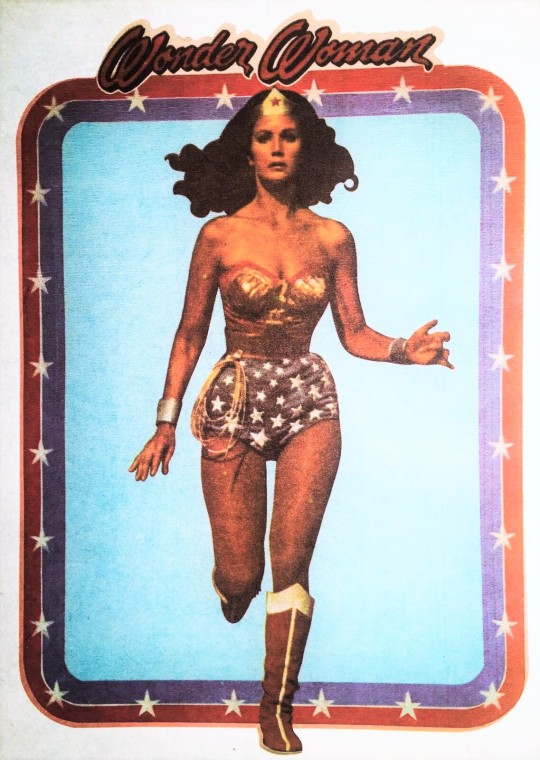

Vintage 1970s iron-on transfers
#vintage iron on transfers#vintage t-shirts#70s fashion#70s tv#70s movies#70s music#heat transfer designs#retro#seventies#1970s
2K notes
·
View notes
Text
DTF Transfers BY Size - Solid Custom Print

Take your hat customization to the next level with our premium 4x2.5 inch Direct-To-Film (DTF) Transfer Sheet. Tailored to fit hats perfectly, this transfer sheet empowers you to add intricate, vibrant, and long-lasting designs to your headwear. Whether you're a hat aficionado, a small business owner, or a creative hobbyist, our DTF transfer sheet is your key to unlocking endless design possibilities.
0 notes
Text
costumizing my braces part 2: vinyl boogaloo
(part 1 here)
look at me having the spoons and time to keep working on operation "make the braces not suck", in todays episode; adding the htv (heat transfer vinyl) designs
first up, the designs, theese were designed and cut out while i was at home for autumn break (before i was planning on making process posts about this project), so i dont have any pictures of my cricut or the weeding etc., but i do have pics of the designs i cut out


[ID in ALT]
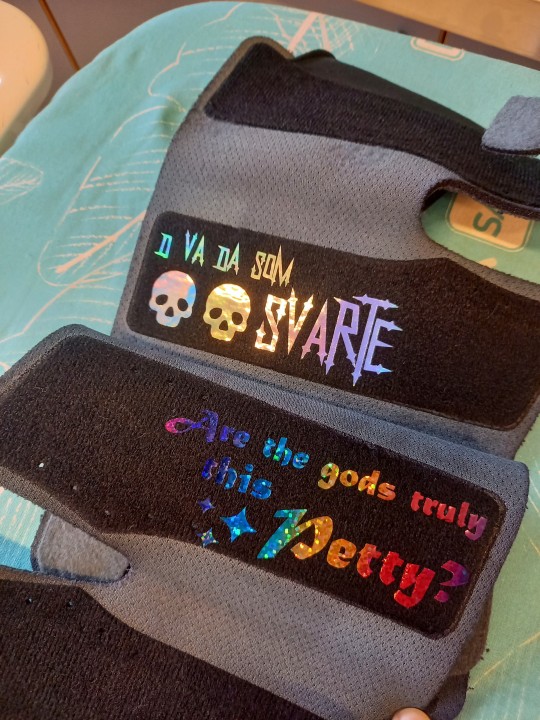
to explain the text i used:
"are the gods truly this petty?": a phrase said by shadowheart in act 3 of baldurs gate 3 whenever her incurable sharran wound hurts. since her wound is on her right hand, and my right wrist is the one most likely to act up (and since bg3 has me in a chokehold like no other), i figured it would be a fitting choice
"d va da som svarte": written more or less phonetically according to my dialect, its hard to translate but as a phrase its simmilar (but not as "severe" on the swearing scale) to "for fucks sake" or "fucking hell". it goes on the left brace since i really fucked up if i need to use it

[ID in ALT]
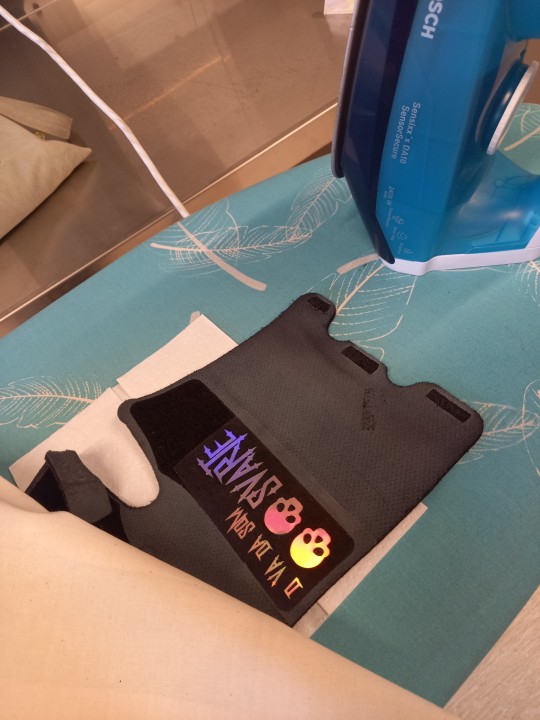
for the transfer i needed to make sure i did not mess up the communal equipment, lest i be excommunicated from the workshop. so i put a paper towel under each brace to protect the ironing board from any possible glue, and i used some scrap muslin on top of the braces to protect the iron from the plastic and the dye (as yall can see from the second picture it was a good thing i did)
i ironed the designs from both the front and back of the braces for 30 seconds each, then another 30 seconds from the front, this vinyl is cold peel so i let one cool down while i did the other, i then removed the transfer tape and (because i dont trust the glue on this brand) ironed for Another 30 seconds with just the muslin between the iron and the design
thats it for part 2, part 3 (link found here once its up, or check the "operation make the braces not suck" tag on my blog) will more than likely be the stitching to re-attach the bits that fell off during the dying
#my stuff#fiber art#operation make the braces not suck#heat transfer vinyl#cricut#cripple punk#weather or not the designs stay on long term is yet to be seen#but if they do fall off ill just remake them with a different vinyl brand#also: hello new followers!#i hope you are having fun :3
36 notes
·
View notes
Text

Discover top-quality custom design embroidery for t-shirts, Hoodies or any apparel.
📞 +1 (848) 242-3077
💻 www.brickcitytransfers.com
#apparel#embroidery#printing shop#printing service#printing press#hoodie#print shop#online store#printing services#heat transfer vinyl#custom design#custom embroidery#brickcitytransfers#usashopping#fashion trends#custom printing#embroiderylove#freeshipping
2 notes
·
View notes
Text

made a t-shirt for casual fridays!!
#my art#substitute teacher#teacher stuff#i drew the design and then cut out the png from my cricut#it’s heat transfer vinyl but also some fabric paint to clean up what didn’t stick
3 notes
·
View notes
Text
okay I'm probably just being an idiot here
but what's with the tendency for mech/robot designs to have the radiator grill facing forwards? (the ones that bother to have radiators, anyway)
Like if I had to guess I'd assume the answer's just "it looks cool" or something similar, because my understanding is that it'd make more sense for the radiator grills/vents to be located on the rear/backwards-facing,
because:
a) the vent/grill would be a weak spot or otherwise attractive target for enemies to shoot at since it's an opening/less armoured, and damage to the fans/radiator would be pretty bad for the mech/robot
b) since the mech/robot will generally be facing towards its enemies, placing the radiator(s) on the back and facing backwards would reduce the duration where the radiator is a visible target and therefore reduce the likelihood of the radiator(s) taking fire/damage
#robot's rambles#I'm sure someone who's actually knowledgeable about this sort of thing will see this and tell me how wrong I am#and explain why forward-facing radiators/radiator grills are better that rear-facing ones#(like obviously for some mech designs (mooostly transformers but there are some others) you kinda have to have the rad grill on the front)#in most tf cases it's cause the part of the alt-mode where the rad grill is ends up forward facing in the root mode#on the other hand there's an argument to be made with how a lot of transformation schemes work#that a lot of what appear to be rad grills on tf characters are purely aesthetic and the cooling solution is something completely different#(I've seen a people posit that the reason cybertronians are often depicted breathing is because that's a part of the cooling solution)#which is a nice way of trying to explain the breathing thing but I can't imagine it's the primary method of heat transference#since the airflow path would be terrible#among other reasons
2 notes
·
View notes
Text

Jiu Jitsu Svg Funny Chokemon Bjj Mma Jujitsu Brazilian Svg Png Dxf Eps files Cameo Cricut
#Jiu Jitsu#Funny#Chokemon#Bjj#Mma#Jujitsu#Brazilian#svg#png#printable#design#vinyl#sublimation#cameo#heat transfer#silhouette#dxf#cricut
2 notes
·
View notes
Text
#Heat Transfer#Thermal Engineering#HVAC#Industrial Equipment#Fluid Dynamics#Energy Efficiency#Heat Exchanger Design
0 notes
Text
Causes and countermeasures of deformation of injection molded parts-9
Serial No. 9 (Friends who are interested can follow Gud Mold and view previous serials from historical messages)
3) Cooling water circuit temperature setting
Heat transfer efficiency of cooling system has a great influence on product deformation. Due to complexity of product structure, an absolutely uniform cooling effect cannot be achieved. In actual operation, connecting water lines in heat…
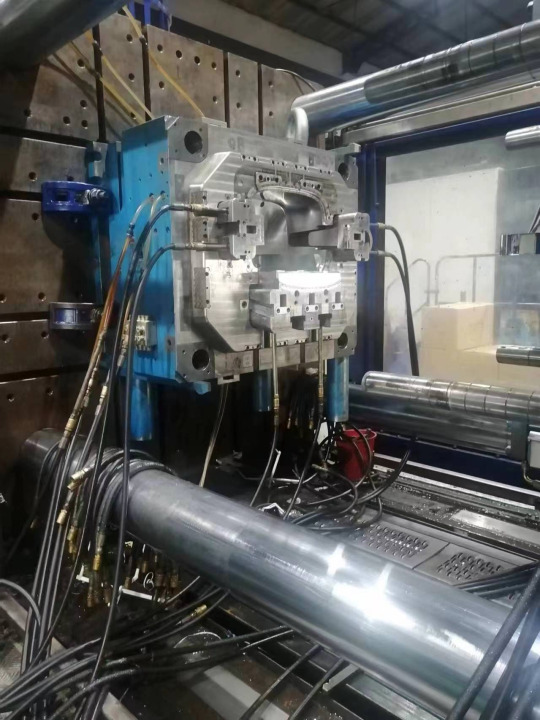
View On WordPress
#Causes and Countermeasures of Deformation of Injection Molded Parts#Cooling water circuit temperature#Deformation of Injection Molded Parts#Heat transfer efficiency of cooling system#injection molded parts#injection molding#injection molding production#Mold designer#Mold temperature#molding process#Product deformation
0 notes
Text
One of the standout features of pre cut heat transfer vinyl designs is the ease of customization. With a wide range of designs available, from intricate patterns to bold statements, you can easily find the perfect design for your project.
0 notes
Text
OWC Atlas USB4 CFexpress 4.0 card reader is 4x faster! - Videoguys
New Post has been published on https://thedigitalinsider.com/owc-atlas-usb4-cfexpress-4-0-card-reader-is-4x-faster-videoguys/
OWC Atlas USB4 CFexpress 4.0 card reader is 4x faster! - Videoguys

Introducing the groundbreaking OWC Atlas USB4 CFexpress 4.0 Type B card reader – a game-changer for creative professionals seeking unparalleled efficiency and performance in data transfer technology. In a recent article by Jose Antunes for ProVideo Coalition, the transformative capabilities of this device are illuminated, promising to revolutionize workflows and save precious time. With speeds over four times faster than traditional USB 3.2 readers, this device promises to revolutionize your workflow, saving precious time and unlocking new levels of productivity. Imagine slashing minutes from transfers and achieving real-world speeds of over 3300MB/s, setting a new standard for performance and efficiency in data management. Seamlessly compatible with CFexpress 4.0 Type B and 2.0 Type B cards, as well as USB4, USB 3, and Thunderbolt 4 and 3, across Mac, Windows, and Linux systems, this card reader ensures reliability and versatility across a wide range of devices and operating systems.
Crafted with a compact design, the OWC Atlas USB4 CFexpress 4.0 Type B card reader is the ultimate travel companion, effortlessly fitting into any camera bag for on-the-go convenience. Its sturdy aluminum enclosure features a highly effective heat sink to prevent thermal throttling, ensuring fast and reliable transfers even during intensive workloads. The addition of an Innergize switch enables enhanced performance with OWC Innergize software, further optimizing card performance and reliability.
Explore the comprehensive OWC Atlas ecosystem, designed to support photographers and videographers from capture to completion. With features like Innergize software ensuring zero dropped frames during video shoots or continuous burst photos, creative professionals can unleash their creativity without limitations. Say goodbye to time-consuming transfers and hello to a new era of creativity and productivity with the OWC Atlas USB4 CFexpress 4.0 Type B card reader. Join us on the journey to unparalleled efficiency and productivity, backed by OWC’s commitment to innovation and excellence in data management technology.
Read the full article by Jose Antunes for ProVideo Coalition HERE
#aluminum#Article#Capture#comprehensive#continuous#creativity#data#Data Management#data transfer#Design#devices#efficiency#Features#Full#game#Heat#highly effective#Innovation#Linux#Mac#management#Operating Systems#performance#photos#prevent#Productivity#Read#reliability#Software#technology
0 notes
Text
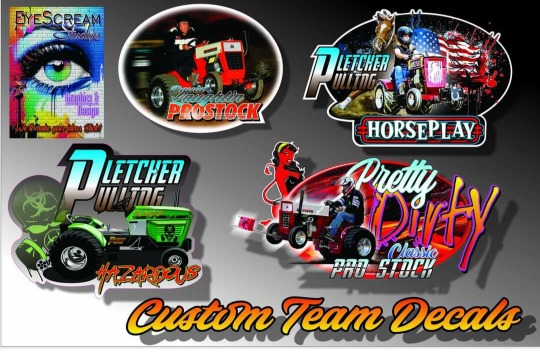
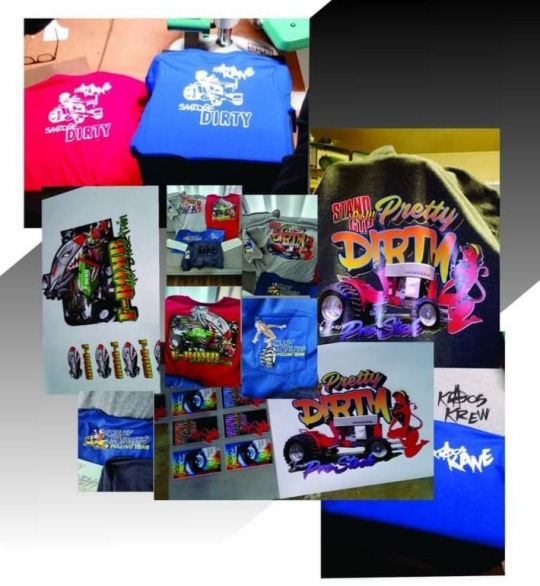
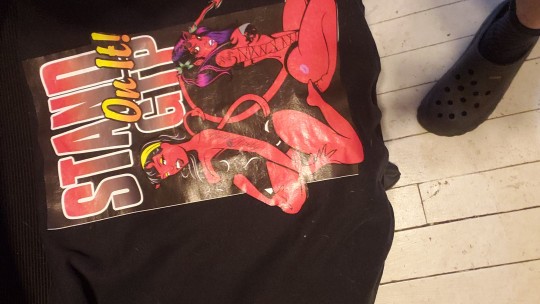

DM me if you need custom printed apparel decals, digital printing, or graphic design find us on Facebook Eyrscream Studiod
0 notes
Text
DTF Transfers BY Size - Solid Custom Print

Take your hat customization to the next level with our premium 4x2.5 inch Direct-To-Film (DTF) Transfer Sheet. Tailored to fit hats perfectly, this transfer sheet empowers you to add intricate, vibrant, and long-lasting designs to your headwear. Whether you're a hat aficionado, a small business owner, or a creative hobbyist, our DTF transfer sheet is your key to unlocking endless design possibilities.
0 notes
Text
How to Cut Heat Transfer Vinyl on Cricut Maker: Easy Guide
Hey crafters! Hope you are doing well! Today, I have come up with an interesting topic on how to cut heat transfer vinyl on Cricut Maker. If you are going to make your first project or just want some clarity on the use of HTV, you have come to the right blog!
A few years ago, when I was new to crafting, I was unable to figure out between vinyl and infusible ink sheets. Also, I used to think that I could use all types of materials on any project. But, I learned that the right material can really give an outstanding result. I learned everything about materials while making different types of projects. When I created the project myself, I could really see the difference, and I could decide which one to use in my project.
Besides, I will show you how to cut iron-on using Cricut Maker with step-by-step instructions. To learn more about this, let’s delve into this blog.
Step 1: Choose a Cricut Machine in the Design Space
As you already know, this blog is about how to cut heat transfer vinyl on Cricut Maker, so I am going to choose the Cricut Maker in the Design Space app. For this tutorial, the Cricut software is a must. Without this software, we can’t make a single cut on any materials.
To select this machine in your Cricut Design app, follow the instructions given below:
First, open the Design Space app.
Then, you need to go to Canvas.
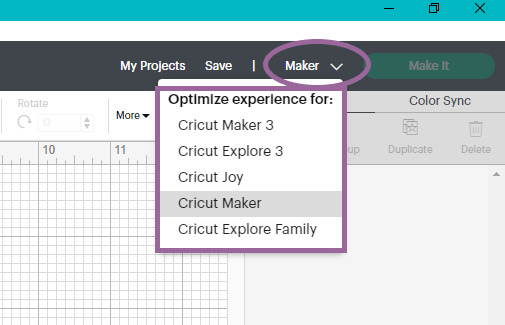
Navigate to the upper right corner and click onthe Dropdown arrow.
Next, select the machine you want to use.
For example, here I am choosing Cricut Maker.
Step 2: Add the Design
There are many options available to add the design. You can either create one or upload an SVG file. You can easily get this file from Cricut Access. Once you are ready with your design, you can resize it according to your project.

Step 3: Preparation Before the Cutting Process
Now, we have to do some preparation; then, I will teach you how to cut heat transfer vinyl on Cricut Maker. So far, you might have created your design, and now it is ready to be cut. But there is one thing you should not forget, which is Mirroring the design. Yes, mirroring a HTV design is a must.
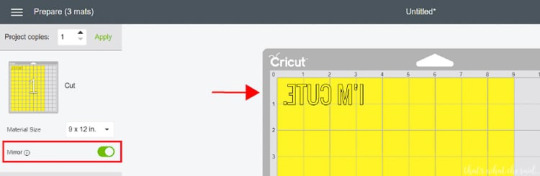
Once you have mirrored the image, you need to hit the Continue button.
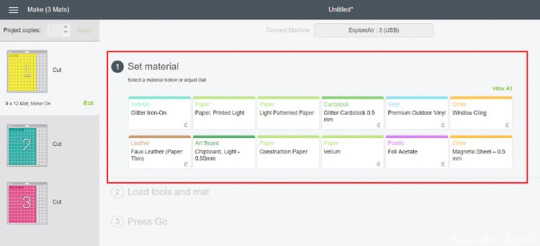
After that, you will need to set the material. As you proceed ahead, you will see a list of custom materials. Select the materials you are going to use. For example, I am choosing iron-on vinyl, i.e., heat transfer vinyl.
After that, you have to place the material on the mat. While placing it on the mat, make sure the shiny side is facing down on the mat.
Finally, you need to load the mat by pressing the flashing arrow button. Once done, you are ready to learn how to cut heat transfer vinyl on Cricut Maker in the next section.
Step 4: Cut the Cricut Heat Transfer Vinyl
Here, you need to ensure that you have installed the fine-point blade in your Maker cutting machine. Once the tool is inserted, you can press the flashing C button on your Maker machine to begin cutting the heat transfer vinyl.
So, that’s how easy it is to cut the heat transfer vinyl on Cricut. After cutting it, you can easily place it on your blank shirt. But, you will need a Heat Press, such as a Cricut EasyPress. This tool will help you preheat the project and transfer the vinyl onto the project.
FAQs
Question 1: Can I cut the heat transfer vinyl using my hand?
Answer: Yes, you can cut the heat transfer vinyl with your hand, and you don’t need any type of cutting machine such as Cricut Maker, Explore, or Joy series. All you need to use is a pair of scissors or a craft knife. However, cutting it using your hands is only useful when your designs are not that intricate. For intricate designs, I would suggest you use a digital cutting machine.
Question 2: Should I mirror heat transfer vinyl?
Answer: Yes, you should always mirror your heat transfer vinyl whenever you are going to cut it on Cricut. In addition, you will need to place the materials facing the downside on the mat and cut it from the back with your design. After that, press it with the transfer sheet upside down on your blank shirt. As a result, it will adhere to your shirt or other blank properly.
Question 3: What is the advantage of using heat transfer vinyl?
Answer: There are numerous advantages of using these materials, as they provide a high degree of stretch and rebound. Due to this, it is suitable for apparel and other items that are flexible, such as clothes or sports jerseys. Also, there are multiple color options available so that you can customize your clothes or items accordingly.
Final Words
You might have cleared your concept of how to cut heat transfer vinyl on Cricut Maker. In this blog, I have included a total of 4 steps to explain the process of cutting iron-on vinyl, which is also known as heat transfer vinyl. Also, the HTV provides its own benefits and is very suitable for fabrics or sports jerseys. In addition, the Cricut Maker can easily cut the iron-on vinyl using the fine-point blade. So, follow easy steps and learn to cut heat transfer vinyl for Cricut.
#How to cut heat transfer vinyl on Cricut Maker#Cricut heat transfer vinyl#heat transfer vinyl for Cricut#Install cricut design space app#www.cricut.com/setup login#cricut.com/setup#cricut design space login#cricut explore air 2#cricut.com sign in
0 notes
Text


I created another design! I'm having so much fun with these. I'm hoping to fill my Etsy shop soon! This girl needs a side hustle! Life is getting too expensive for someone on disability.
#autism#mental health#adhd#autistic#undiagnosed autistic#neurodivergent#overstimulation#sensory overload#sensory overwhelm#be authentic#decal#heat transfer#apparel#hoodie#design#creative#printable
0 notes
Text
What is DTF Printing and Why is it so Popular?
DTF printing is the process of printing images or text on garments using a special kind of DTF film and DTF printers. In this process, the prints are directly transferred to the garment via a heat press. DTF stands for Direct to Film. It is a new technology that makes sure that the print on your garment will be of high quality and does not peel off after a single wash.
This is a versatile printing option which allows you to print text or images of a variety of garments. It can be applied to any material of garments including polyester, nylon, cotton, silk, etc. You can print hats, hoodies, bags and other products using this technology.
How does DTF printing work?
For someone who is trying to set up their business in DTF printing, it is necessary to understand the process of DTF printing. DTF printing is not that hard or time-consuming; it’s just that you have to learn new techniques. The steps mentioned below will help you achieve a perfect DTF print:
Print on the film
Search for a design that you want to print. Then use a DTF printer to print that design on the film. Make sure that the print is completely accurate and does not have any peeling.
Apply powder
Once the print is taken on the film, cover it with DTF powder evenly. It will ensure that the print will remain on the clothing once it is heat-pressed.
Transfer
The film is now ready to print on the garment. This whole process will take a maximum of 20 minutes. Now put the film on the garment and heat press for at least 15–20 minutes for a better result.
Film peeling
After successfully transferring the design to the garment, let it cool for some time and peel off the film.
Why it is so popular?
There are various benefits to using DTF printing; here are some of them:
Durability: The DTF printing technique makes sure that the paint will remain for a long time and is of high quality. If the fabric is pulled and stretched, you won’t see the fabric pushing through the print.
No color restriction: It allows printing on both light and dark colored cloths. It also allows you to print multicolor designs on any kind of clothing, whether it is sportswear or a casual t-shirt.
No pretreatment: Like other printing methods, including DTG, you need not pretreat your garment for a better result. It reduces your one step and also reduces the time of the printing process.
So if you are looking to start a printing business, DTF printing is the best choice, as it has a high profit margin.
#Dtf Printing Australia#Dtf Printing#Dtf Printer#direct to transfer prints#dtf printing service#Custom Dtf Print#Transfer Printing#Dtf Print#Screen Printed Transfer#Direct To Film Printing#Dtf Custom Transfer#heat transfer design#Custom Heat Transfers Australia#Dtf Heat Transfer#Custom Heat Transfer
0 notes
Last Seen Blogs

slorpy-hog
profile by WILDDAGERS

samysamsam
Arts & stuff

cruelsummer13th
nathan

sachi-psy
daily sachi!

humanespacealien-blog
"Ready Four You"