#instructional
Explore tagged Tumblr posts
Visit Tumblr Blog
Explore Tumblr blogs with no restrictions, modern design and the best experience.
Last Seen Tumblr Blogs


Fun Fact
Tumblr was created by web developers David Karp and Marco Arment.
Text

944 notes
·
View notes
Text
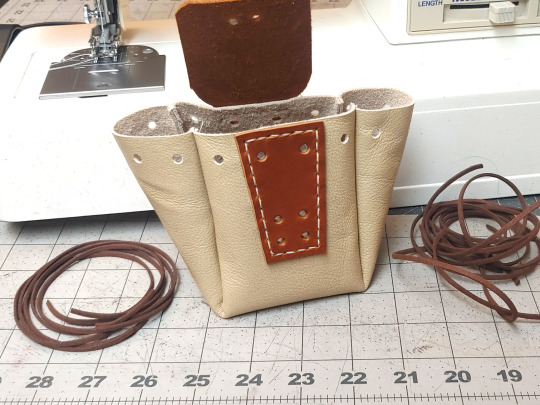
COUCH POUCH!! Free Pattern & Tutorial
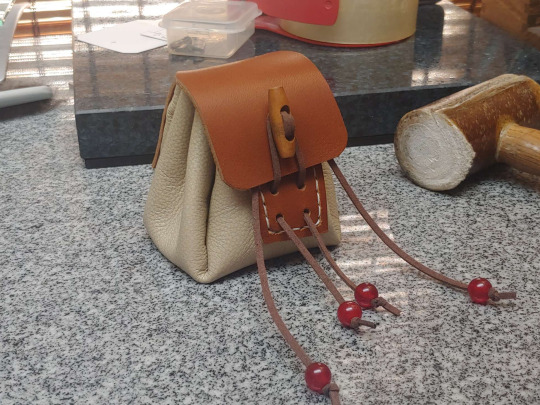
...called thus because they use upholstery-weight leather for the bag body, that in my case was in fact skinned off a couch. 🤣 Turns out they are relatively quick and easy to make, so I tidied up the pattern for printing and took pictures to document the process when I made another five of them.

First off, print your pattern, 100% scale:
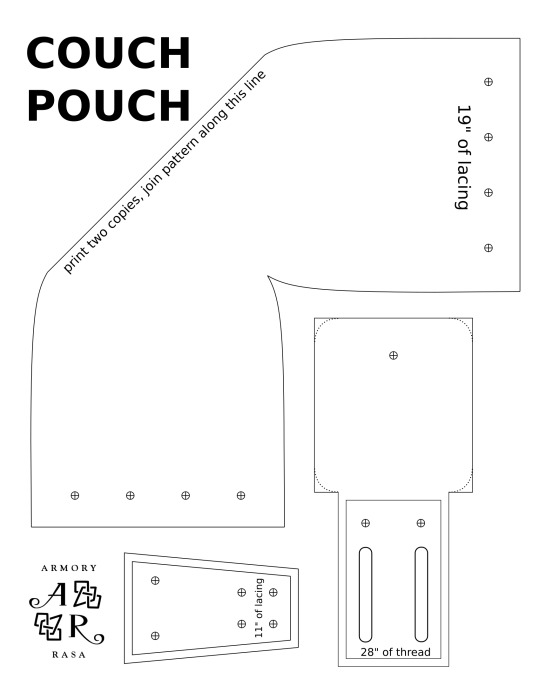
The bag shape was a modified version of the pattern I used for the Morpheus sandbag, but sized to fit in the roughly 11" squares that my couch skin came in. It makes a bag that sits very well on a tabletop, thanks to the flat base.
Though it turned out to not be the most efficient use of material, because that plus-shaped pattern tessellates well, if you're cutting them out of a full hide, but makes a lot of waste when you're cutting them out of squares of material. A more efficient design would have a half-rounded front and back, and a gusset between them, like so:
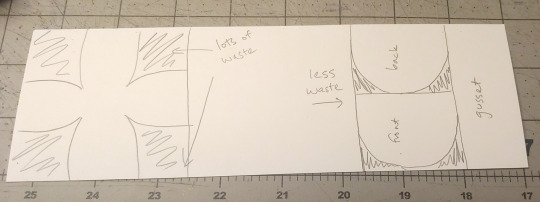
Ah well. It's not like I have any shortage of couch skin, though for the next round I'm going to experiment with a more efficient pattern.
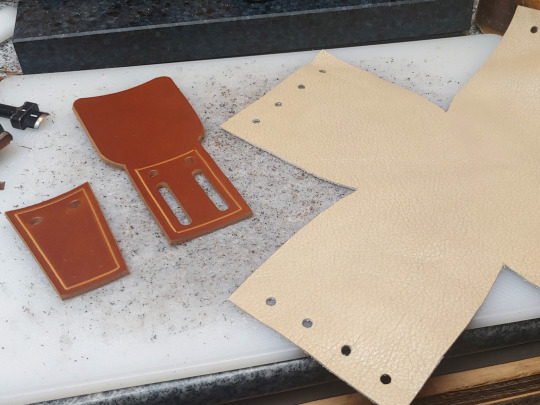
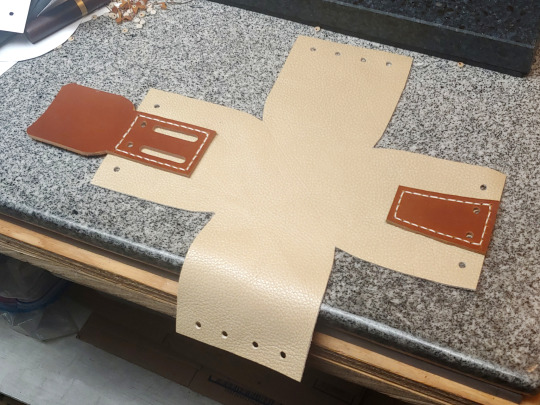
First step, trace and cut out the bag body from your chrome-tan leather:
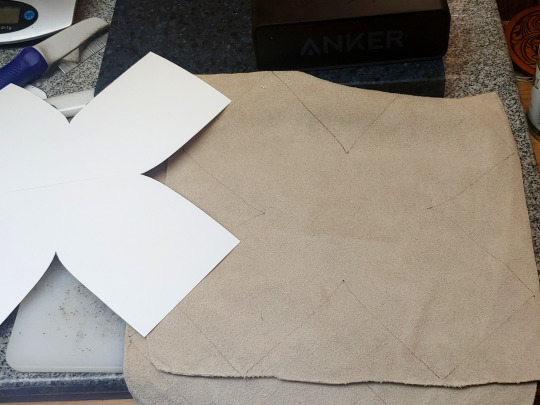
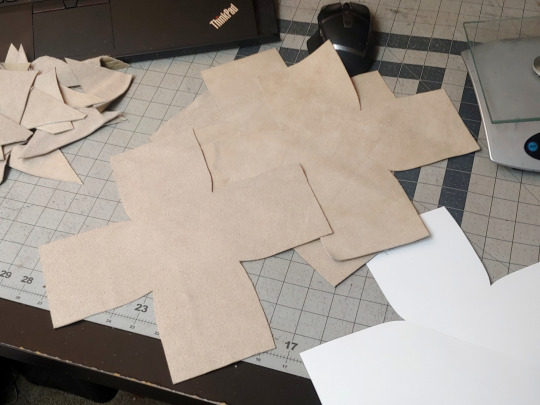
Like I said, this was upholstery leather, but anything that's flexible and ~1.5 mm thick will do.
The flap and front need to be a stiffer leather though -- I used 7 oz latigo, but veg-tan would work equally well. (And then you could ✨tool it!✨)
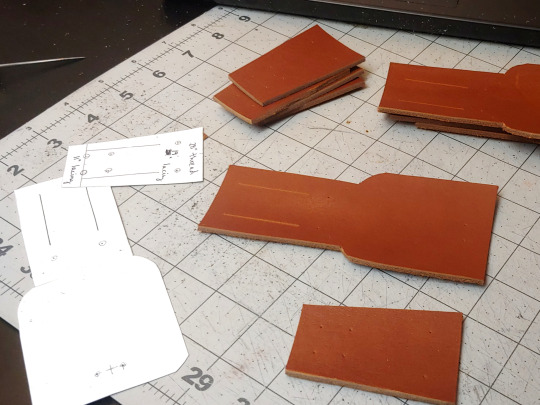
Cut them out, and then use the pattern to mark where your holes are going to be. Mark the holes on your bag body too:
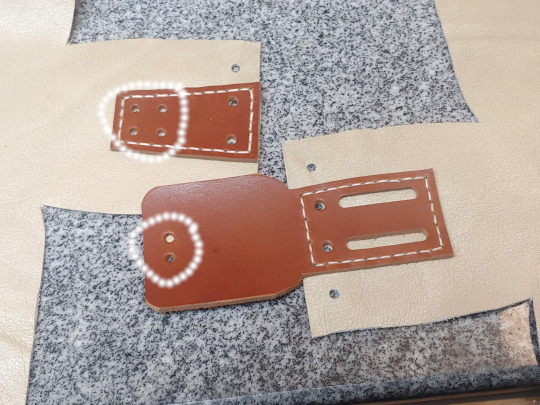
The latigo pieces get hand-stitched to the bag body, so I used a stitching groover to carve out little channels for the thread -- it's not strictly necessary, but it makes your stitches lay a lot more neatly:
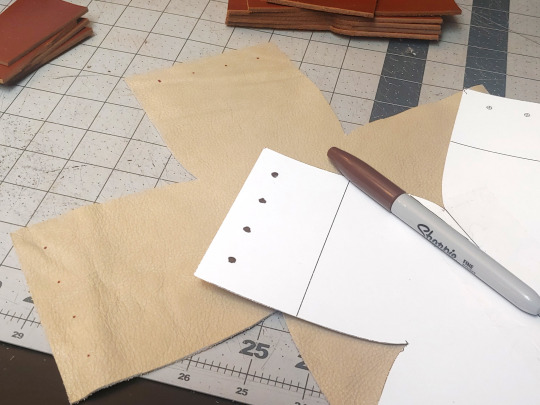
Punch the holes shown below:
I used a ~5 mm hole punch for those, and a 1.5" slot punch for the belt loops. Some of the holes on the front piece you're not punching yet, because they need to go through both layers.
I put a dab of contact cement on the pieces (circled in white) to help hold them in place when I go to punch the stitching holes:
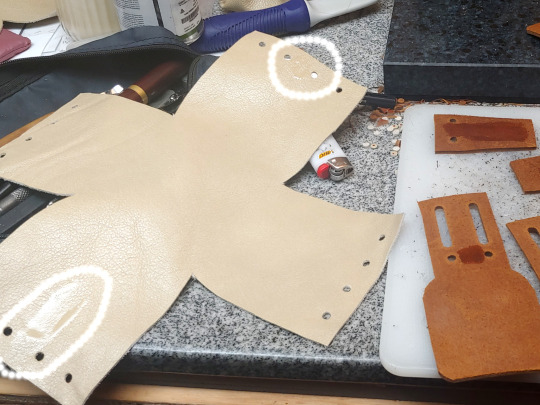
(Make sure you're not putting glue between the belt loops)
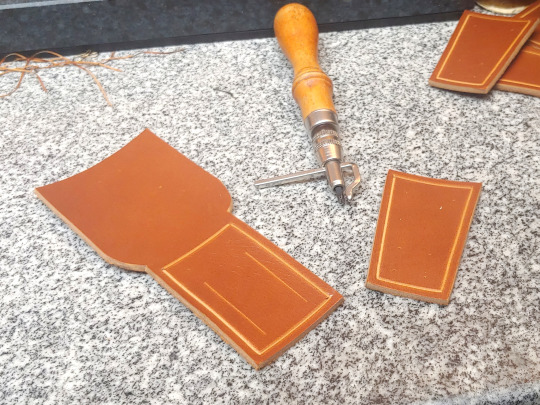
Wait fifteen minutes for the contact cement to dry until tacky, and then line up the holes and the edges and press the pieces together:
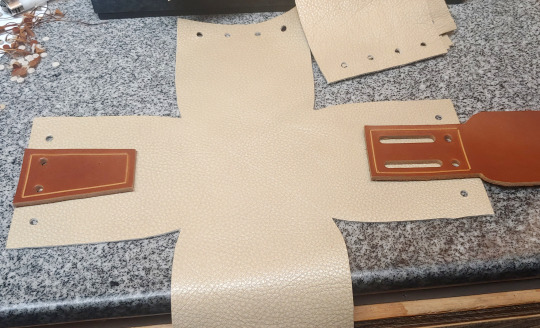
Punch stitching holes:
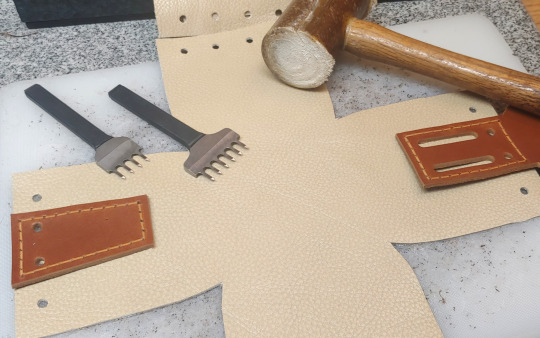
Saddle-stitch both pieces in place (takes 28" of thread per):
Now you can punch these holes:
(I used a slightly smaller hole punch than for the others, but it doesn't really matter.)
Now press the right sides of the leather together and sew up the seams from the inside:
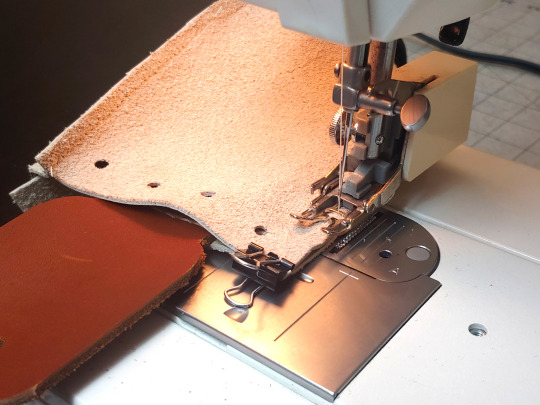
A regular sewing machine should be able to handle this, though you will need thicker thread, a heavy-duty leather-sewing needle, and a walking foot attachment. (If you don't have a walking foot attachment, it is SO WORTH getting one, even if you don't expect to sew much leather. Seriously, I use it for everything -- once you go walking foot, you don't go back. 💀) Because you can't pin leather without leaving permanent holes in it, tiny binder clips can be helpful for keeping your material lined up.
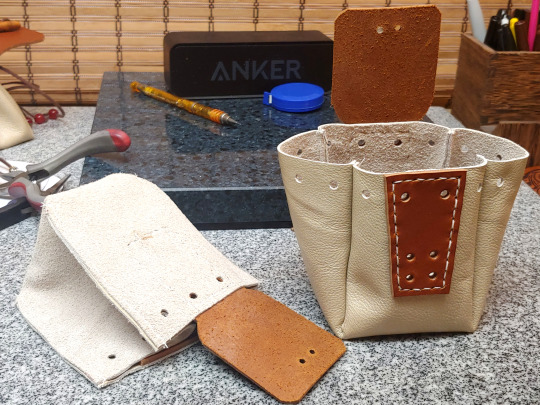
What they look like when you're finished sewing:
Cut 19" of lacing for the drawstring, and 11" of lacing for the toggle:
I use the 1/8" EcoSoft lace from Tandy, I think it's stronger than real leather would be at that thickness. The only important factor here is that you need something with a bit of texture and friction -- a silk cord isn't going to stay closed, it's going to slip open.
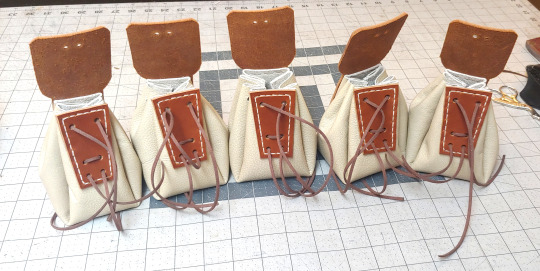
MANY BAGS.
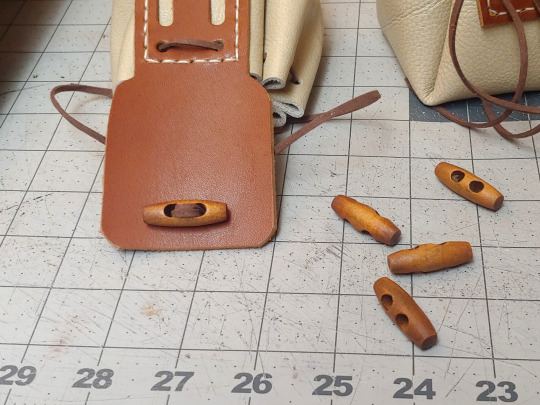
For these I used a wooden toggle -- cut another 8" of lacing, looped it through the toggle twice, and then made a tight square knot on the back:
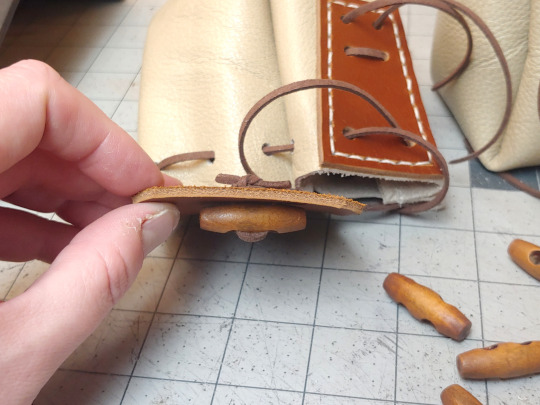
But another option is putting a concho or a large button on the flap. The bag I copied this design from, in fact, uses a concho toggle:

Thread some beads on the laces to keep the ends from getting lost, and you are DONE! 😁
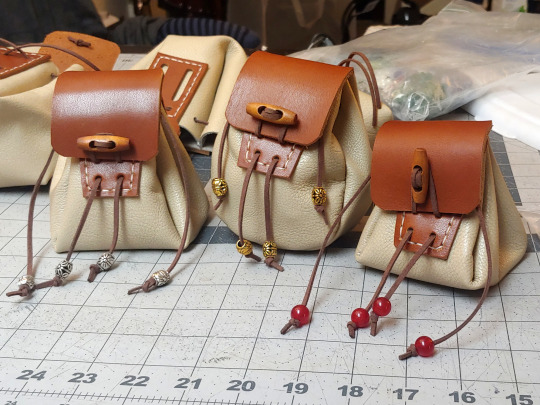
Happy Bagging!
715 notes
·
View notes
Text

Zine Librarians Code of Ethics Zine
#heidy berthoud#joshua barton#jeremy brett#lisa darms#violet fox#jenna freedman#jennifer lasuprema hecker#lillian karabaic#rhonda kauffman#kelly mcelroy#milo miller#honor moody#jude vachon#madeline veitch#celina williams#kelly wooten#collage#art#instructional#zines#writing#zinelibrarianscodeofethics#ALA#2015#cat#librarian
69 notes
·
View notes
Text
youtube
very old video.... im finding myself to enjoy this a lot
6 notes
·
View notes
Text


Proud to announce CREATING COPRA: the Definitive DIY Guide to Making & Self-Publishing Comics. This book covers everything from inspiration to final production. Practical, idealistic, and everything in between. Pre-Orders are up, so reserve your copy now!
26 notes
·
View notes
Text
Touch Grass, a How-To
16 notes
·
View notes
Text
Motivation Series
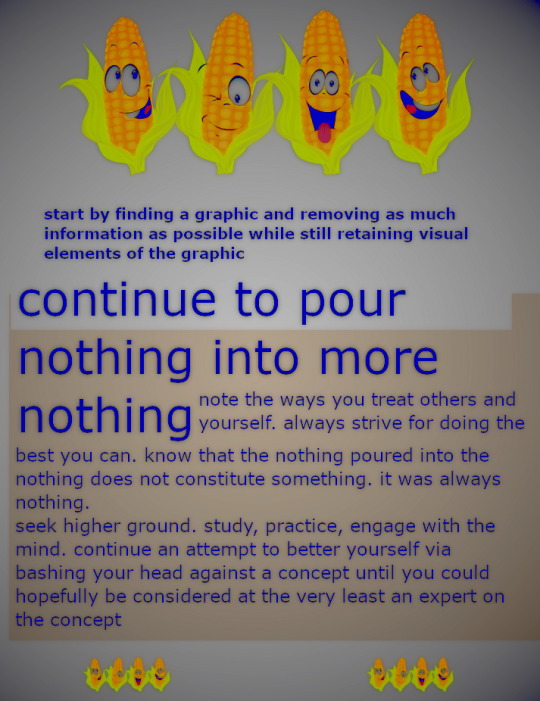
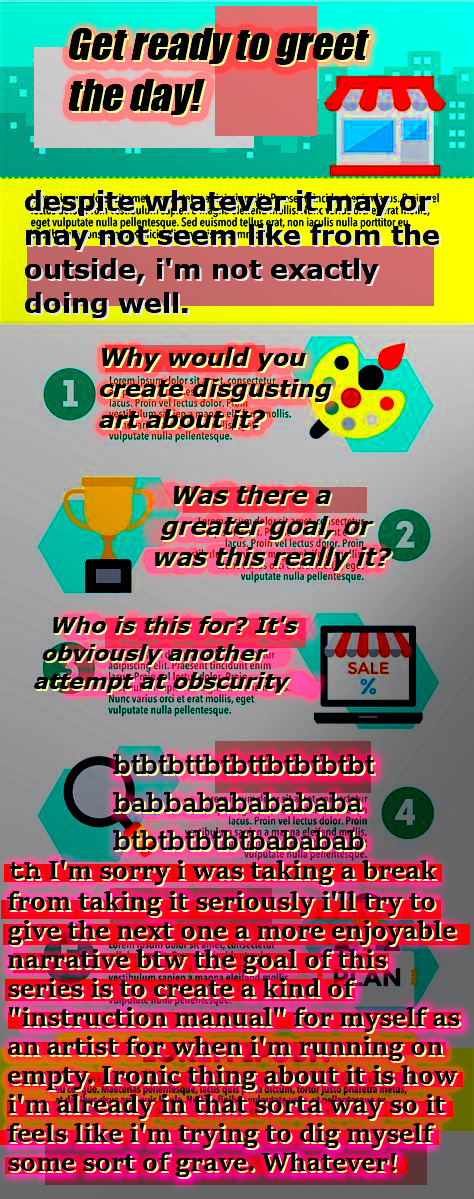
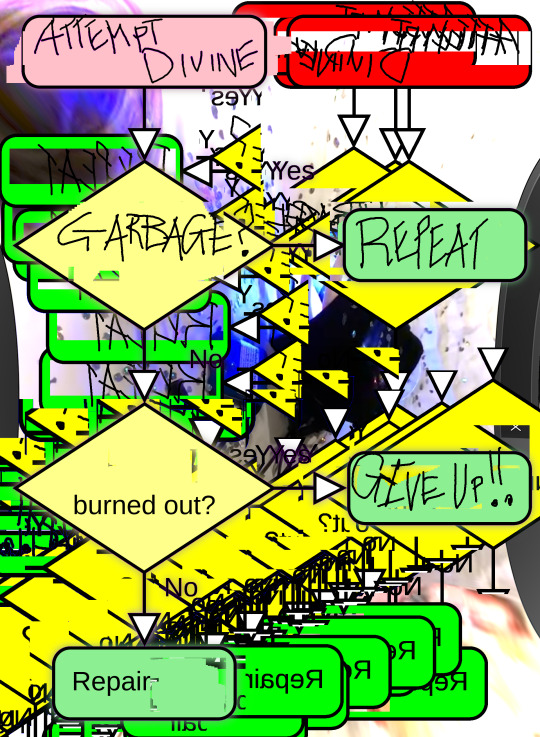
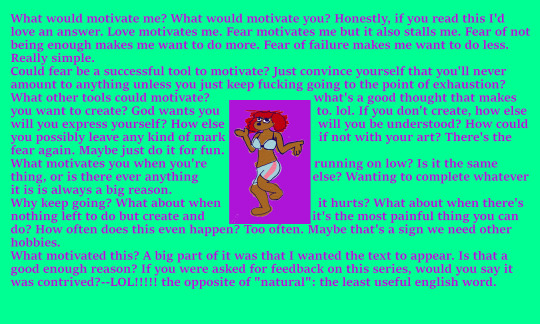
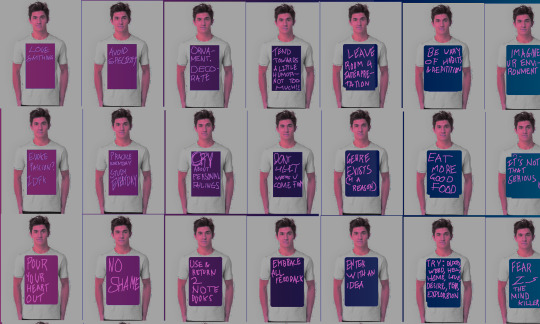
Motivation Series is a collection of images created by New Jersey musical artist Binnie MF on Friday, November 18th, 2022. It was an attempt by the artist to create something he could go back to when he felt his creative energy was low. It is conversational in tone, and contains both prose and a list of ideas and topics as well as a flowchart of a way you could go about in order to create art.
30 notes
·
View notes
Text
Any Recommendations for Instructional Books about Comic Writing?
I've read books about making comics by Alan Moore, Scott McCloud, and Stan Lee.
I still want to know more about scriptwriting. For example, how do I write arcs and develop characters while avoiding new-writer mistakes?
Does anybody have any book recommendations? Thank you in advance!
#Am Writing#Books#Book Recommendations#Comics#Graphic Novel#Instructional#Scripts#Scriptwriting#Alan Moore#Scott McCloud#Stan Lee
11 notes
·
View notes
Text


How to Make a Zine, 2024
5 notes
·
View notes
Text
youtube
RCA 16mm Sound Projector, The (ca. 1958)
Invisible white-gloved hands demonstrate the operation of the RCA 16mm sound projector. The film showcases the RCA 16mm sound projector, highlighting its powerful features and ease of use. It emphasizes the quick threading process, durable components, and quiet operation. The projector is designed for minimal maintenance and offers a clear picture and rich sound, making it a reliable tool for film presentations. Keywords RCA, 16mm projector, sound projector, easy threading, durable, quiet operation, minimal maintenance, film presentation, rich sound, clear picture
2 notes
·
View notes
Text
#instructional video systems#the jazz workout#1988#80s#1980s#vhs#gif#80s style#vapor#instructional#fitness#exercise#pink#©
360 notes
·
View notes
Text

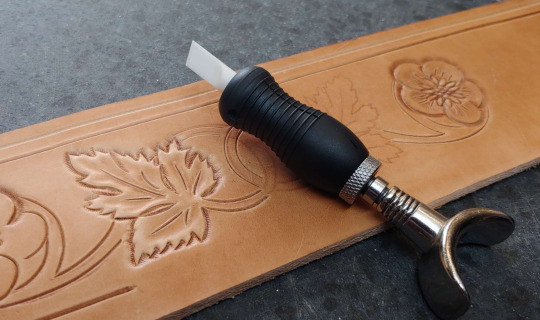
Much easier than expected! I tried it two different ways, once where I carved all the leaf detail with the swivel knife first, and once where I just stamped it -- and seeing as they came out nearly indistinguishable, and one was a lot less work, I'll be going with the latter.
So, trace your leaves with the stylus, and carve the longer lines with your swivel knife:
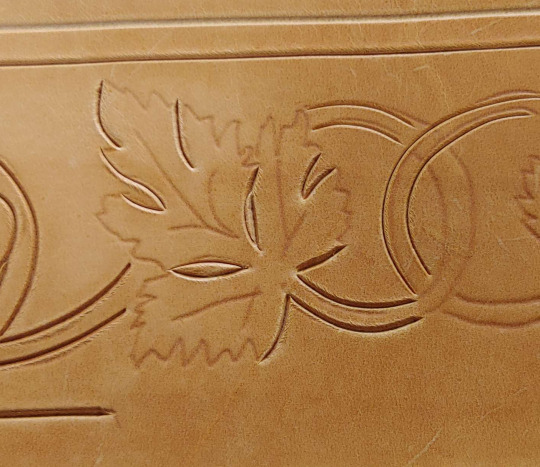
Take the A99 Craftool stamp (or something similar) and tap lightly with the pointy end into all the crenellations in the leaves:
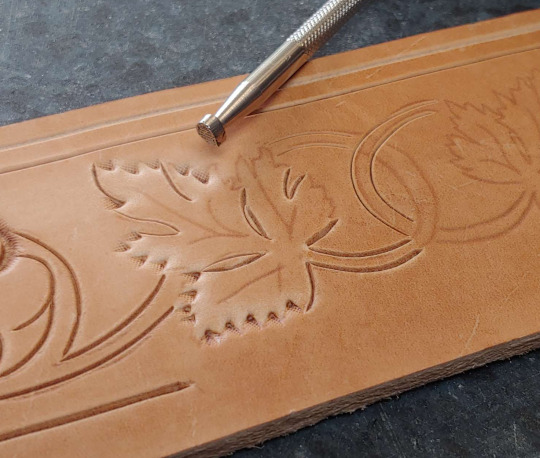
(You have to angle the stamp very sharply towards you in order to make the gradient fade out, instead of making a clear outline of the whole teardrop shape.)
Use a narrow beveler and finish outlining the points on the leaf:
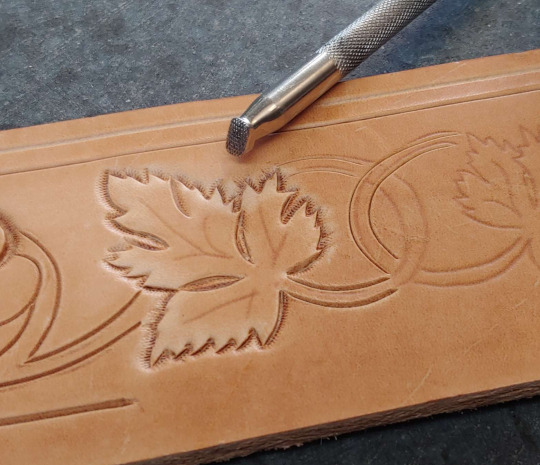
Give the leaf some depth with a smooth pear shader:
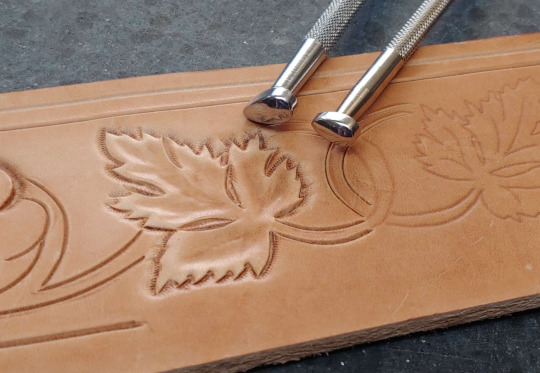
(I'm not great at using the pear shader, but fortunately it's a pretty forgiving stamp.)
Lastly, add some decorative cuts with your swivel knife. (And you do have to do this last, otherwise the pear shader smushes them.)
le voila! spiky leaves.
44 notes
·
View notes
Text
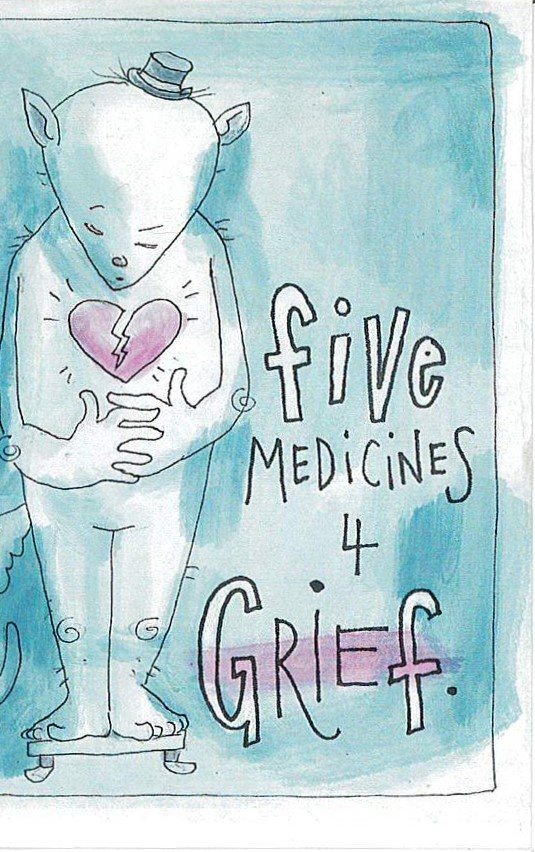
Five Medicines 4 Grief
Zeph
#sdpl#zines#zeph fishlynn#zephfishlynmakesart#mental health#wellness#mini comic#instructional#self help#make stuff#2018
6 notes
·
View notes
Text
Walk Cycle Tutorial - Bipeds #animation
youtube
2 notes
·
View notes