#skyrim le mods
Text
Russian-speaking sites steal my Skyrim plugins.❗❗❗ Without specifying my authorship, without reference to the source, without my permission. It's just a fact of the brazen behavior of people for whom there is no such thing as copyright.
A link to my profile on Nexus, where you can download it.
I'm not going to keep quiet about such things. For those who do not understand, creating a plugin is a hard work that requires skills, imagination and inspiration. But some people just parasitize the works of creative people, being unable to create something of their own. This is the life of a parasite.

#Tes #Skyrim #Mika #MikaMods #Skyrimmods2024
#tes#skyrim#tes mods#mika mods#skyrim mods#the elder scrolls#player homes skyrim#oblivion mods#oblivion#skyrim le mods
7 notes
·
View notes
Text
Gonna put this here in case anybody has a fix
Whenever I try to backport a replacer from SE to LE no matter what the replacer is the NPC's head will be transparent and their hair will be white and I have no idea why
Object replacers work fine and the only replacer I haven't had a problem with was RabbittWinri's Redguard Kaidan mod but any other replacer mod will end up with the NPC that the replacer affects to have white hair and a transparent head
#tes#tesblr#the elder scrolls#skyrim#skyrim mod#skyrim modding#skyrim mods#skyrim modder#skyrim modded#skyrim modders#skyrim le#skyrim se#skyrim legendary edition#skyrim special edition#the elder scrolls v: skyrim#the elder scrolls v skyrim#the elder scrolls 5#the elder scrolls v#the elder scrolls five#the elder scrolls 5 skyrim#the elder scrolls five skyrim#the elder scrolls 5: skyrim#the elder scrolls five: skyrim#tes 5 skyrim#tes v skyrim#tes5#tesv#tes five#tesfive#tes v: skyrim
11 notes
·
View notes
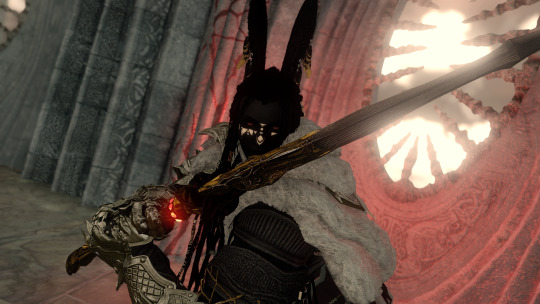
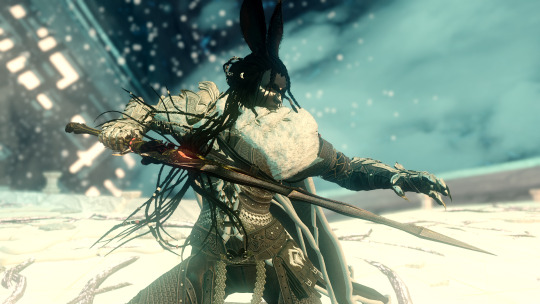
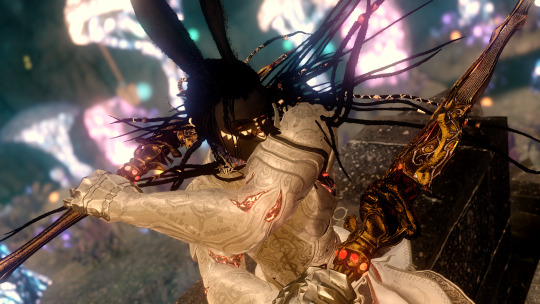
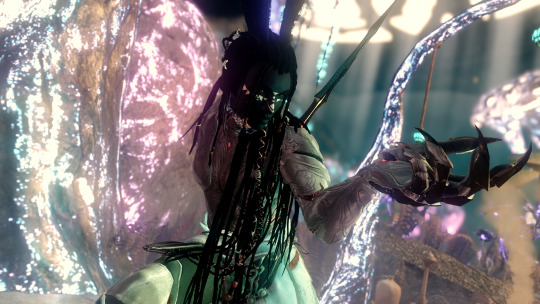
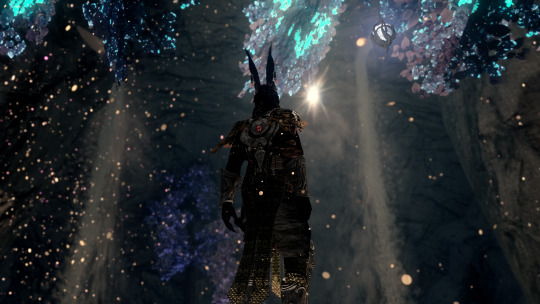
Photo


Yennefer of Vergenberg Race - by zzjay
#yennefer of vengerberg#the witcher 3#(technically lol)#skyrim#skyrim le#skyrim screencaps#skyrim screenshots#tesv skyrim#tesv screenshots#mine*#lilith plays skyrim#skyrim mods
83 notes
·
View notes
Text
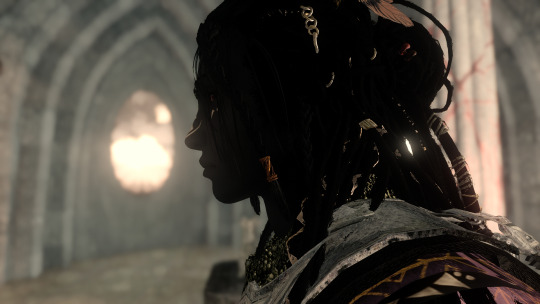


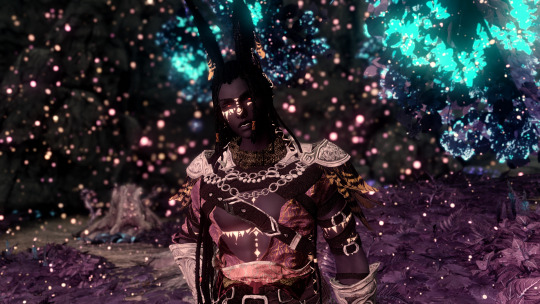
Changed Yemrjn's hairstyle. I like it much better than the last one.
41 notes
·
View notes
Text


@skyrimfuckery finally finished his Dragonstar armor. I'm sure he'll post about it but you can find it on Nexus Mods. I contributed to some of the screenshots so here's a few that might or might not have been on the mod pages. Pax pics are on LE and the rest are on SE, since I'm back to my desktop and I can use both.
9 notes
·
View notes
Text
ive been playing fallout 3 since the tv show came out and i think i would enjoy it a lot more if everything wasnt so green
#i might give a go at modding it out#kinda want to start a new character with different stats anyway#fallout new vegas and skyrim le have the same problem but with orange and gray and its not as brutal#funny story this game works better on linux than on windows#have only had one crash so far
2 notes
·
View notes
Text

#Skyrim#Virtual Photography#Modding#Skyrim Mod#Video game#Elder Scrolls#Elder Scrolls Skyrim#Skyrim LE#Tes v Skyrim#Photo Mode#TESV#Gaming#Screenshot#video game photography#photomode
4 notes
·
View notes
Text
A bard ripped me off. Asked him to play a song and paid him and then a pack of wolves attacked us. And then he just walked away after we killed them.
I just wanted a song.
:’(
#Skyrim#kuri plays Skyrim#playing with some follower mod and creation club stuff with the anniversary.#I’ve been playing le forever bc I could never get my controller to work with se and also bc I had a soft spot for my almost complete game#se/ae just never…. clicked#added a bunch of mods but it’s still looks like a potato tbh#anyways I’m gonna find this bard and take my money back
3 notes
·
View notes
Text


SCREAMING, CRYING, SHITTING
#OUGHH THIS NEW GPU IS MAKING ME DIE ITS SO GOOD#I HAVENT LOST A SINGLE FPS WITH THE GRASS AND TREES MODS#I COULDNT DO THAT BEFORE#i always had to tweak the grass mods to be less intense#and trees mods.... boy that was usually not an option#skyrim#personal.txt#i have been modding skyrim SE since for some reason LE is so unstable now?!?! akajshaf#a pain in the ass trying to rebuild my load order but trying out new SE mods has been fun tho
3 notes
·
View notes
Text
How does one do the Creation of the Kit
#help lmfao#skyrim#tes#the elder scrolls#modded skyrim#why can i not get a fonix file on se#does it have to be le???#le isnt on steam!!!!!#LMFAO#silver rambles
3 notes
·
View notes
Photo

AND WE’RE LIVE
(god, i forgor the mod difference made Alois look weird in SE)
#elder scrolls#skyrim#i think i'll have to port the mods from LE myself#at the very least textures lol
2 notes
·
View notes
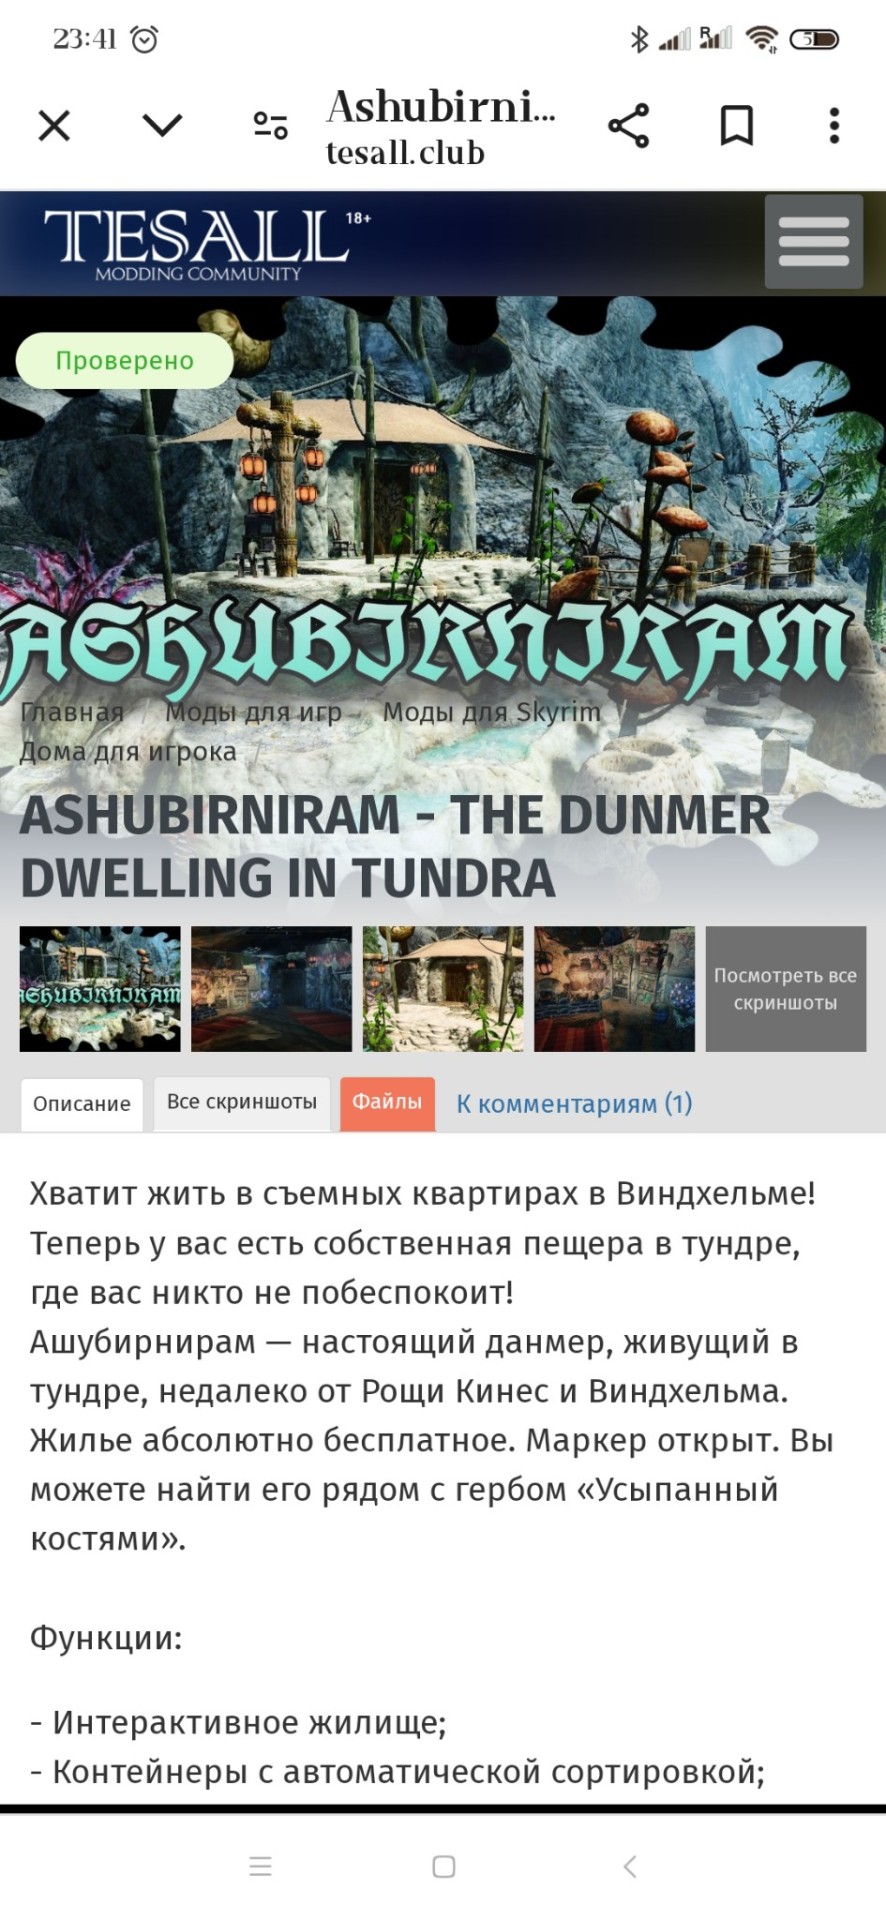
Text
The Silent Lake Cottage - Skyrim LE player home mod
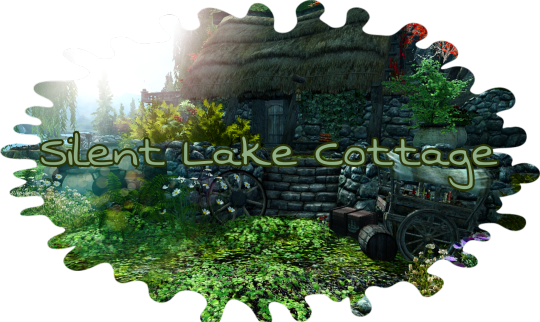

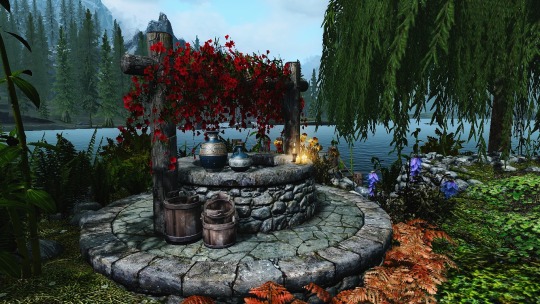

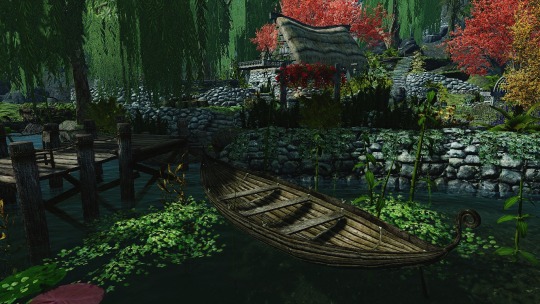


#skyrim#tes#tes mods#mika mods#skyrim mods#the elder scrolls#player homes skyrim#Skyrim 2024 mods#Skyrim farm mod#Skyrim cottage mod#skyrim le mods#Skyrim new mods
4 notes
·
View notes
Video
youtube
Nazeem finally gets the response he deserves(https://www.nexusmods.com/skyrim/mods/52614?tab=videos) How has this gem not made it to SE/AE?
1 note
·
View note
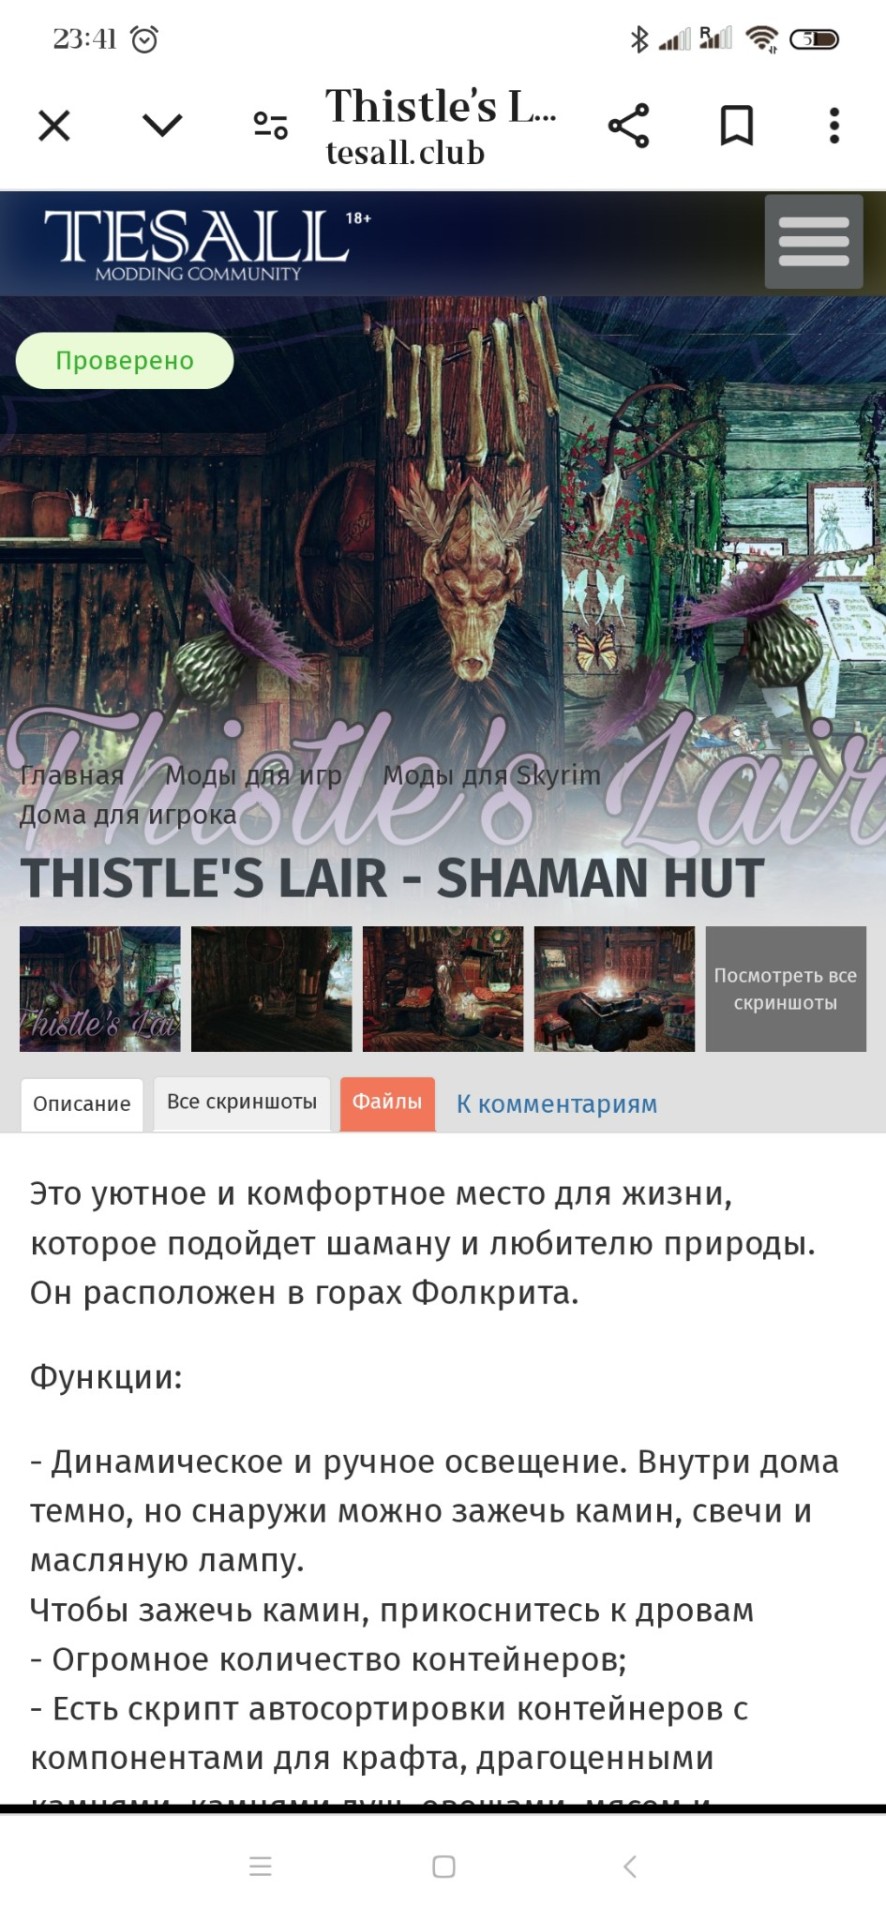
Text
Immersive Dunmer Locations: Unofficial NavMesh Fix and SSE Port


This mod was originally published for LE by evgirunslaad, but they deleted it due to issues with the NavMesh. I always loved this mod, and I actually had an archive of the file, so I went ahead and fixed the deleted NavMesh and ported it to SSE. It is ESL-ified.
Requires BEES if you're using an old version of Skyrim.
Original page via WayBack Machine here.
It adds more Dunmeri clutter to the New Gnisis Cornerclub, the Atheron house, Sadri's Used Wares, Refugee's Rest, the Shrine of Azura, the Sacellum of Boethiah, and Merryfair Farm.
I made 3 optional patches:
Legacy of the Dragonborn
Daedric Shrines - Azura
LOTD - Daedric Shrines Azura Combo Patch
Download here
58 notes
·
View notes


Text
How to replace Skyrim NPCs with faces made in RaceMenu
(aka the method I used to make all my NPC overhauls)
This is an updated version of the tutorial from this post. I forgot a step originally.
Why use this method?
RaceMenu (RM) gives you a lot more creative freedom than simply editing NPC faces in the Creation Kit (CK).
Just installing RM gives you access to new sliders not found in unmodded Skyrim and you can install further slider mods (such as Expressive FaceGen Morphs, or Khajiit Character Creation Extended, etc.)
It also allows you to use Overlay mods (like DomainWolf's mod series or Freckle Mania 2) which give you many more options to layer warpaints or skin features and create a more detailed face.
Links are to the SE version of the mods, as that's what I'm most familiar with. They likely have LE counterparts.
Things you will need:
RaceMenu (and SKSE; be sure to get the correct versions of both for your game)
NifSkope - you will use this to open and edit the mesh. Here's GamerPoet's setup video
More Informative Console (especially if you're editing mod-added NPCs)
BSA Extractor (or similar mod that lets you open and extract BSAs)
Things I highly recommend:
Creation Kit Platform Extended for Skyrim - makes using the Creation Kit way less like pulling teeth
Unofficial Creation Kit Patch - if you're using AE
An alternate start mod - I like Dimes Quickstart for its simplicity, but any would work
Another Race Menu Rotation Mod - handy for seeing how the back of hairs look
Stand still in RaceMenu (OAR) - stops the character from wiggling out of frame
If you're looking to edit an NPC from an unplayable race (Elder, Child, etc.) you will likely need a mod that makes that race playable
Fun Stuff for diverse options:
Extra slider mods (I like Expressive FaceGen Morphs)
Skin Overlay Mods (for extra detailed faces)
If you want to get REAL funky with it, you can also use OutfitStudio to have a lot better time sculpting/getting super wild with assets, but that's too advanced for this tutorial (and my method is very 'goof around until it just works.'
I don't really want to cover using mod-added headparts (like eyes, hairs, etc.) There are basically two options there: add them as new headparts for your mod or make your mod dependent on the mod the headparts are from. The second way is probably simpler for beginners, but I definitely suggest installing Creation Kit Platform Extended, as it will allow you to load the other mods as masters without the Suffering™.
The Workflow
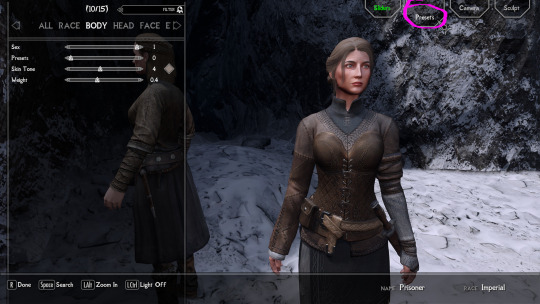
1. Design your character like you would a player character. For this example, I am redesigning Arcadia.
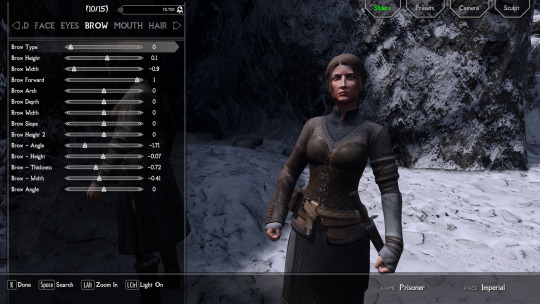
A recommendation: unless you really feel like you need to change it, it is typically better to make the Weight slider match the NPC's actual weight. You can see this value using either SSE Edit or the Creation Kit.
It is no big deal if you don't, but if you change the weight and load the mod into an already existing save you will get a gap between the NPC's neck and body (unless you use Save Unbaker.)
Be careful, though, there is a RaceMenu bug where if you load up RM again after exiting, it changes the weight by .01. So annoying.
For Skin Tone choice, if you do a custom skin tone (by pressing 'E' while hovering over the slider) I would recommend leaving the transparency slider (the 'A' value) at 100% (though I usually make the exception for Khajiit and Argonians.) This info will go into the Interpolation Value box in the CK, and the RM values can't be directly input, so you have to calculate the value with a (RM Number/255 = X/100, solve for X which is your Interpolation Value)
1a. If you are planning on adding faceparts from mods to your own plugin, I recommend saving and doing that now. Then come back to your save and change your headparts to the versions from your plugin. If you want to just have the other mods as masters, you can skip this.
2. Once you're satisfied with your design, I recommend saving your game and saving your head as a preset (click to enlarge):

3. Now, you will need to write down some stuff.
Skin Tone (RGB value):
Hover over Skin Tone slider. Press 'E'.
write down the R G B values (and A if you change it, see above note)
Even if you use a default skin tone, this is the best way to make sure you get the correct value for the CK.
Weight (number)
Scars (name) (if applicable)
Hair (name)
Facial Hair (name) (if applicable)
Eye Color (name)
Brow Type (name)
Writing down Hair Color is optional: with this method, the hair will inherit color from the head you export, not the CK value. Plus, RM's values are not really useful, because the default hair colors are named.
It's the same with the Face Complexion (wrinkles, etc), with this method it is exported with the head mesh.
4. Export the Sculpt:


It should end up in your SKSE folder (SKSE\Plugins\CharGen), wherever that is for you
5a. Method 1 (works for both Vanilla and Mod-added NPCs): get your NPC in front of you, either by console command (example with J'zargo):
~
help 'J'zargo'
then, using their RefID (the number that appears next to their name) type:
player.placeatme 0001C1A3
Or find them in-world.
With the mod More Informative Console installed, reopen the console (~) and click on them. Write down their BaseID.
5b. For Vanilla NPCs: close your game and search for your character's name on UESP and find their BaseID. Copy this number.
6. Open your BSA extractor of choice and Skyrim's data folder. Find the Skyrim - Textures0.bsa. Open with your BSA extractor, and paste the BaseID in the search box
Check the checkbox next to the main facegen file only and extract somewhere easy to find.
7. Repeat this process with the Skyrim - Meshes0 file.
8. Create a new mod folder. You can either make a mod directly in the mod organizer (MO2 lets you right click in the left pane -> All Mods -> Create Empty Mod Above) or on your desktop.
Cut and paste the 'textures' and 'meshes' files you just extracted into your mod folder. If you are installing it via archive, go ahead and zip and install the folder.
9. Now open the Creation Kit. Use the folder icon to load your masters.
Pick Skyrim, Update, DLC (if applicable), and any other mods you want to be masters for your mod (for eyes, hairs, etc.) If you've made your plugin already for headparts, just load it up.
10. In the Object Window, expand the Actors -> Actor -> Actor tabs and now you have a lot of tabs with Race names. Find the race your NPC belongs to then open the appropriate gender tab. Alternatively, you can just search the character's name in the searchbox.
11. Find your NPC's name and double click. This opens their Actor window, which is where you will use all the data you wrote down.
If you want a preview of their face, tick the box at the bottom of the window.

For weight adjustments: go to the Traits Tab. For all other values you need to worry about for this tutorial, go to the Character Gen Parts.
So, to parse this: you can ignore the Face Tint Layers box and pretty much everything on the left side of the screen.
Face Tinting Color
Type in your values for R G and B (you can ignore the Preset dropdown completely.) The Interpolation value corresponsed to the 'A' value, so unless you are working on Khajiit or Argonians, it will probably always be 1.
Base Head Parts
To change stuff in this section, click the line you want to change then go down to the dropbox below it and change it to what you want
Face - unless you're using something like High Poly Heads, you can ignore this
Everything else in this box: change to what you wrote down for each
Additional Head Parts
This is mainly used for scars and functions a little differently. To add a scar, you need to go to the Object window again.
You can expand the Character tab and click 'HeadPart' then search the name of the scar you want. Click and drag the line with your scar into the Additional Head Parts box and it should show up there.
12. Once you've got the above like you want it, hit 'Ok', save your plugin. Now, to make the next step a little easier, you can click the NPC name in the Object Window again and hit f4.
This will export the meshes/textures file folders to the mod you just made in step 8.
Go ahead and exit the CK now
13. Go your your files exported from the last step. Open a second window from the files you exported from SKSE.

Open both meshes in two separate NifSkope windows.

If your SKSE head has a weird broken neck mesh like above, that's not a problem and can be ignored.
You absolutely must make sure your headparts match the head you exported from RaceMenu exactly, or you will get the dreaded dark face bug.
Now, you will need to find the Head textures in the head you exported from the CK. If your NifSkope is set up like mine, it should look like this:
Copy this line and paste it into the SKSE head in the same slot.
Save the SKSE NifSkope and close.
14. Rename the SKSE files (both .dds and .nif) to the number your exported heads are. You can then copy and paste your your SKSE files to their respective folders in your step 8 mod folder:
the .nif file goes in meshes/actors/character/FaceGenData/FaceGeom/[name of plugin]
the .dds file goes into textures/actors/character/FaceGenData/FaceTint/[name of plugin]
And now you're ready for testing! At this point I also recommend taking a second and converting your plugin to an ESPFE via SSE Edit. It's pretty simple and there are tutorials out there.

Scully, you're not gonna believe this.
117 notes
·
View notes
Last Seen Blogs

noxexistant
how ‘bout a dance?

papirravesve
Őszinte Valóság

sertifaksiliftbarang19
Sertifaksi lift barang

mydreamlandme
It's cold and dark inside.

dakkie1-blog
Lamarco Kinard Productions