#watermark
Explore tagged Tumblr posts
Visit Tumblr Blog
Explore Tumblr blogs with no restrictions, modern design and the best experience.
Last Seen Tumblr Blogs


Fun Fact
The “We are the 99%” Tumblr blog became the slogan for the Occupy Wall Street movement.
Text

Sometimes I’m hot 🥵
#watermark#fuck scammers#trans#transgender#trans pride#transisbeautiful#mtf#transgirl#girlslikeus#mtf hrt#maletofemale#transformation#transwomen#girls like us#victoria's secret#pink#transexual#this is what trans looks like#trans community#trans experience#trans content#trans feminine#buldge#trans positivity#trans is so hot#trans is sexy#trans is beautiful#trans tummy tuesday#tummy tuesday#tgirl tummy tuesday
944 notes
·
View notes
Text

2025 New Watermark
I decided to remake my watermark by hand writing and drawing while the original structure remains. It will therefore appear more artistic and organic.
124 notes
·
View notes
Text

#mine#watermark#priscilla movie#priscilla presley#elvis and priscilla#priscilla beaulieu#priscilla 2023#barbie#sofia coppola#this is what makes us girls#girlhood#lana del rey#coquette girl#2014 tumblr#lana del ray aka lizzy grant#lana unreleased#female hysteria#esoteric#femcel#coquettefawn#coqeutte#coquette#pink#the virgin suicides#elvis presley#tumblr girlblogger
170 notes
·
View notes
Text
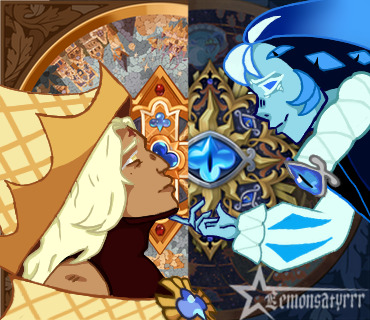
if you repost plz credit me!
my tiktok is: @Lemonsatyrrr (aka Ezekiel!)
#shadow milk cookie#pure vanilla cookie#crk#crk art#crk ship#cookie run kingdom#shadowvanilla#pureshadow#shadow milk x pure vanilla#ship art#digital art#t4t mlm#mlm#watermark#give cred if used
65 notes
·
View notes
Text

kurt cobain pov
#kurt cobain#i posted this#i made this#live laugh girlblog#music#digital art#i don’t really like it#mine#nirvana#he’s just a little guy#he’s so babygirl#he’s such a cutie#artists on tumblr#art#fanart#he’s so beautiful#don’t steal#watermark#i forgot all about it#oopsie#i should fix that#i probably won’t#who cares#not me tho#only a lil bit tho
66 notes
·
View notes
Text

Sorry folks, my watermarks will now be more conspicuous on my creations.
45 notes
·
View notes
Text

#ddlc#digital art#ddlc natsuki#ddlc sayori#ddlc monika#ddlc yuri#kleki paint tool#digital illustration#illustration#doki doki literature club#cute#oc artwork#watermark
52 notes
·
View notes
Text
Teacher Terror

Me when I have to deal with an army of teachers for no reason
#oc#art#artwork#oc art#oc artwork#digital art#bbieal#baldis basics#baldimore#bamc#fundamental paper education#dave's fun algebra class#fpe miss circle#fpe fanart#fpe oc#fpe art#dave and bambi#garrett#education#artists on tumblr#my art#illustration#drawings#watermark#funny
206 notes
·
View notes
Text

Don't be psychopath, if someone says Good Morning, you say it back like a reasonable person. Otherwise, they can't be held accountable for how they react to the intentional act of disrespect. Be warned. Good Morning!!!
#morning#good morning#good morning message#good morning image#good morning man#the good morning man#the entire morning#gif#gm#tgmm#☀️🧙🏼♂️✌🏼#hypnotize#hypnosis#say it back#yelling#man#phone#yelling at phone#watermark
22 notes
·
View notes
Text
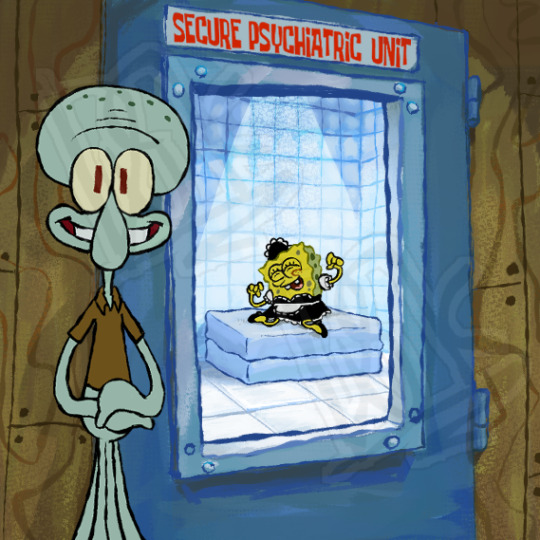
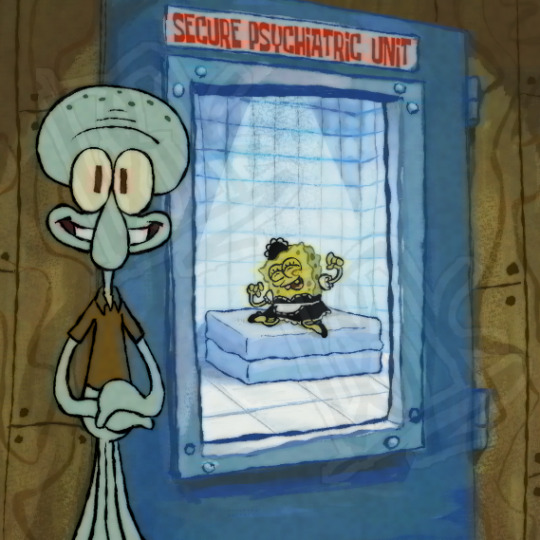
here's some fake SpongeBob screenshot :] based off this image:
I did kinda trace the background a lil bit :P I actually decided to watermark my art this time bc I don't usually do it even when I prolly should- anywho! here's yet another Spongebob drawing! bc idk

silly :]
#spongebob#spongebob squarepants#fake screenshot#fake SpongeBob screenshot#silly#redrawing memes#fanart#idk#watermark#pls don't flop-
331 notes
·
View notes
Text

꧁★꧂
#hello kitty#my melody#sanrio#room#bedroom#hello kitty tv#stuffed animals#plush#plushies#figure#pink#cute#kawaii#photo edit#watermark#flickr#oldweb#old web#2008
301 notes
·
View notes
Text
#vocaloid#IA#gaburyu#watermark#music#awhile back i mentioned one of my fav vocaloids besides Miku#This is a whole IA hyperpop album
36 notes
·
View notes
Text

20 notes
·
View notes
Text


the complicated suggestions and more than 5 design offers were supposed to be under "won't do" so.. im sorry if that is confusing
Heres the commisions! Sadly i cannot pin them
Hopefully I'm able to get more :3
Dont worry about scamming
I feel bad when i take from someone (horribly) and my first customer got theirs in a day! It didn't take very long, ill make sure your money is worth it !
57 notes
·
View notes
Text
Making random custom watermarks for ppl😝 (2!)
\(^o^)/
@cutechan555 - 🫧 very bubbly ragghh!!! \(>o<)ノ
@woobab - I tried to give it like a alien-ish type but it went more like jellyfish but oh well! ^_^ 🪼

@yo-kai123 - (*´∀`") man, I should practice more on horror/ gothic inspired watermarks..🕸️
(I based it off the colors and the vibes of the blog itself!)
41 notes
·
View notes
Text
Finally getting myself a proper watermark


12 notes
·
View notes