#TUT
Text
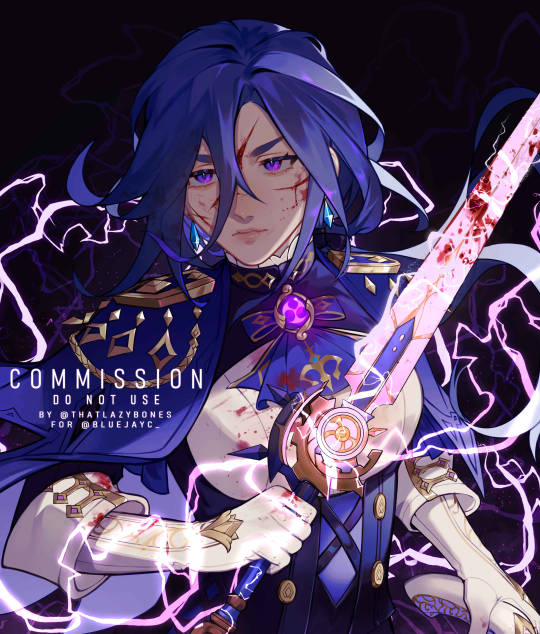
Clorinde comm for @/bluejayc_ on Twitter! 💜
#clorinde#art#my art#illustration#fanart#digital art#genshin impact#commissions open#art commissions#commissioned art#I'm so in love with this comm#TuT
816 notes
·
View notes
Text
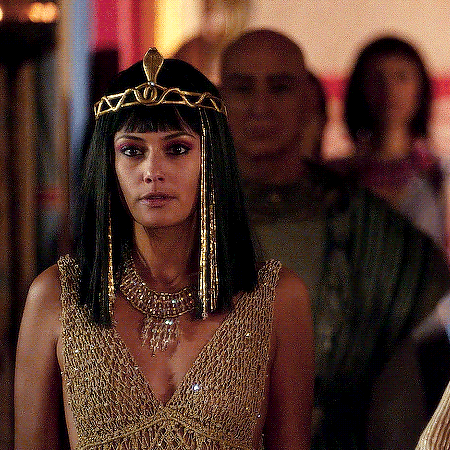


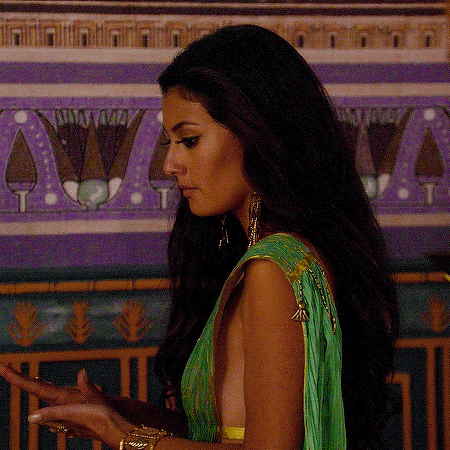
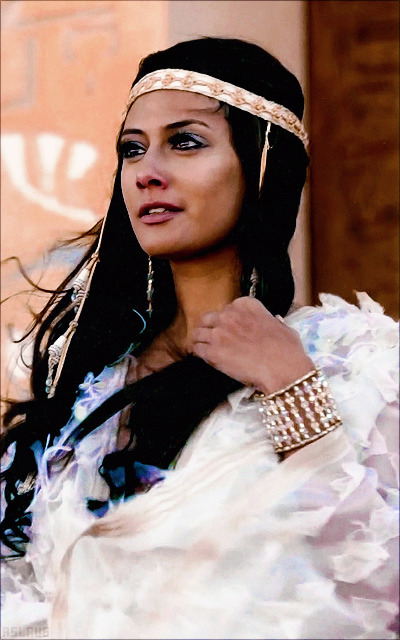
Sibylla Deen as Ankhesenamun
Tut (2015) Episode 2
#tut 2015#tut#ankhesenamun#sibylla deen#stuff:mine#perioddramaedit#perioddramasource#perioddramagif#gifshistorical#tutedit
230 notes
·
View notes
Text
Cleo de nile g3 🥺🥺🥺✨


#aqui también lxs posteo y nimoderrimo 💅💅✨#monster high g3#cleo de nile g3#frankie stein g3#mh g3#watzie#tut#las mascotitas 🥺♥️♥️♥️
718 notes
·
View notes
Text
if lady and the tramp were based
BONUS: Clankie Live Reaction
450 notes
·
View notes
Note
Anon here!! How did you make the heart graphic for the power rentry?

hi!! i’ll put it under the cut since there’s quite a few steps. lmk if you need a more specific tutorial or images for any of the steps!!

1) finding the base
find the shaping mask you wanna use. you can look up “shaping mask png” or “mask png” on pinterest to find some. this is the one i used:

2) removing the background
to remove the background, use the selection layer in ibis paint x. to find this layer, go to the layers panel and it should be the one all the way at the top. it is titled “selection layer.” to remove the white background, select the bucket tool and select the white background. it should turn blue. then switch from the selection layer to the layer you’re removing the background from. look at the top middle of the screen. there should be a square composed of dotted lines that looks like this:

click on it and select “cut.” this will remove the white background. click on it again and select “remove selection area.” now you’re ready to continue!
3) creating a cleaner base layer
you might want to do this if you plan to add a stroke, as once the background is removed from the mask, it tends to leave some remnants behind. this makes the stroke look choppy and pixelated. to do this, take the paint bucket tool on a new, blank layer, and fill in the black part of the base with black. then, delete the base layer underneath the new layer. the hearts will become transparent (to see this better, change the canvas from white to transparent in the layer menu) and the base will hold its shape. you can also remove the hearts in the previous step, but this tackles two birds with one stone and (in my opinion) looks cleaner.
4) filtering manga panels
to make the manga panels pink, i looked up “pink manga polarr code.” pretty much any one will do, but this is the one i used:
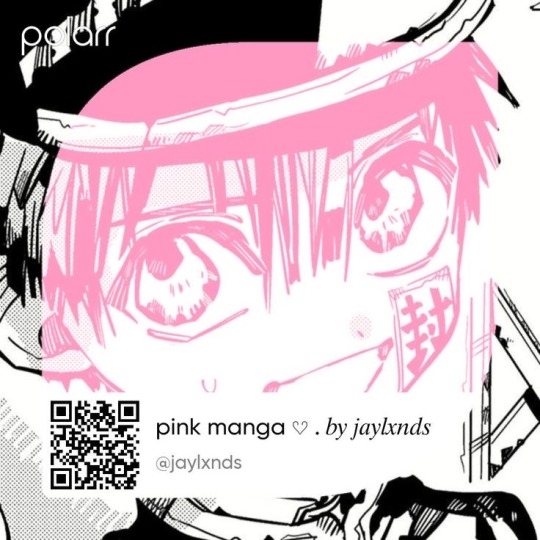
for the rest of this step, you’ll need the app polarr. once you get the app, go to the edit section of the menu on the bottom. click “open photos” and insert the manga panels you wish to change the colors of. then, click “filters” and “import filter.” from there, click “import qr code” and click on the filter in your gallery. the filter will go into polarr, and you can just click instant export or you can save it and then export it. it’s up to you.
5) masking the panels
import the images you just filtered into your canvas. now we’ll use a clipping layer to have them take the shape of the base. click on the image layer you want to do this with, and then hit the clipping option in the layer menu. this will have it take the shape of the base.
6) coloring the hearts
now we’ll add a new blank layer atop the clipping layers. i color picked the pink color from the image, and then used the bucket tool to fill in each of the hearts.
7) adding the extra pngs
for this step i used the sticker option in picsart and a transparent canvas to collect the pngs. i believe i looked up “pink png” in the search bar, but i’m not sure. then i imported them into the ibis paint x project and positioned them where i wanted them to go. download transparent pngs of the project (one of each image you added). toggle the eyes on and off so that you can save the different versions (not individual layers. i just mean if you added two manga panels, make sure you get one with one manga panel and one with the other).
8) creating the gif
search up ezgif animated gif maker. it should be the first option that comes up. for this, i typically switch to “manually ordered upload” opposed to “alphabetically ordered opload” (the default) so i have more control over the order of the images in the gif. once you upload them into the site and you get to the editing menu, set the delay time to 100 and click the box that says crossfade frames.
andddd you’re done!!! i hope this was somewhat comprehensible and i didn’t miss any steps xD
150 notes
·
View notes
Note
HOLY SNAPS YOUR ART STYLE IS SO FRICKEN CUTE!!! I ADORE HOW YOU DRAW DANNY'S HAIR! Can i take some inspo for my own dp doodles?
AWEEE THANK YOU! Of course you can! I just got stuck with drawing his hair like that and went along with it (here’s a ref sheet I think)
(every male character I draw WILL end up with a mullet no matter what 🫠)
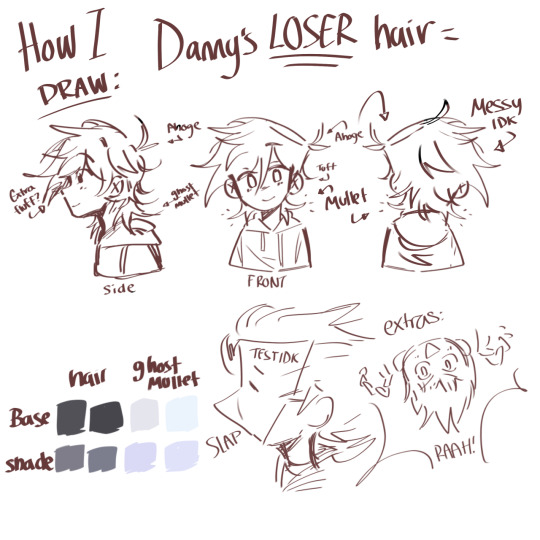
#danny phantom#ask#danny fenton#doodles#art#digital art#cackling#here’s a ref sheet#idk#he’s a loser#tut#maybe#dp#my art
106 notes
·
View notes
Text
The new Stardew updates are super cool and all, but when is my boyfriend Harvey gonna stop asking me if Maru needs sunscreen on her shoulders
62 notes
·
View notes
Text
Schon okay, dass es nie okay war.
-Zate - Es tut fast nicht weh
49 notes
·
View notes
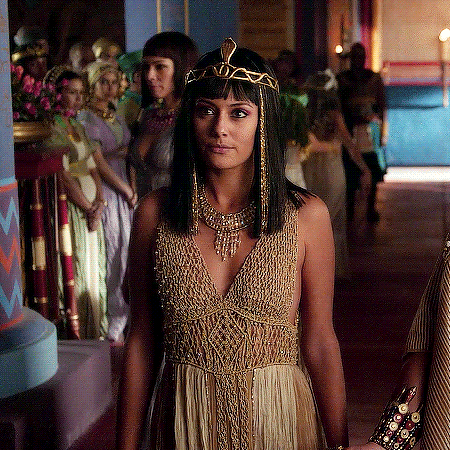
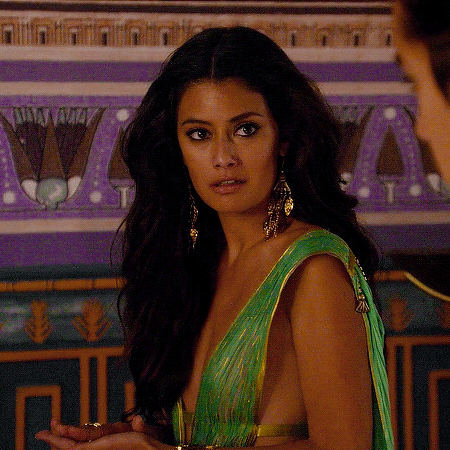
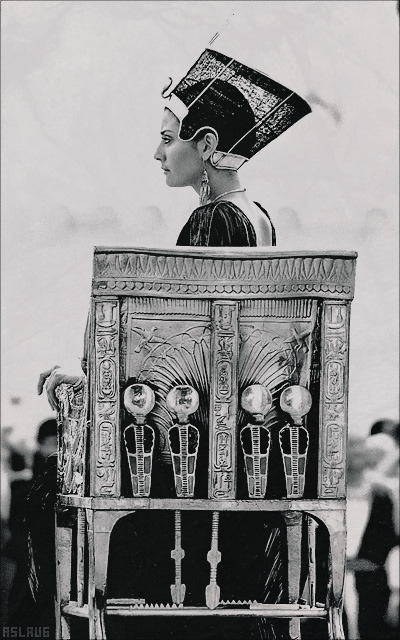
Text

Sibylla Deen as Ankhe in Tut (TV Mini-Series, 2015).
164 notes
·
View notes
Text
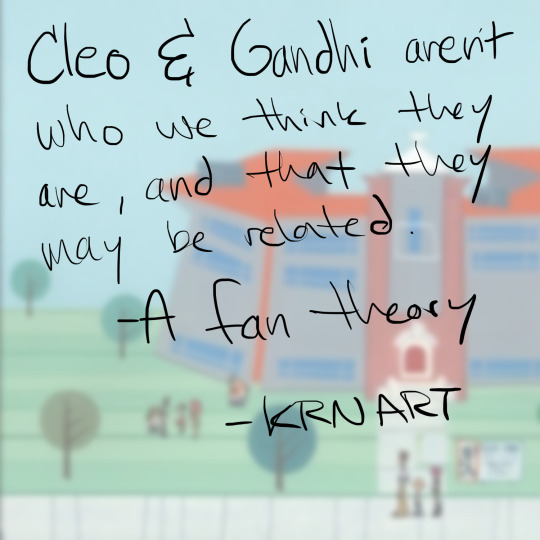
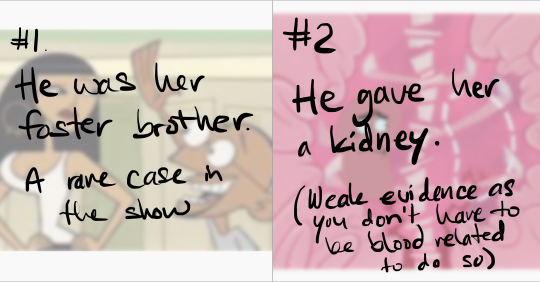
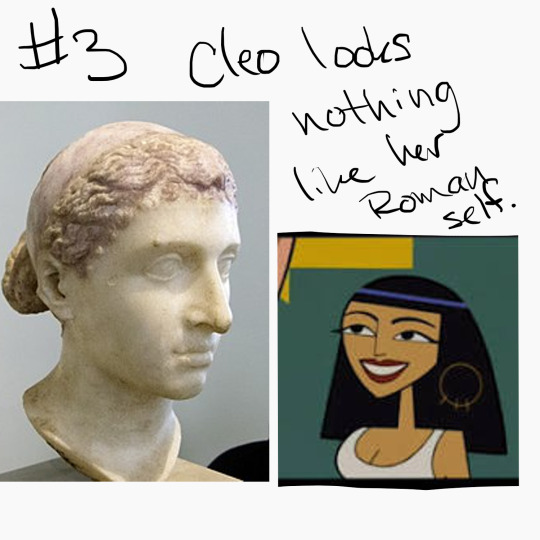
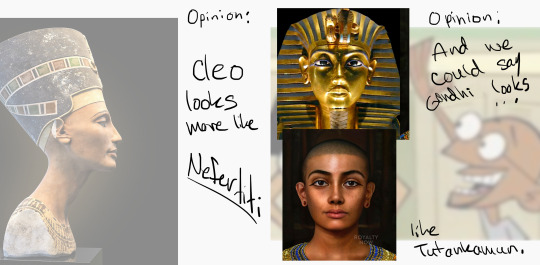
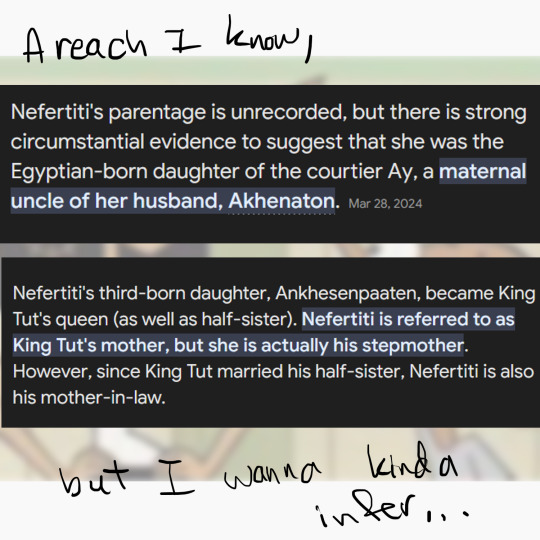
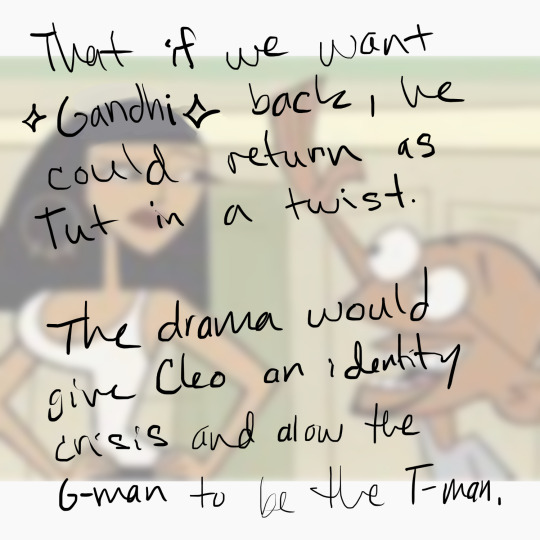
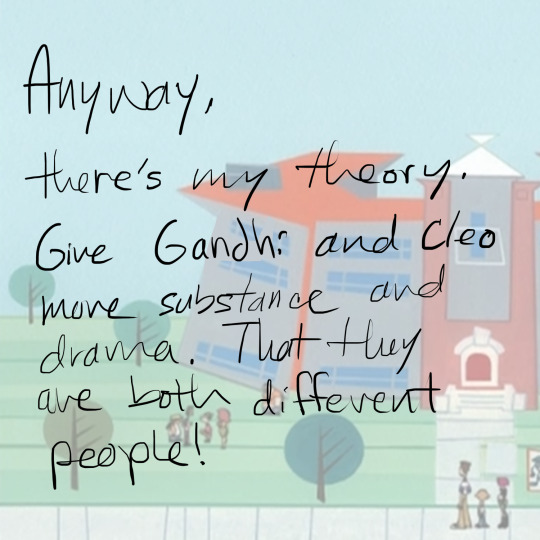
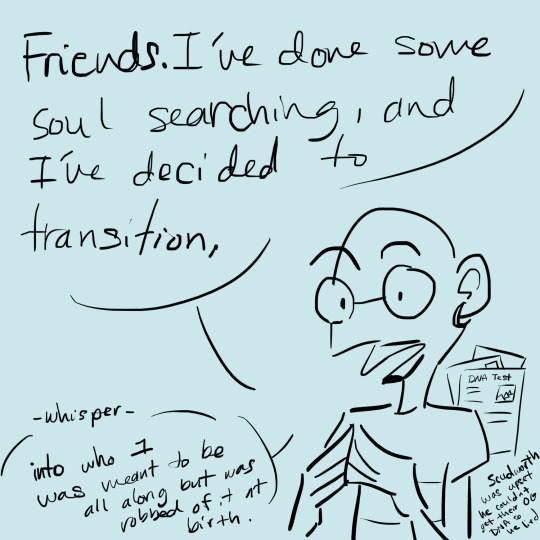

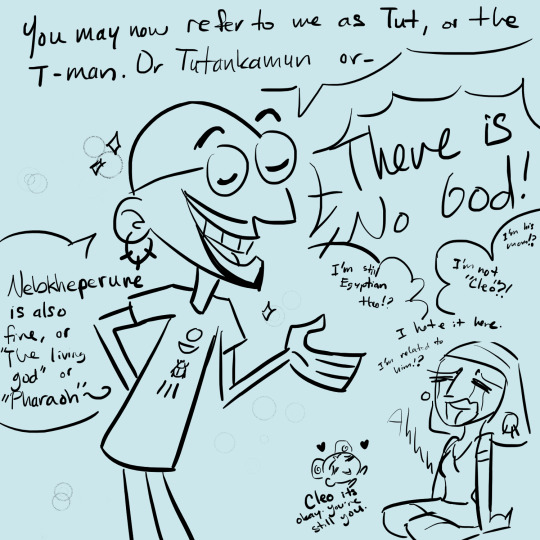
My hastily crafted slide show to show that Cleo and Gandhi are related and are really Nefertiti and Tutankhamen. Just a fan theory/ head cannon. I miss the little annoying brother of the hot sister trope.
#clone high theory#clone high head cannon#head cannon#clone high#clonehigh#gandhi#cleo#ancient egypt#krnart#his shirt just says Nebheperure#tut
23 notes
·
View notes
Text
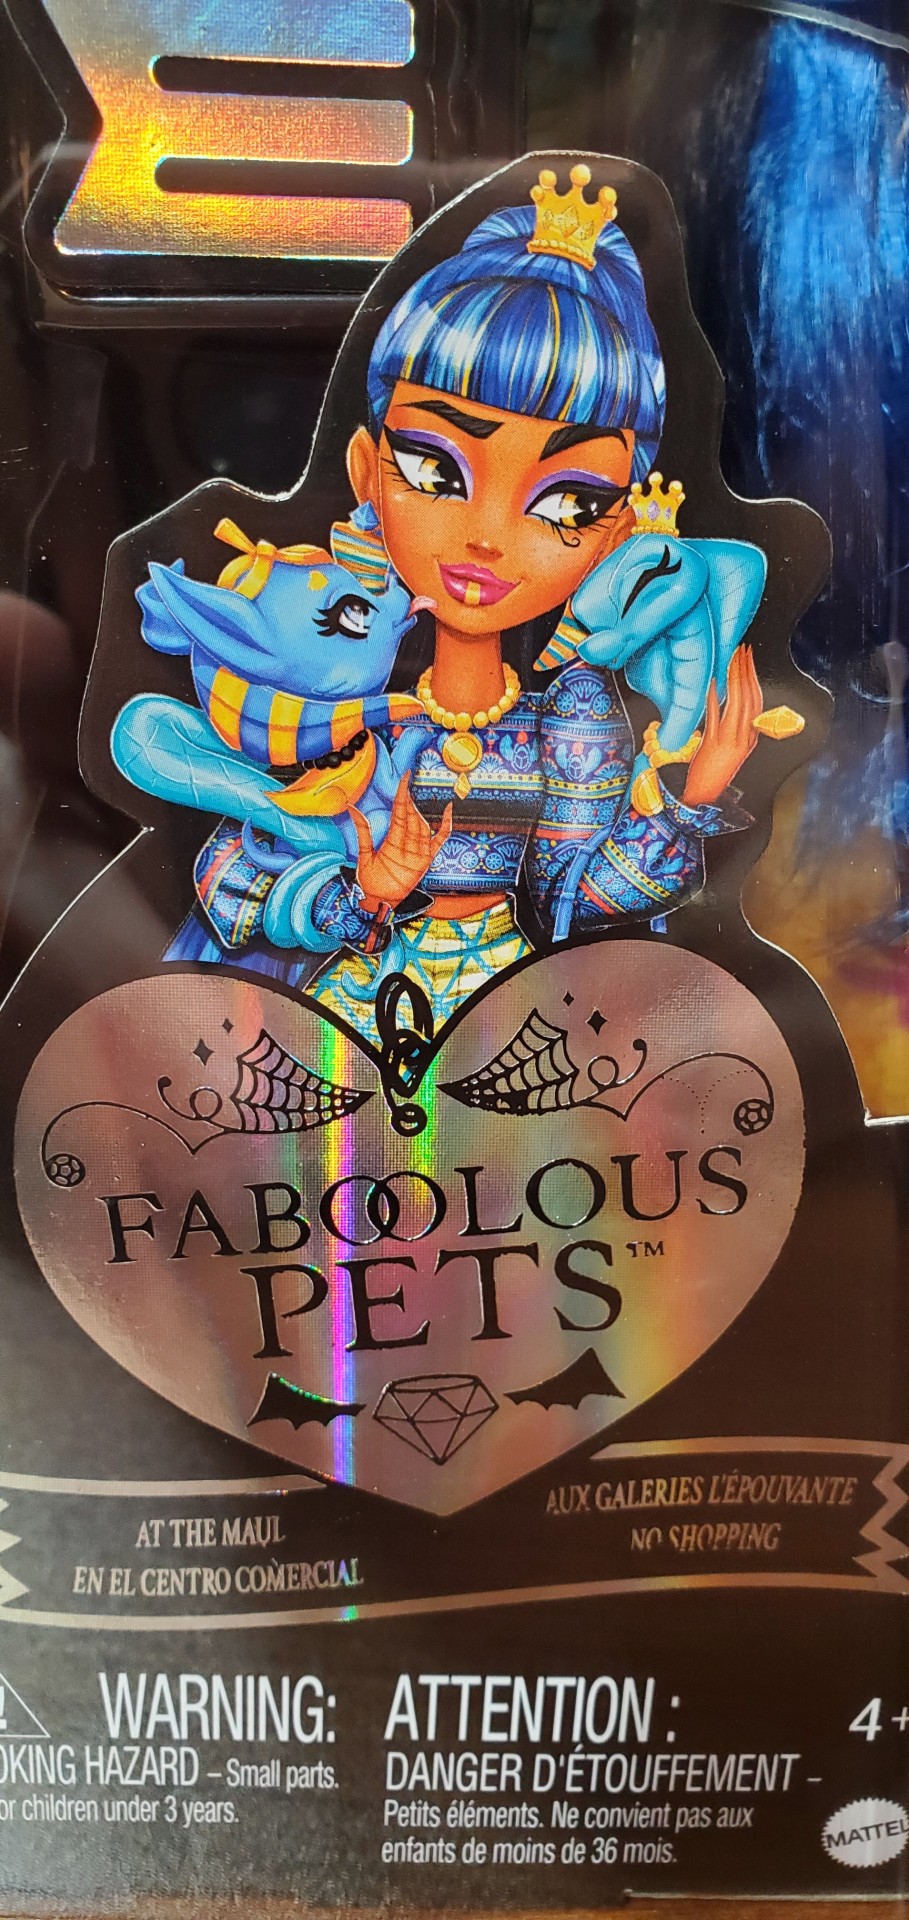
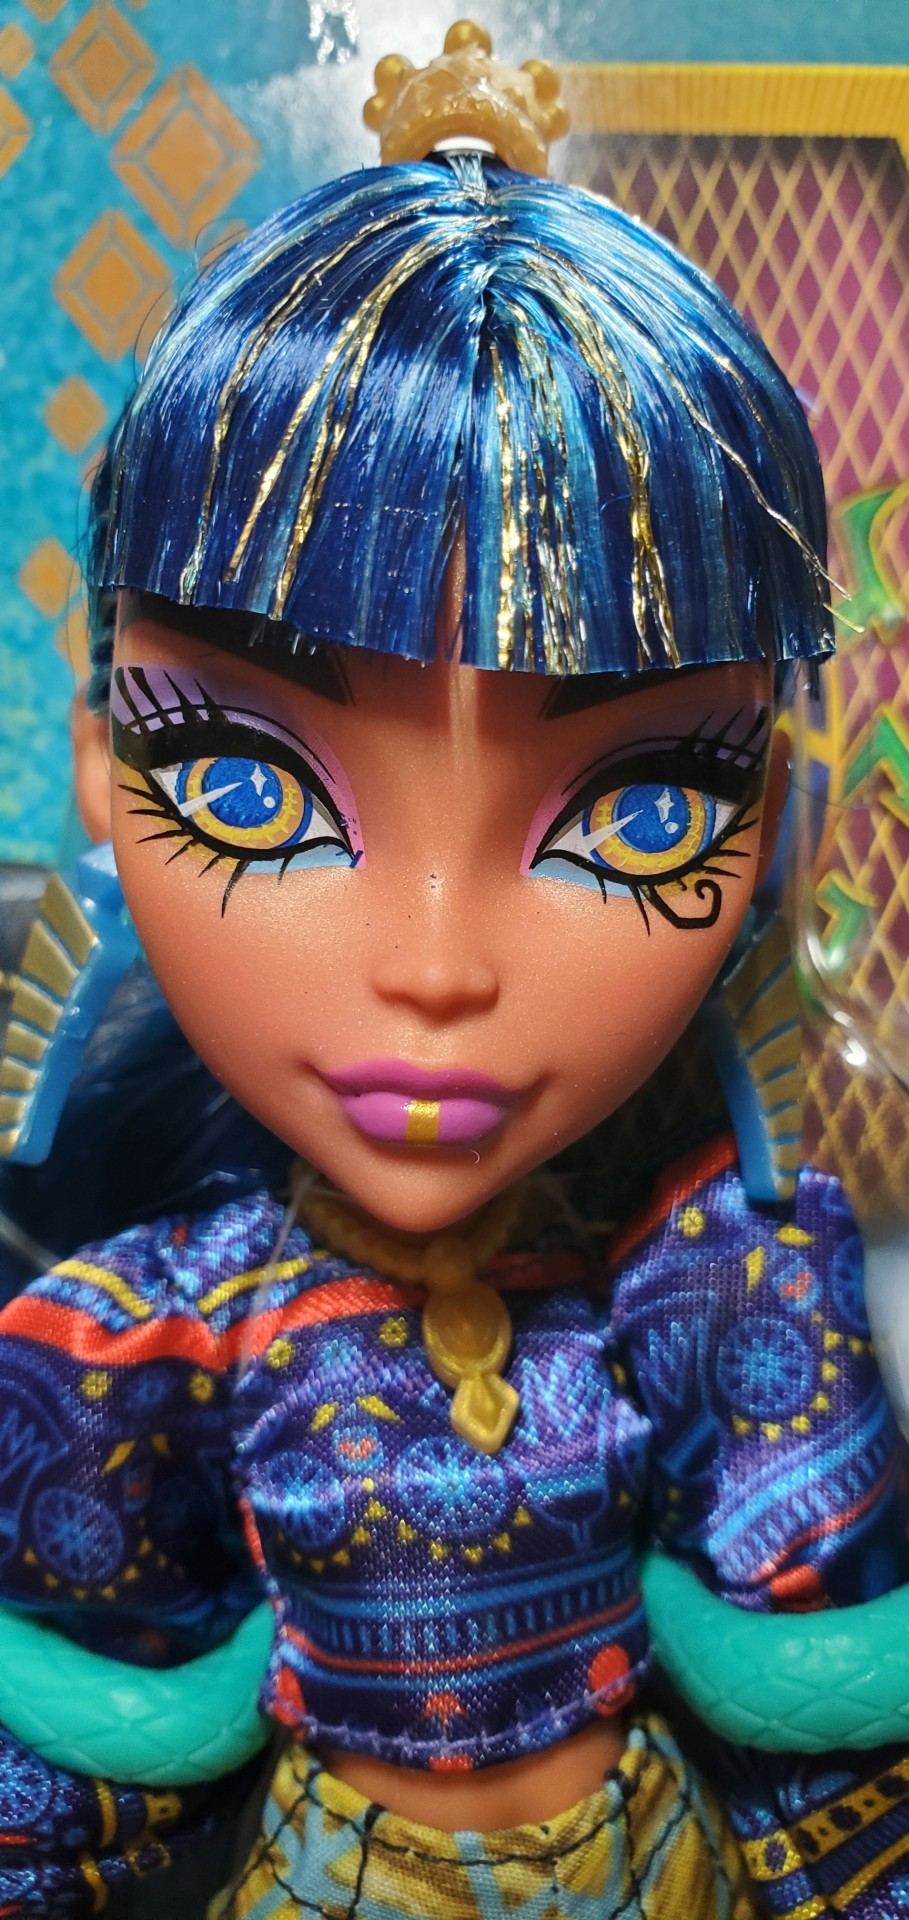
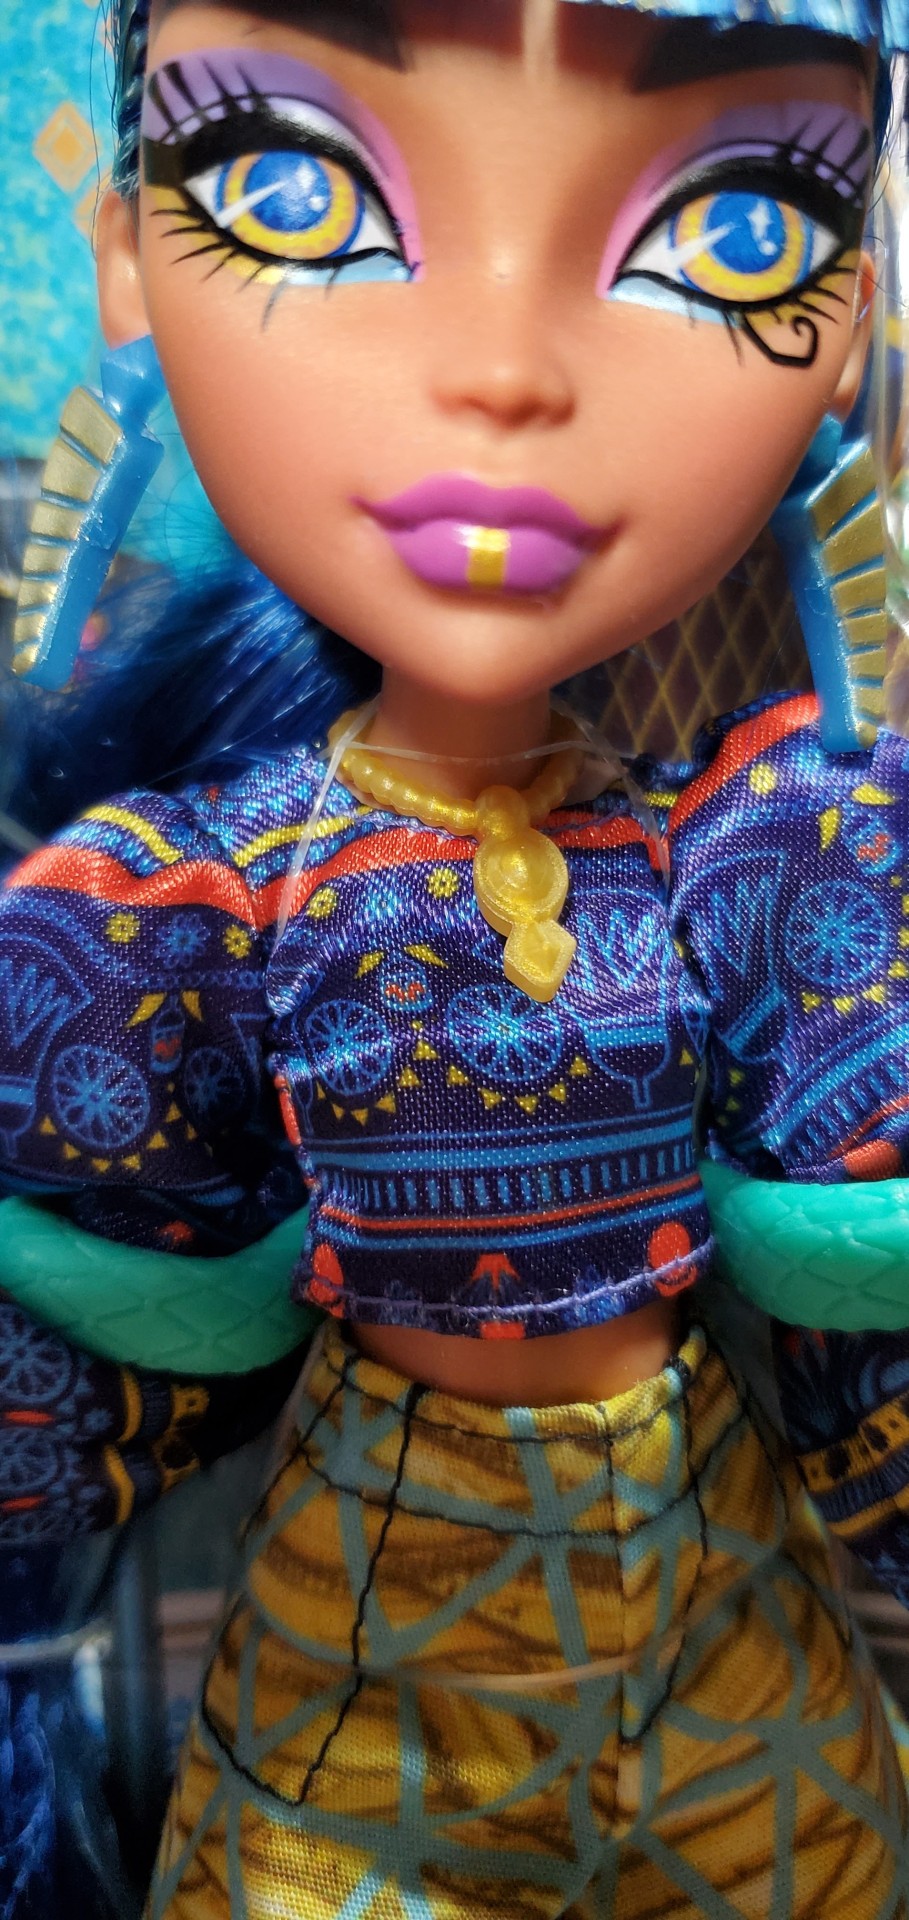
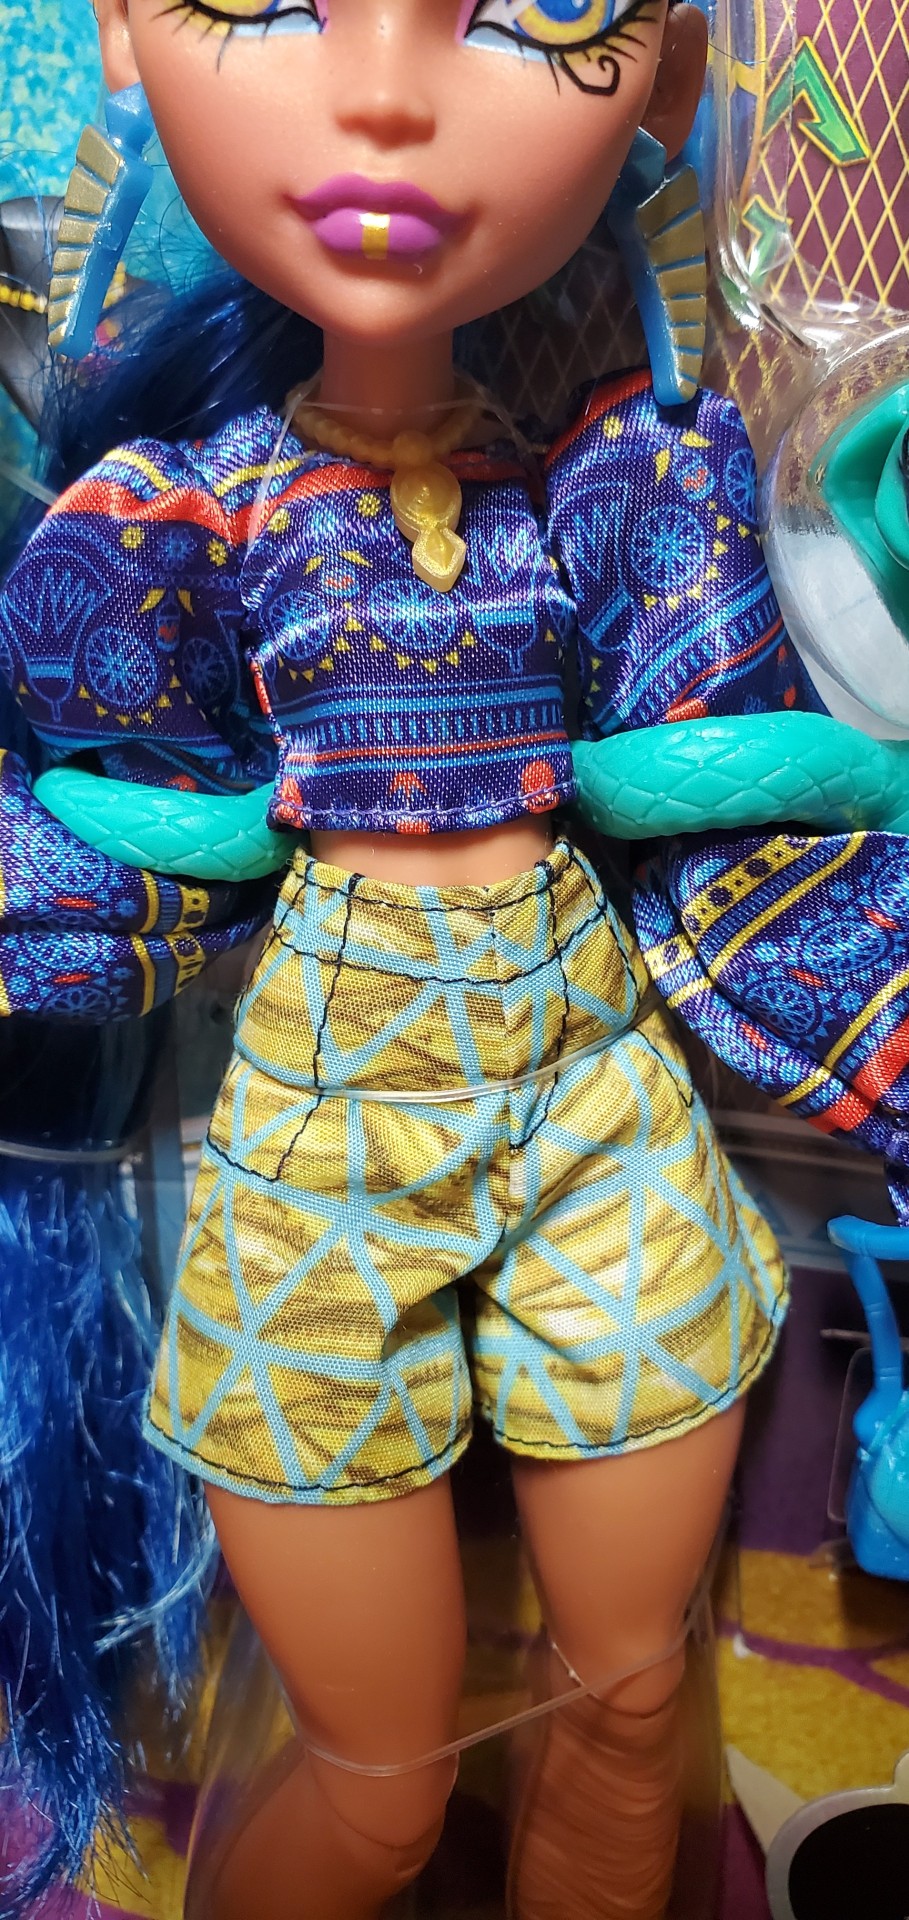
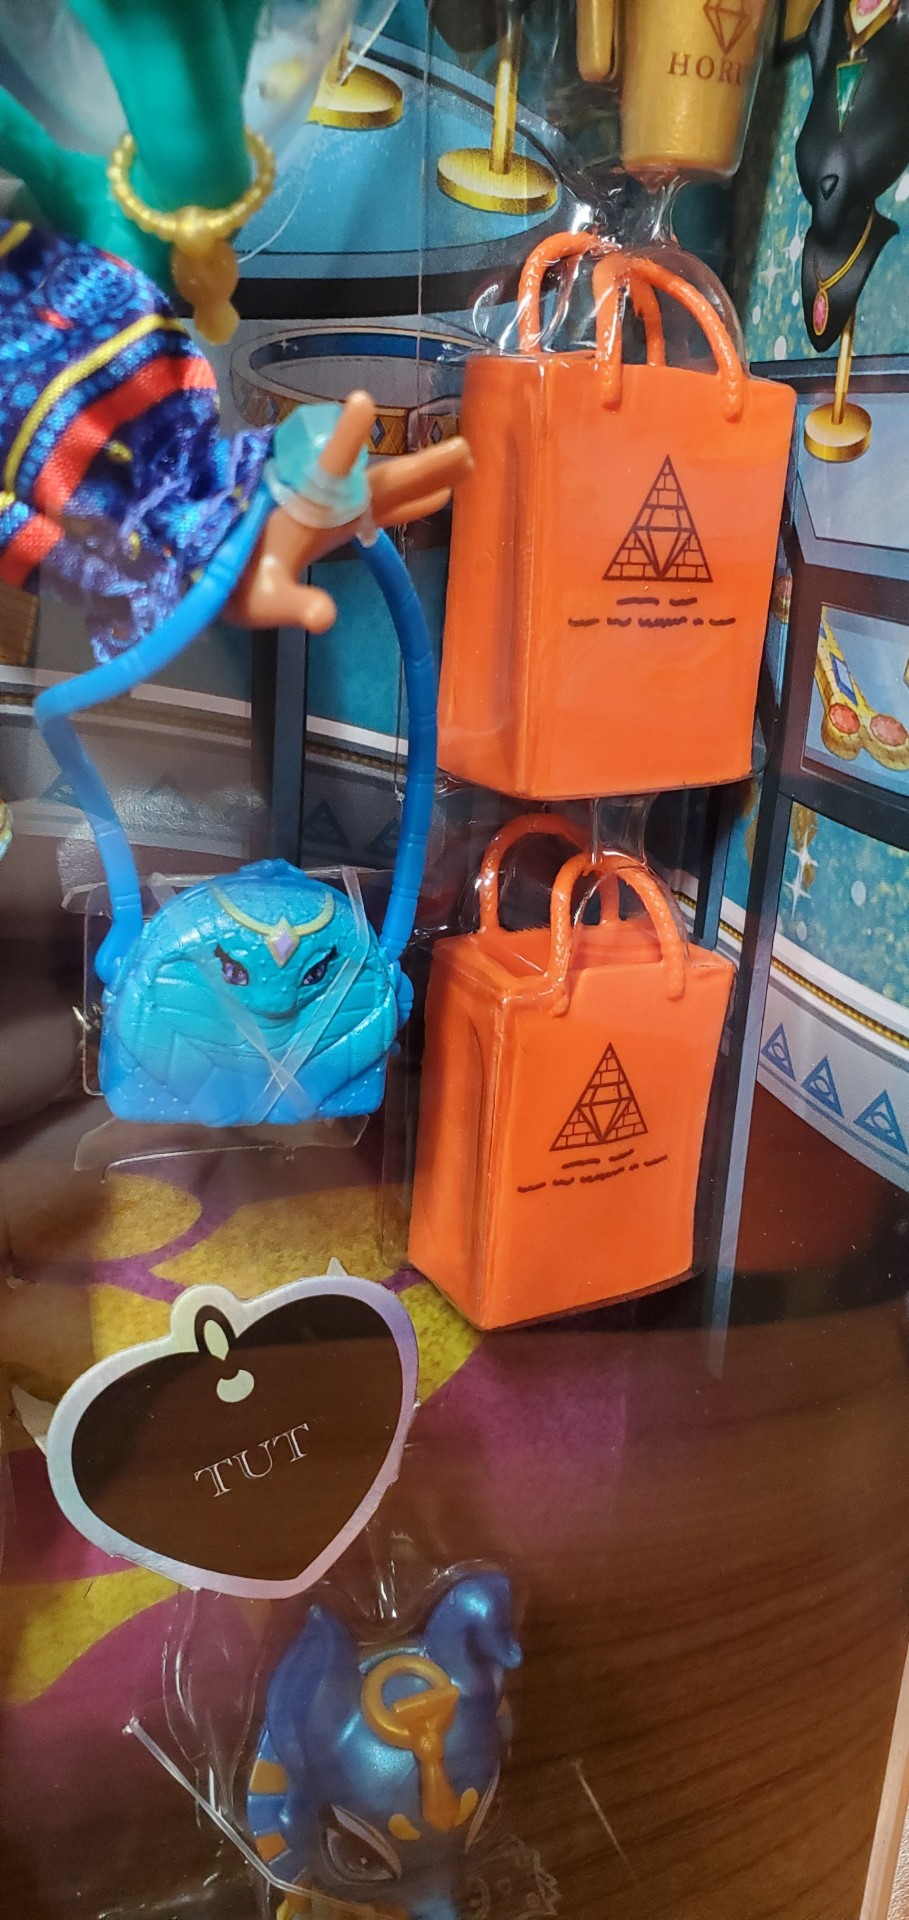
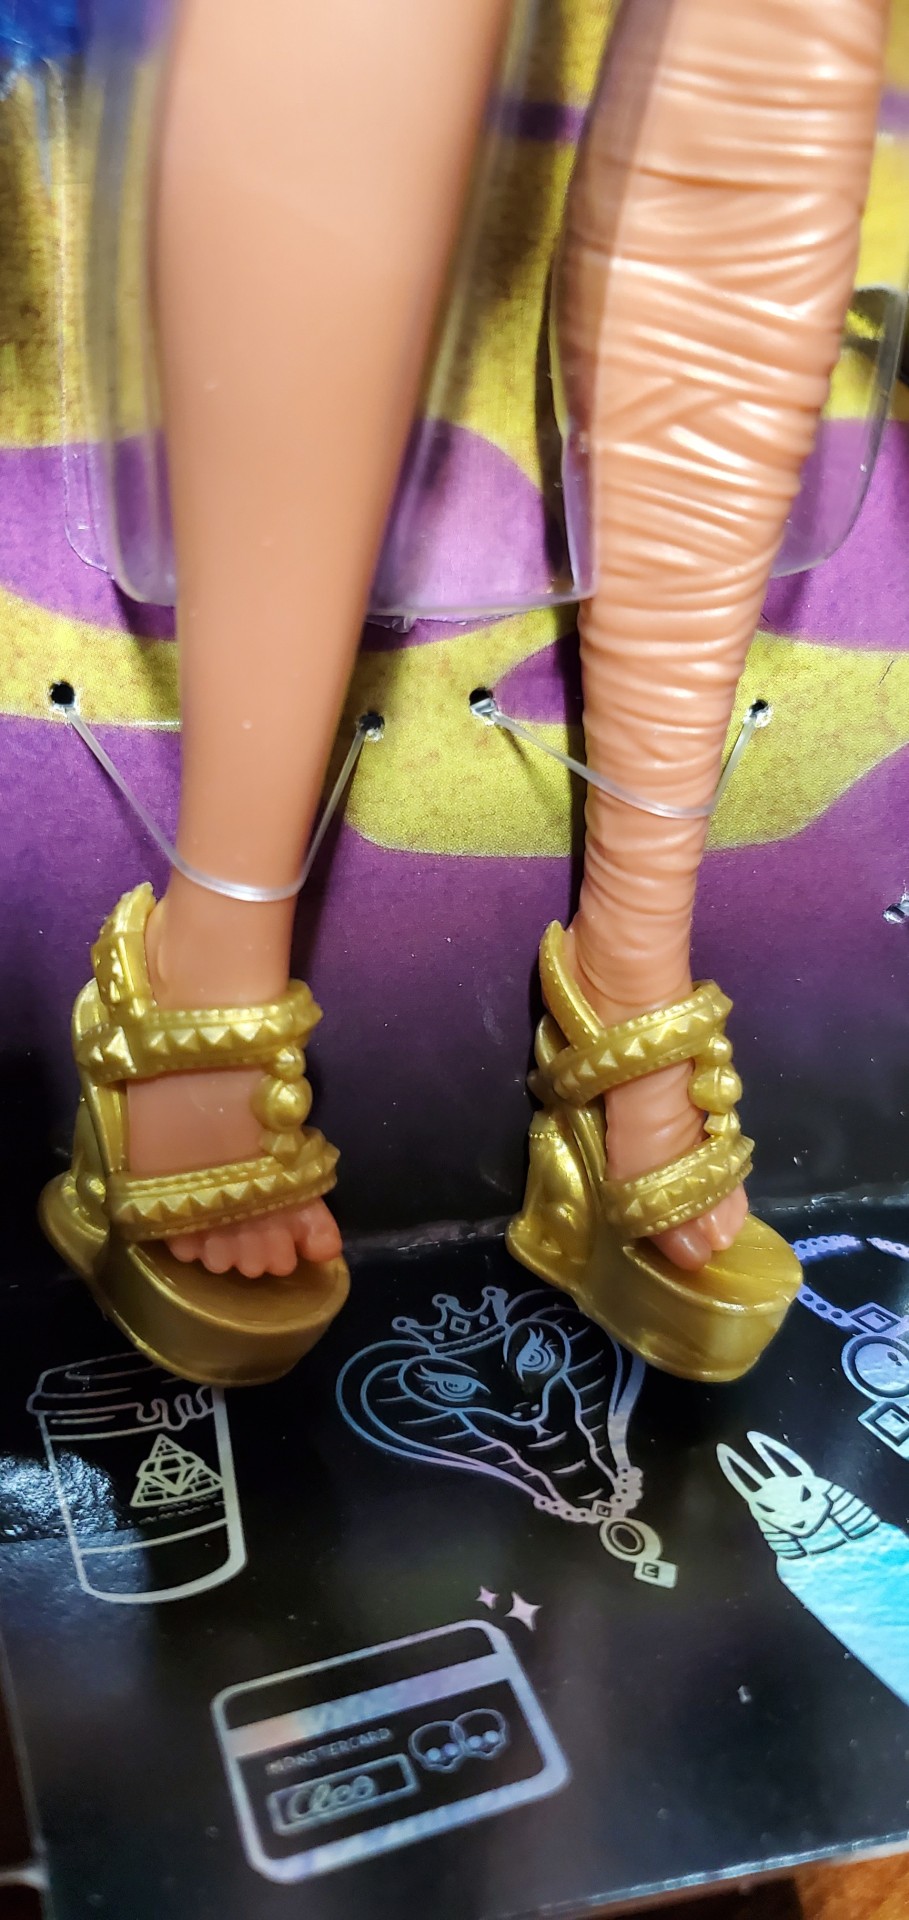
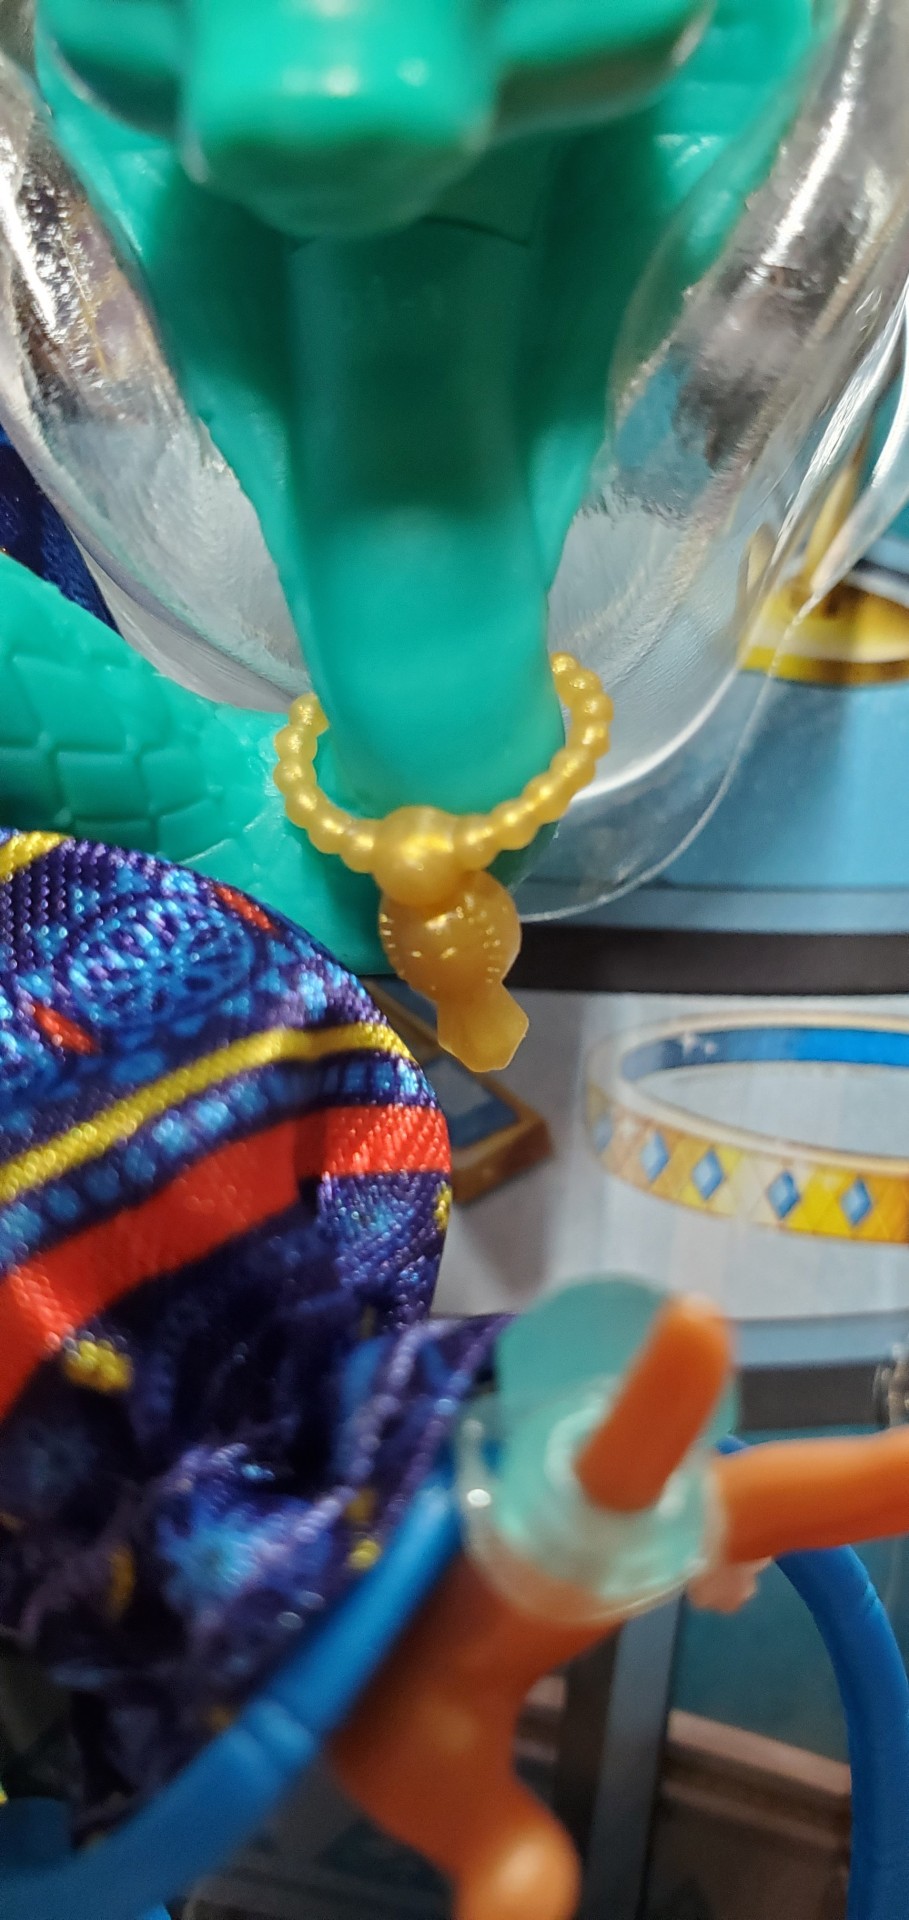
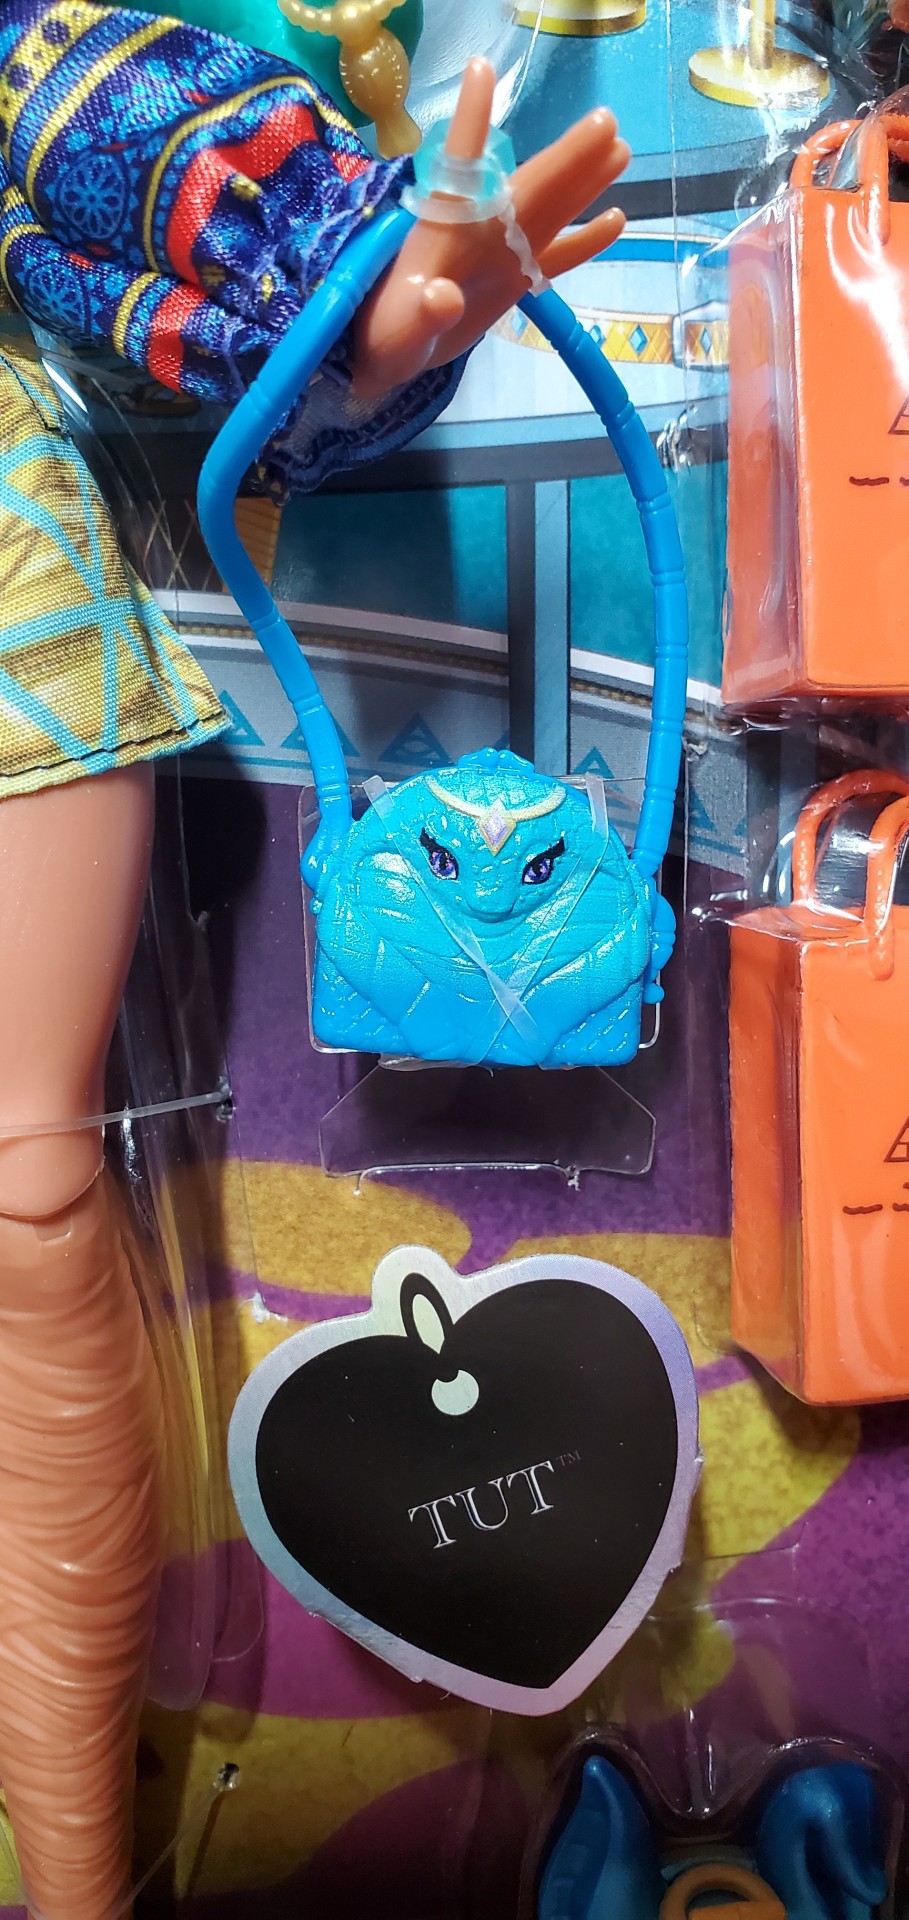
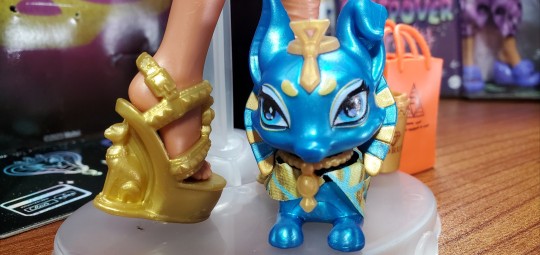
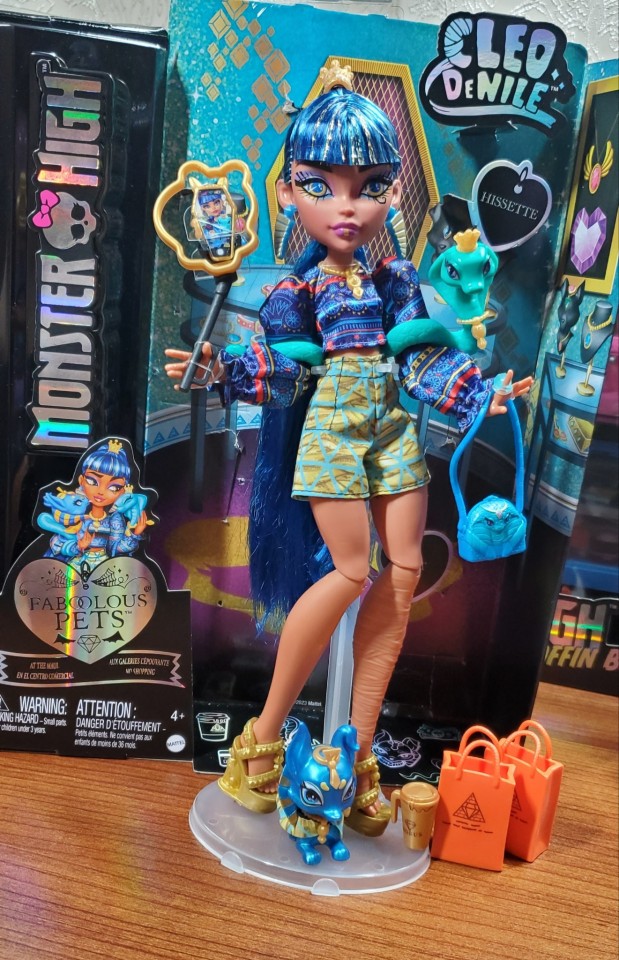
Monster High G3 Faboolous Pets Cleo De Nile. I case you're interested, I have a link with full unboxing attached.
youtube
#monster high#monster high dolls#monsterhigh#mh#monster+high#mattel#cleo de nile#monster high cleo#monster high g3 cleo#monster high g3 cleo de nile#monster high cleo de nile#monster high faboolous pets#monster high faboolous pets cleo#faboolous pets cleo#faboolous pets cleo de nile#hissette#tut#faboolous pets#faboolous pets hissette#Youtube
80 notes
·
View notes
Text
Sibylla Deen as Ankhesenamun
Tut (2015) Episode 2
#tut#tut 2015#ankhesenamun#sibylla deen#stuff:mine#perioddramaedit#perioddramagif#perioddramasource#gifshistorical#tutedit
190 notes
·
View notes
Note
Uhm ! Do you have a yn advice for making npts ?
*any

mhm! under the cut ^_^

for names, try looking up “(prompt) themed names”. usualli a few lists from baby name websites will pop up, but if they don’t, try looking up a similar word or related words.
for pronouns, try looking up “words related to (prompt)” or just go straight to relatedwords.io and search up the word.
for titles, try building off what you already have in the name and pronoun sections. have the name luna and the prounouns moon/moons/moonself already typed out? try a title like “(pronoun) who gazes at the moon” or “(pronoun) who bathes in moonlight”. incorporate the words from the pronouns into the titles. that typically leaves you with titles that are short and sweet, which are usualli what people tend to prefer. long titles can be difficult and annoying to type out over and over again, though they are alright in moderation.
35 notes
·
View notes
Text
Tut (they/them) - !! love this OC/para they're so cute and pretty and adorable - Kitt
#kitt's art#tut#my ocs#oc#ocs#oc art#para#para art#demon#demon oc#original charater art#original character#original art#original artwork#art#artwork#drawing#illustrator#illustration
34 notes
·
View notes
Text

Sibylla Deen in Tut (p.2) as Ankhesenamun
#sibylla deen avatars#tutedit#sibylladeenedit#period fc#woc fc#ankhesenamun#sibylla deen#tut#rpg resource#rp avatars#avatars 400*640#*avatars#*mine
27 notes
·
View notes
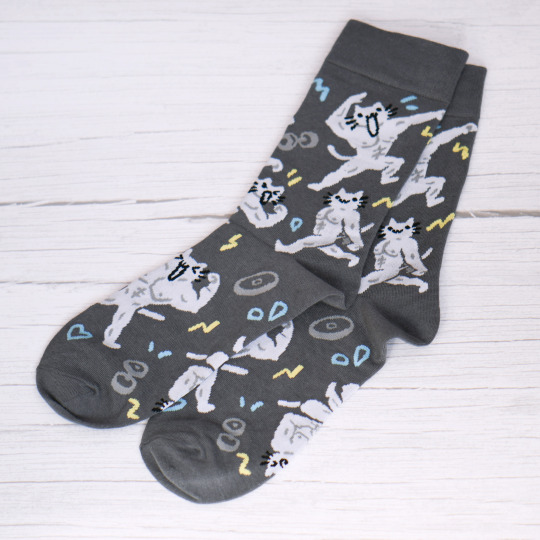
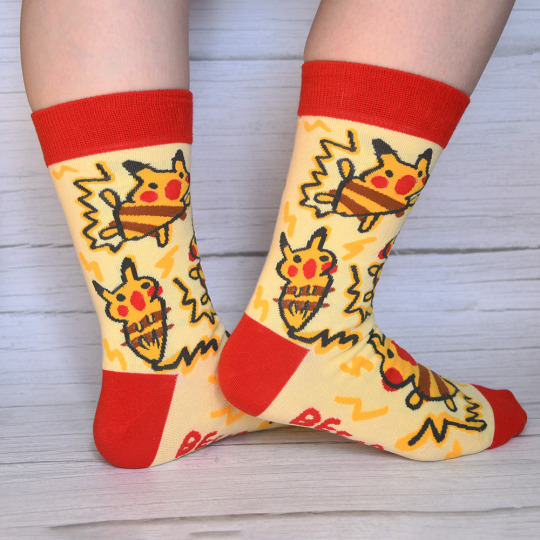
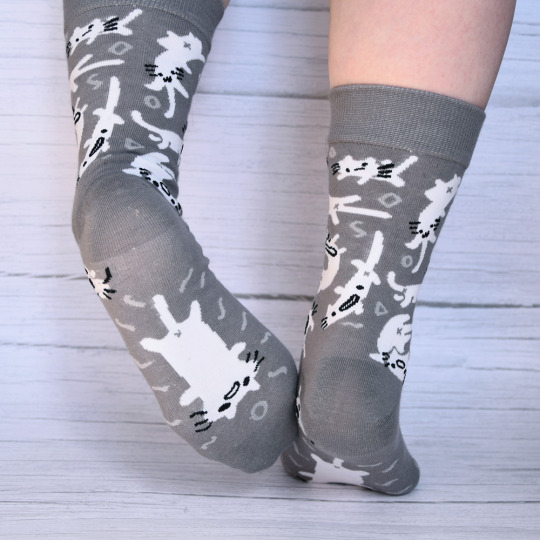
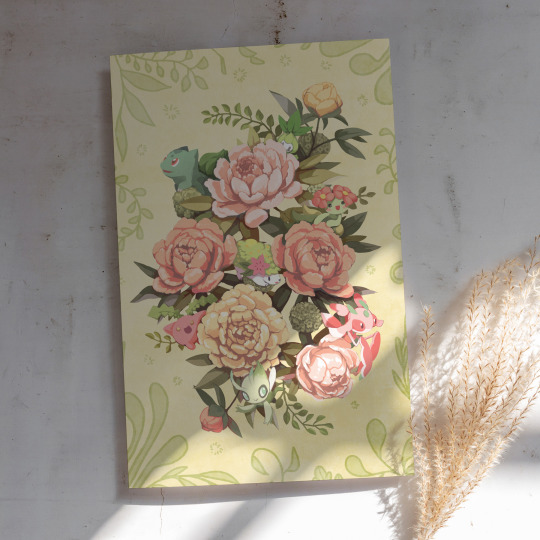
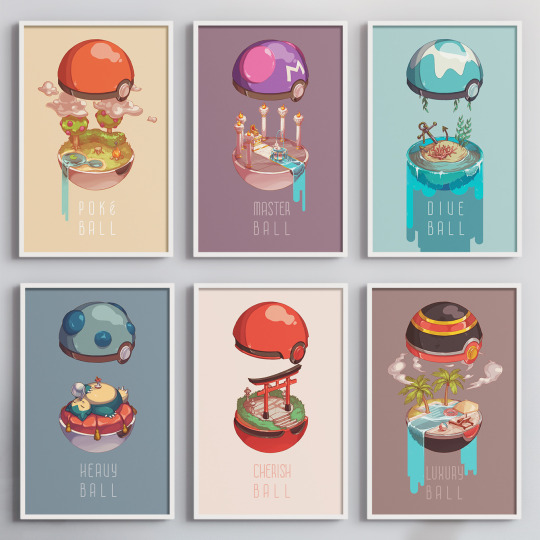
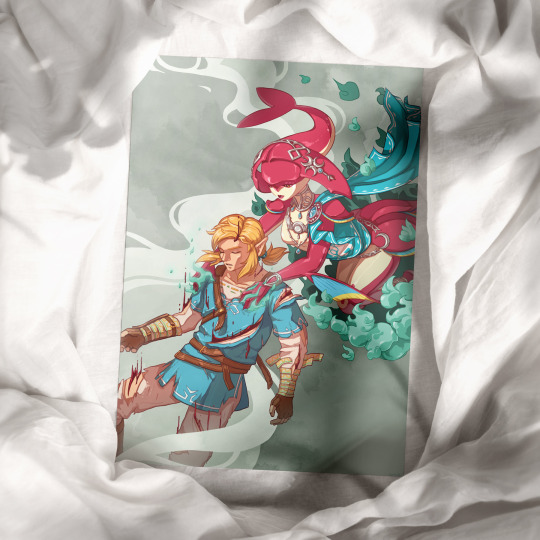
Text
My Holiday Sale is going on now!
There's a new Clearance section with 30-60% off and discounts that stack on top when you spend certain amounts :) The only things not on sale are the BG3 keychains and Hyrule zine since they are so new, everything else is valid for the sales from Nov 23rd - Dec 1st!
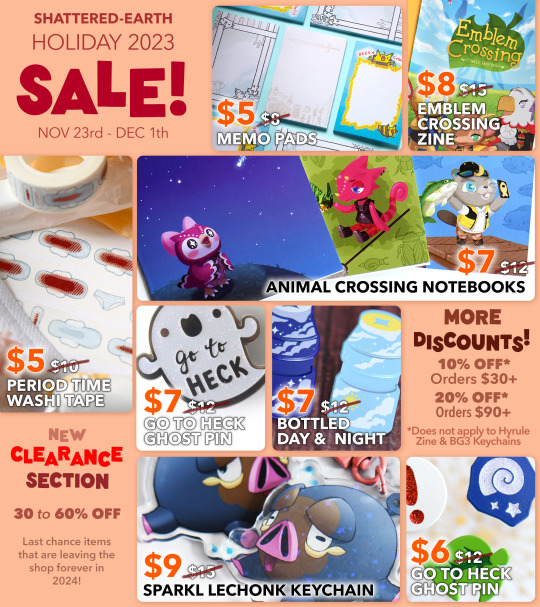


50 notes
·
View notes
Last Seen Blogs

super-dienmayhoanglong-kd15-blog
Nguyễn Ngọc
brattycurlishthoughts
What's with this crazy little world?

primocys
Primocys

zoomarz98
Untitled
ketchupmonster52
Ketchup Monster