#blender plugin
Explore tagged Tumblr posts
Visit Tumblr Blog
Explore Tumblr blogs with no restrictions, modern design and the best experience.
Last Seen Tumblr Blogs


Fun Fact
China blocked Tumblr because of pornography and censorship problems in 2013.
Text
Rotate UV Islands AUTOMATICALLY!!!

Hi everyone! It's Ren here! I created a Blender Plugin that will automatically rotate most of your UV Islands to match the face direction of your mesh for you. I've been doing it by hand and as I'm sure some of you know, when you have a detailed mesh it can take hours to manually rotate each island. This will cut your time in half. It doesn't rotate ALL islands, but most.
I am super excited for this! I hope you enjoy! You can find it on my ko-fi for purchase!
47 notes
·
View notes
Text
VIRAGO as of April 13, 2024
2 notes
·
View notes
Text
#thank you ENDLESSLY to kaahgomedl on deviantart for being the only human alive to have posted this model anywhere#which for some reason was an MMD version of the model that they converted from the original#i'll take what i can get. i had to install a blender MMD plugin to render it but after that it worked and i got it and i don't have to#get it again!!!! fuck!!!! holy shit this is difficult#cutiefly
285 notes
·
View notes
Text
Crisps' Basic Blender Plugins
I made two basic Blender plugins, one to easily center objects in the scene, and the other to easily remove and re-add numbering from bone names.
Both plugins require Blender 2.8 or above. They were tested in Blender 2.9, 3.6 and 4.0 on Windows. (Please report if anything explodes so that I can fix it. I've not coded much for Blender before so these are probably wonky.)
Both are found in the Item tab in Object mode.
Basic Move Tool
Save a few clicks sitting objects’ asses on the scene origin.

Sit Selected at Scene Origin Moves all selected Mesh, Curve and Text/Font objects to the scene’s origin, their lowest points at height zero. The objects’ own origins (pivot points) move with them, but keep their relative positions in object space. Sit Selected & its Origin(s) at Scene Origin Moves all selected objects to the scene’s origin, their lowest points at height zero. Their origins (pivot points) are also moved there. ! Apply -> Rotation to your objects before use if they’ve been rotated. I use bounding box information to calculate objects’ lowest points. Bounding boxes are automatically updated when an object is translated or scaled, but not on rotation 🤔
Bone Name Manager
Remove a substring/pattern from bones’ names; save and restore the originals via save file. The default pattern is “#\d+$”: “#” followed by numbers at the end of the name string.
I created this one because the GMDC Import/Export plugin requires the bones to be numbered, but that breaks the symmetry mode for weight painting. I wanted an easy alternative to renaming and re-renaming them by hand.

Use Custom Regex? If ticked, the plugin will use the specified regular expression instead of its default pattern. Only the first match found in a name will be taken into account. Strip Bone Names Removes elements matching the pattern from bones’ names. The original names are not saved. Save Bone Names to File Creates a json file listing and mapping stripped and original bone names to each other. Uses the Save Path. The bones are not renamed. Strip Bone Names and Save to File Creates a json file listing and mapping stripped and original bone names to each other. Uses the Save Path. Removes elements matching the pattern from bones’ names. Restore Bone Names from File From a valid json file, loads the mapping of stripped to original names and renames bones accordingly. Uses the Load Path. Will fail if the current pattern is different from the one used by the file.
-> Download both at Box or SimFileShare
(I'm not sure about the ethics of putting non-sims stuff on SimFileShare, so I may remove that link.)
43 notes
·
View notes
Text

I am happy to announce that I am back on my bullshit, I may be cringe but I have never been more free
#ttcc#derrick man#william boar#chainsaw consultant#chip revvington#derricksaw#i was gonna do more with this like a fully rendered bg but blender updated and broke the plugin i had that helped me import files#so i just bit the bullet and put the gays in a blank png void again
77 notes
·
View notes
Text
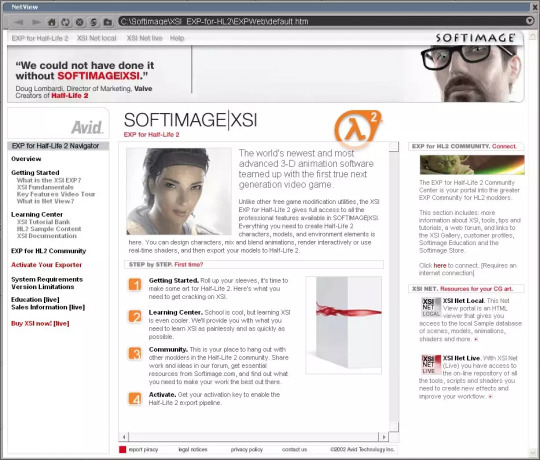
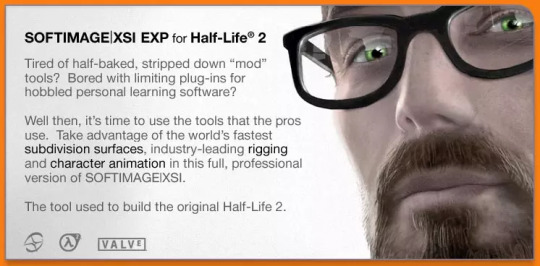

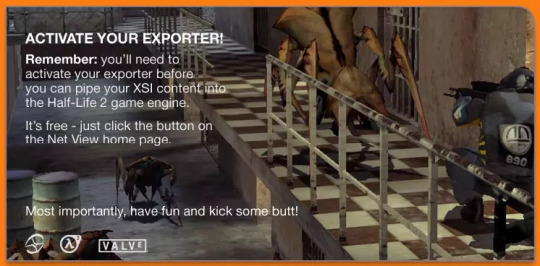
Softimage XSI EXP for Half-Life 2
#half life#half life 2#softimage#source link has instructions on how to use this program#looks like a pain in the ass to set up though#I would just use the SourceIO plugin for Blender instead
8 notes
·
View notes
Text

#verge of giving up entirely lol#there's something not clicking and i can't figure out for the life of me what it is and the neurodivergence in me getting agitated#looking at the photomode addon guide and that one seems even worse to try and make sense of#blender and plugin versions should be fine according the guide#there's no error codes showing up#and i've followed 3 seperate guides like 5 times each to no success#tbd
4 notes
·
View notes
Text
I could make things easier for myself by designing a wooden power pole. But ... I don't want to ...
#In theory I guess I could get the soft prop blender plugin and yoink some free 3d model...?#That sounds a lot easier than trying to do it myself. It'd give me more time to actually make the room.#lttm.file
3 notes
·
View notes
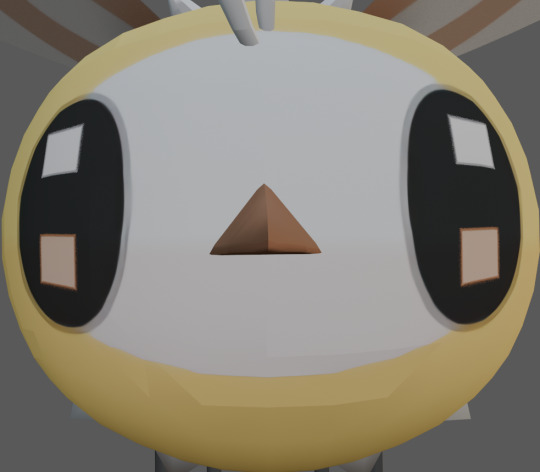
Note
Hoopa unbound nose rating: 7/10 evil-er bastard
oh yeah? well. take this:

#dw i am ignoring the other ask <3#this morning i had to install a fucking mmd plugin in blender because i could only find an mmd model for cutiefly#go fucking figure guys!!! go figure!!!!#not pkmn#nose ratings
21 notes
·
View notes
Text
lmao a $42 tutorial to make CC...
ANYHOO:
Requirements You will need: Sims 4 Studio Photoshop (however you choose to acquire it), or an alternative DDS Plugin (unless you choose to save files as PNGs) Blender (any version between 2.76 and 4.3 - I use 3.3) The Basics
Recolours and Textures
The easiest thing to start with is a recolour. If you have some knowledge of photo editing software, this should be fairly straightforward, but if you’re new to it, the following tutorial covers it well: Recolouring Tutorial - Softpine
If you’re feeling confident with your recolours, but want to add a little extra to your textures, it’s worth checking out specular and normal files.
Speculars are my favourite thing for elevating CC (by that I mean covering it in glitter and sequins). This tutorial covers the basics:
Speculars - Teanmoon
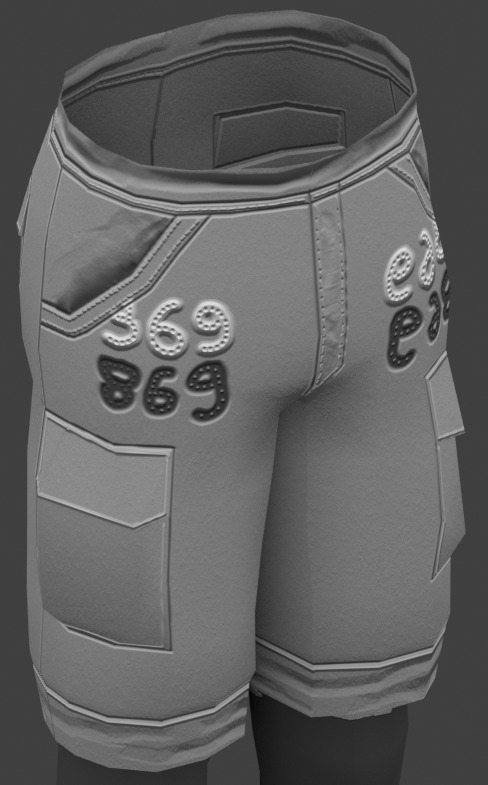
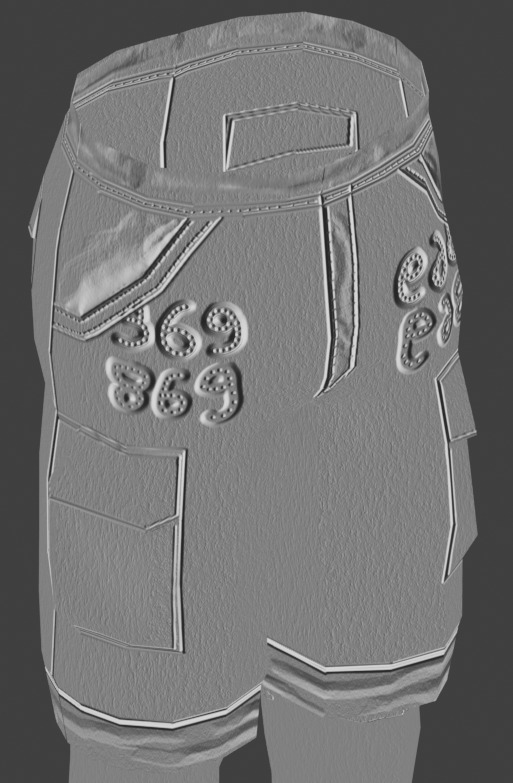
Normal maps (bumpmaps) are a little different. They can give a 3d texture to an item without altering the mesh (within reason). Teanmoon also has a tutorial on that:
The Bump Map - Teanmoon
If you’re feeling extra (I know I often do), you can use emission maps to make your item glow and/or flash/twinkle.
Get to know emission the map - S4S
Meshing
Meshing is a little more complicated (or perhaps not, depending on what your strengths are. I recommend starting with the Blender Donut Tutorial (pick the one that matches your Blender version) to familiarise yourself with Blender. I didn’t do this. I went in raw from using Milkshape for over a decade (don’t start me on Milkshape lol) I would have learned faster if I did…
Once you’ve navigated the majestic plate of donuts, you might be ready for a touch of frankenmeshing! This tutorial covers the basics really well, as well as a touch of texturing:
How to Make CC Clothing for The Sims 4 - Powluna
@joliebean also has some great tutorials covering some of the more technical details.
Going forward:
So you’re feeling confident and want to mesh from scratch! There are 3980193890381 CC creators and a limited pool of meshes to frankenmesh, so you may want to create something new. Trust me, start with earrings and work your way down from there.
For the alpha girlies:
Start to Finish Marvelous Designer Tutorial by owlplumbob
I'm also happy to answer any questions people might have as they're starting out. I don't know everything, nor am I one of the top-tier CC creating girlies by a long shot, but I'll do what I can and try to sign post if I don't know.
614 notes
·
View notes
Text
Sooo, recently I've found a way to fix (in my opinion) "unfinished", alpha custom content made for TS4. First I tried to remodel a high-poly shirt and copy the UV map from the original to the low-poly one. With this method I was able to decrease the polycount from 19k to 1,8k in 2-3 hours.
After that I tried to figure out a faster method and found an open source auto remesher addon/plugin for Blender which cut the work time in half, 1 hour! Tried this plugin out with another shirt and I was able to cut down ~8k polies AND keep the quality that the original shirt had!

Then another one!

I honestly don't know what to say. I am convinced now that most TS4 CC creators only make their work to fill their pockets and wallets. I know they say that they do this out of a hobby, but PLEASE, if you put your work behind a paywall, at least make sure it's optimized.
#sims 2#sims 4#decreasing the polycount and fixing the topology is so fun#also soothing a bit#no passion only money ig#might delete later
2K notes
·
View notes
Text
Belly Movement
I've had a few people request for me to add more belly movement during compressions. For a long time, I thought adding this would be impossible, or highly impractical at best. Fortunately, I figured out a way to do this.
The first part of the above video shows belly expansion during compressions, and the second part shows a breathing animation that speeds up along with the heart rate.
The rest of this post will be a long explanation for why something that seems so simple ended up being very complicated. Feel free to skip if you aren't interested in the technical side of game development.
How Animation Works
To explain why adding this movement was difficult, it is important to understand how 3d animation works. 3d models are made up of vertices, basically a list of points that are connected into triangles. To make the models move, these vertices need to move, creating a new model. However, no one wants to create an entirely new 3d model for every frame of an animation. Instead, these vertices are parented to bones, which allow an animator to move a bunch of vertices at once. For example, the vertices of the arm are parented to the arm bone, etc. In reality, vertices can actually be parented to multiple bones with different weights, allowing each bone to influence the vertices' positions. The collection of bones making up a character is called a rig.
The Problem
So why couldn't I just animate the belly movement like any of the other animations in my game? The problem is that I imported these characters from vroid, which means I'm limited to the vroid rig. And the vroid rig does not have a separate bone dedicated to belly movement. Instead, it only has spine bones for controlling the torso. This is why, in the MTM animation, I imitate filling the character's lungs by arching their back.
Theoretically, I could instead import the vroid characters into Blender before importing them into Unity. Using Blender, I could add my own belly bone, solving the problem. But then I would lose the vroid file format, which comes with many benefits. I use a plugin to import these characters into Unity, and this plugin doesn't just set up the model. It also sets up materials, hair physics, jiggle physics, facial expression, eye movement. If I modified the characters in Blender, I would then need to set up all that stuff myself, adding potential hours of work for each character.
After realizing this, I basically gave up on the idea of adding belly movement. The result wasn't worth the development time I could have been spending on something else.
Potential Solution 1
When thinking about this problem, I realized there is another animation technique that is often used for 3d models. Blend shapes! Instead of using bones to move the vertices, an animator can directly move the vertices themselves, then save this new position as a blend shape. Then, the animator can freely interpolate between the vertices' original position, and the the position of the blend shape. This technique is often used for facial expressions, and the vroid models come with predefined blend shapes for the face mesh.
Vroid is mainly used by vtubers, and it is a very common thing for vtubers to transfer custom blend shapes onto existing vroid characters to create their facial expressions. I thought I could do a similar thing to transfer a belly expansion blend shape onto my character's body models.
Unfortunately, you can only transfer blend shapes from one model to another if they have the same number of vertices. This works fine for faces, since vroid splits the face from the rest of the model. However, the body model is combined with the clothes, meaning each character has a different number of body vertices.
After realizing this issue, I gave up on this idea. Until...
Potential Solution 2
The main issue here is that I needed to transfer the belly's movement onto the clothing. Blend shape data is stored as the change in position from the original mesh. Supposedly these deltas can only be transferred between meshes with the same topology. However, I figured I could calculate what the movement of the clothing vertices should be by looking at the closest vertices to the body mesh.
The idea was to loop through all the vertices in the clothes, project the vertices onto the closest triangle of the body mesh, then use bilinear interpolation between deltas of the body blend shape to calculate the delta position of the clothing vertex.
This method should work. However, I couldn't find any information about people doing similar things online. I suspected such a method should be common knowledge if it worked well, which led me to believe that it wouldn't. I think this method would work for clothing that closely matched the body's topology. However, I needed this method to work for shirts, dresses, high-waisted pants, skirts, etc.
This method would be complicated to implement, and I didn't want to put in the effort for something that probably wouldn't work well. I also gave up on this idea.
The Actual Solution
After having a couple failed ideas, I wanted to forget about this issue and work on something else. However, I felt my last idea was so close to being correct. Then I realized something quite simple. It all comes down to the fact that the blend shape I aimed to create was really very basic. I was just going to go into Blender, grab a vertex from the middle of the character's belly, and pull it out using the proportional editing tool. I realized that such a simple edit could be done programmatically in Unity.
Basically, during the game's runtime I can find all the vertices around a target and pull them out using a custom falloff curve. This works exactly how I would have edited the mesh in Blender. And since I am pulling out all the vertices based on distance from the target, it doesn't matter if it pulls the character's body or their clothes. Everything should be deformed equally, resulting in basically no clipping issues.
Ta Da, problem solved! Well, not exactly. Editing the mesh during runtime hits performance pretty hard. My test scene was normally running at 200 fps, but the realtime deformation cut that down to 50 fps. And that was just a test scene. This solution would not be sufficient in the actual game.
That was okay though. I just needed to save this deformation as a blend shape ahead of time. Then there would be no performance impact. This ended up being somewhat complicated in itself. Mainly due to the way Unity handles mesh assets. But I'll skip those problems here, as they aren't as interesting.
Anyway, after all this effort I finally got something working. It may have been a lot of effort for something so simple. But figuring this stuff out is my favorite part of game development. I also plan to use this deformation technique in the future for other things. I think the results look pretty good, but let me know what you think!
#resus#cpr resus#resus community#resus art#resus animation#cardiophile#rescue theater#anime resus#thumper#chest compressions
118 notes
·
View notes
Text
Here's a list of Free tools and resources for your daily work!🎨
2D
• Libresprite Pixel art + animation • Krita digital painting + animation • Gimp image manipulation + painting • Ibispaint digital painting • MapEditor Level builder (orthogonal, isometric, hexagonal) • Terawell manipulate 3D mannequin as a figure drawing aid (the free version has everything) • Storyboarder Storyboard
3D
• Blender general 3D software (modeling, sculpting, painting, SFX , animation…). • BlockBench low-poly 3D + animation.
Sound Design
• Audacity Audio editor (recording, editing, mixing) • LMMS digital audio workstation (music production, composition, beat-making). • plugins4free audio plugins (work with both audacity and lmms) • Furnace chiptune/8-bit/16-bit music synthesizer
Video
• davinciresolve video editing (the free version has everything) • OBS Studio video recording + live streaming.
2D Animation
• Synfig Vector and puppet animation, frame by frame. Easy. • OpenToon Vector and puppet animation, frame by frame. Hard.
↳ You can import your own drawings.
For learning and inspiration
• models-resource 3D models from retro games (mostly) • spriters-resource 2D sprites (same) • textures-resource 2D textures (same) • TheCoverProject video game covers • Setteidreams archive of animation production materials • Livlily collection of animated lines
746 notes
·
View notes
Text
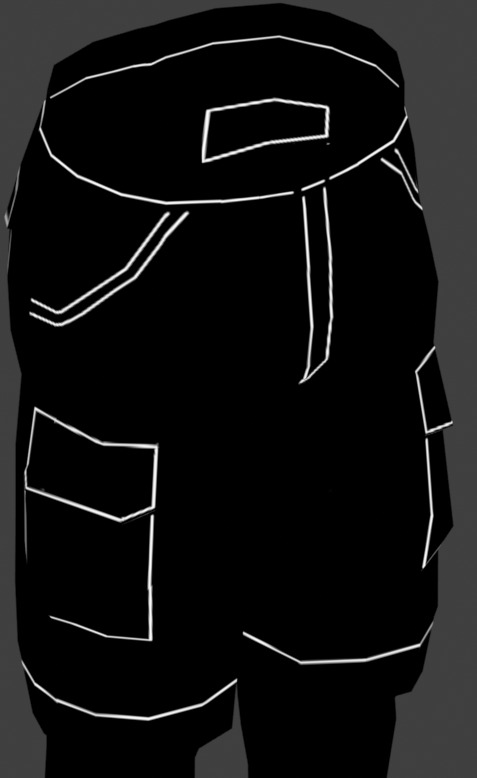
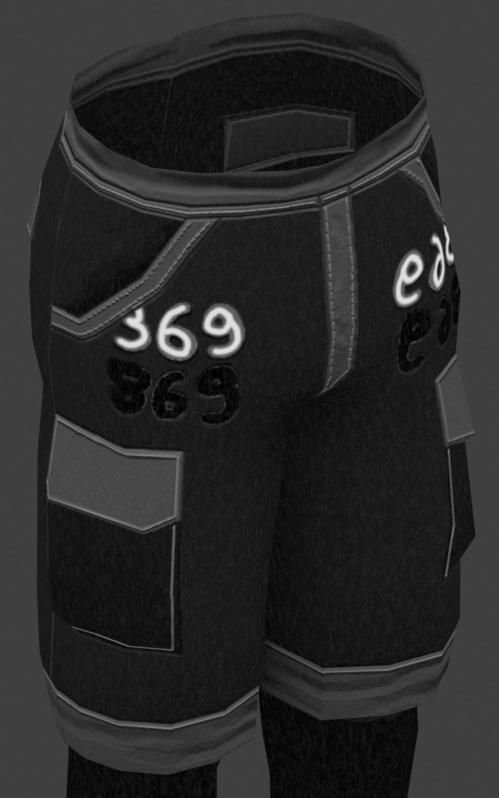
The Sims 3 Material Painter Final Version
UPDATE
I've updated the painter, and with it, included some new things as well as a fully interactive tutorial on how to use it.
NEEDED Prerequisites:
Blender 4.2+
Blender Paint System Addon - HERE (you can donate to the original creator, or get it for free, great little plugin!)
THE TUTORIAL
The tutorial is extensive, done in numbered steps, and is UI and workflow oriented, allowing you to click on any relevant UI element to learn more about it, and how it relates to the complete workflow. There's an additional, advanced chapter, for people who are interested in learning more about blender texture painter's functionality and techniques.
PAINTER ADDITIONS
The Painter has been slightly fixed, with multiplier's lines and depth shading being shifted to the correct depth, and with AO being more pronounced. This will make multiplier output even more accurate. Added some new minor tweaks to UI and Color Palettes to accommodate for the tutorial.
DOWNLOAD
Get updated templates with new files HERE!
If you only want to access the tutorial, you can do it HERE.
You can access the original post below:
Been working on a tool that easily creates The Sims 3 material maps based only on a few texture layers, most of it derived from height data. This was done long time ago, but very sloppily, and it was not at all approachable.
Discovering THIS free blender add-on that lets you plaint layers in it, made me return to this project and finalize it for release.
The tool can export:
- Multiplier, RGB+A
- Normal Map, RGB+A
- CAST Map, RGB+A
- Specular Map
- Overlay, RGB+A

OLD VERSION BELOW!
//~~Get it HERE, and please, make sure to get THIS blender plugin, it's NEEDED for this to work. Blender 4.2+ is also needed for these to work together.~~//
#thesims3#thesims#sims3#thesims3cc#the sims 3#sims3mods#ts3#sims 3#sims3tools#thesimstools#simsc#simscreation#sims creator#blender#blender3d
206 notes
·
View notes
Text
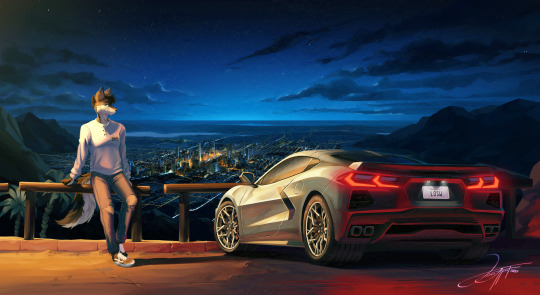
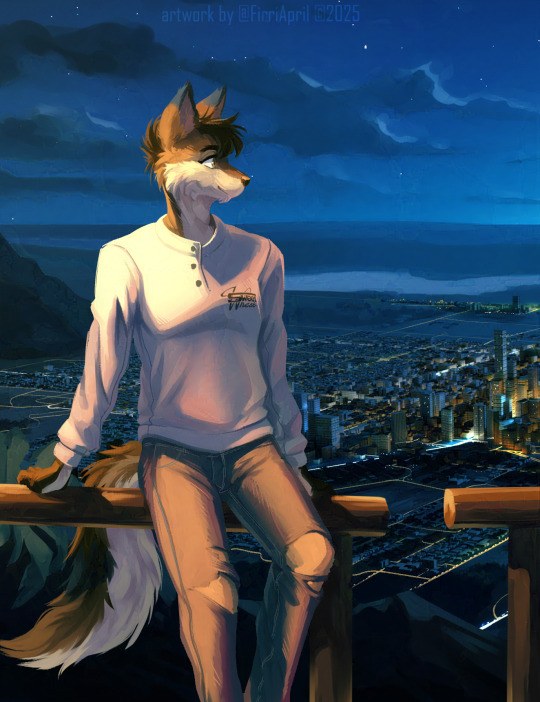

Midnight Drive
A very big painting where I used 3D modeling to recreate the dense cityscape! I used an OSM plugin in Blender to pull map data to create very quick buildings, which I could then texture and place around the background!
#2025#Firri's Art#drawing#artwork#artists on tumblr#Human Artist#Furry Art#furry artist#original character#Cars#car art#blender#3d
121 notes
·
View notes
Text
VIRAGO is progressing nicely, she has a better user interface now! I will upload screencaps later
new project guys: some kind of vroid vrm plugin for blender
6 notes
·
View notes