#bottle caps
Text


Upcoming Shop Update! A little preview of new items that'll have up on May 5! ✨
Bottle cap badges, a new Captain Crab print, and a my Ocean Guys Charm Gacha will go live! Grab a random new beachy friend or a little bottle cap for your travels~ Plus, my Collection of Crabs print will be restocked and I'll be running a sale on some items to help clear out my stock :>
I'll make another post when things go live~!
45 notes
·
View notes
Text


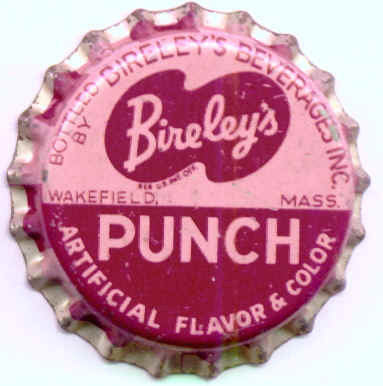


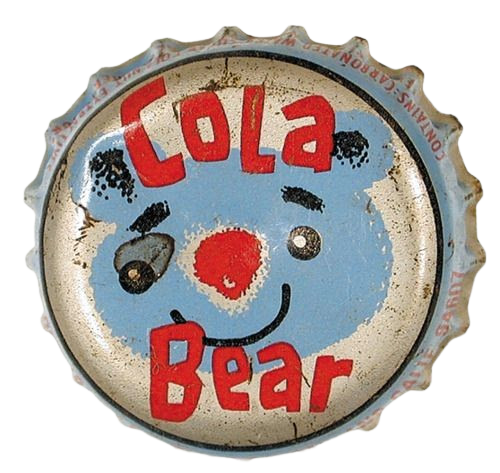
Vintage bottle cap pngs ★
source
#bottle caps#diet coke#cherry coke#sprite#carrd inspo#carrd stuff#carrd pngs#messy png#pinkcore#pink png#pink icons#carrd icons#pink lemonade#carrd resources#resources#messycore icons#messycore#twitter icons#messy icons#pinkcore icons#soda png#cute icons#cutecore#icons#icons png#vintage icons#early web#y2kcore#early 2000s#old web
840 notes
·
View notes
Text

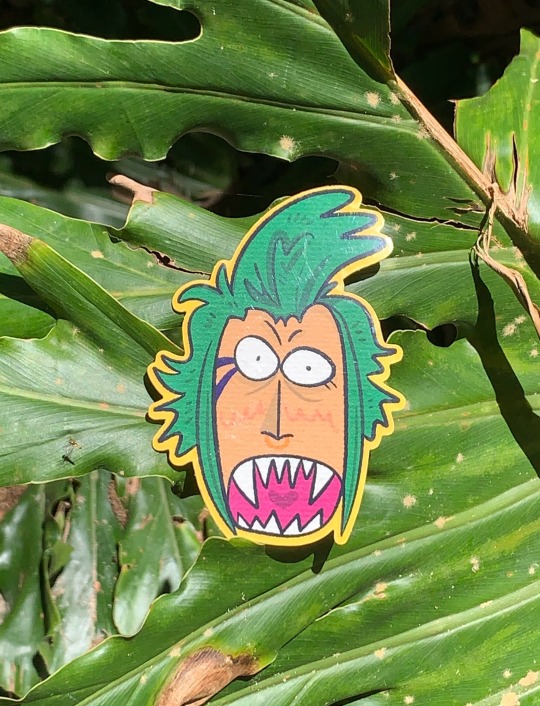
A lill man
- Sweden
273 notes
·
View notes
Text

watercolor caps
329 notes
·
View notes
Text
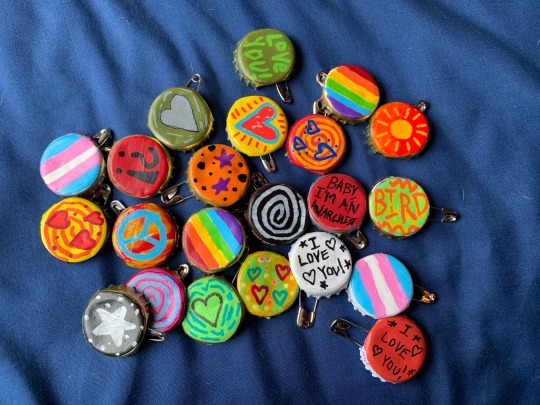
Handmade bottlecap pins !!!!
<33
150 notes
·
View notes
Text
Wowza! New shop stuff!


65 notes
·
View notes
Text
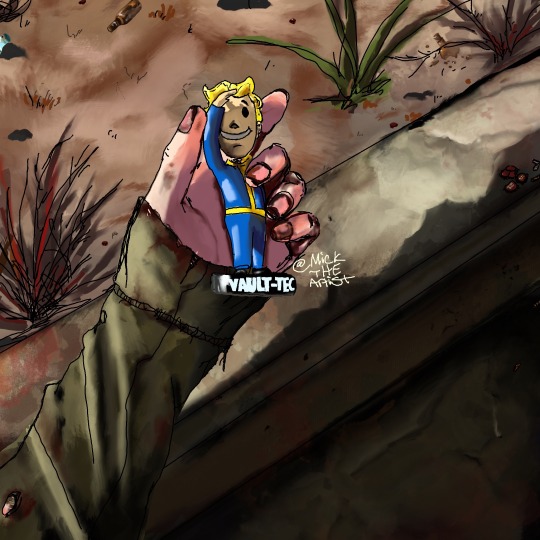
I’m so excited to watch fallout tonight!
I hope there are deathclaws, who am I kidding there better be deathclaws!
#my art#artwork#digital art#art#artists on tumblr#original art#oc art#fallout 3#fallout 4#fallout community#fallout fanart#fallout new vegas#fallout 76#fallout oc#fallout art#fallout fandom#fallout nv#fallout: new vegas#fallout on prime#bobblehead#vault tec#vault boy#im so excited#deathclaw#nuka cola#digital artist#new art dropped#nuka break#benny fallout#bottle caps
111 notes
·
View notes
Note
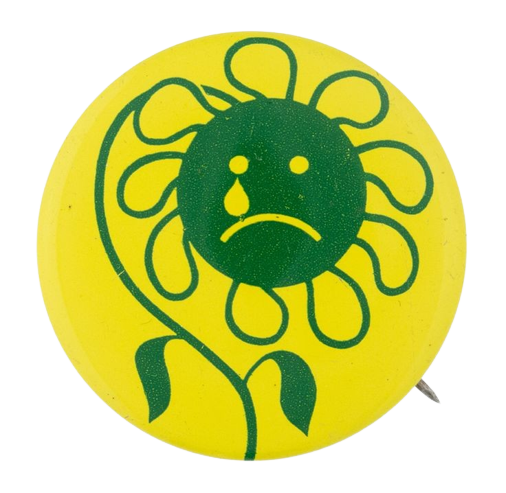
hellooo could i ask for circular stuff? like buttons, etc. anythin u see fit!! 🫶


323 notes
·
View notes
Text
Fallout: New Vegas: Lucky Horseshoes
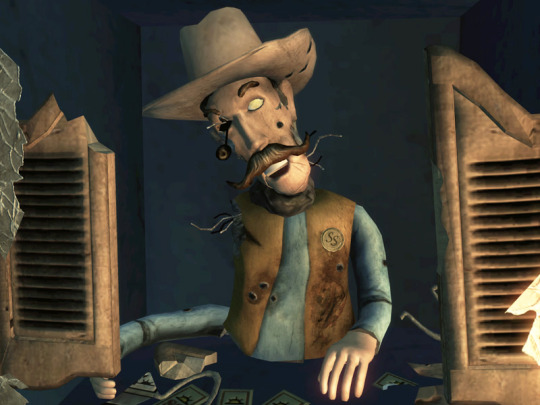
Were you previously aware that the player can play a unique version of Blackjack called Lucky Horseshoes with Festus?
Unlike the other gambling games, this is played entirely through dialog. It can be played by selecting the “I Feel Lucky” option.
You can read more about the mechanics of Lucky Horseshoes and how it is played here:
https://fallout.wiki/wiki/Lucky_Horseshoes
#fallout wiki#independent fallout wiki#fallout#fallout series#fallout new vegas#fnv#sunset sarsaparilla#fallout robots#festus#blackjack#gambling#bottle caps#fallout wiki facts#fallout facts
93 notes
·
View notes
Text
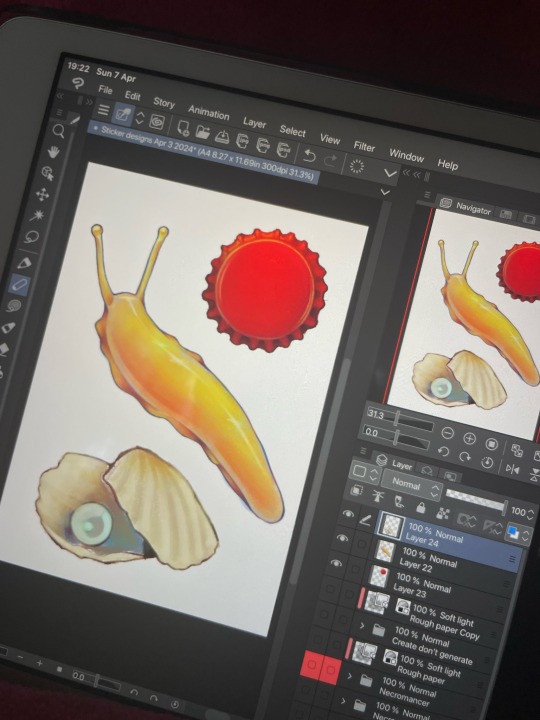
Idk if there’s a name for this, I call it a “trinket collage” but I LOOOVE drawing small things and putting them all together in one illustration.
#art#realism#trinkets#collage#artists on tumblr#digital art#artist#digital illustration#illustration#clip studio paint#csp#slug#slugs#sea shells#bottle caps#tiny art
34 notes
·
View notes
Photo
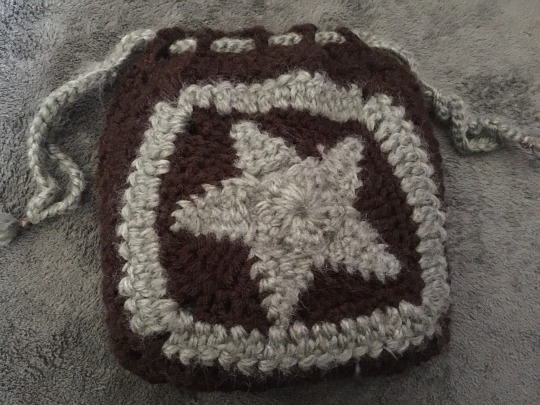


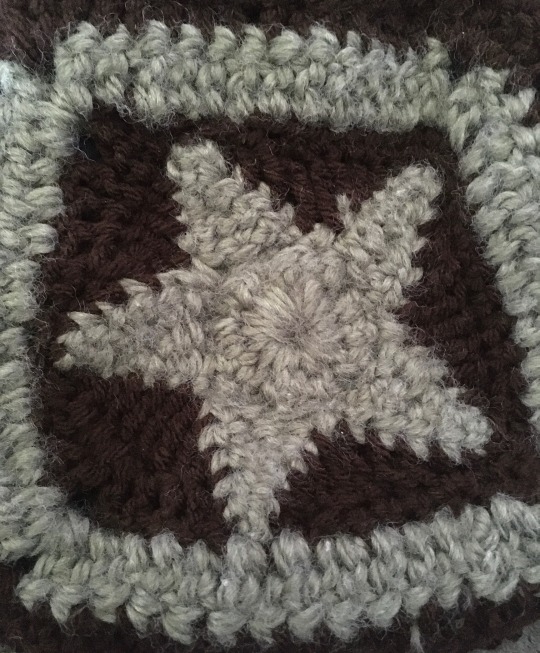
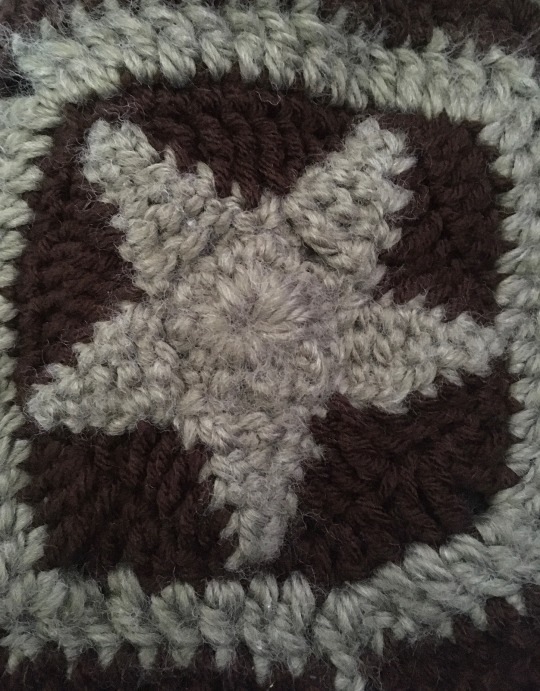


I decided to finally get around to making my own tarot cards! <|:^) I’ve never really felt like buying an actual set, because I just didn’t really feel drawn to any affordable tarot decks I’ve seen, so I made my own :)
I know they’re not the neatest work, and the offee staining ended up a little darker on some of them (or some got more faded). I also used cardboard of different thicknesses for them, since that’s all I had, but I got to make them in my style, so I still like them.
I crocheted a tarot bag to hold the cards too. I used the star granny square pattern in green and brown. I also made some bottle cap pins of a few of my favourite bands, so I included them in this post, I’ll definitely make more once I get more bottle caps and safety pins.
#tarot#tarot cards#witchcraft#my post#my crafts#my photos#crochet#crocheting#handmade#handsewn#sewing#fiber art#bottle caps#bottle cap pins#bottlecap pins#corvidcore#gremlincore#crowcore#forestcore#witch#witch diy#tarot bag#granny square#divination witch#divination#divination magic#alt diy#fairycore#goblincore#black metal
161 notes
·
View notes
Text

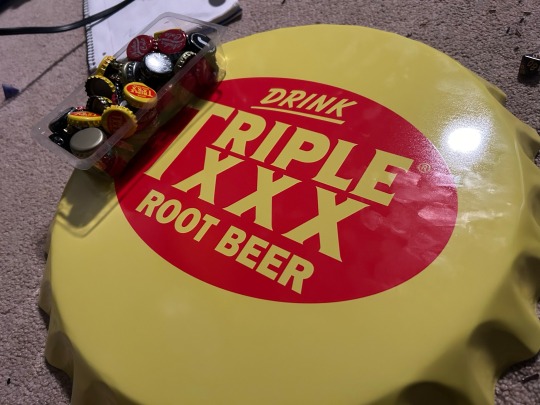
About ten pounds of bottle caps
Goodwill - Iowa City, IA
254 notes
·
View notes
Text
fallout fans:
i am asking for you to add your bottle cap collection to this thread, and nothing more
i'll start it off
#fallout#bottle caps#fallout series#fallout 1#fallout 3#fallout new vegas#fallout 4#fallout shelter#fallout 76
24 notes
·
View notes
Text
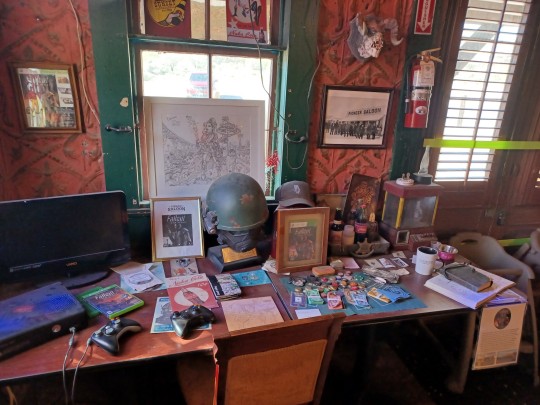
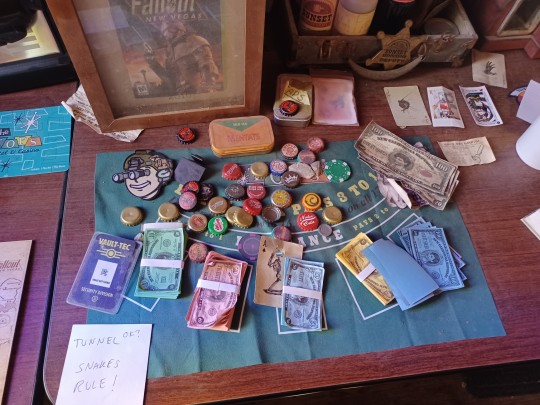

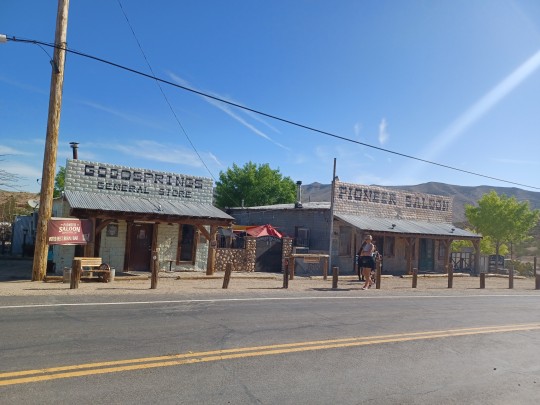
Left a bunch of my bottlecaps at the shrine in the Pioneer Saloon at Goodsprings Nevada
187 notes
·
View notes
Text
[ DANNY'S TUTORIALS: BOTTLECAP PIN ]
Hi there!! I'm gonna teach you how to make a bottlecap pin since I've gotten a lot of questions about where I got mine from baby punks and others who just find them cool! I've found that a lot of people buy their pins online from companies that overprice and over-process their designs, and often times steal them from smaller businesses. Punk has been gentrified over the years, so this tutorial acts as a way to reconnect to the roots of DIY fashion made by people with limited resources and time. This is a great way to show your interests, pride in your community, and pretty much anything else you want even if you don't have a penchant for traditional art. Don't worry about it looking good, just try to have fun! At the end of the day, the shittier the job, the more punk it is.
[ Step Count : 6 ]

Here's what you're gonna need! (optional materials have a star next to them instead of a regular point):
-> hot glue gun (in replacement of pliers)
-> safety pin
-> bottlecap (unbent, preferably a twist off)
-> can tab
✮ pencil/pen
✮ sandpaper
✮ paint & paintbrush/posca pens
✮ regular Elmer's glue
STEP 1:
Gather your all of your materials and place them on your workspace. I'm going to paint mine, so I got the sandpaper, paintbrush, and paints as extra materials.
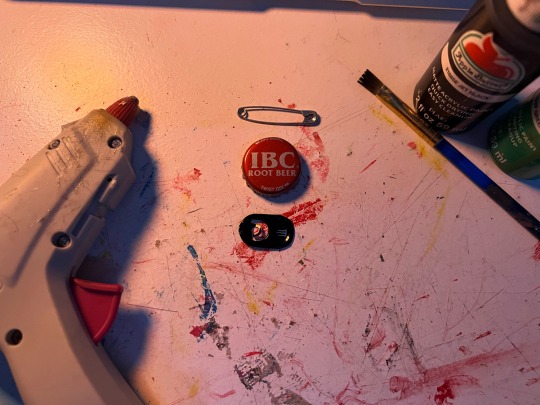
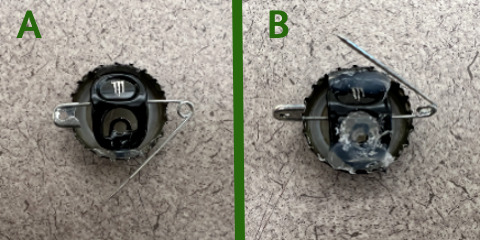
STEP 2:
If you're not going to paint yours, go ahead and skip to step 3. Otherwise, get your sandpaper and your bottlecap, then sand down the surface (A). Paint your base, draw a design with the pencil/pen, and fill it in with your paints/posca pens (B)! After I'm done painting I'll usually seal it in regular Elmer's glue to make sure it doesn't get messed up anytime soon (C). I chose a little green skull since the person I'm gifting this too likes and spooky stuff and green is their favorite color :]

[ Also sorry for the change of scenery, I had to finish at the library cause I was studying. Visiting, donating, and helping your local library is Punk As Fuck. ]
STEP 3:
What you're going to do now is set your bottlecap aside, and take out your can tab. I have joint problems and I can't use pliers, so I bend it over the edge of a table by holding it half over the edge and pushing down to bend the metal. But try not to bend it too much so your safety pin stays in place!
STEP 4:
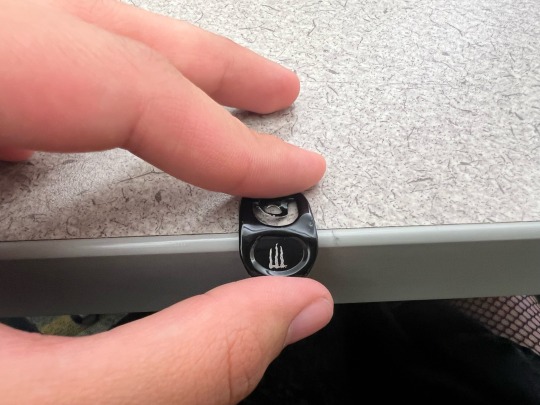
Okay, here comes the tricky part. Like I said, I have joint issues, so I can't use pliers because they hurt my hands. Instead I'm going to set aside my now bent can tab and bring back my bottle cap, then flip it over. Place 2 hefty drops of hot glue on the bottom and top of the pin, then get your safety pin and open it so you can place it on the back horizontally.
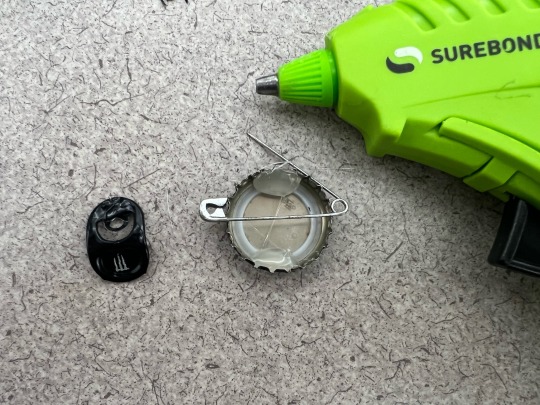
STEP 5:
Now, place your bent can tab on the back of the pin and over the open safety pin, pressing it into the hot glue drops and letting it dry for a little bit (A). If you like, you can also put two more drops of hot glue on the tops of the bent can tab for extra security (B). I also put some hot glue in the middle of the tab's opening for extra security on the safety pin. Please pardon the absolute dogshit photo quality it wasn't cooperating for some reason LMAO
STEP 6 [FINAL]:
Wait for it to dry, then you're all done!! Your very own bottlecap pin. You can attach this to bags, jackets, shirts, pants, and pretty much any material that a safety pin can glide through.

Here's the finished product, as presented by my friend D at the library (everybody say thank you D for modeling)!!
[ -> Next (coming soon:]) ]
#punk#diy punk#bottle cap pin#diy tutorial#punk rock#bottlecap#bottle caps#punk tutorial#diy#diy jewelry#diy accessories#danny's tutorials
474 notes
·
View notes
Text
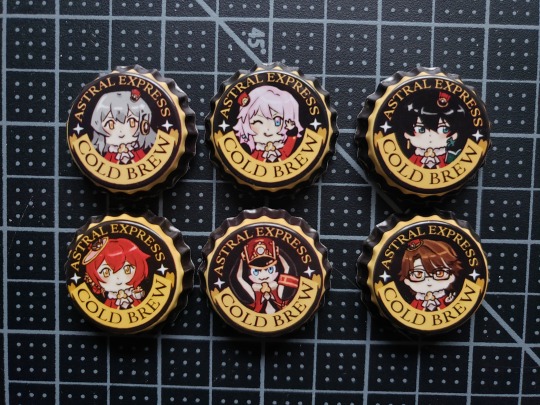
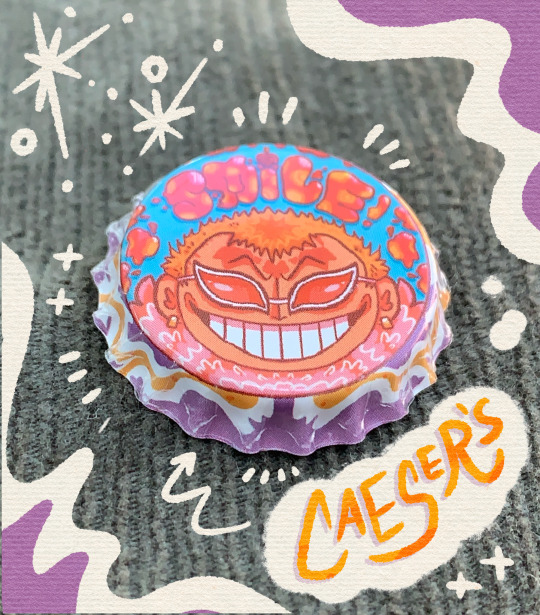
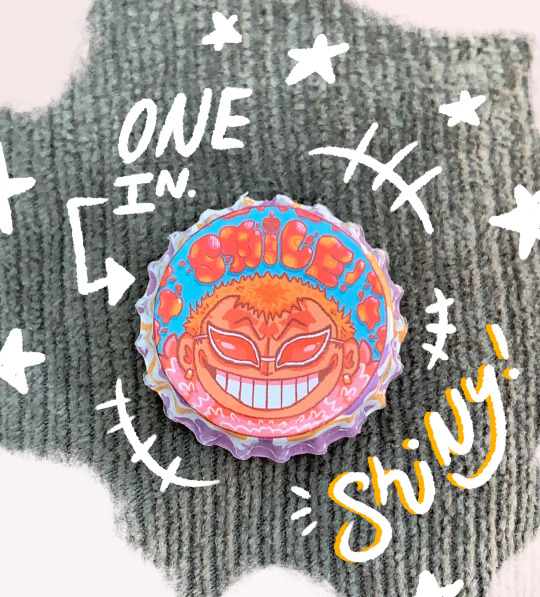
Made some vintage-inspired bottle cap pins of the Astral Express crew!
#honkai star rail#stelle#march 7th#dan heng#himeko murata#pompom#welt yang#honkai#hsr#trailblazer#the astral express#astral express#pom pom#hsr pompom#hsr stelle#hsr march 7th#hsr dan heng#bottle caps
44 notes
·
View notes
Last Seen Blogs
condomatsu
I'm funny and my name proves it
ggarmament
G&G Armament

a-a-pr0n
Beautiful Women!
dreamlessspring
Dreamless Spring
manaphyyybjd
Dollie life