#Jewelry product photography
Text
Shining in the Spotlight: The Art of Jewelry Product Photography
Jewelry product photography is a specialized form of photography that focuses on capturing the beauty and detail of jewelry pieces. This type of photography requires a skilled and experienced photographer who has an eye for detail, as well as the technical knowledge to properly light and shoot the intricate details of jewelry. Whether shooting for an e-commerce site, a jewelry catalog, or a marketing campaign, the goal of jewelry product photography is to showcase the jewelry in the best possible light, highlighting its unique qualities and attributes. With the right lighting, composition, and editing, a talented jewelry product photographer can create stunning images that will entice potential buyers and help sell the product.
0 notes
Photo
Jewelry Product Photography plays an important role in online business. The more a jewelry product looks good, the more it will be sold. So, a jewelry product photo shoot is to be done with skill and efficiency. There are specific techniques and tricks like avoiding jewelry product smudges, bad/camera reflection, and so on. https://www.clippingpatharts.com/jewelry-photography-a-useful-guide-to-take-photographs-with-perfection/
0 notes
Text
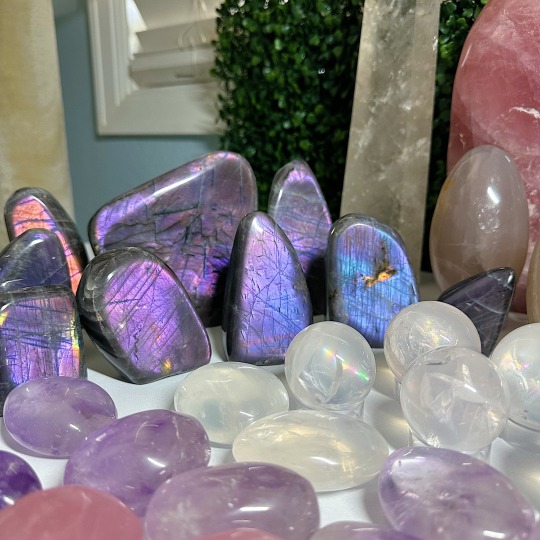

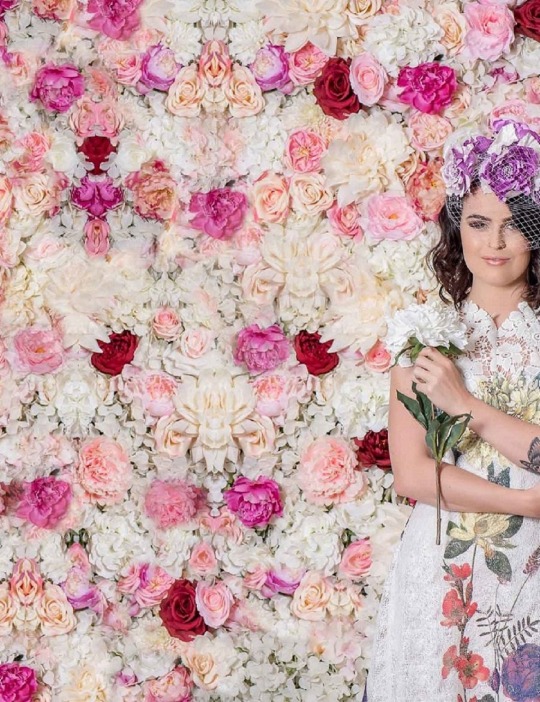
Forget flowers ~ I want crystals 🫧
#crystals#actuallyiwantboth#product photography#small business#wire wrapped jewelry#silversmith#crystal shop#labradorite#pink amethyst#girasol#rose quartz#flower agate#artists on tumblr#jewelry#jewelry artist
441 notes
·
View notes
Text
it's really a shame I have to sell 40+ of my life hours every week for poverty wages instead of spending all my time and energy on dozens of creative and technical pursuits with unlimited resources
#nerd alert#lets see if i can list all the hobbies i wish i could be doing instead of working#drawing. both traditional and digital. painting mostly acrylic but id like to get good at watercolors. drawing/writing comics#writing in general. fiction nonfiction poetry lyrics whatever. composing music. music production. singing. practicing piano and guitar#performing someday maybe!#sculpting too. i always forget bc i never do it bc i am never in a place to justify buying clay. i should just get some#i think im fairly good at it tbh. anyway.#knitting. sewing. mending and modding clothes in general. embroidery. id like to learn to crochet at some point#photography and scrapbooking sound appealing. photo editing.#web design. game design. 3d modeling. these are all things i dont really know how to do much of but id like to#animation. voice acting. regular acting. honestly a lot of stuff in the filmmaking process sounds fascinating id like to try some of it#tarot reading. is that a hobby? im gonna say yes. jewelry making.#lots of these ive only dabbled in and some i havent even done that but would like to. but i have no time and or money to get into them.#i would hardly call myself a master at any of these. jack of all trades as it were. and thats fine im fine w that#but given the time and resources i think i could make so many different diverse perfectly average to good things#that people could enjoy in passing or say 'oh how neat :)' about
19 notes
·
View notes
Text


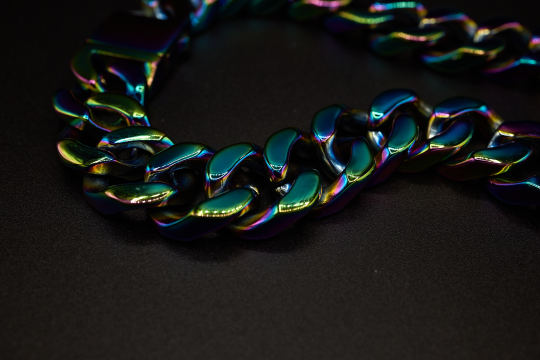
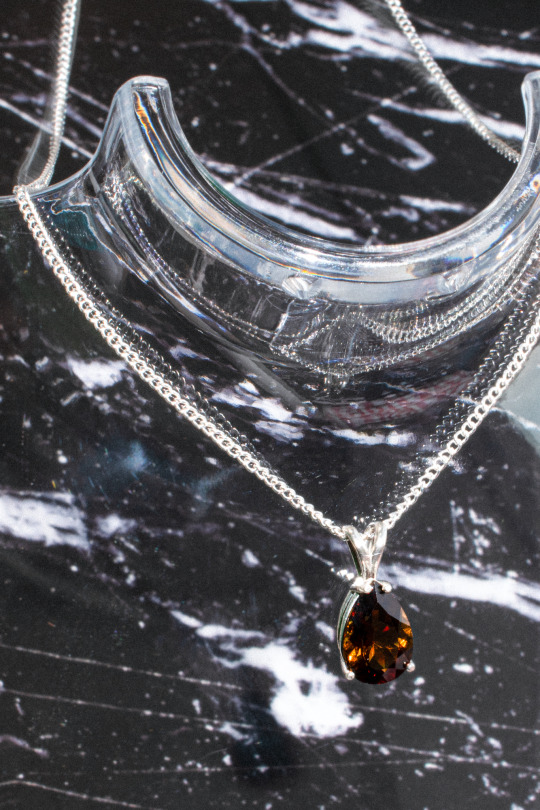
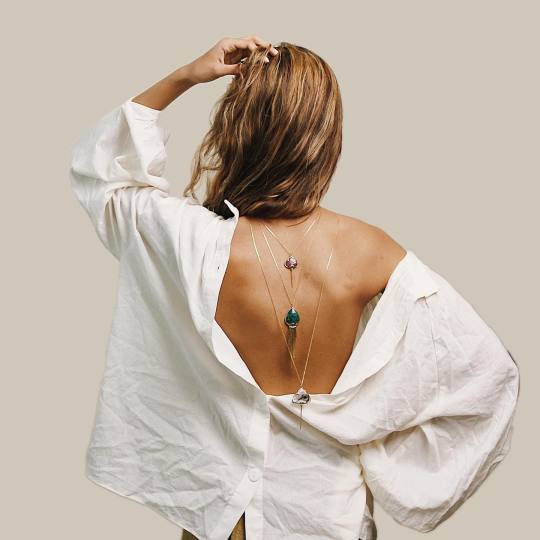
Fun product shoot I did with one of Vitaly's Iridescent chains. Sold on Depop, I'm gonna miss this guy 🥺😭
#jewelry#accessories#fashion#jewelrydesign#jewelrylover#jewelryaddict#luxury#fashionjewelry#jewelryoftheday#chains#jewelryshop#jewelrycollection#bling#photography#product photography#photoshoot#photographers on tumblr
2 notes
·
View notes
Text

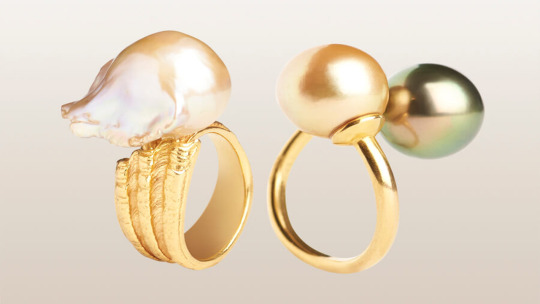
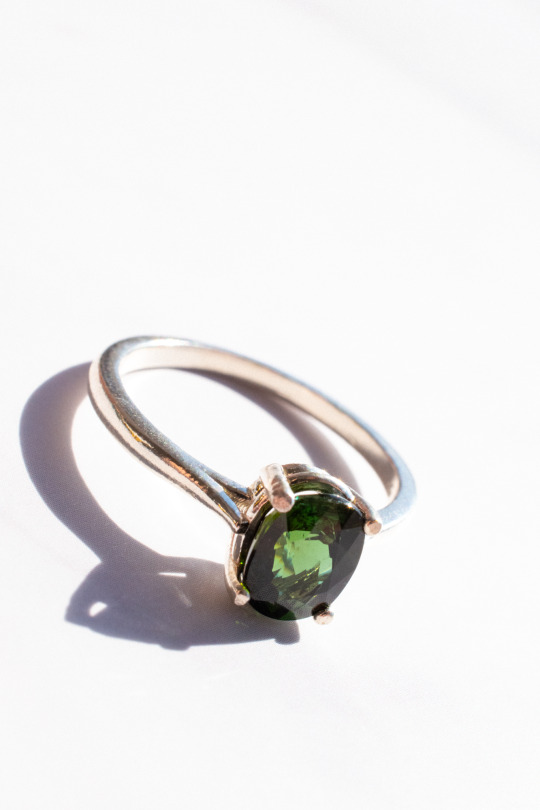
Add more colours to your life 💍. Instagram @gemsbyisaac
#gems
#photographers on tumblr#gemstones#jewelry#jewelrydesigner#tumblr shop#gold rings#tourmaline#engagement rings#aesthetic blue#gemstone rings#gems#original photographers#product photography#being productive
29 notes
·
View notes
Text
💿💿💿 recycling
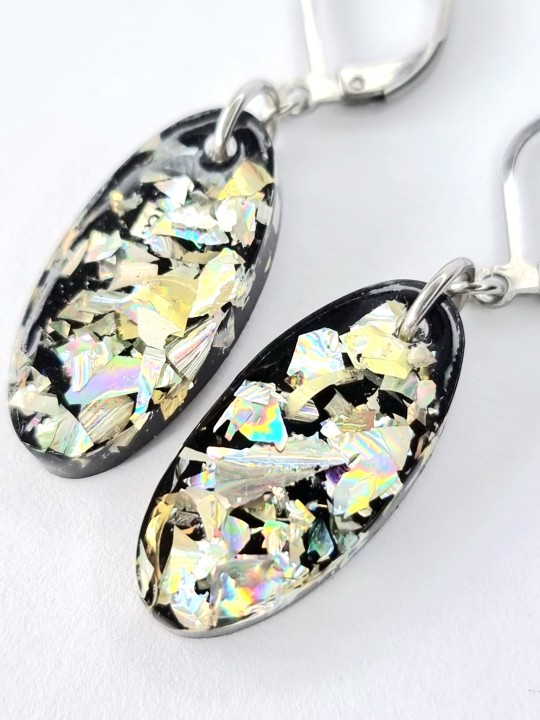


#cd#jewelry#fashionjewelry#aesthetic#fashion#style#product photoshoot#earrings#unique#handmade#artists on tumblr#fashion photography#alternative#holographic#recycling#upcycle#zerowaste
7 notes
·
View notes
Text
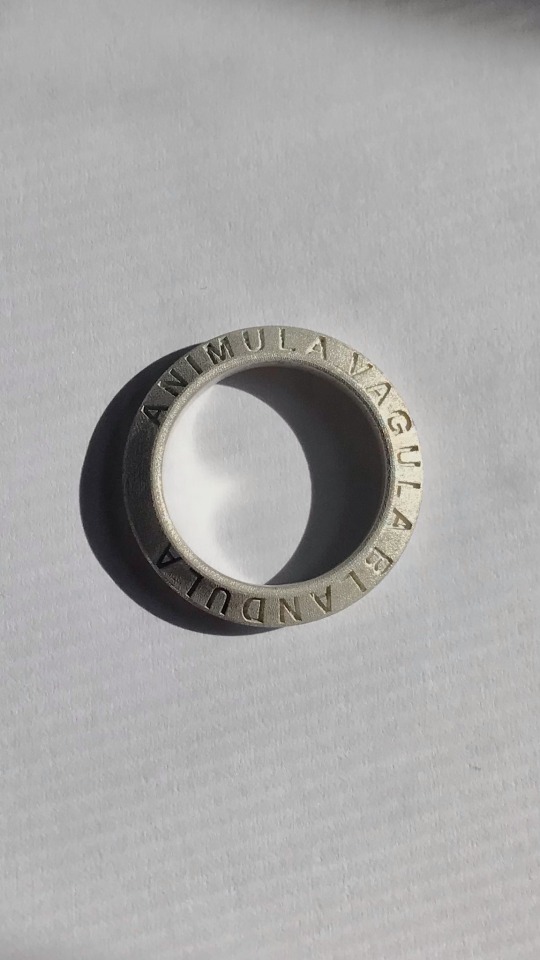

Some works from the last month
Rome, 2022
#my photos#photography#aesthetic#nature#rome#design#fashion#design aesthetic#jewelry design#design study#fashion design#design studio#product design#jewelry aesthetic#jewelry ring#jewelry collection#fashiondesigner#handmade jewelry#handmade#handcrafted jewelry#handcrafted#jewelry designer#sustainable fashion#silver jewelry#silver#silver rings#raw jewelry
18 notes
·
View notes
Text
product photography setup
Product photography is the backbone of online sales. A good quality product image can make products irresistible to the customers. However, it takes correct techniques to get the perfect shot. One of the major players in product photography is lighting. Showcasing the product with optimum light settings enhances the product's appeal. Lighting in product photography is often tricky. It's not just about having a light source that will illuminate the product, but a complete set of factors that help the product stand out. Key light - it is the main light source in product photography lighting setup. It is typically placed in front of the product but off-axis from the camera. It enhances the overall product visibility and image resolution. Fill lights - these are secondary lights with low intensity. It helps in even lighting around the product.
0 notes
Photo


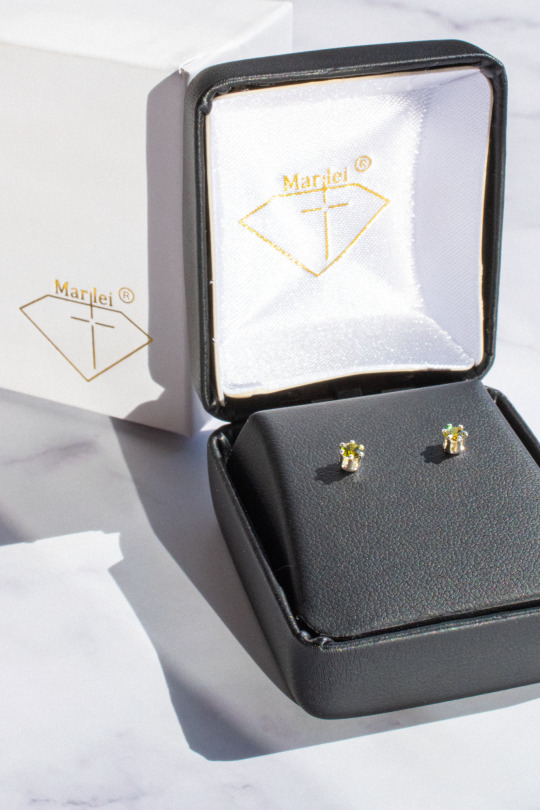


select work (september) // marilei jewelry
7 notes
·
View notes
Text
How to Engage Buyers with Jewelry Product Photography?
A jewelry piece is always a symbol of elegance, and we make sure that it's reflected in its picture. An image that has been professionally clicked and edited can help grab the attention of customers. Customers frequently view product photographs as the initial thing they see, so making a good impression is crucial to getting them to investigate the product further or come back. To make the product immediately viewable, the picture background must be flawlessly coordinated with the product's colors. With the use of jewelry product photography, you can engage customers to browse and buy your products by providing them with a more enticing and informed purchasing experience.
0 notes
Link

Editing your product photography is the next most important step for your product photography. It is the final touch that helps in bringing out the A-Game for your Product Photography.
#jewellery product photoshoot#360 product animation#how to edit product pictures#jewelry product photos#ecommerce product photography services near me#jewellery product shoot#how to edit product photos
3 notes
·
View notes
Text

Crystal mushroom garden aesthetic 🍄🫧☁️
#crystals#product photography#silversmith#small business#wire wrapped jewelry#mushrooms#mushroomcore#mushroom aesthetic#greek tumblr#greek mythology#athena#sea jasper#ocean jasper#crystal shop#crystal decor#crystal mushrooms
8 notes
·
View notes
Photo
Top 10 Best Jewelry Photographers in the World in 2022
When selling jewelry, an excellent photograph can be used to create best impression. Many jewelry stores depend on professional photographers to convince customers. To present your jewelry products in the best possible images and pictures, you need the services of a jewelry photographer. ... Discover More @ https://www.topteny.com/top-10-best-jewelry-photographers-in-world/
#Best Jewelry Photographs in the World#jewelry and product photographers#jewelry photography#luxurious details of a piece of jewelry#professional jewelry photography studios#Jewelry#Photography
4 notes
·
View notes
Text
How is photo editing in Photoshop?
Photoshop is a powerful tool for editing photos, offering a wide range of features for beginners and professionals alike. Here's a simple introduction to help you get started:
Opening and Setting Up:
1. Open your image: Go to File > Open and select your photo from your computer.

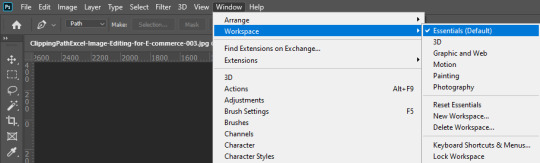
2. Workspace: Photoshop offers various workspaces. The "Essentials" workspace is a good starting point, with tools and panels easily accessible.
Basic Editing:
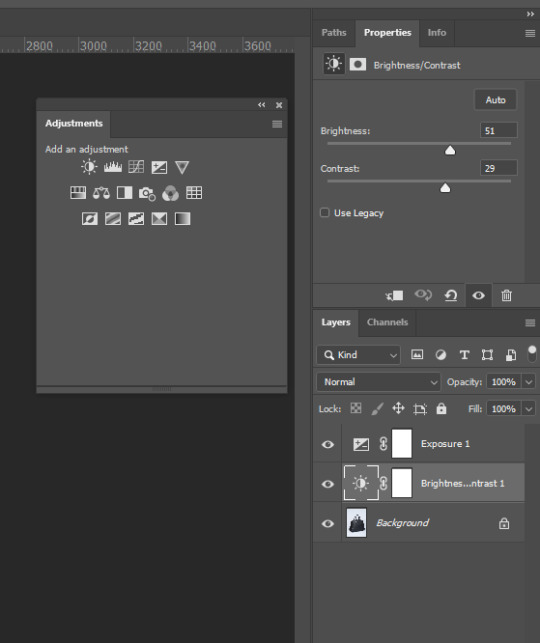
1. Adjustments: These tools enhance core aspects of your photo like brightness, contrast, exposure, and color balance. You can find them in the "Image" menu or the Adjustments panel.

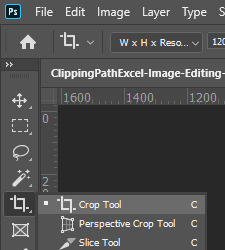
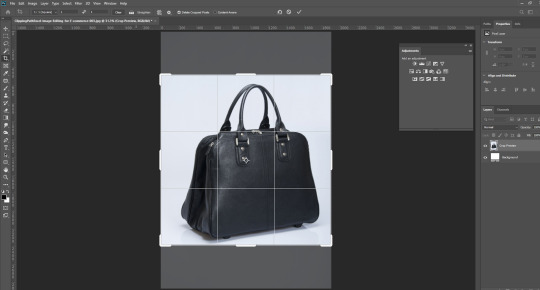
2. Cropping and Straightening: Use the Crop tool to adjust the photo's framing and the Straighten tool to correct tilted horizons.
Layers and Masking:
Layers are fundamental to Photoshop's editing. They act like transparent sheets stacked on top of each other, allowing you to edit specific areas without affecting the entire image.
Masks control what parts of an adjustment layer affect the image. By painting black or white on a mask, you can hide or reveal the adjustment's effect.
Further Enhancement:
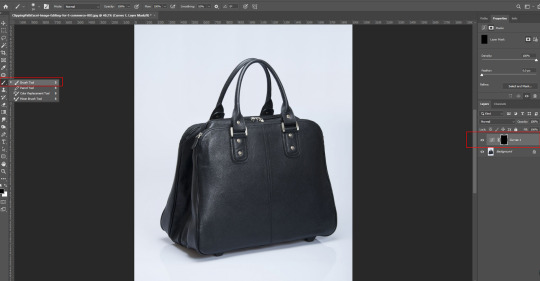
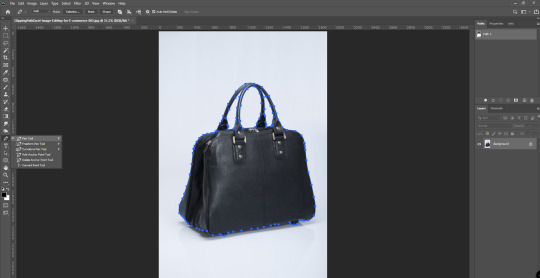
Selection tools: Isolate parts of your photo for selective editing using tools like the Lasso tool, the Quick Selection tool or Pen tool.

Retouching tools: Reduce blemishes, smooth wrinkles, or sharpen details using tools like the Spot Healing Brush or the Sharpen tool.

Learning Resources:
Adobe offers numerous tutorials on their website: https://helpx.adobe.com/photoshop/view-all-tutorials.html
YouTube channels like Photoshop Tutorials provide in-depth video tutorials.
Remember, photo editing is a vast subject. This is just a starting point! As you explore, you'll discover more advanced techniques and unleash your creativity in Photoshop.
#clippingpathexcel#photo restoration#photo retouching#cpxl#color correction#jewelry photography#hdr#photo edit#ghost mannequin photography#headshot photography#commercial photography#american photographer#model photographer#fashion photographer#headshot retouching#high end retouching#retouching#photography#photograph#portrait photography#product photography#product photographer#retail photography#professional photographer
0 notes
Text
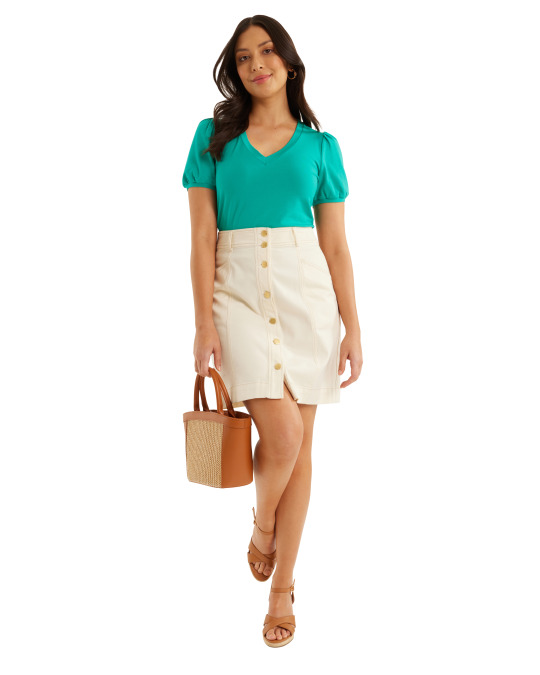
Photo Editing & Retouching Service
See our service: https://cutoutquick.com/
0 notes
Last Seen Blogs

sokka-with-his-hair-down
Semi-Active

mothfables
Tales and Fables and Yarns
tomioka-miki
miki tomioka

mscliffhazel
MsCliffHazel

alarming-prism
a catastrophy