#Procedural Shader
Explore tagged Tumblr posts
Visit Tumblr Blog
Explore Tumblr blogs with no restrictions, modern design and the best experience.
Last Seen Tumblr Blogs


Fun Fact
The Tumblr app for Google Glass was released on May 16, 2013.
Text
Distant City Windows
Like I mentioned in Gelatinous Cube in a Dungeon, the second ‘quick scene’ immediately got well out of hand, ballooning into some cyberpunkish shopping arcade that I made the mistake of making one wall a giant window, and having a giant window I needed a cityscape beyond it; so went my addled reasoning. Further over ambitious thoughts lead me to thinking “I can node my way out of this” and to an extent I can, randomly scattering some vaguely buildingish shape about the place isn’t too hard, and making materials for the buildings ends up resulting in something that I’m pretty happy with.
So I’ve broken it out and thrown together a quick scene to display it.

What I’m trying to replicate here is the look of a window into a lit room at night, where there’s some main lighting, and maybe some other lighting that’s a different colour temperature, and there’s indistinct patches of shadow suggesting occupants or maybe some furniture.
It basically some soft, distorted, noise driving a colour mix between a 2000k and 8000k blackbody colour node, that drive the Emission channel; with a couple of noise textures and a Musgrave texture being mathed together to drive the Emission Strength channel.
I’ve attached a shot of the whole node tree below the fold (now I know I can make a fold).
Some Time to Forget
Coming back to this project file after about six months to pull out the city windows material, I’ve found that whatever the image I had in my head for it at the time that overwhelmed me has died away to a dull roar, and I’ve actually managed to make some headway including a nifty geometry nodes system for generating the railings.
Where I stalled at is on the left, and my progress is on the right; now if only I knew what that vaguely church looking thing I’ve made at the end of the corridor is so I know how to detail it, but hey, one step at a time.


Shader Nodes for the city windows material below the fold.

#Blender#City#Procedural Shader#Procedural Material#City Windows at Night#Random cuboid city#Stalled project#WIP
1 note
·
View note
Text
🏪 Day 67 of Game Dev for 🫱Teleport Man🫲
More procedural mall generation stuff!
• Automatic store-front sign placements.
• Random doorway/room shapes (I need to make more of the doorways bigger or add windows tho).
• Generation based on room dimensions. Right now it just places a light in top center, but will be used to make room contents next!
8 notes
·
View notes
Text

Month 4, day 23
Snorb is finished!
BUT ALSO
I painted my nails :D


Still a lot of cleaning up to do (also you can see my messy desk), but that's mostly "let the nail polish set and then wash your hands" cleanup.
I'm really happy with how they turned out, messy or no :D Especially my right thumb, which is half gold, half purple, but since I painted the whole thing purple first and then did the gold on top of it the gold looks purple in the right lighting/at the right angle. Also that gold stripe on my blue left thumbnail is such Prav vibes lol
#the great artscapade of 2025#art#my art#blender#blender render#blender 3d#cycles render#cg fast track#procedural shader networks#nail art#nail painting#idk if I gave the polish enough time to set before I go to bed 😬#I mean I stopped painting them about an hour ago (took pics 15 minutes ago tho) and these are supposed to be quick set polishes so I HOPE s#but some of these are also laid on thicc (especially my right middle finger) so I may have sabotaged myself lol#oh well if it's all fucked up in the morning I don't mind#part of the reason I want my nails painted is so I stop chewing on them#they don't have to be pretty for that#pretty is just a bonus ;D#and if they're not all fucked up I'll put on a clear coat to protect them and make them last a bit longer#might even do that if they are all fucked up tbh#preserve my lessons learned or some shit :P
4 notes
·
View notes
Text

My low poly, procedurally generated, space game now has clouds on some planets.
6 notes
·
View notes
Text
Procedural composition book texture made in blender
Comp book made using comp nodes
2 notes
·
View notes
Text
bday gift 4 mum
#indie game dev#procedural animation#generative art#proceduralart#godot engine#shaders#gif#kitty cat#psychedelic art#trippy#ashybrainwashy
14 notes
·
View notes
Text
Procedural muzzle flash in Blender
7 notes
·
View notes
Text
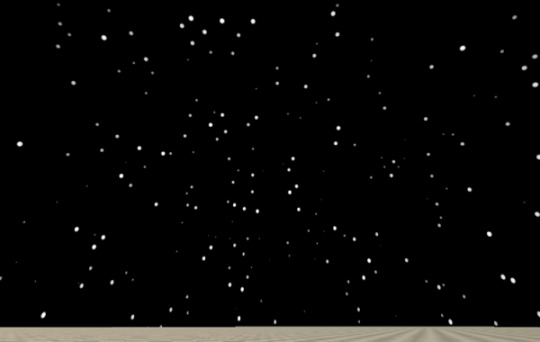
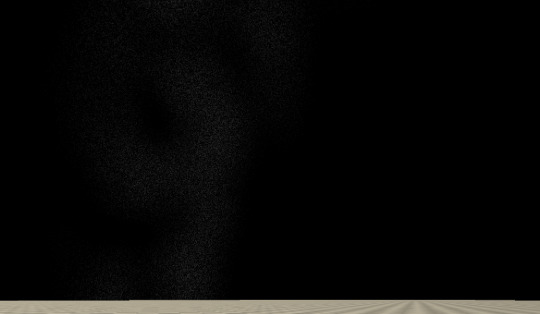
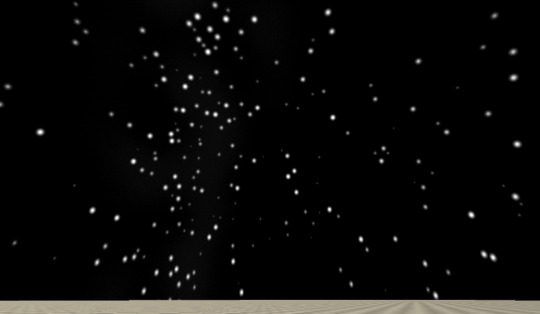
Procedural Skyboxes 2 - Stars
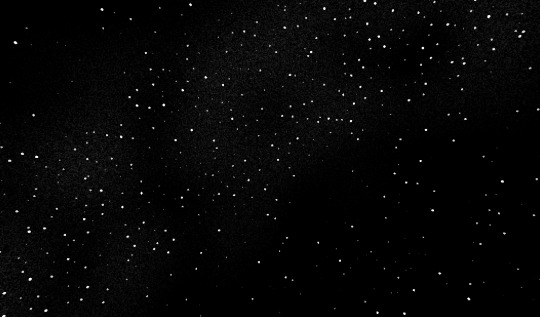


This time I need to credit a second excellent tutorial, this time by Tim Coster. My end result looks very different from this, but the underlying principles were essential.
Process and discussion below the cut.
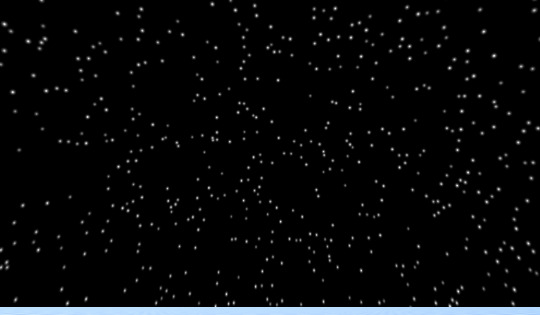
Mk0 - Voronoi
My first attempt at stars was based off the same tutorial I referenced in the previous post, using Voronoi noise to space the stars. Two inputs control star density and star size.
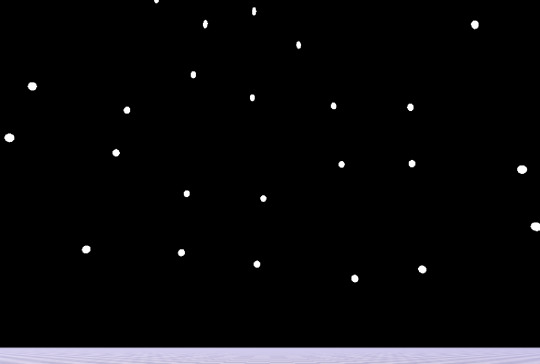
This might work fine for the use case in the tutorial, but in trying to adapt it for mine I immediately encountered some major issues.
the very even spacing feels kinda unnatural, especially with fewer, larger stars
there’s a seam in the sky (probably wouldn’t be visible with smaller stars)
heavy distortion around the sky zenith

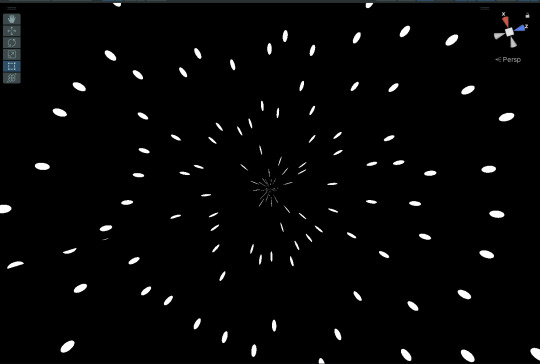
Kinda looks like you're going to hyperspace every time you look up.
The seam and distortion issues are a result of the UVs (the coordinates that determine how the shader wraps around the sky). I solved this by moving to a kinda parachute-shaped UV as outlined in this incredibly helpful post on the Unity forums.
The unnaturally even distribution is a consequence of using Voronoi noise as a base. An entirely new approach was called for, which is where the Coster tutorial comes in.
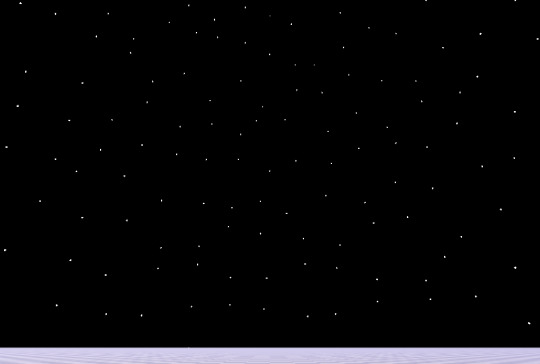
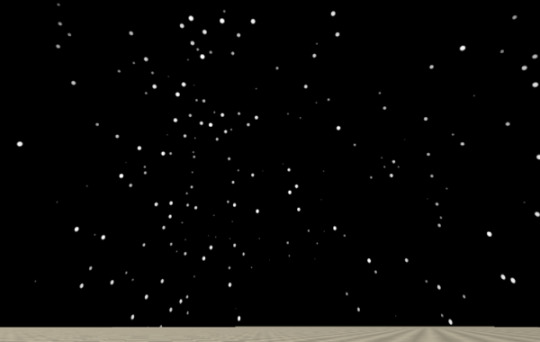
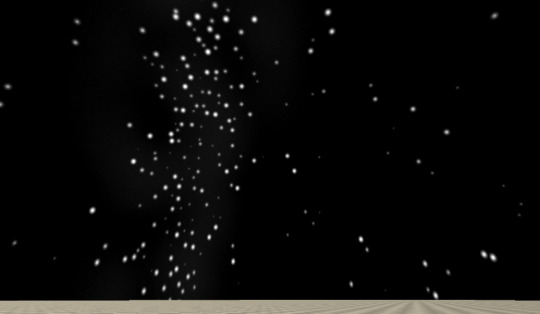
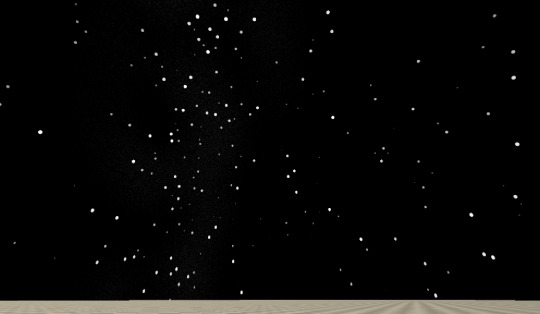
Mk1 - Tiling with displacement
I skipped the addition of the spiky light flares (not the aesthetic I’m going for) and worked through the tutorial as far as the section on size variation.
The Mk1 shader is a much better fit for the feel I’m looking for, and also looks good when you stare directly up into the sky, not just at the horizons. It also has a lot more controls. Star size remains, and gains an extra control for how much variation in size.


Density now has two controls: one which controls the density of the “tiling” (it’s not a repeating texture, because each tile is randomised, but there is tiling) and one which randomly omits a certain proportion of stars, making the distribution more gappy.


There’s also a control for how randomly the stars are spaced. I probably won’t want to move this much from a value of about 0.8 (1 produces a little more tight bunching than I like), but it’s there.
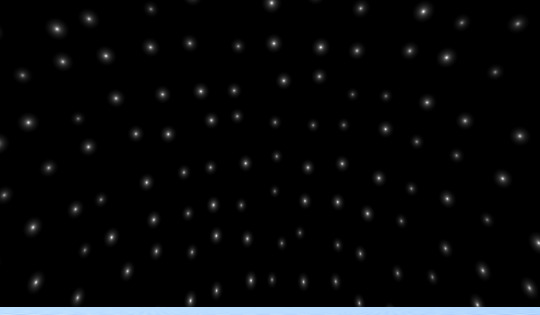
Last but not least, there is a setting for the hardness of the stars. This is going to be important later for modelling the effects of different amounts of atmosphere on the visible starfield.
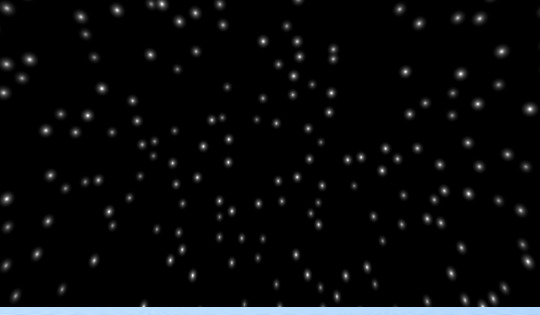

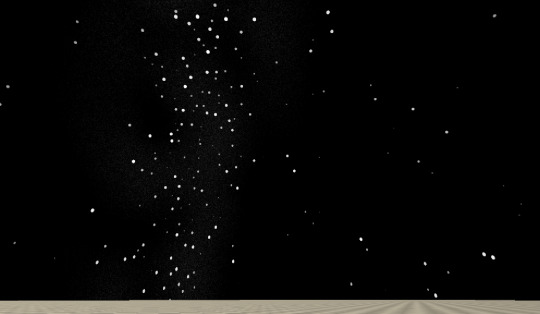
Mk2 - Galaxy Band
In the Mk1 shader, star distribution is even in all directions. The next thing I wanted to add was a band of denser stars across the sky to represent the bulk of the galaxy - as we see the Milky Way as a band across the sky from Earth.
Up to this point I had been using the purely-Shadergraph approach from the tutorial – which involves a very clunky grid of nine nearly-identical subnodes to perform an operation that is much more neatly executed by a for loop in code.
When I started trying to vary star density across the sky, this clunky 9-way graph was no longer adequate. Maybe I could have made it work with the right transformation of inputs, but it reached the point where it made more sense to bite the bullet and learn how to include the HLSL code from the tutorial and edit it to suit.
Once I managed that, feeding in variable density across the sky got a lot easier.
A new control variable, BandIntensity, controls how dramatically stars are grouped into the galactic band.
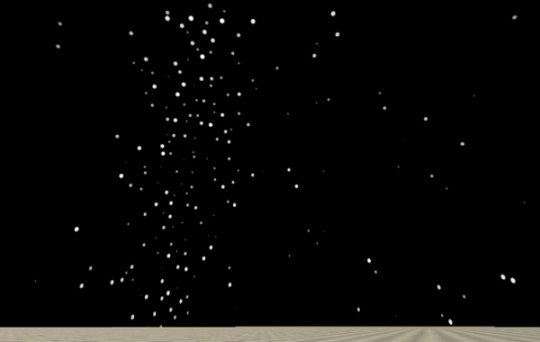
It was also at this point that I added twinkle, with controls for rate and magnitude. Eventually twinkle and hardness will be tied together, because they’re both functions of amount of atmosphere, but for now they’re separate controls.
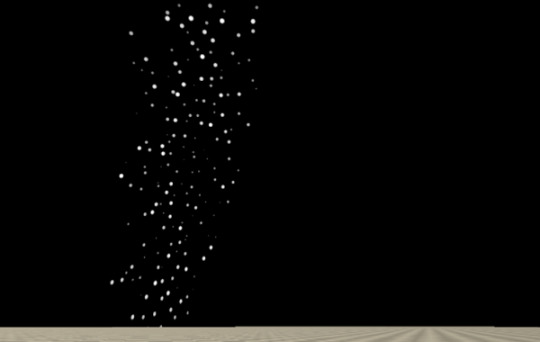
Next I added a band of faint texture behind the stars.
At low hardness, it’s just a soft stripe of Unity’s Gradient Noise. At high hardness, to make it seem “sharper” and more like a dense field of points instead of a smudge, the gradient noise is multiplied by some Simple Noise.

The end result – a pretty good looking, flexible starfield.
Next up, combining it with the atmosphere shader from pt1.
2 notes
·
View notes
Text

using 3D to concept props for sunbreeze like a reverse engineer
i got inspired by feeling like a fucking chad parrying projectiles in dusk with the sickles so i wanted lord sunbreeze's guard to carry sickles as a melee weapon - makes sense too bc yknow, scythes are used in harvesting crops, dota fairies are plant people, you get me
4 notes
·
View notes
Text

Ken Perlin, "Noise, hypertexture, antialiasing, and gesture" in Texturing & Modeling - A Procedural Approach, 1994, pp 367-443
3 notes
·
View notes
Text
This is generative work by alekustn on instagram.
I really admire this work of his, and his photography is fun too.

#i hope its procedural#it looks like shaders used to make paintings to me#and i find his work super gorgeous#alek ustya#alekustn
5K notes
·
View notes
Text
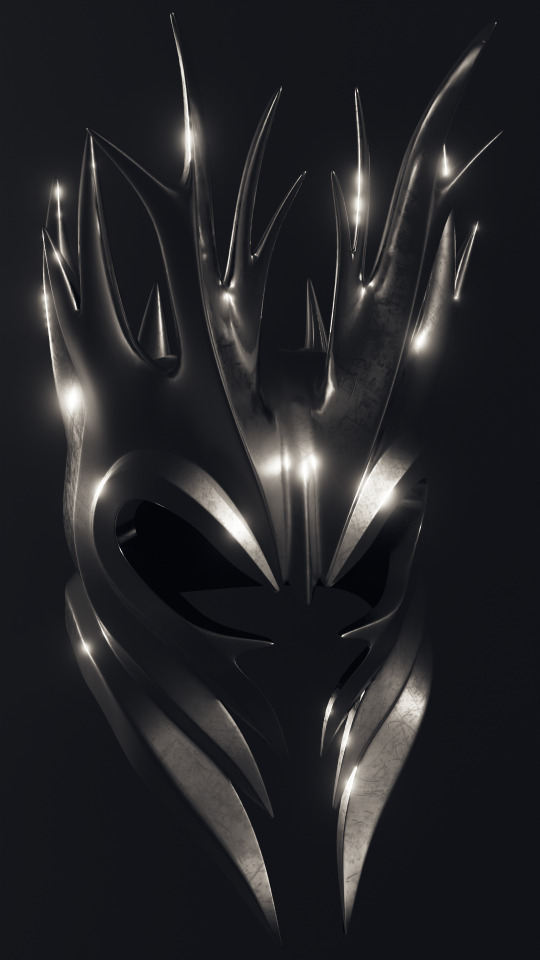
Month 4, day 19
HELMET IS DONE :D
I do not want to get headbutted by this thing lol But look at it it's all cool and shiny and stuff n_n
I've also started a new tutorial series by the same guy, this time about procedural shader networks. I thought it was gonna be a more in-depth breakdown of all the components of the shader editor and how they work together and combine into different materials, but no! It's so much better! It's showing me how to squoosh various components together so we can get multiple shaders on the same mesh without having to go into like texture painting and shit, and it's basically the same way they do it in the video games so I'm like hella hyped and excited and I've already learned a ton :D :D :D
Anyway we've still got a bit more to do but here's what I've got done so far :3

Eventually those pistons are gonna be a different color, and all the edges are gonna get worn and/or torn
And then we're gonna plop some snow on it :D
#the great artscapade of 2025#art#my art#blender#blender render#blender 3d#cycles render#cg fast track#hard surface modeling boot camp#procedural shader networks#also I tried something new for dinner tonight and it was delicious :D#I got a spinach and ricotta cheese stuffed chicken breast wrapped in bacon from my grocery store's meat case#and paired it with butter garlic broccoli#it was super good#they call it a ''chicken griller'' and they have varieties :D#I have another one but I forget which one I got so it'll be a mystery for later in the week lol#I think it was the three cheese but it I also have vague memories of going ''oooh pineapple'' when I bought it so idk we'll see#either way am excite because if the spinach ricotta one is anything to go by it WILL be tasty :D#but tomorrow is family game day so I won't be making dinner#and Monday I plan to make cubed steak and either mac n cheese or cheesy broccoli#which reminds me I should get those out to thaw...
3 notes
·
View notes
Text
Workin on a procedural CRT display shader for cute robot girls in your area !!!
(Sorry for the low FPS my laptop is shit at recording)
151 notes
·
View notes
Text
quick list of stuff people have asked me about and it's taken a long time for me to do it bc i am very forgetful (i'm sorry)
sliders i use for allllll my sims: obscurus. some are broken but i still got them in my game anyway. ily obscurus. update (or don't) them whenever you feel like it. i'll be here patiently waiting. idk i can't function without these so yes get them.
various reshade stuff: marty's immerse shaders (they cost $$$ but worth it), load order help from pictureamoebae (amoebae has a lot of tutorials that i recommend you look through!), i have allll the shaders installed from the installation process (quint, prod, cshade, etc.)
free music recs: i just use epidemic sound i'm sorryyyyy. you gotta have a sub. i do genuinely recommend it. t's the only thing i use. i have a referral link here. the first link isn't an affiliate link at all.
blender version i use is 4.3.2
blender add ons u should get: blenderkit, rig plus, procedural crowds
38 notes
·
View notes
Text
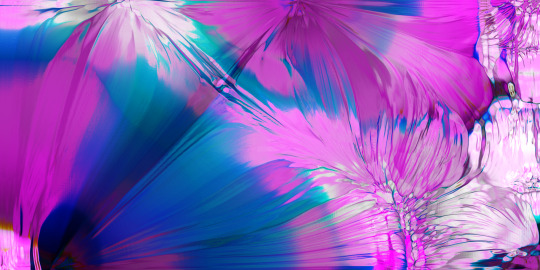
Petals, Silk
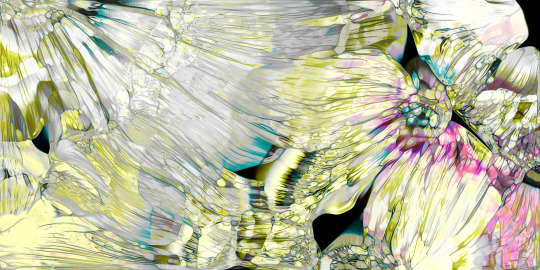
Making some completely fucked up noise art
227 notes
·
View notes
Text
🐟How I made Hook Line & Sniper's water physics 🐟

I always love dynamic pixel art effects, so with my game being highly fish-centric, I spent a lot of time making the water look just right.
First, our starting point: just a semi-transparent Polygon2D. It has several points across the top, which I can move around to make interesting shapes. Note that, unlike some more complicated fluid simulations, I won't be simulating tons of water particles throughout the body of water. I only care about the curve that makes up the top of the ocean.
At this point, we already have a bit of the pixel-art look, since the whole game is drawn to a lower resolution texture.
Next step: adding interaction. I essentially model each of the polygon's points as a spring. Each point has a velocity, and based on its distance from the resting height, I pull it back according to Hooke's law. To make it look like one connected body of water, each point gives a bit of its velocity to nearby points.
Now, whenever the player enters or exits the water, I apply an impulse to the nearest point, and that's enough for some fairly convincing water :D

Finally: polishing up the visuals. To greatly improve the look of the water, I put the whole thing through a shader. I gave the water a pixel-perfect outline by checking if the adjacent pixels are also water. I wanted the water to have a shallow color and a deeper color, which I achieved by checking if there's still water several pixels above the current pixel. (To make it look more natural, this depth test is very subtly randomized based on the pixel's position)

This shader gives me a ton of room for other neat effects. For example, in the final product you'll notice there's a nice splash effect. This is just a simple particle system, but since it goes through the same shader, it blends with the water perfectly.
Since the game has 5 worlds, the shader lets me easily swap out the water's color palette to make each one stand out.
I'm super happy with how world 2's sun reflection turned out, which makes very heavy use of procedural dithering.

Thanks for reading my ramble <3 The game is on Steam now if you want to see the water for yourself!
19 notes
·
View notes