#Tutorials Point
Explore tagged Tumblr posts
Visit Tumblr Blog
Explore Tumblr blogs with no restrictions, modern design and the best experience.
Last Seen Tumblr Blogs


Fun Fact
The KCSC sent more than 20K requests to delete posts related to prostitution and porn to Tumblr from January to June 2017.
Note
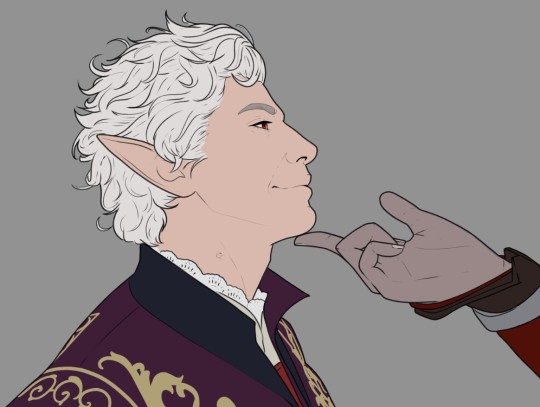
spec. spec. spec youve changed the game. i never realized your pointer finger and your wrist artery are the same. holy shit. im going to draw hands thank you


aasdjsd its not really an artery but its a useful landmark to facilitate the Flow of a pose imo
#nd then the thumb meat is just kinda tacked on there#u will notice also that i like to use the wrist as a tension point so the hand and forearm kind of drape off it#that has nothing to do with anatomy i am just gay#ask#doodle#tutorial#i gueass.
12K notes
·
View notes
Text
Você consegue adivinhar quais são os cursos mais populares no TutorialsPoint?
Desde que os cursos on-line começaram a ser desenvolvidos, essa forma de aprendizado chamou gradualmente a atenção de milhões de pessoas em todo o mundo. A acessibilidade, a flexibilidade e a variedade de assuntos são apenas alguns dos motivos pelos quais eles se tornaram tão populares, e com razão. Agora, é inegável que, em meio à pandemia, o interesse pela educação on-line disparou, pois muitas…
0 notes
Text
Needle Felt Siffrin Build Log: (oct 6 - nov 20, 2024)


Credits goes wholely to @insertdisc5 for creating ISAT and siffrin's design! I am just here to attempt to make cool fanart (and get more people to play isat.. my devious plans are going great so far :3) As always, this isn't a tutorial- it is just a log about how i go about approaching a sculpture and I hope this collection of resources can help others make their own sifs!!
PSA: this has some spoilers for endgame CGs/sprites on my references image board ( also might see it in the backgrounds of my process pics). And bc this is needle felting, you will see some sharp needles! beware!
my inspiration was the intro cutscene where Sif eats the star, so my main goal was to adhere to the style of ISAT as closely as possible while transfering it to 3D space. And I knew i also wanted to try making the cloak for stopmotion purposes, so my process was tailored towards having control over the fabric with wire inlaid within the cloak (more on that later).
I ended up not sticking eyebrows on top of siffrin's bangs lol but anyways, first order of business is Gather Reference! v important. pureref is free and an awesome program. I also do some sketches to visualize the pose and important details i wanted to include in the sculpt.
behold the isat wiki gallery page! tawnysoup wrote an awesome ISAT style guide that absolutely rings true in 3d space too!! adrienne made a sif hair guide here!! (sorry i couldnt find the original link, but it's on the wiki). It says ref komaeda hair so that's what i looked at, along with other adjacent hairstyles! I also like doing drawovers on in progress photos to previs shapes n stuff to get a better idea of the end result.
Also if you're like me and struggle with translating stuff into 3D space, take a look at how people make 3d models and figurines! sketchfab is also a great resource! I looked at the link botw model by Christoph Schoch here for hair ref. (I used Maya, but there's a blender version too ! you can pose characters too if your model has been rigged!)


Face:
Started off blocking out the main shapes of eyelids and iris, and then filling in the colour details in the iris and the star highlights before moving onto adding thin black outlines and eyelashes. I didn't take many in-progress photos cause i kept ripping stuff out to redo them many many times, sorry!! This eye took about 3 hrs bc i just wasn't happy with it!! Sometimes it do be the vibe to give up, go to bed and see how it looks in the morning (more often than naught, it looks fine and it was the "dont trust yourself after 9pm" speaking)

The Mouth:
Couldn't decide if i even wanted to add a mouth as per usual with all my humanoid sculptures.. but i did some drawover tests first to see what expression i liked and to try to visualize it from multiple angles. (I was also testing the placement of stars on the hat brim here)

And then I redid the mouth like 3 times cause the angle just wasn't right (this went on for about the course of a week yay!)
Hair: woe baldfrin be upon ye


I made the hair strands individually first, and then since Sif has some of the hair at the back dyed black, i covered some of the tips with black wool (manually) (I think it would go much faster if i just took a marker to it, but hahaha i love pain and detailing!! )
And then the rest of it was positioning strands with sewing pins layer by layer, always looking at it from different multiple angles- sometimes tailoring the angle or swoop of individual hair flippies. At one point I thought the back looked too cluttered, but the hat covers a lot of it anyways!! yay for hiding mistakes! (imo this is a similar process to how cosplayers style wigs, but on a smaller scale and the same level of time consuming)
As always, look to your reference for guides, and I always do a whole bunch of drawovers over in progress photos to ascertain what was working and what wasn't.
Hat:
A trick to get a super pointy tip, make another tip seperately while keeping the connection point unfelted, and then combine the two to make super pointy hat!! (this also helps if you made the hat too short and need it to be taller. ask me how i know)

The embroidery on the hat brim was done in a hoop and then invisible stitched to the felted top portion. Technically you don't need a hoop but it helps keep the fabric tension, so you avoid puckers in your embroidery. You can also use iron-on stabilizer if your fabric is loose weave or particularly thin. this is the tutorial i used for the stars embroidery! particularly the fly stitch one, french knots, and the criss-cross stitches. highly recommend needlenthread for embroidery stitches and techniques! i learned all my embroidery from this single site alone.

For fabric, I think I used a polycotton i had in my stash,, unsure of the actual fiber content bc i bought it a long time ago. I used DMC Satin floss which was nice and subtle shiny but frayed a lot so it was kind of a pain to stitch with... but keep a short thread length and perservere through it!! After the embroidery was done, I folded up the raw edges and invisible sewed it to the top portion of the hat.
General shape:
Ok general structure of the body is this: wire armature body covered with black wool -> cloak lining & wire cage -> edge of lining is invisibly sewn to the main cloak at the hem -> head

Don't be afraid to mess around with the pattern, it's essentially a pizza with a slice taken out of it to form a steep cone shape!! Use draft paper before cutting into felt to save material! (i think i made like 3 cloaks before i was happy with the shape lol).
You can also hide the seam of the cloak and collars by gently messing up the fibers of the felt with your fingers or a felting needle btw! you can also sandpaper the seams according to Sarah Spaceman in this vid (highly recommend them for their in depth cosplay/crafting builds holy smokes), though since sif cloak is at such a smol scale, I just blended the seam with my felting needle.
For the lining wire cage section, I sewed in wire around the cloak, so the main rotation point is at the top neck area under the collar. These paddles are used to keep whatever pose I need the cloak to be in for stopmotion purposes. Then after the wire is done, I invisibly sewed the lining to the cloak at the hem (same technique as the hat brim to the lining there).
In hindsight, I should've used a thinner fabric for the lining, but i only had sheer white in my stash so had to go with double felt, thus resulting in a really bulky lining but oh well!

Heels:
started with the general boot shape, then tacking on the diamond shape heel stack and also diamond shape sole bc we're committed to the bit here. I skewer the boot onto the armature which also conveniently hides the connection point into the base to keep the whole thing upright and also I can rotate the boot to tweak the angle if needed.

Pins:
I kinda just trial and error'd jewellery wire with pliers into the pin shapes. They're itty bitty!! had a whole bunch of fails before i got two nice ones. A hot tip is to use needle nose pliers and wrap the wire around the tip to get a smooth circle shape!

Base:
I smoothed out the edge of a circular wood base with a dremel, and then used wood stainer to get the black colour. It ended up kinda looking like I took a sharpie to it, but whatever.... now i have a whole ass can of black wood stainer........ I then made a rough mountain of black wool and stuck the feet armature in. And now he's standing!!

Normally at this point when I'm done felting everything, to get a smooth finish, I'd take a small pair of scissors and carefully snip away any flyaway fibers, but this time, I just left them fluffy cause i think that's what sif would do :3c
Photoshoot:
Normally I do shoots using daylight but it was winter so the sun was nonexistent. So I broke out the home lighting setup aka dollarstore posterboard for a nice smooth background, and then hit it with the overhead Fill, side Fill 2, and Rim light, and use white paper/posterboard for bounce light if one side feels too dark. But if things are overexposed, you can move the light sources away until the harshness dims down. I'm using a Olympus mirrorless camera (handed down to me by my sibling so i dont remember the model exactly), which can connect to my phone as a remote so I can avoid shaking the camera when i take photos. Pretty nifty for stopmotion purposes! (yes my camera stand is a stack of notebooks, a tissuebox and some eva foam under the lens, don't judge me)


Stopmotion animation:
I'm still figuring stopmo out on my part, but my process was straight ahead animation ... move the cloak a cm, take a pic.... move another cm, click.... and repeat until i get a version I was happy with. My ref was the cloak animation from Gris (beautiful game btw). The 2d star animation was also done straight ahead using procreate, exported in png with a transparent background, and finally stitched together with the stopmotion footage in photoshop.

My turnarounds are also stopmotion! also secret hack, the turntable is a fidget spinner sticky tacked to a cake platter.
And i think that's all! i mainly wanted to share how I go about thinking about taking a 2d concept and moving it to 3D. I also didn't go in depth into how to actually do the needle felting bc I don't think I''d be very helpful I'm a very good teacher by telling yall to just keep stabbing until it looks right (i'm self taught for this hobby),,, if anyone wants it though, i can share a bunch of tutorials and other felters' process that helped me learn more needle felting!
Hopefully this was helpful to someone! Feel free to send asks if ya got any questions or if anything needs clarification! Or show me your works! I love seeing other people's crafts :3
here have a cookie for making it this far 🥐
#in stars and time#siffrin#isat#isat siffrin#isat fanart#needle felt#soft sculpture#know that i am devouring all the nice words yall leave in the tags/comments of my posts :holding back tears:#I hesitate to call this a tutorial bc this is just how i fumble my way through crafting anything lmao#the only reason I know how long I worked on a project are timestamps on wip photos and however long the day's video essay or letsplay is#sorry time is immaterial when i get into crafting mode#reason why this log is so late is bc after i finish a project i'm perpetually hit with the ray of 'i dont ever want to look at this again'#hence why photos never get edited#AND THIS POST SAT IN MY DRAFTS FOR 2 MONTHS DUE TO BLOODBORNE BRAINROT SORRY#done is better than perfect!!!#sorry i dont control the braincell#sorry for using a million exclaimation points! i am not good at this.. conveying my anxiety in written form!!! my toxic trait
1K notes
·
View notes
Text
Four hairstyle tutorial for long hair at summer (cr 白菲菲)
#china#fashion#chinese fashion#video#tutorial#the point is nothing covers the neck#so it won't be hot
1K notes
·
View notes
Text


When your dog and rival are the same person
#they need to make a 'how to wink' tutorial for charles at this point#charles leclerc#lestappen#leo leclerc#max verstappen#f1
726 notes
·
View notes
Text
the less fun part about literatureposting on tumblr dot com is that if you make a joke about a classic novel then all the people who are excluded from the joke (rightfully) (didn’t read the book) will insert themselves anyway and try to argue the only piece of trivia they know about said book. brother this discourse is so bottom-tier that it was put to rest in 1818. we already talked about that without you. before you were born actually
#barbi.lit#barbi.txt#if you want a tutorial on how to recieve hundreds of ice cold takes in ur notifs. look no further#‘frankenstein is the name of the doctor not the monster’ yep that is established in the book#‘victor frankenstein is not even a doctor hes a college dropout’ yet another point explicitly established in the book#you guys are really batting a thousand today. just lobbing snowballs at me i see#‘barbi you’re acting kind of pretentious’ i am pretentious. hope that clears things up#say something new and interesting im about to get violent#lit#frankenstein
213 notes
·
View notes
Text
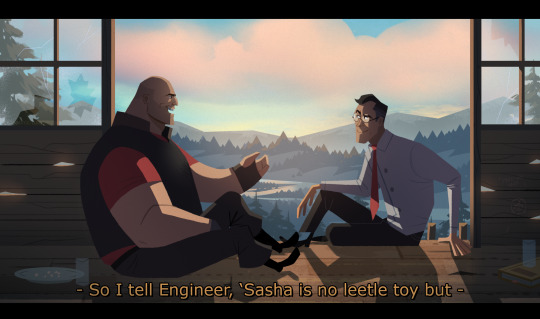
#tf2 heavy#tf2 medic#tf2#tf2 fanart#text is just flavour to make it look more screenshotty idk#there's so much wrong with this image but im moving onto other stuff fkjgjkfds#i'll draw other characters soon i promise#ty for the sweet tags on this!!#i'll do a tutorial at some point as this sort of lighting is NOT complicated at ALL im telling you. it's literally just a multiply layer#and a bloom
4K notes
·
View notes
Text
The magnus archives when everything’s the same but the action happens 10 years into the future (starts 2026) and the institute is under scrutiny because some gossip magazines accused them of having misogynistic management because the Head of the Institute was always a man so Jonah Magnus originally born in the 1700s decides to deal with that by his next body being a woman so now he has to deal with periods and gender dysphoria
#what am I even writing at this point#this is just words#the magnus archives#tma podcast#tma#jonah magnus#elias bouchard#he regrets his choices pretty quickly but can’t#the institute starts paying for their workers gender reassignment surgery#jonah gains a new respect for trans people#tutorial on how to make a Gregorian era man more progressive: make him trans for a decade#my tma aus
468 notes
·
View notes
Text
Okay finally
Small lighting tutorial (very long post, lots of images)

First of all I work on PS but if you have basic knowledge of your program of choice this will be easy to follow.
Second I use a different layer for everything. So assume that each screenshot is a new layer.
Third I've seen people not knowing how to choose colors for light and shadow and for me it comes out naturally so I don't put that much thought in it, but picking the neighboring color in the color wheel never fails, so lets say you use a red for the lighting, then pick either orange or pink for the shadow. The shadow should be fairly desaturated. However if the lighting is the desaturated you can go wild with the shadow saturation. But this is subjective and it's very dependent on your goals and art style.
Okay let's start:
Line art
Base color
Now for the shadow layer. The layer blending mode is in hard light mode

I use the quick selection tool on the previous base color layer, and in the new shadow layer with the hard light mode set I fill the selection with the paint bucket tool.
The lighting layer is on the linear dodge (add) mode.

I use the lasso tool to select the lighting parts, then I fill it with paint bucket tool.
Then once I have everything, I use the quick selection tool on this lighting layer, and in a new layer also on linear dodge mode I use a radial gradient, drag it from the direction of the light source, you have to try it out on it's own but it usual takes me a couple of tries to get the desired intensity.
Also tbh you can just leave it like that no gradient, if pure cel shading is your goal.
I add all the extra shadows, this layer is also on hard light mode, I use the lasso tool and a normal round soft brush.

This next part is something that I sometimes do and sometimes it's not necessary, in this case since the light source is moonlight the light on the clothes should bounce off on the face so I do an extra gradient. (or just do this if you want to make it lighter lmao)
With the quick selection tool, I select either the base color or the shadow layer, and in a new layer with the linear dodge mode, I use a gradient, it has to be either a fairly dark color or a very soft gradient.

And lastly in a new layer, with linear dodge mode I use a soft edge brush on top of the lighting areas, to give it that glow.
Sometimes, like in this case, I have to use some color balance adjustments, more contrast or brightness.
And that's it. Good luck and hope this helped you, if you have any questions my inbox is open 😊
#tutorial#my christmas present to all of you 😘#actually this is a present for myself because when the inevitable question about lighting comes up I can just point to this
803 notes
·
View notes
Note
idk if you've done this but iasip as scott pilgrim characters fanart?? or them in the sp style??
does this count (imagine this was an entire game where you play as the sheriff of paddys and beat up rats and drunks and your friends and whatnot
#iasip fanart#pixel art#ask#this was born out of going back to gml tutorials and then giving up because my interest wafted away#im still trying to aasign them characters so you get this instead oops. evil exes of who... dee has 17 evil exes at this point
212 notes
·
View notes
Text
ok but hear me out........ the upcoming ts4 pack with the tattoo table......
that converted for ts2, but functional..... same animations as the bv massage table (+ the tattoo gun accessory attached to the artist-sim's hand??? they don't even need to be properly holding it imo, just having the accessory there would be cool i think). the client changes into undies instead of towel, loses comfort/energy(/hunger/hygiene? lmao) and gains fun and maybe social too? so the table advertises for those. change appearance dialog comes up (in the case of facial tattoos) but otherwise tattoos are still applied with overlays as usual (oh to have a 'buy clothes'-style dialog window for tats...... 😢). the tattoo artist gains creativity skill + arts&crafts enthusiasm as they work. custom memory for the client sim if it's their first tattoo (or a repeatable one could be cool too?) 🤔🤔🤔 functional tattoo table.....
#i love to dream up mods that i have no skills to make 💀#ts2#mine#taos rambles#mod ideas#might as well make a tag because i have hundreds of these. and a brain that bluescreens when i see all the numbers in simpe#i do intend to like. sit down and study bhav tutorials and whatnot at some point but. i have no idea if i'll be able to understand it at al
127 notes
·
View notes
Text
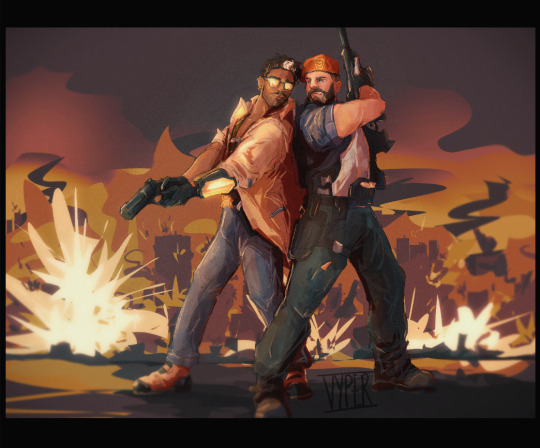
"just like old times, eh, cucho?"

#my scribbles#vypersketches#valorant#valorant fan art#brimstone#valorant brimstone#tejo#valorant tejo#digital art#i worked so hard on this and (like usual) not very satisfied with the end result but i am trying to be more proud of my work#and be braver ion doing more big pieces with backgrounds and then posting then#sketches my comfort zone...#i used to be able to paint and then i stopped for so long and digitial painting is so hard to me#every time i watch a tutorial im like yeah duh of course and then i start and i just start taking tick damage#it takes so looonngggggggggggg#and then i always dont like the end result#i know to improve i need to practise but boyyyyyyy#i want to be able to paint so bad!!!!! i love paintings!!!!! i used to love the process!!!!#but now to me it is eternally in the ugly stage and i cannot get the balance between line work (my fave and often called my strong point)#and nice shapes and juciy colours#colours are a whole different thing#traditonally i use whacky colours and i love it#and as soon as i go digital its like i get petrified of using anything other than the original colours with no lighting and no adjustments#oh god this ended up as a vent#anyway enjoy i have tejbrim on the brain
92 notes
·
View notes
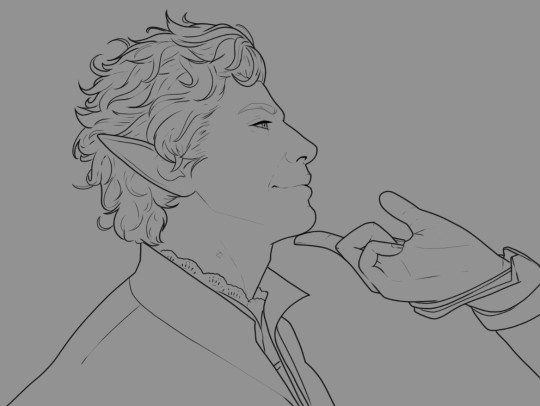
Note
Any advice on drawing dragon wings? I have a hard time with making the digits (with webbing in between, not like, the thumb finger) look consistent, especially where they all meet at the palm
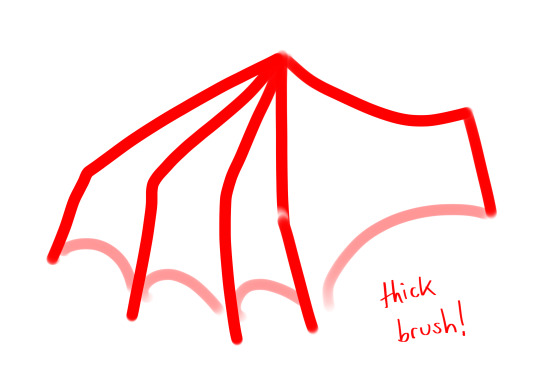

Obligatory tutorial disclaimer - im no professional, always take my advice with a pinch of salt
I’m not sure if this is hugely helpful to your predicament but it’s what I do when I’m struggling with wings!
#bog talks#Tutorial#I’m not good at drawings wings and am self conscious of this fact#I’ll try and make a better guide when I get better at drawing em LOL#also I just realised I gave em too many digits whoops. case in point
166 notes
·
View notes
Text


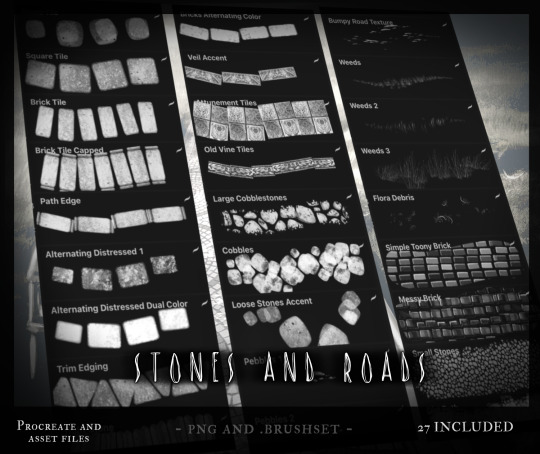


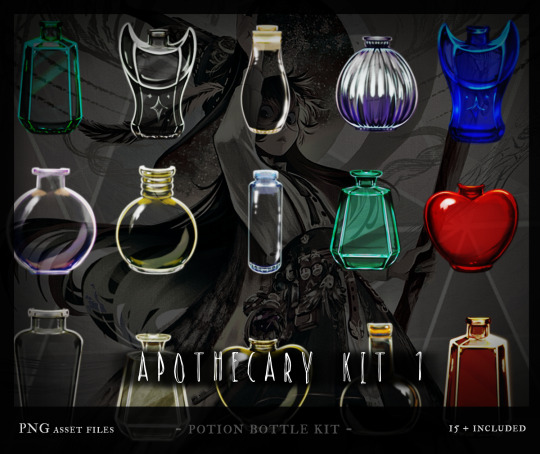

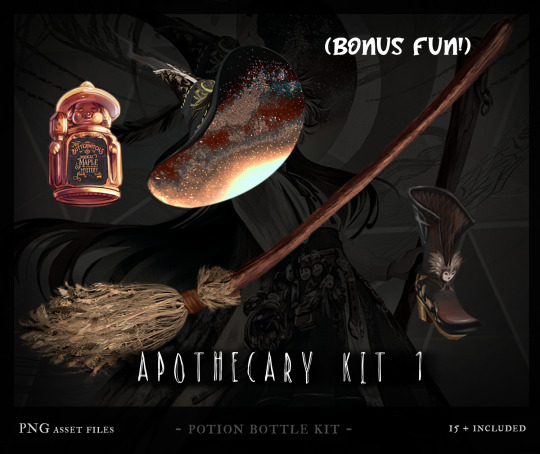
Also, hey, if you're in need of some fun and useful digital brushes, assets and tools, here's a bunch of recent packs made for my Patreon All of my brushes and assets are hand made (and the assets I made are made *with* these hand made brushes) and are available for use to make your own art go by quicker or to bring in some new elements!

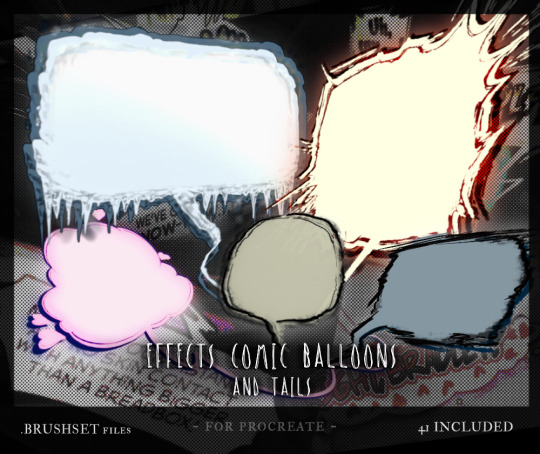
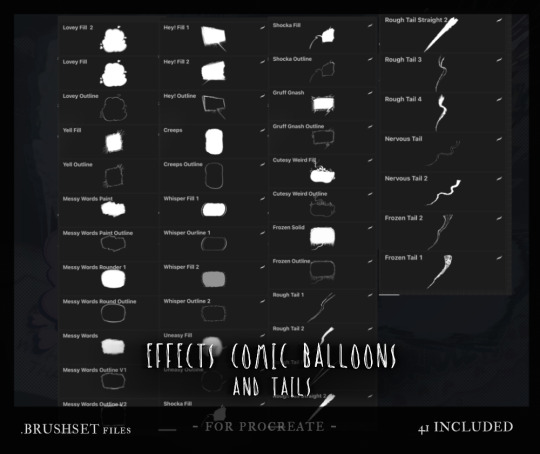


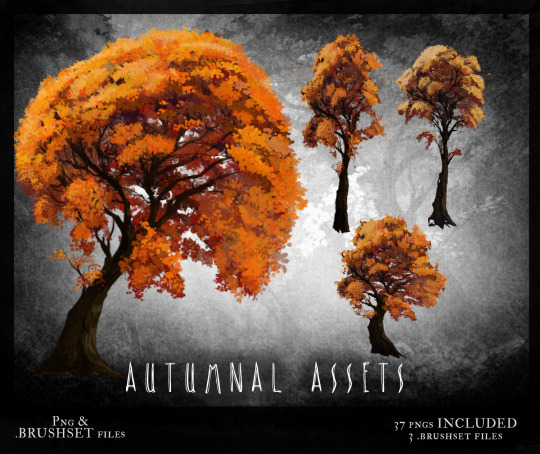

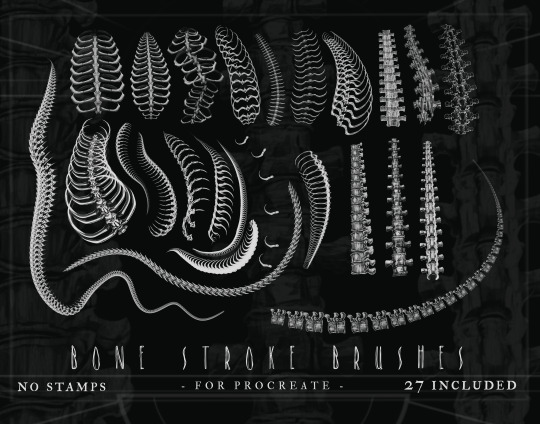
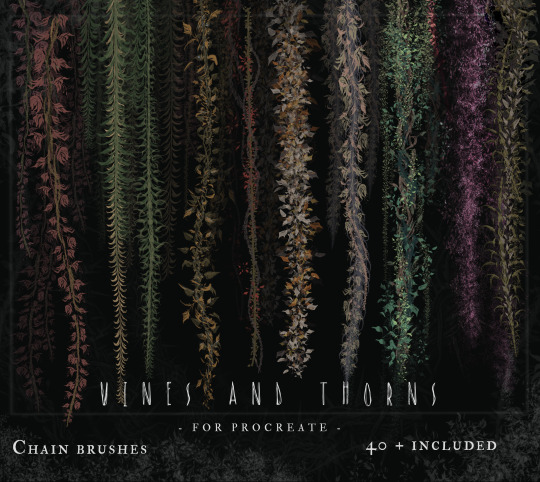
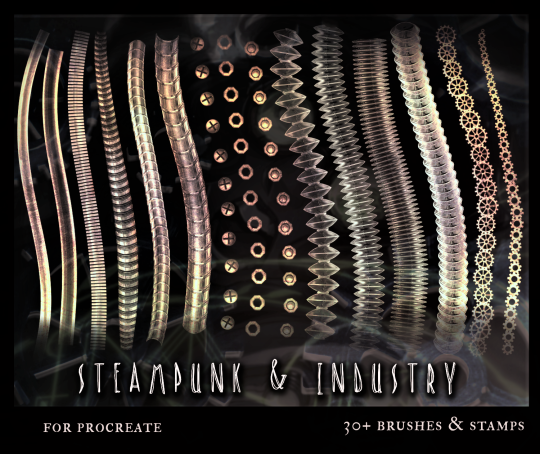

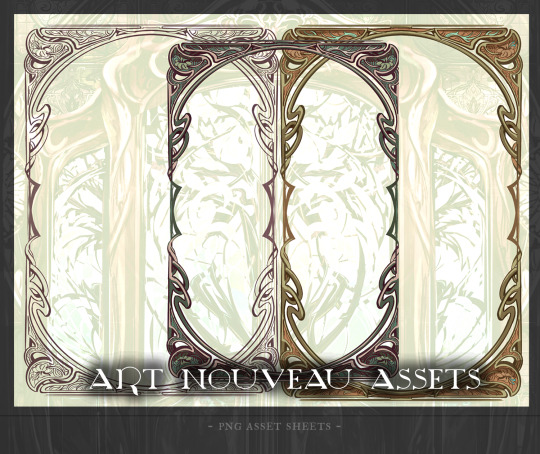

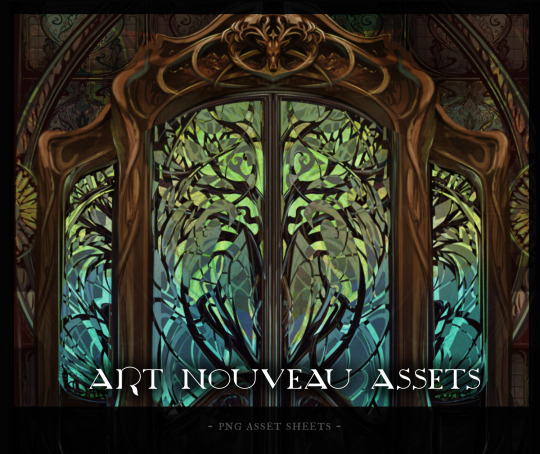
All of these and more are up there. You can grab them and support my art, the production of Solivaga, and the feeding of food here at my✨ Patreon ✨ !
#art resources#artwork#resources#tutorials#useful stuff#autumn#fall#art nouveau#brushes#digital brushes#procreate#png assets#every time I get someone asking how i make the backgrounds in Soli so quickly#I point to these tools and assets I make for myself#make them for me but share them with you#all brushes and assets are fair use without any license except for the costume brushes and assets for my characters
136 notes
·
View notes
Text

snipe me down please this looks like fucking shit I promise i’ll learn how 2 draw
go play Let Him Go (epilepsy warning & other warnings in the game)
#kerosnes#artists on tumblr#art#kkerosnes#let him go#spawn#spawn point#robloxart#roblox art#roblox#roblox fanart#roblox game#roblox let him go#I spoiled myself by watching a tutorial (spoiled the whole ending) don’t watch one
55 notes
·
View notes
Text
I think the perfect set up for a false hydra is actually a party of newer RPG players.
For the unfamiliar: A False Hydra is a monster with a very particular gimmick, namely that it makes itself, and its victims, be forgotten using an enchanting song.. It's essentially 'The DM gets to gaslight the players a bit, as a treat' the monster.
Usually, the setup is the players arrive in a town where things seem peaceful, if quiet, and steadily realize that people that should, by all rights exist, simply aren't there. The innkeeper has a child, but claims she doesn't even know the man in the family portrait. If you press the matter she gets upset. You eat fresh baked bread for dinner, but in the morning, there has simply 'never been' a baker. That kind of thing.
And of course, the classic of 'You wake up. There's an extra bedroll. you don't know why, but the fact that it's empty fills you with dread.'
But of course, implying you had another party member who just got eaten and forgotten kinda fucks over the story you've been telling this whole time. Shouldn't all those fights have gone differently? How are the players going to care about a character who literally exists only as a supposed hole in their memories?
That's why, for this to work, I recommend new players (or just act like you're running a slightly laxer table).
Essentially, figure out what basic utilitarian weaknesses the party has, and then, without any great fanfare, handwave them. Suppose they don't have a wizard. They find a magic item. You say, 'yeah, you get it identified, and it's a ...' Without particularly specifying how or with whom. They're in a dark cave, and the one human of the group is like 'hey, can I even see?' and you tell them, 'oh, yeah, don't worry about it, just pretend you had Darkvision cast on you.'
If they press the issue, you make up a joke, not-actually-real character, who you say is actually doing all this stuff. Blinzki the Narratively Convenient Wizard or whatever. Just a narrative construct, there to grease the wheels of gameplay. (Though, keep score a bit. Remember where things by all rights shouldn't have worked)
And then, they'll get to this town, and you'll feed them a potentially magical item, and they'll ask what it does, and if you're very, very lucky, you'll get an exchange to the tune of
'Do you know anybody who could identify it?'
'We've always been able to identify things before.'
'Yeah. You think about that, and shiver with a sense of wrongness.'
You find the corpse of a wizard. Her journal references people with your names, and she talks about how lucky she's felt to be traveling with you. She's not a great combatant, usually hiding when battle starts, but she's made herself useful with in other ways, casting darkvision on the fighter when they're in a dark cave, and enhancing abilities at opportune moments.
You don't know her.
You're crying at the sight of her corpse.
#D&D#False Hydra#As an added benefit this can mark the end of the 'tutorial' for newer players where you're handwaving things#In short: Everything up to that point that technically shouldn't have gone the party's way? A wizard did it.#Diegetically
126 notes
·
View notes