#diy home decore
Video
undefined
tumblr
presto patch
#tiktok#tiktok DIY#Mercury Stardust#trans handy ma'am#diy home decor#diy home projects#DIY home repair#dry wall#DIY#how to
11K notes
·
View notes
Text
I’ve been patiently waiting for a nice second-hand wood dresser to appear on fb marketplace or at Goodwill for months. Finally, I grabbed this one yesterday for $50.

My inspiration for this project are some dressers I saw at Anthropology that have gorgeous carved details. But I want my dresser to cost $200 or less rather than $2,000.
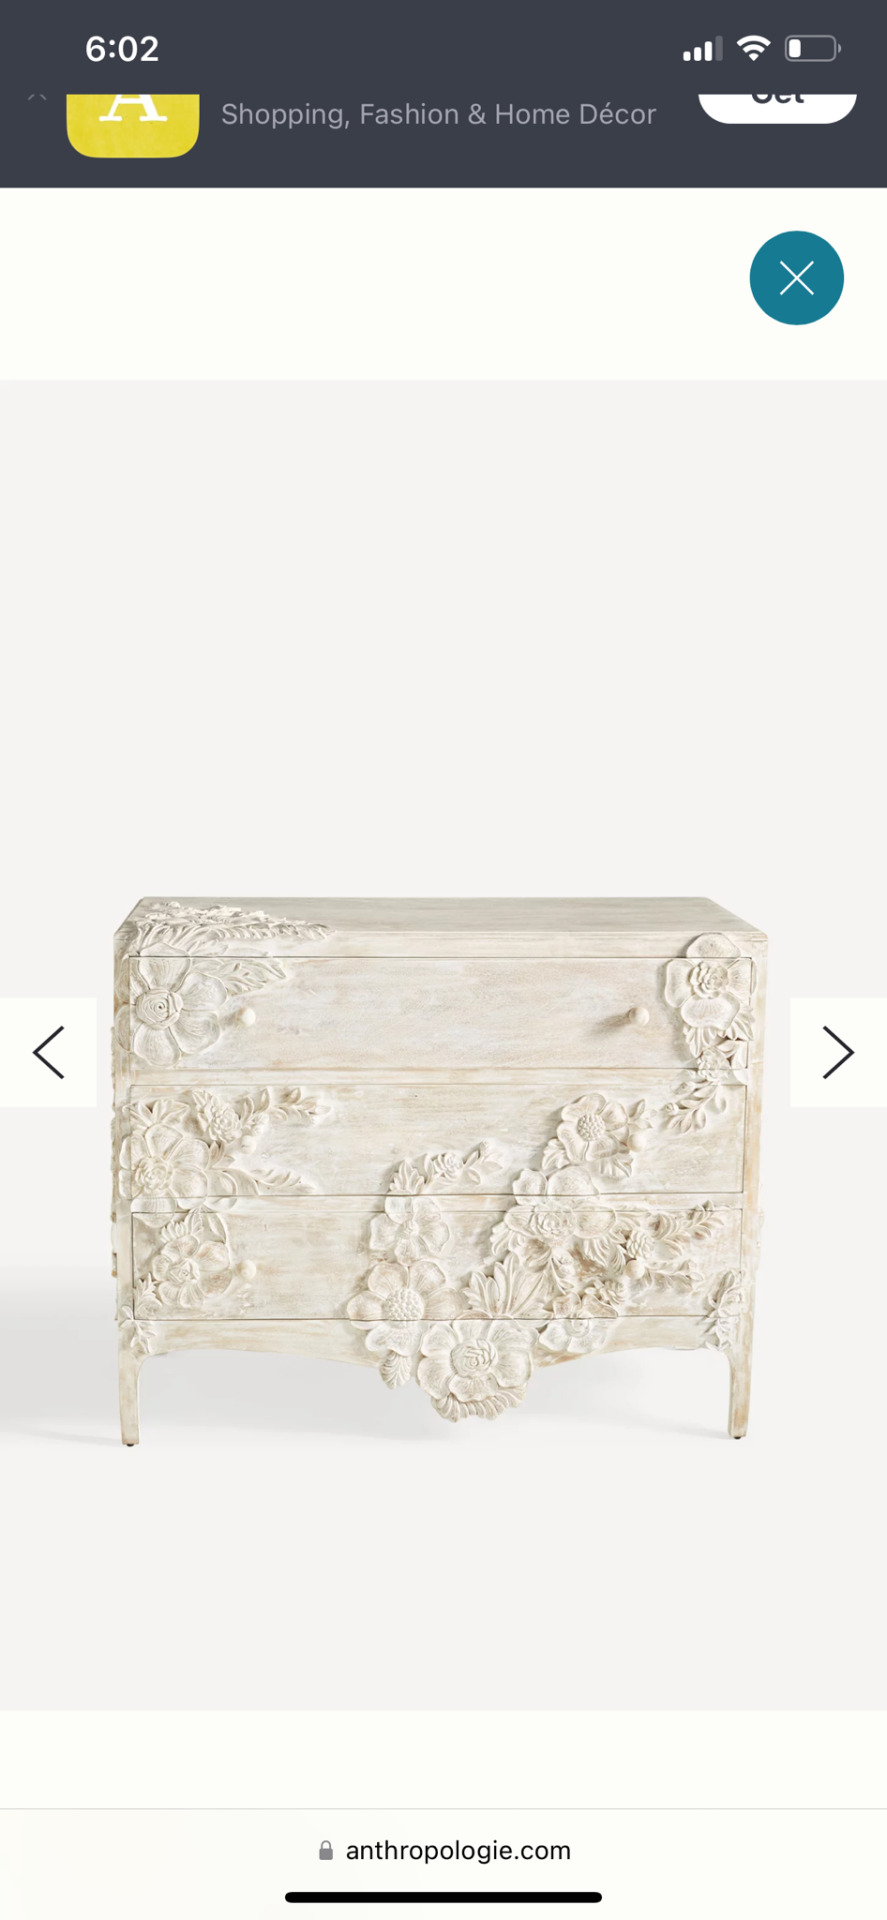
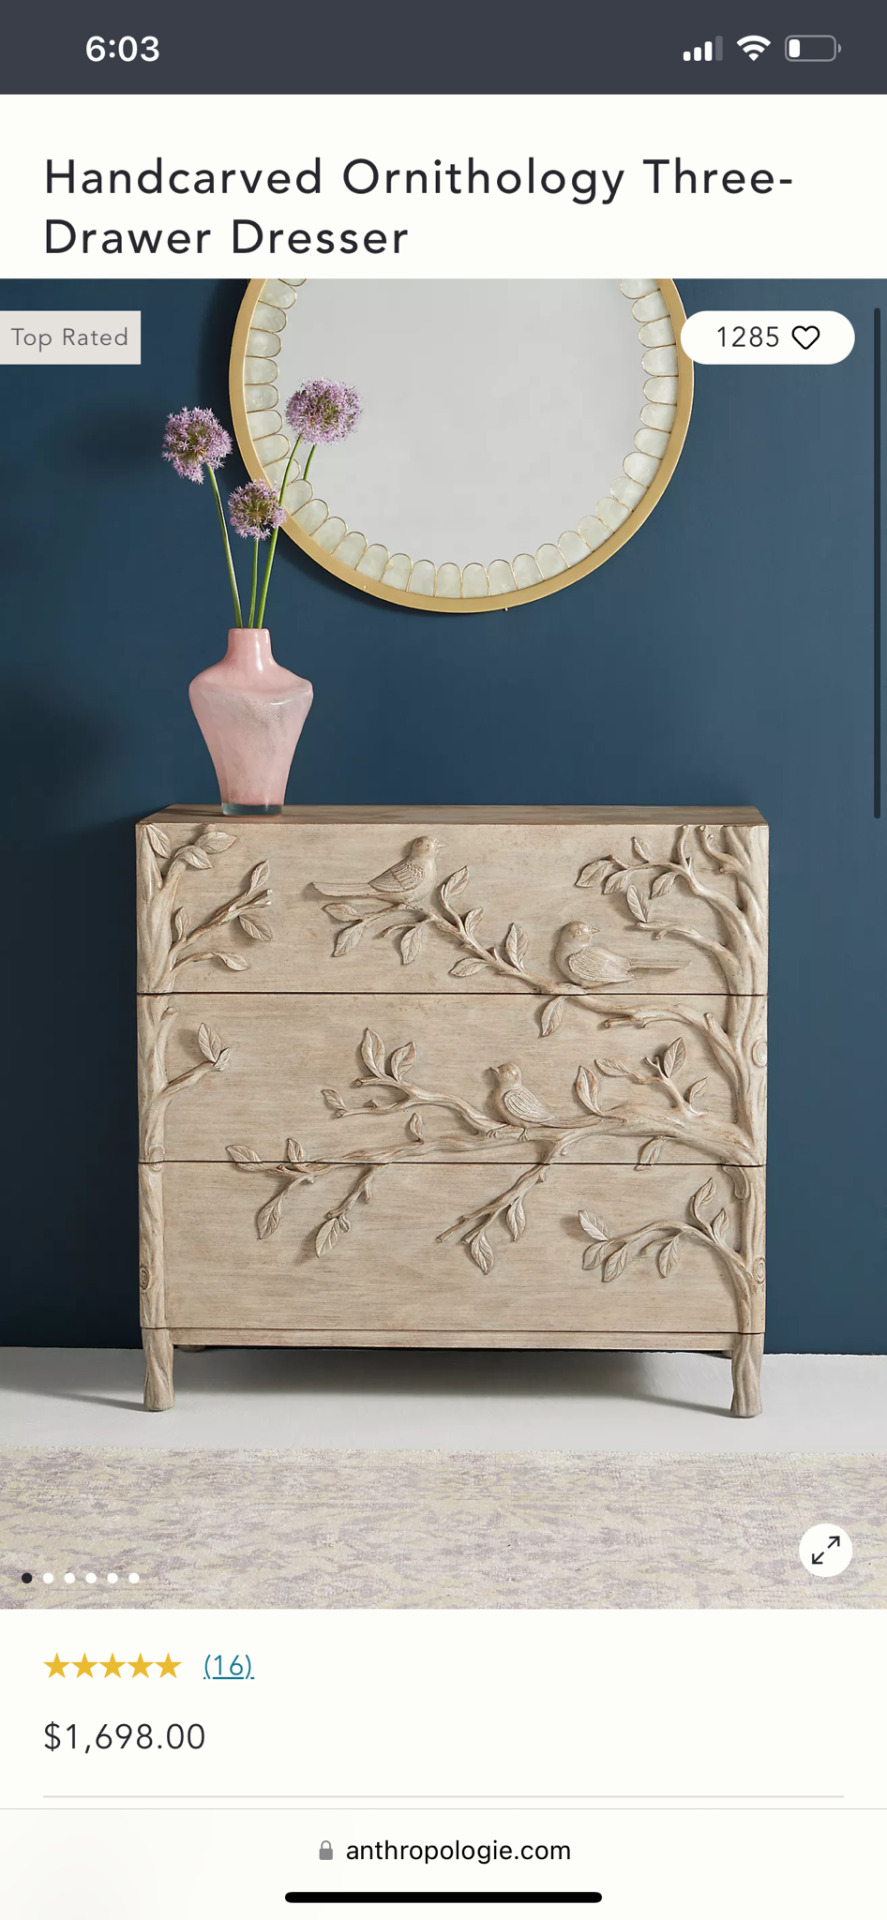
Of course I can’t add actual hand-carved wood, but I’ve got clay and some silicon molds + epoxy and a potential overconfidence in my DIY abilities.
First up, I removed the existing hardware and sanded this pretty lady down. She is now looking MUCH better without all those terrible stains (and the drawer pulls weren’t doing it for her, tbh).


Up next, I’ll give her a paint wash or three and start trying my hand at faking some carvings!
980 notes
·
View notes
Text
youtube
Not a recent video, but I wanted to upload the longer version of this video just for the vibes. I published a more sped-up version a few years ago that has been popular on my YouTube channel.
www.AmandaRoos.com
1 note
·
View note
Text

'For greatness of beauty I have never experienced anything like New Mexico,' D.H. Lawrence wrote. The chair was made and painted by Lawrence.
Santa Fe Style, 1986
#vintage#vintage interior#1980s#80s#interior design#home decor#porch#front door#stucco#DIY#chair#DH Lawrence#New Mexico#Santa Fe#rustic#country#home#architecture
315 notes
·
View notes
Text
spring cleaning: so you've realized it's time to start decorating.
#today on tumblr#decoration#spring clean#DIY#home#lifestyle#electric sexy lair#shelving#vinyl flooring#paint#renovation
1K notes
·
View notes
Text
In her video, shared July 9, Athar shows how she upcycled a large cardboard box to make a shelves and a closet to store clothes.


Athar used thread and a makeshift needle to attach the shelves and dividers in the cardboard closet.
Athar is on Instagram @ athar_abo_rabea. She is running a Go Fund Me campaign to support her volunteer work with displaced children and families. (URL: https://gofund.me/c3f690dc)
Available Go Fund Me campaigns for people whose stories have been shared on watermelllonarchive can be found in the resources post.
#palestine#gaza#free gaza#free palestine#daily life#refugees#go fund me#diy#upcycle#home decor#home organization#life hacks
61 notes
·
View notes
Text


Crochet leopard🐆🎀✨
#amigurumi#cats#crochet#cute#kawaii#cute animals#leopard#leo placements#crochetting#crocheters of tumblr#handmade#animals#animal print#home decor#home design#diy projects#pixel art#creative inspiration#creativedesign#art
48 notes
·
View notes
Text
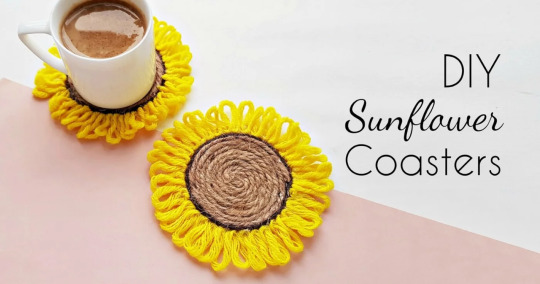

DIY Twine Sunflower Coasters
✖✖✖✖✖✖✖✖
sew-much-to-do: a visual collection of sewing tutorials/patterns, knitting, diy, crafts, recipes, etc.
#DIY#twine#yarn#coaster#home#house#decor#gift#table#kitchen#floral#flower#sunflower#tutorial#craft#fun#summer
59 notes
·
View notes
Text

🔥Home Sweet Hell Home🔥
Crossstitch designed and Stitched by me 😘
Squooshy's Stitch Bits
#shameless self promotion#cross stitch#counted cross stitch#cross stitch patterns#xstitch#diy#fiber art#crafts#handcrafted#homemade#pattern#handstitched#hellhole#needleart#needlecraft#i made a thing#hell#subversive#goth decor#home decor
244 notes
·
View notes
Text
#v#handicraft#atmospheric airs#cabin euphoria#diy#eco conscious#eco friendly#sustainability#no waste#zero waste#home decor#holistic leveling up#leveling up#that girl#green juice girl#slow living#soft living#cottagecore#sidewalkchemistry
107 notes
·
View notes
Text
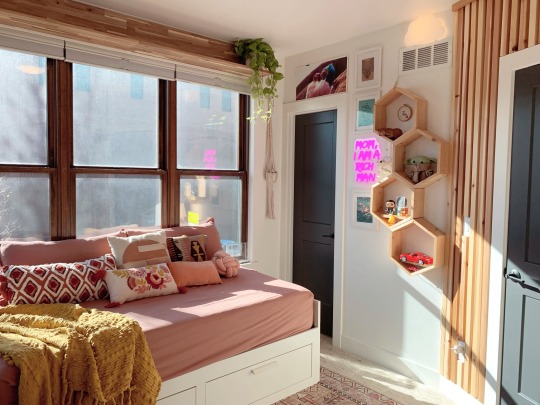
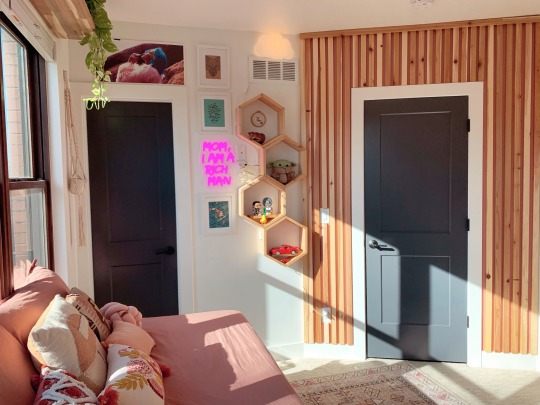
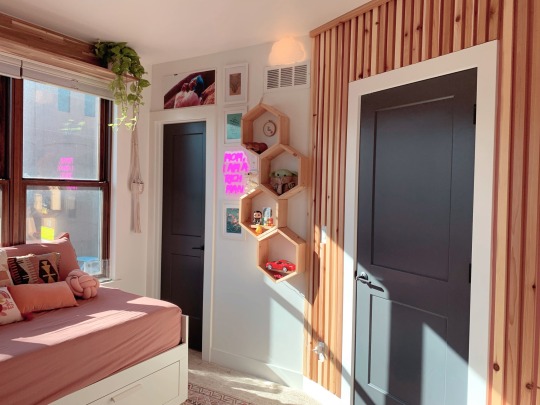
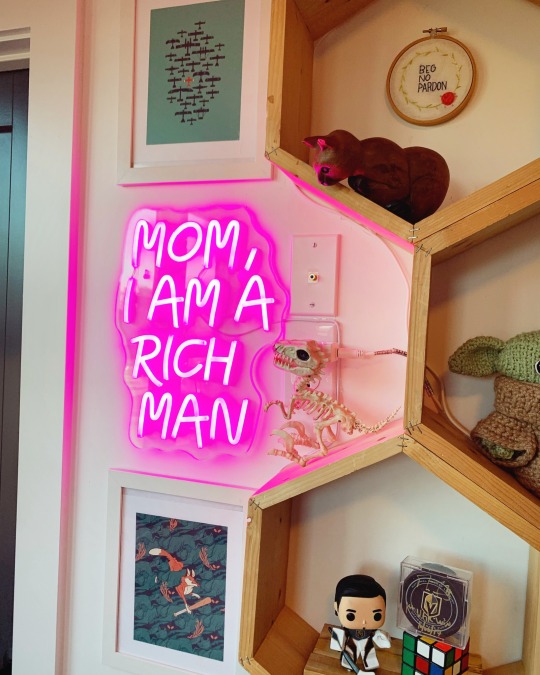
My office is coming right along (we won’t talk about my desk yet) ft. My favorite Cher quote.
116 notes
·
View notes
Text
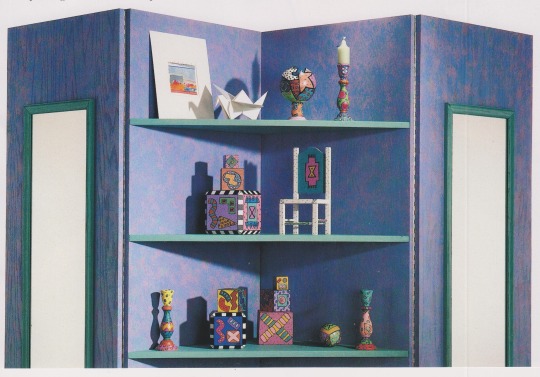
Make shelves for the front of the screen from leftover plywood... Apply veneer tape to the edges of the shelves, if desired. Stain or paint the shelves or cover them with fabric. Support the shelves on shelf brackets, use a level when you are mounting the brackets. Attach full-length mirrors to the end panels.
Arts & Crafts for Home Decorating - Bedroom Decorating, 1991
#vintage#vintage interior#1990s#90s#interior design#home decor#privacy screen#shelves#DIY#sponge paint#art objects#mirrors#purple#blue#global#coffeehouse#style#home
259 notes
·
View notes
Text
youtube
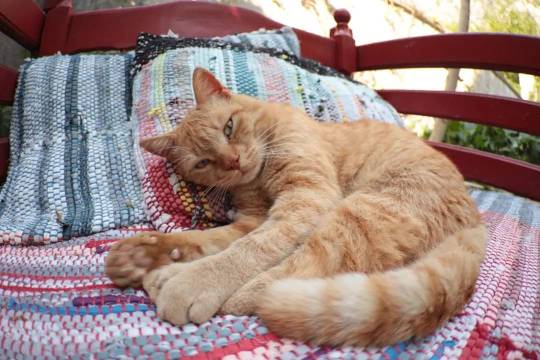
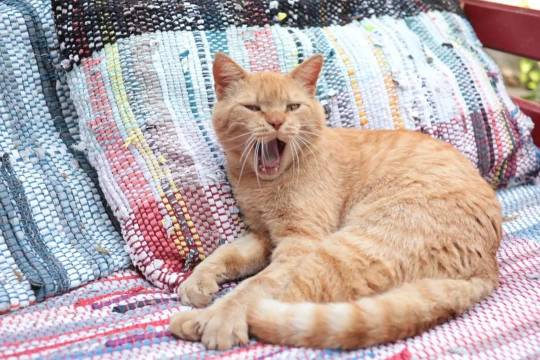
How to weave rag rug cushion for your cat
#home decor#home decorating#diy ideas#craft ideas#decor#decoration#diy home decor#diy#interior decorating#interior#weaving#weave#rag rug#pet bed#pet furniture#upcycle#upcycled#Youtube
51 notes
·
View notes
Text

#artists on tumblr#art#fun#lebanon#arab#new#happy#beauty#Aesthetic#Vaporwave#DarkAcademia#Art#Photography#Fandom#QuotesRetro#Nature#DIY#spring#pinkpinkpink#home decor
25 notes
·
View notes
Text
Hey, don't cry. Gather some fabric scraps, matte Mod Podge, a paintbrush, a hot glue gun, some cool trim, and a lampshade that needs a makeover. Cut the scraps and iron them, then paint Mod Podge on the lamp and stick the scraps onto it in sections until it's completely covered, tucking edges under the lampshade rim. Carefully paint Mod Podge overtop of all the fabric and let it dry. Hot glue any edges that still need tucked or didn't stick as well, and then hot glue the trim around the edges of the lampshade, finishing with a folded edge on the trim for a clean look, okay?
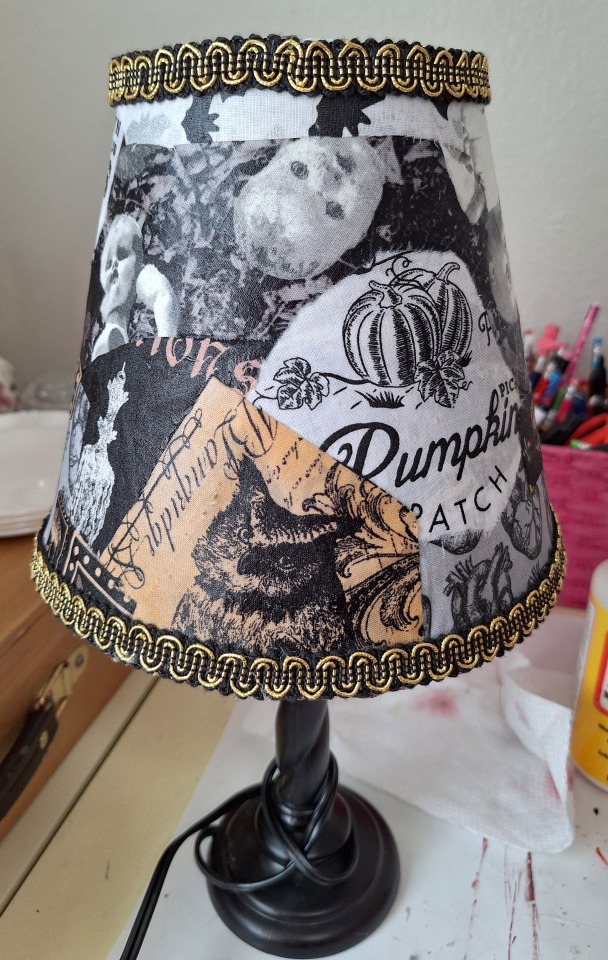
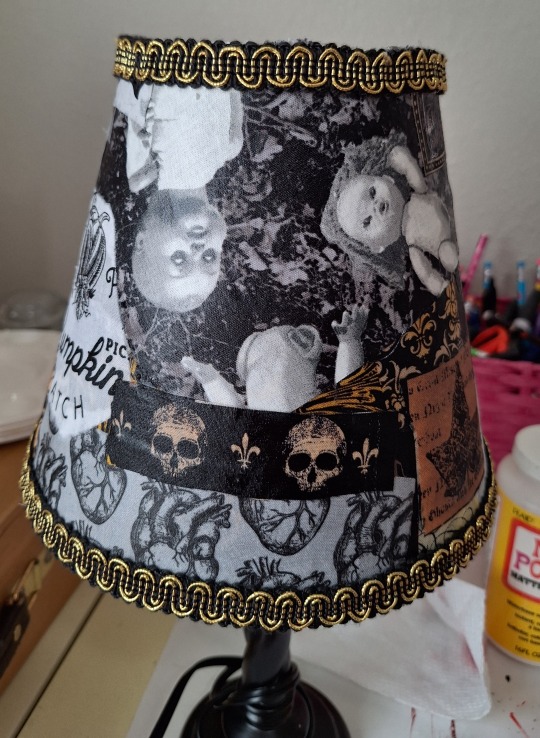

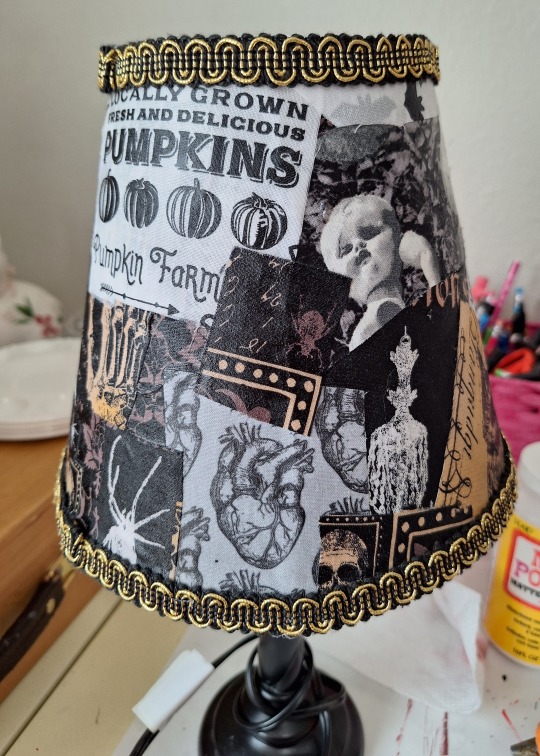
(This only took about an hour and a half and was super fun! My victim was a thrift store lamp.)
#goth diy#diy advice from your local goth#gothgoth#goth subculture#goth#diy tutorial#goth diy tutorial#lampshade diy#goth home decor#mine#decoupage#halloween decor
32 notes
·
View notes
Text
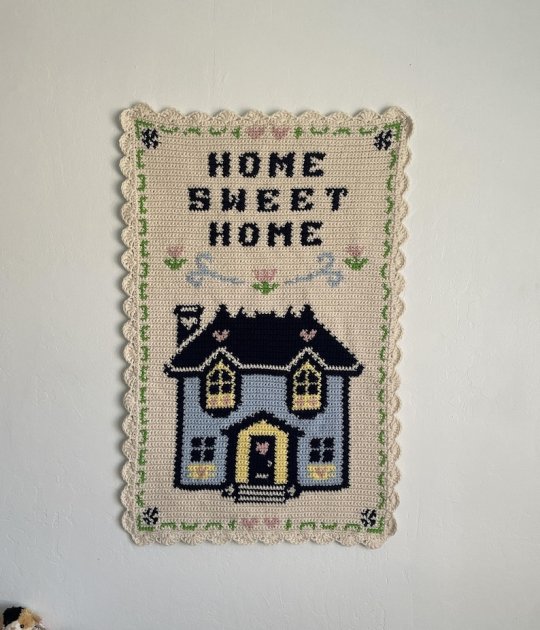
Home Sweet Home Crochet PDF Pattern by Mudkippz
#Mudkippz#crochet pattern#pdf pattern#pattern#pdf download#crochet download#home sweet home#dorm decor#craft#craft diy#diy craft
47 notes
·
View notes
Last Seen Blogs

madrigalsims
madrigalsims

mylovefor-you-blog1
i'm yours

beeleeteedee
Untitled

incorrectstarvstheforcesofevil
Incorrect Star Vs Quotes

t5t
DEEP SPACE PLANET FUTURE GUN ACTION!