#transparent tutorial
Explore tagged Tumblr posts
Visit Tumblr Blog
Explore Tumblr blogs with no restrictions, modern design and the best experience.
Last Seen Tumblr Blogs


Fun Fact
The Tumblr app for Google Glass was released on May 16, 2013.
Text

𓆩♡𓆪 transparent png tutorial ˖˚
꒰ step one ꒱ ↳ first, find an image or two on a search engine or pinterest/something like it. if doing images from real life (not art), try to use images that don't have noticeable lighting. for example, product images with white backgrounds are best rather than product images in a real life setting with strange lighting.
꒰ step two ꒱ ↳ either copy and paste the image or download and upload the image into remove.bg. use erase/restore as needed.
꒰ step three ꒱ ↳ you're done! pretty simple, huh? good work \(^_^)/

#carrd graphics#rentry graphics#rentry decor#rentry resources#carrd resources#png#transparent png#pngs#transparent#tutorial#rentry tutorial#graphic tutorial#editing tutorial#transparent png tutorial#transparent tutorial
38 notes
·
View notes
Text
========================================================
[tutorial: build your own neocities/nekoweb page]
========================================================
a beginner's guide for making your very own home on the indie web—retro, personal, weird, and 100% yours.
this ain’t an average wix, squarespace, or tiktok aesthetic.
we’re talking full html/css with soul and attitude.
[ prerequisites ]
------------------
> an idea
> basic text editor (vscode, notepad++, or even notepad)
> account on https://neocities.org or https://nekoweb.org
> some gifs or tiles you love (dig deep or make your own)
> optional: image host or gif repo (or self-host everything)
[ feeling overwhelmed? read this. ]
-----------------------------------
you do *not* need to know everything.
html is not a mountain. it's a garden.
you plant one tag. then another. then a style. then a button.
you can build your site piece by piece.
and every piece is a portal to somewhere personal.
you are allowed to make broken pages.
you are allowed to use templates.
you are allowed to start over as many times as you want.
this is *your* world. you control the weird.
[ step 1: create an account ]
-----------------------------
> neocities: https://neocities.org
> nekoweb: https://nekoweb.org
register a name, log in, and enter your file manager.
this is where you upload your files and see your site live.
[ step 2: your first file - index.html ]
----------------------------------------
make a new file: `index.html`
basic starter:
<html>
<head>
<title>my weird little corner</title>
<link rel="stylesheet" href="style.css">
</head>
<body>
<h1>welcome to the void</h1>
<p>this is my page. it’s strange. like me.</p>
<img src="mygif.gif">
</body>
</html>
> upload to the dashboard
> boom. you’re live at
https://yoursite.neocities.org
or https://nekoweb.org/u/yoursite
[ step 3: add a style sheet - style.css ]
-----------------------------------------
create a file called `style.css` and upload it.
here’s some nostalgic magic:
body {
background: url('tile.gif');
color: lime;
font-family: "Courier New", monospace;
text-shadow: 1px 1px 0 black;
}
img {
image-rendering: pixelated;
}
marquee {
font-size: 20px;
color: magenta;
}
link it in your html and the vibes activate.
[ step 4: decorate it like a haunted usb ]
------------------------------------------
> use <marquee> for chaos scrolls
> embed gifs from https://gifcities.org/
> steal buttons from https://cyber.dabamos.de/88x31/
> set up a guestbook at https://www.smartgb.com/
> loop audio with <audio autoplay loop>
> add fake errors, 90s web lore, random link lists
[ step 5: resources, themes, and comfort ]
------------------------------------------
> templates & layouts: https://numbpilled-themes.tumblr.com
> glitchy gifs & buttons: https://glitchcat.neocities.org/resources
> layout builder: https://sadgrl.online/projects/layout-builder/
> free tiled backgrounds: https://backgrounds.neocities.org/
> beginner html intro: https://www.w3schools.com/html/
> pixel fonts & cyber assets: https://fontstruct.com/
remember:
you don't need to know js. you don't need to be a coder.
you just need a mood, a direction, a dream.
the html will follow.
[ bonus concept: shrine pages ]
-------------------------------
> a page just for one character you love
> a room to house digital fragments of your identity
> embed quotes, music, images like altars
> call it shrine.html and link it from your homepage
[ closing mantra ]
------------------
you are not here to be optimized.
you are not a brand.
you are a ghost inside the machine,
carving your initials into the silicon void.
welcome to Your website.
========================================================
#webcore#old web graphics#neocities#web graphics#carrd graphics#carrd resources#rentry decor#rentry graphics#carrd moodboard#carrd inspo#neopets#indie#indie web#early web#webdevelopment#web development#web resources#web design#old internet#old web#oldweb#nekoweb#transparent gif#tiny pixels#pixel gif#moodboard#tutorial#html page#html theme#htmlcoding
432 notes
·
View notes
Text

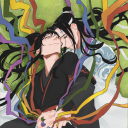
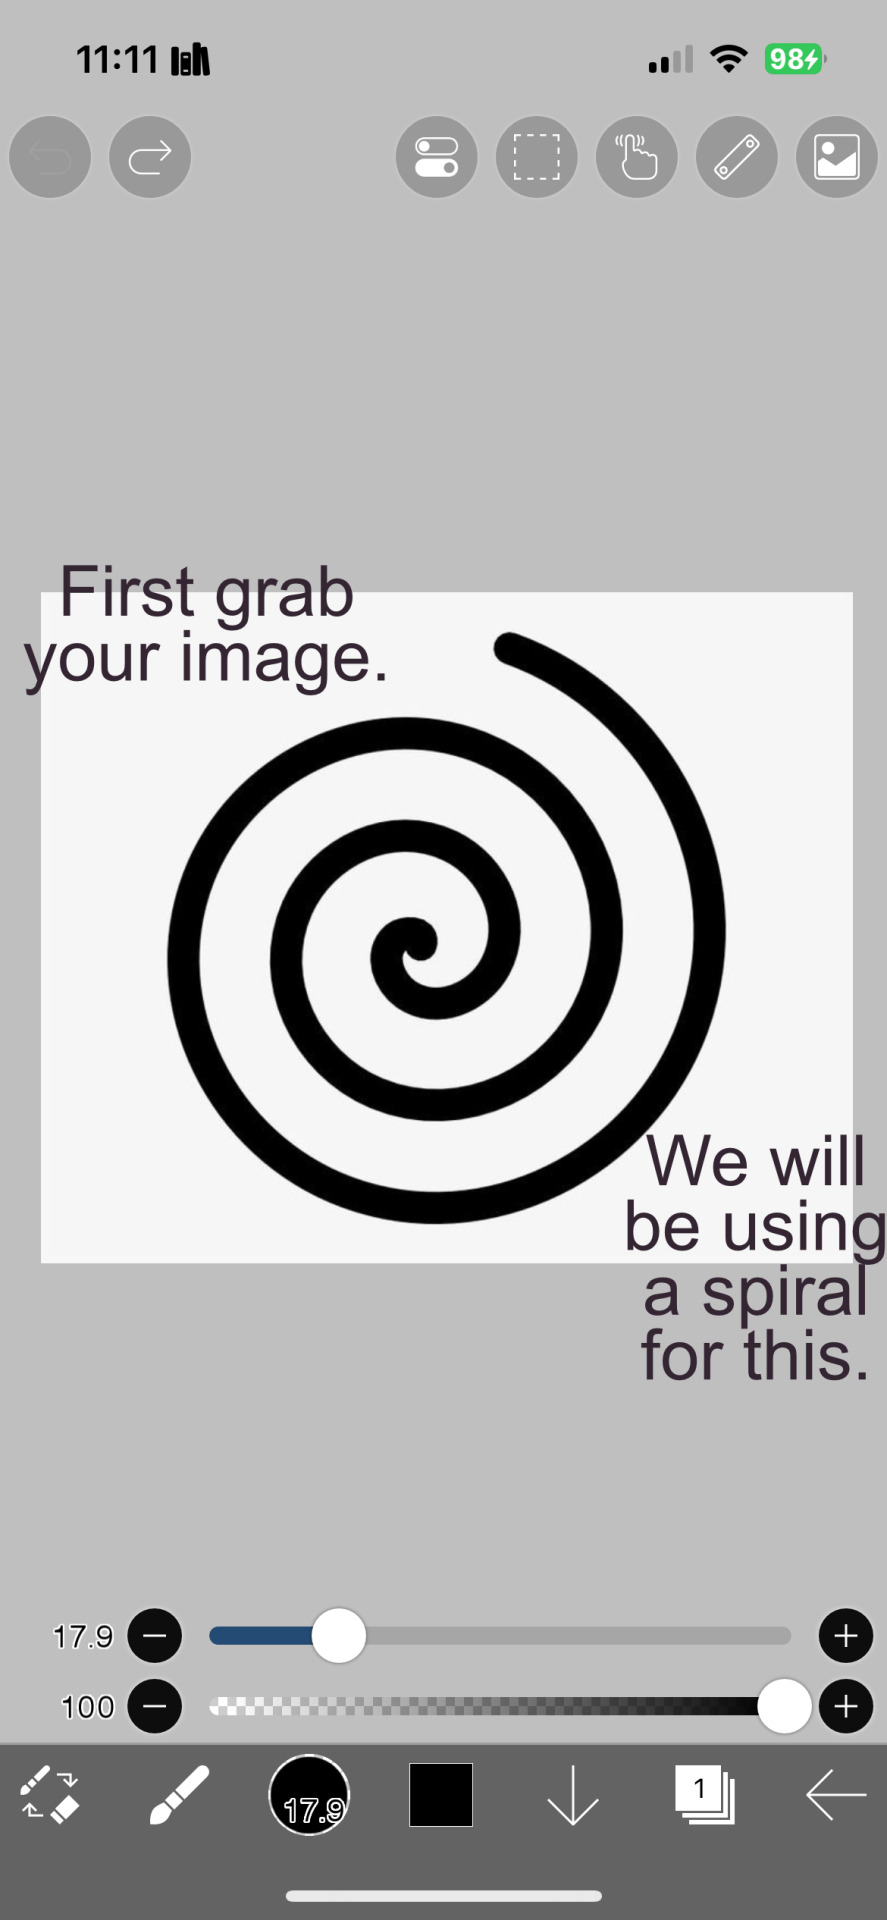
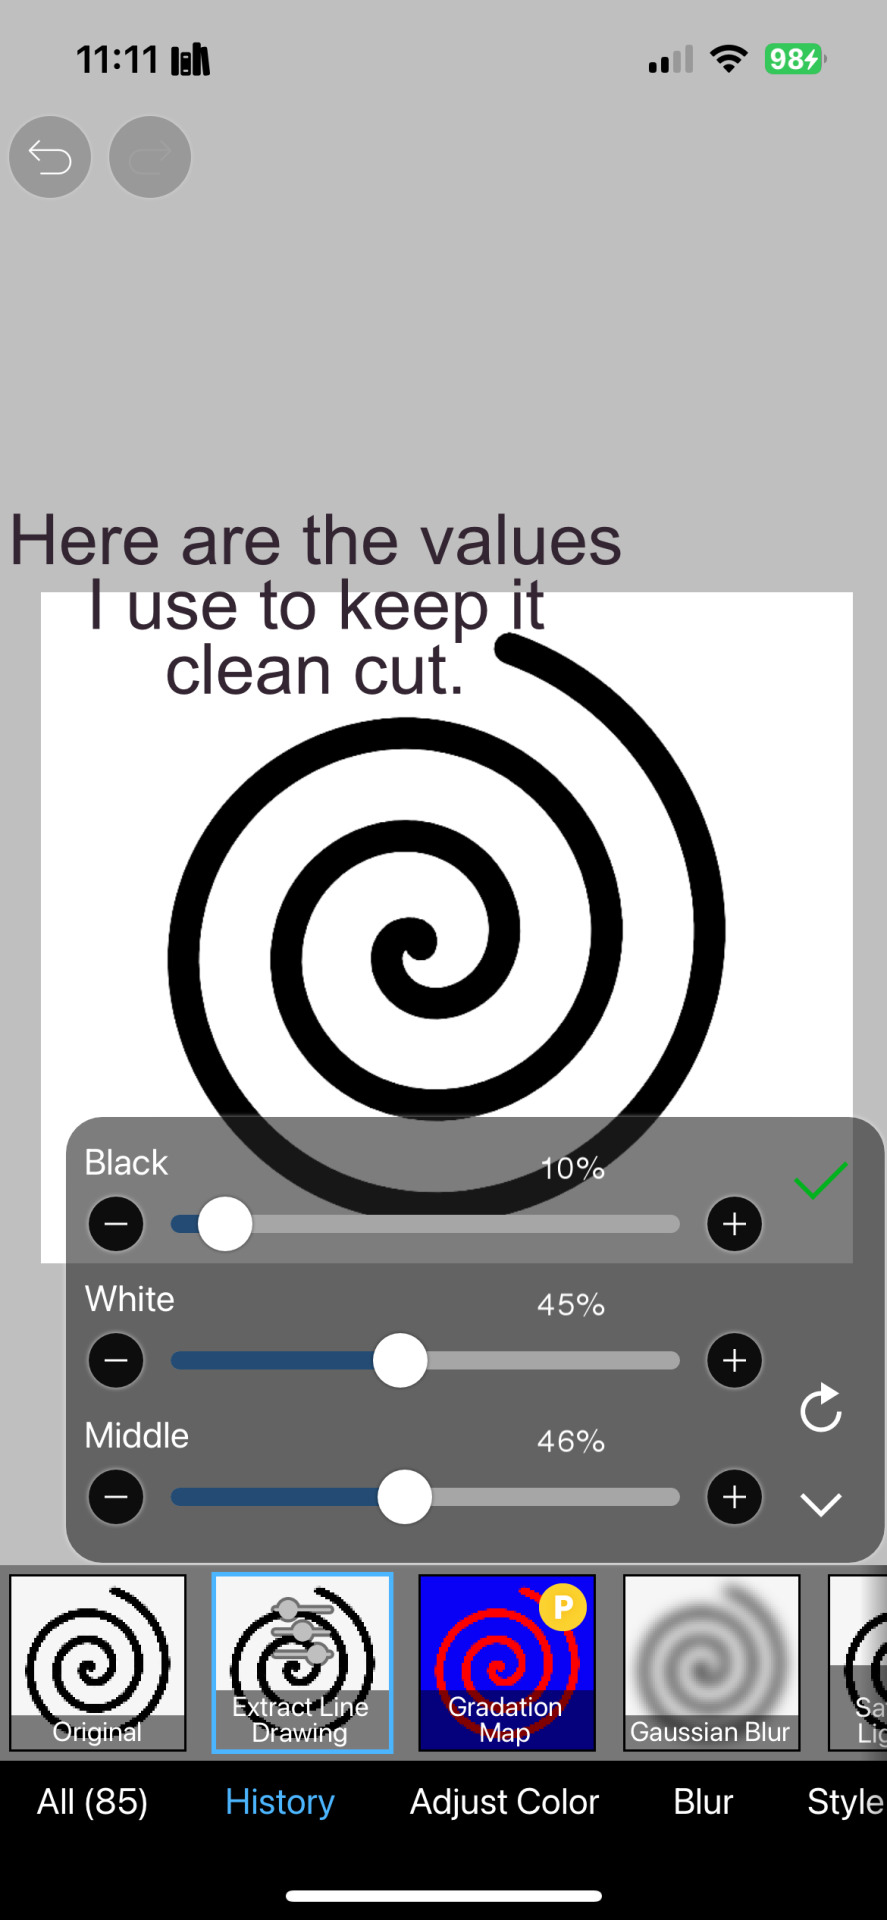
Tutorial on how I cutout my PNGs!!
I use Ibis paint X for this entire process and get all of my images off of Pinterest.
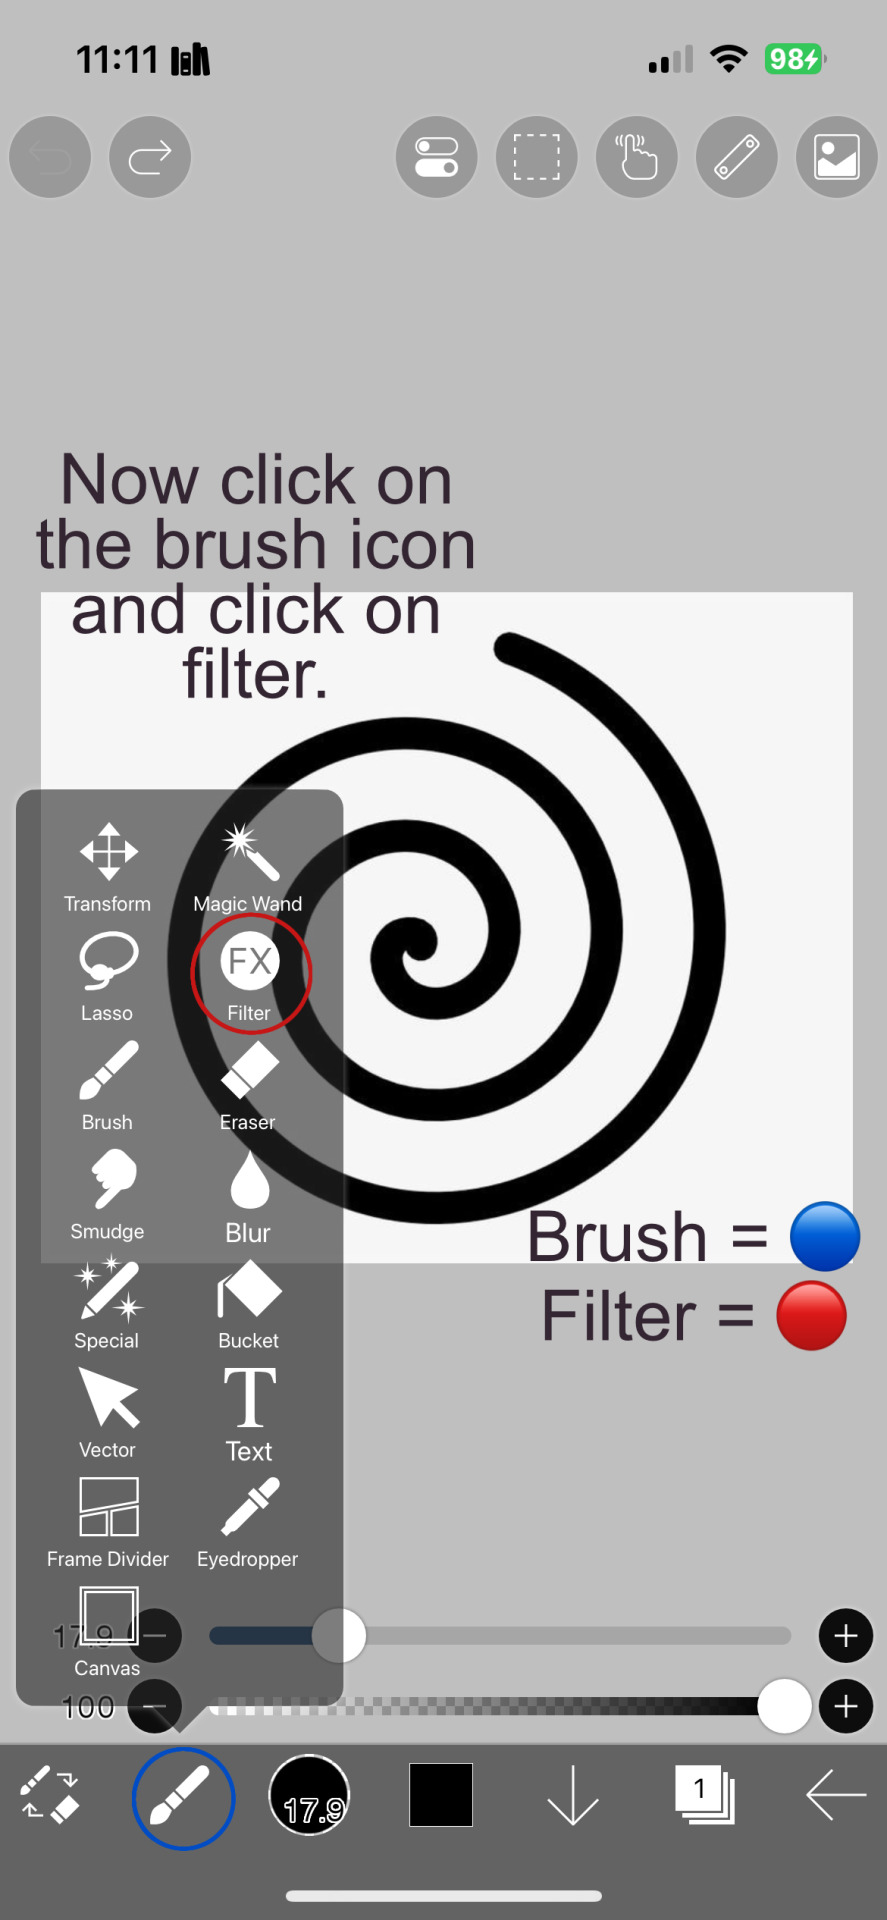
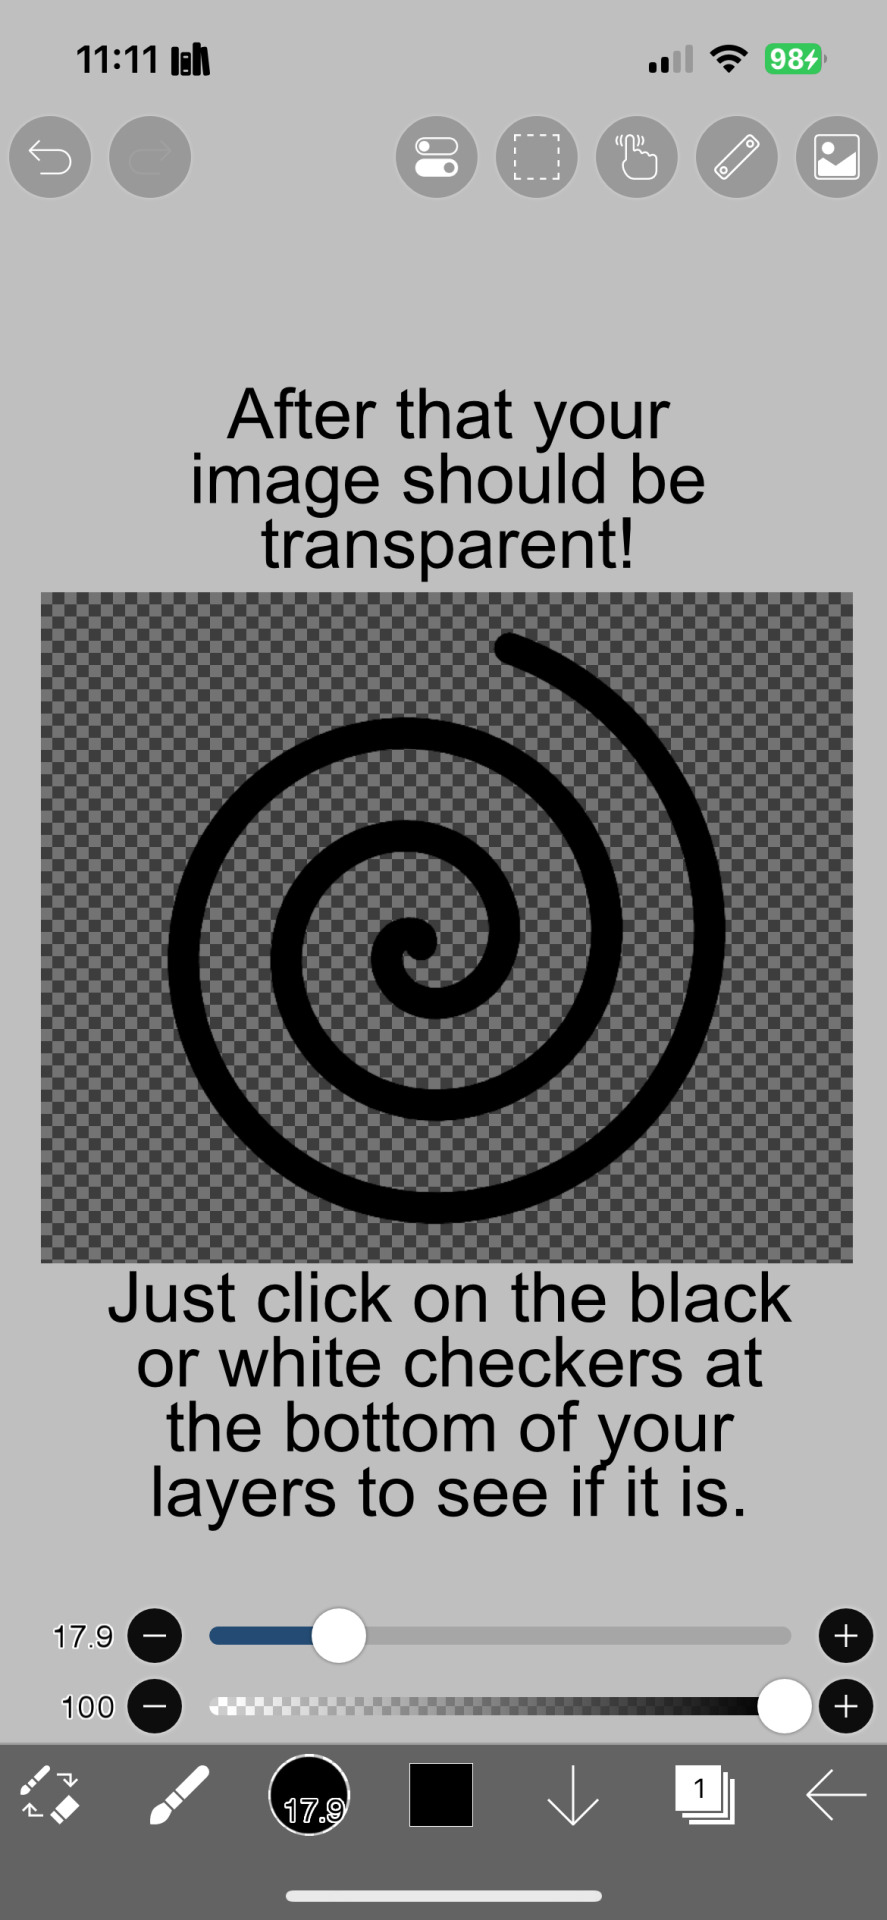
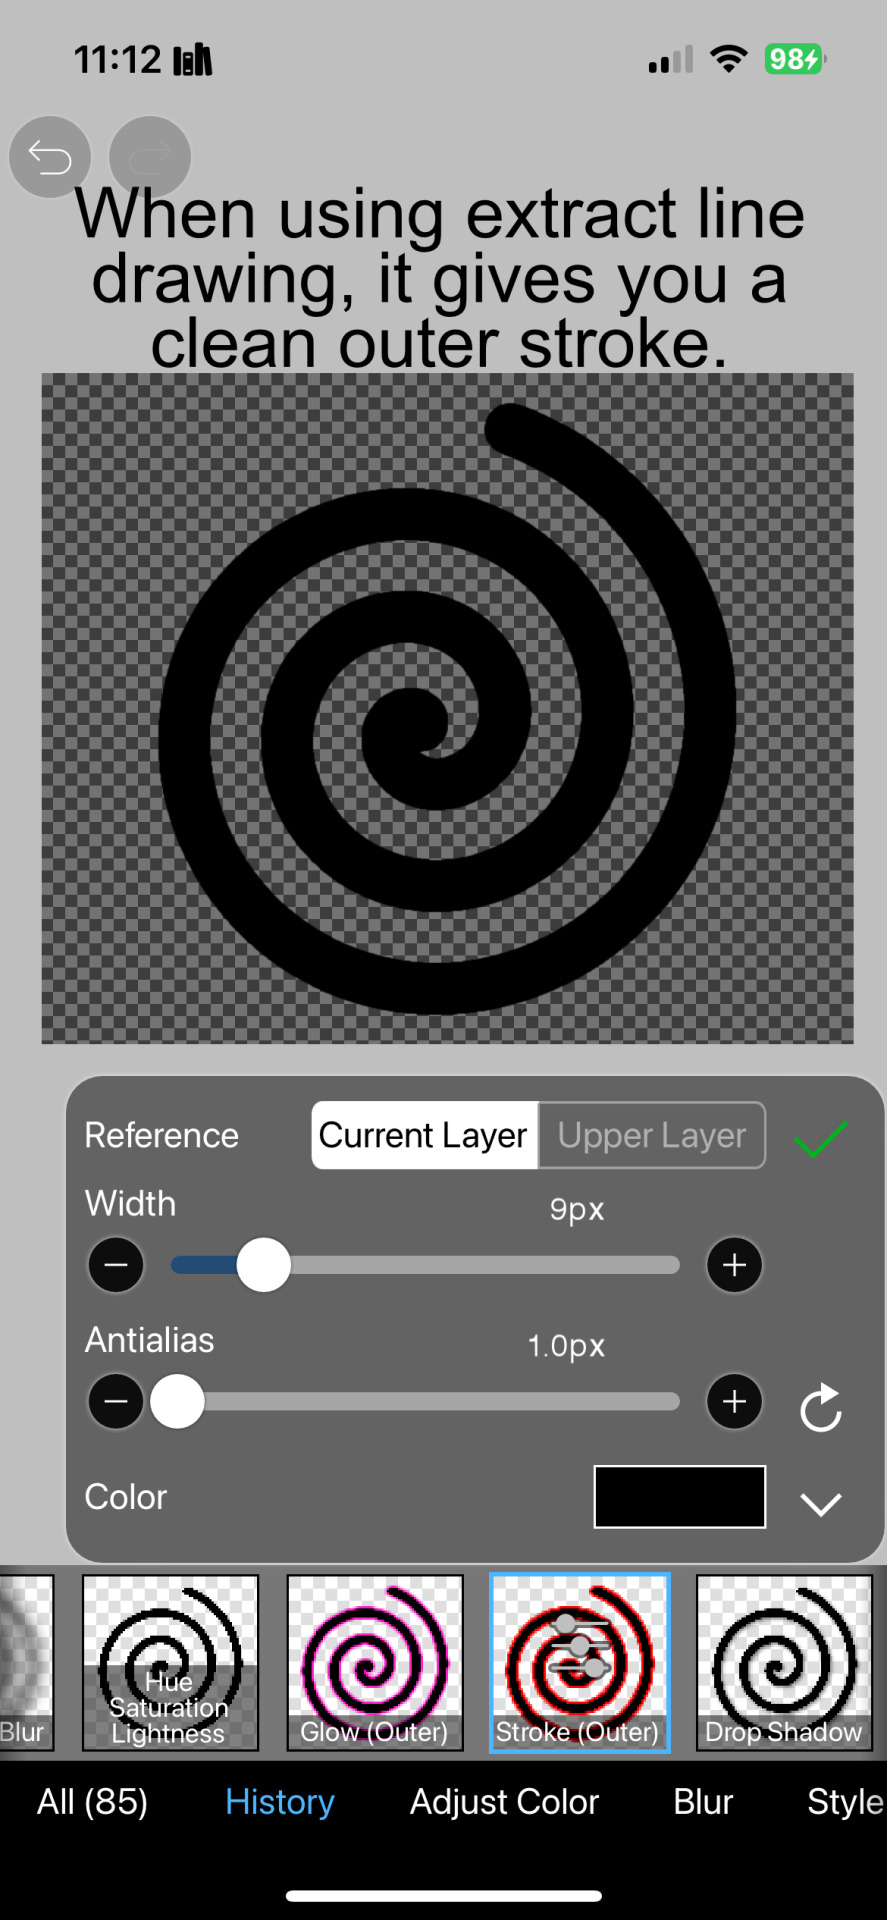
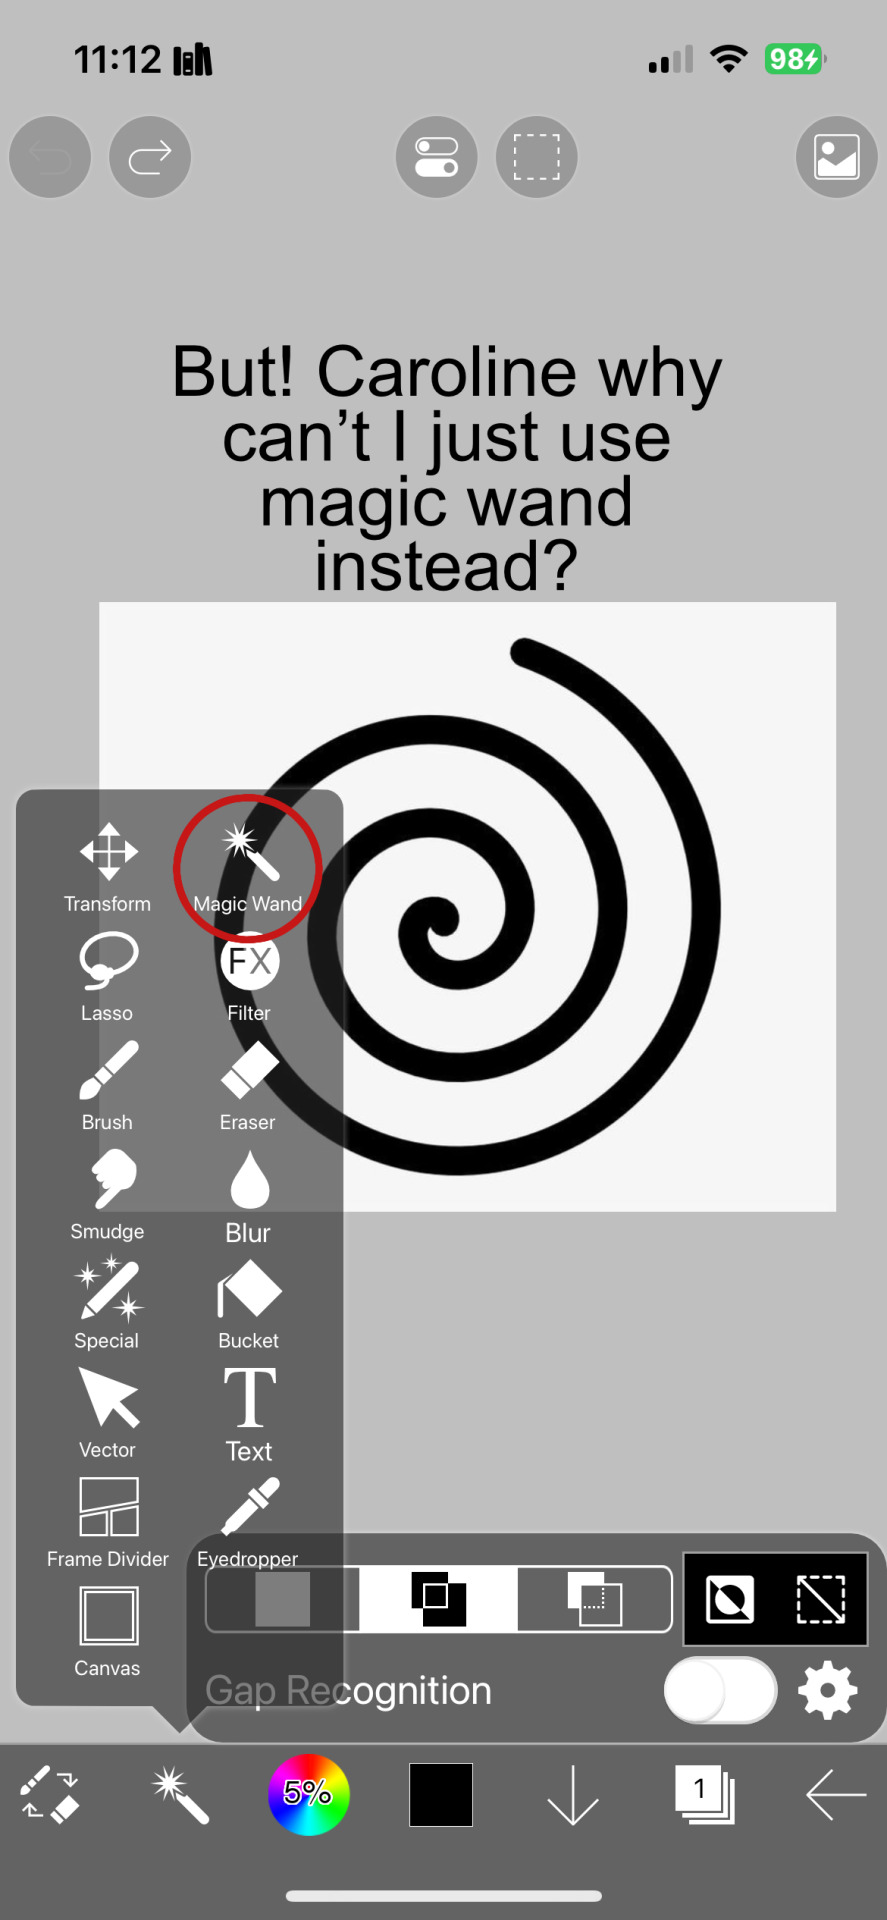


And hopefully this helps! Sorry if I didn't explain certain things well enough or the image ID text is confusing. I don't include it all too often.
#png#answers#rentry decor#rentry#puerileds#transparents#tutorials#talking#my stuff#decor#carrd decor#carrd resources#rentry resources#carrd png#rentry png#gfx#vector#vectors#graphic design#design#pinterest png#ibis paint#carrd stuff#rentry stuff#editblr#Is this enough tags
229 notes
·
View notes
Note
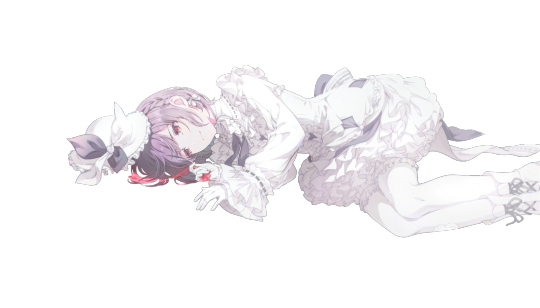
Hello I know that this rentry is not yours but I wanted to ask you how to make that chibi character thingy move like that (tell me if u understood😭) i tried looking through the internet on how to make rentry graphics or rentry gifs but there's no tuts or anything, I'd so appreciated if you helped me and thank you
sorry for the late reply, i forgot about this ask </3 @bat9litc
ok so first ur gonna download a transparent png of the image u want and make sure u download it twice
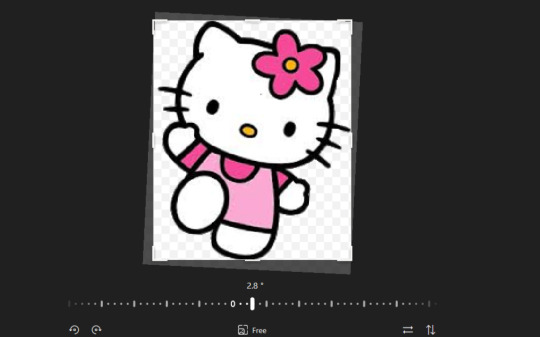
2. then make sure to rotate one of them however u want
3. then go on https://ezgif.com/maker and upload ur images (hold shift to select both) and hit upload
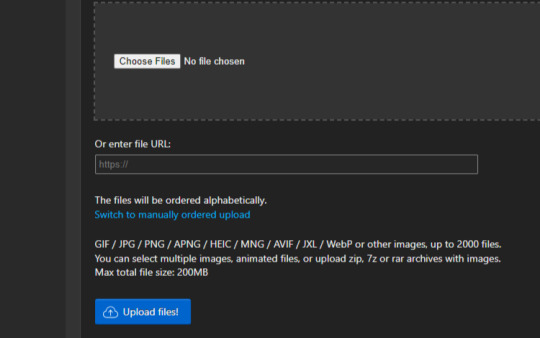
4. then select ur wanted delay time for this gif i selected 30 and make sure to check the "dont stack frames" box then click on "make a gif"
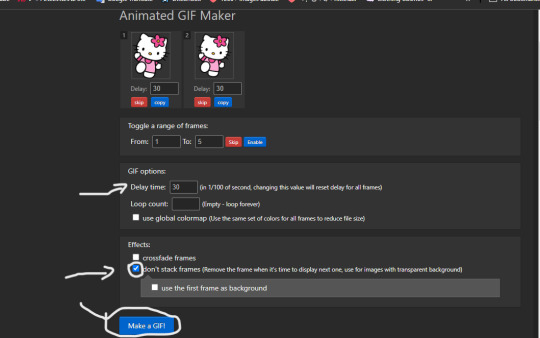
5. k n there u have it :3

btw mine looks weird bc the image was too small so i couldnt rotate properly anyways hope this helped! and again sorry for the delayed reply
im p sure u already learned how to do it by now but i still decided to post this incase u didnt and maybe someone else wants to learn :')
#hello kitty#sanrio#gif#tutorial#gif tutorial#asks#sanrio gif#png#transparent gifs#transparent png#pngs#rentry graphics#rentry resources#rentry stuff#rentry decor#rentry inspo#rentry pixels#rentry gif#rentry tutorial#carrd resources#pastel pink#cute#pink#pixel graphics
178 notes
·
View notes
Text

PRAYSIA. An editing resource sideblog. See under cut for further information and helpful links. We do all our editing in Photopea.
OUR TO-DO. RENDERS DRIVE.
Inbox is always open for questions. Want to Request?
Helpful Links: Upscale Images, Image Splitter, PhotoMosh, Text Symbols, UniCodes, Word Combiner, Remove Gif Background, Download Videos from MOST Sources, Gradient Maps, Tons of Laces.
Tutorials: How To Mask Renders via Critical Galaxy, Photopea for Dummies.
Misc Help: Site that has TONS of PNGs.
This will be updated as needed, so be sure to check back before asking for something please!
If you know us, it is likely from our past edit blogs @necromii, doveish and v-rtue, none of which we use anymore.
#𐐪 asks.#𐐪 tutorials and help.#𐐪 important.#𐐪 from praysia.#𐐪 by praysia.#𐐪 from [user].#𐐪 by [user].#𐐪 chatting.#𐐪 praysia's renders.#𐐪 promo.#⠀⠀⠀⠀⠀⠀⠀⠀⠀#transparents#dividers#frames#masks#psds#gifs#buttons#stamps#pixels#pngs#overlays
268 notes
·
View notes
Note
hey heyy thanks sm so providing us with these resources :3
just wondering, besides using websites do u also remove backgrounds manually? asking because whenever i try to remove a white background from a character that happens to have white hair the result is disastrous no matter the method i use. i ofc try to fix it up but im still curious if there's a way to stop it from happening!
im so glad you find my blog helpful !!
for the websites, i use remove.bg and pixelcut.ai, but yes sometimes these remove the parts you dont want.
i use ibispaint most often to manually remove backgrounds
video tutorial under the cut !
49 notes
·
View notes
Text

KNiFELACE ──── a(n edit) resource blog run by @chocospresso .

𓊆 my neospring . if you wish for me to delete a post / reblog , let me know .

#𓊆 ✑ 𓊇 posts.#𓊆 ✑ 𓊇 asks.#𓊆 ✑ 𓊇 reblogs.#𓊆 ✑ 𓊇 not resources.#𓊆 ✑ 𓊇 transparents.#𓊆 ✑ 𓊇 masks.#𓊆 ✑ 𓊇 pfp masks.#𓊆 ✑ 𓊇 banner masks.#𓊆 ✑ 𓊇 dividers.#𓊆 ✑ 𓊇 lace.#𓊆 ✑ 𓊇 frames.#𓊆 ✑ 𓊇 backgrounds.#𓊆 ✑ 𓊇 psds.#𓊆 ✑ 𓊇 gradient maps.#𓊆 ✑ 𓊇 overlays.#𓊆 ✑ 𓊇 fonts.#𓊆 ✑ 𓊇 tutorials.#𓊆 ✑ 𓊇 websites.#𓊆 ✑ 𓊇 graphics.
65 notes
·
View notes
Text
Dinosaurchestra CD gifs + png
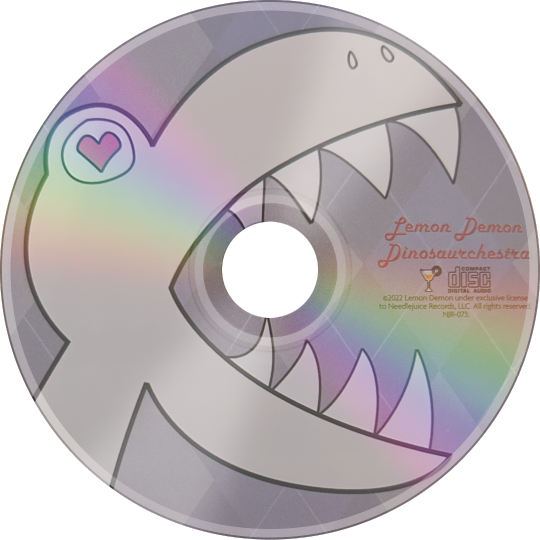
Here's a new gif style today! I've seen gifs like these online before (example, example, example), but I haven't got a clue how they're made, if there's a standard size they're supposed to be, etc. So this is me just trying it out. I did Dinosaurchestra because I wasn't finding a flat photo of a CD I wanted to use, so I just used the one that was next to me irl. Plus, I'm mega autistic for Dinosaurchestra (if you couldn't tell by my profile header lol). I plan to make a few more of these so I can get the hang of this soon.
Here are some smaller ones:

And here is a brief tutorial of how I made them, since it took nine years to figure out:
First, I made a CD in Photoshop. It's important that the hole be completely centered, or the asymmetry will be very noticeable. (But hey, nothing worth loving isn't askew, anyhow.) Here it is:

The layers are split between the base, and the reflections over it.
Then I get a photo of the CD and transform it until it fits into the CD I made. The photo goes above the base, and under the reflections, then on top of the reflections again (also with some different layer modes and varying opacity. Just try shit. Trial and error.). Now I have the png:

Now I take it into 3dgifmaker and put these settings:
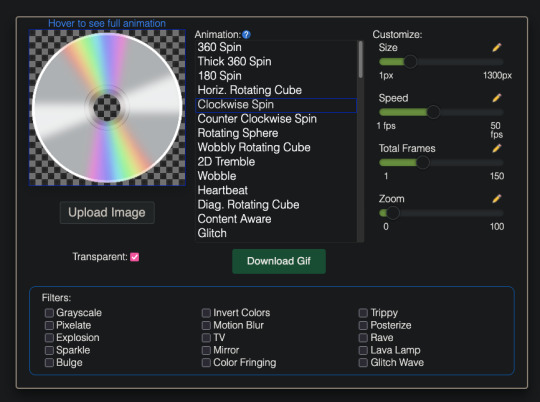
Then download, and now I have this:
Next, I take it into Ezgif and click "crop". Instead of cropping, I just extended the canvas twice (I think? maybe thrice) to make room for the album cover. I also made sure the album cover image had the same height as the initial CD. Then I take that to the add overlay section and put the cover halfway over the CD gif. Lastly, I took it back to the crop section and clicked "trim transparent pixels around the image". Then it's done! Little convoluted? Yeah... but hey, I figured it out, right? A win is a win.
#web graphics#page decor#transparent png#animated gif#f2u#f2u without credit#mypngs#mygifs#tutorial#lemon demon#dinosaurchestra#proship dni
27 notes
·
View notes
Text
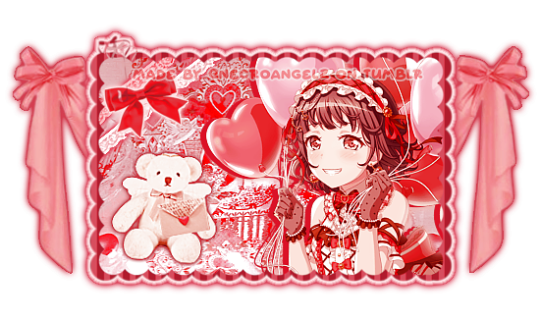
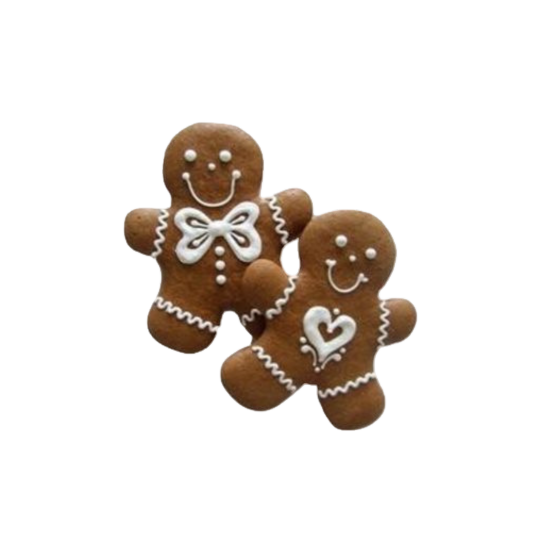
cho~! cho~! cho~! so sweet, sweet! cho~chocolate . . . !
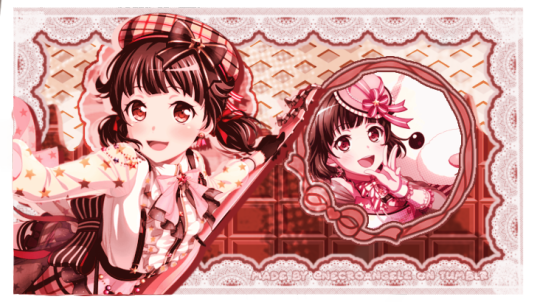

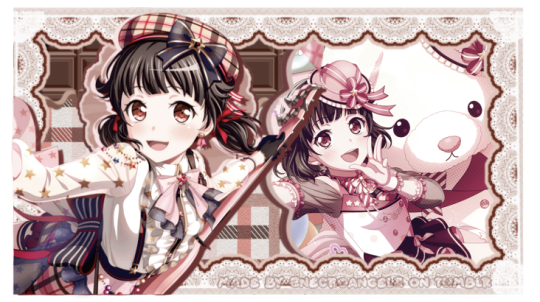
but somehow this sweetness and happiness just isn't enough !!
event prize for @battampria
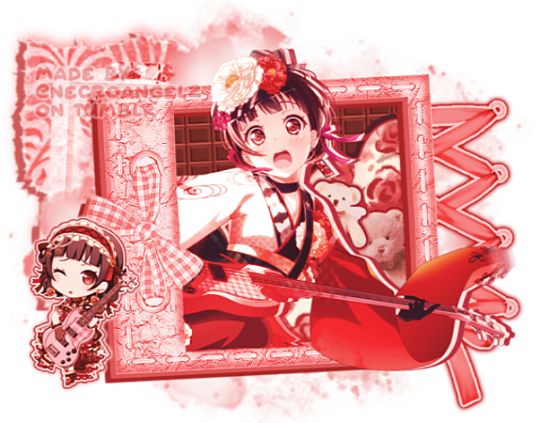
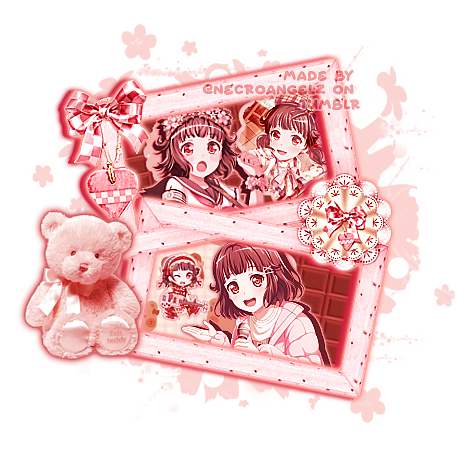
RIMI USHIGOME GRAPHICS! aaahh oh my god i had SO MUCH FUN MAKING THESE!! i hope these are okay bc i might've went too far and strayed away from the requested theme... (。ŏ﹏ŏ) bandori characters are low-key so easy to edit and the final product always looks nice lmao
like/rb and creds appreciated!
NOW PLAYING: Chocolate Bass Recipe by Rimi Ushigome !!
#🌠﹕ a wishing star 𝜗𝜚 ︵#👁️🗨️﹕ from the archives 𝜗𝜚 ︵#bandori#bandori garupa#rimi ushigome#bandori rimi#rimi bandori#bang dream#bandori edits#rentry graphics#rentry resources#transparent png#bandori png#rimi ushigome png#rentry frame#rentry decor#pixel decor#bundlrs graphics#popipa#poppin party#bundlrs resources#rentry help#bundlrs help#rentry tutorial#bundlrs tutorial
144 notes
·
View notes
Text
𓆩♡𓆪 pixels tutorial ˖˚
꒰ step one ꒱ ↳ first, find an image or two on a search engine or pinterest/something like it. if doing images from real life (not art), try to use images that don't have noticeable lighting. for example, product images with white backgrounds are best rather than product images in a real life setting with strange lighting.
꒰ step two ꒱ ↳ either copy and paste the image or download and upload the image into remove.bg. use erase/restore as needed. download or copy this image.
꒰ step three ꒱ ↳ open either photopea or ibispaint x, and create a new canvas. set the size to 25x25 or 50x50 px and open/copy the transparent image into this canvas. shrink the size as needed.
꒰ step three ꒱ ↳ you're done! pretty simple, huh? good work \(^_^)/
#carrd graphics#rentry graphics#rentry decor#rentry resources#carrd resources#transparent#tutorial#rentry tutorial#graphic tutorial#editing tutorial#pixels tutorial#pixel tutorial#transparent png tutorial
14 notes
·
View notes
Text


Free png ingredients you can use for this recipe :>... include a christmas tree hehe ૮꒰ ˶• ᵕ •˶꒱ა ♡
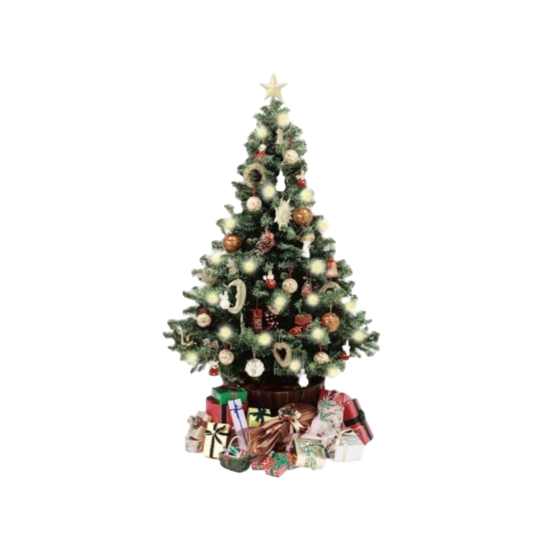
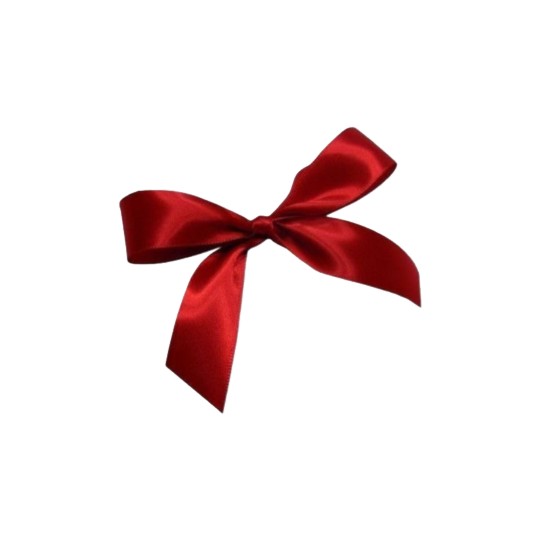


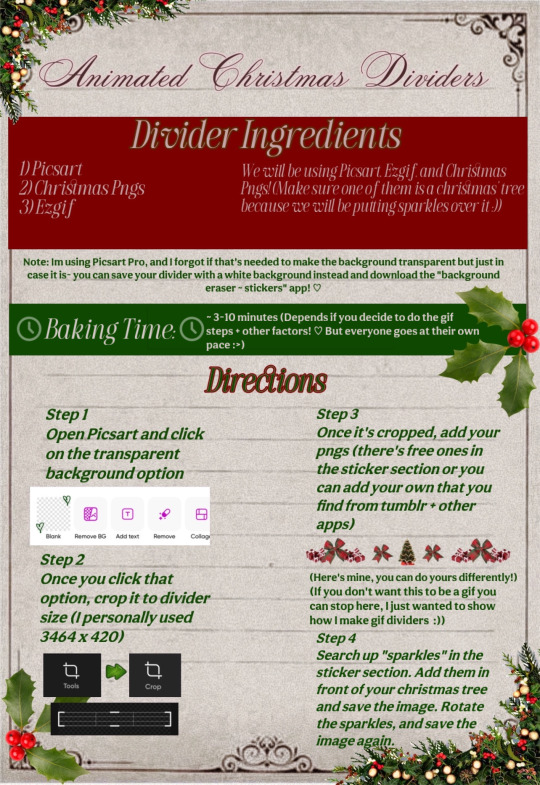
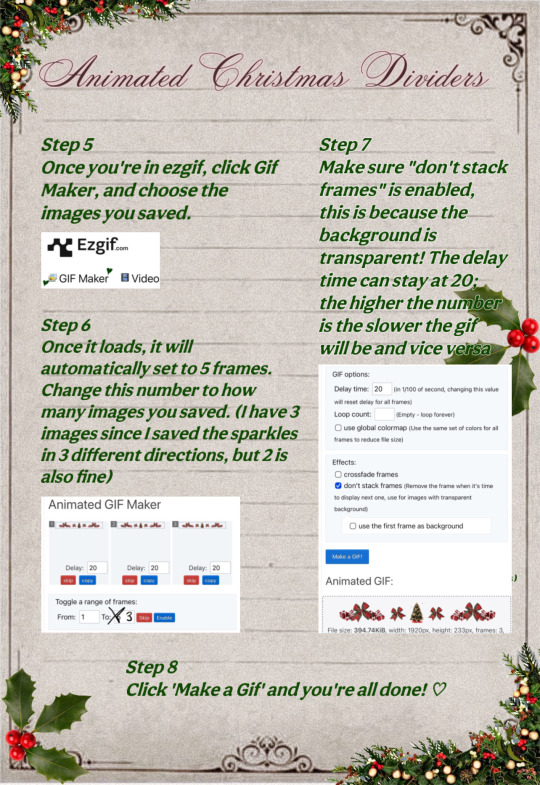
My Finished Result:

#dollywons bakery#divider by dollywons#dividers#divider tutorial#tutorial#christmas dividers#pngs#christmas pngs#transparent dividers#edits#editing#christmas aesthetic#i hope this makes sense jfjdkdks
349 notes
·
View notes
Text

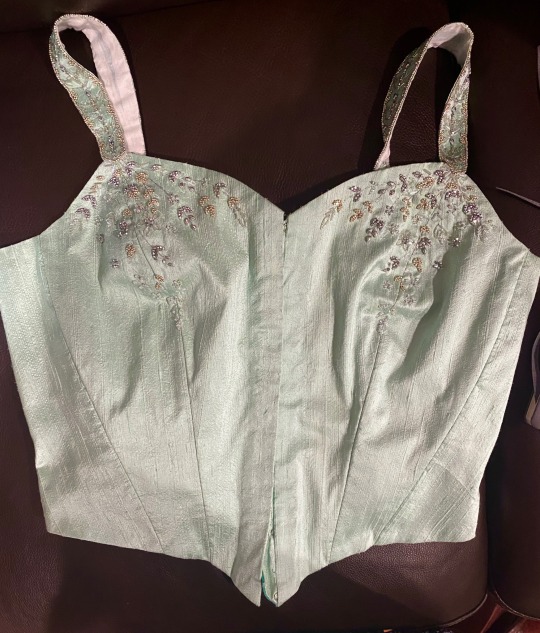
Bodice embellishment is 95% done, and the Glass Gown is starting to live up to its name! I’m finishing up the silver embroidery right now, using a very long chain stitch for most of it. I found that to have the best impact and fluidity for the long stems.
The silver embroidery thread is Sajou ‘Fil au Chinois’ in metallic silver. The beading thread is Kinkame 50wt silk in color #10.
The beads are:
2mm Czech fire-polished in Crystal AB, Crystal w/ Silver AB, and Silver.
mini Gem-duo beads in silver
3mm and 6mm Miyuki smooth bugle beads in Crystal AB
6mm Dyna-mites twist bugle beads in opaque ceylon rainbow white
15/0 Toho “3-cut” seed beads in silver (these have a very warm, nearly gold tone but this added some nice variety).
I actually bought so many other beads for this project but none of them ended up working out. This combo ended up giving me the texture and color variety I wanted while remaining cohesive and restrained. I especially love working with the fire-polished beads. The facets give them so much sparkle and texture while not being chunky or tacky. I will definitely be getting more in more colors for future projects (and also these colors again because they’re so versatile).
#pancake makes the glass gown#pancake talks textiles#the fun thing with ‘crystal’ beads is that they take on a lot of ambient color due to their transparency#the bugle beads look almost ivory in their container but with the blue thread and fabric they look like an icy seafoam#i’ll make a small beading tutorial for the leaves in the future#they’re super simple but really effective#and they have that wonderful victwardian feel
42 notes
·
View notes
Text
Tutorial how to make pjsk//prsk x real life ig?
App needed :
Ibispaint!
Anyway my ibispaint also in Indonesian, so i try to translate it! I hope yall understand.
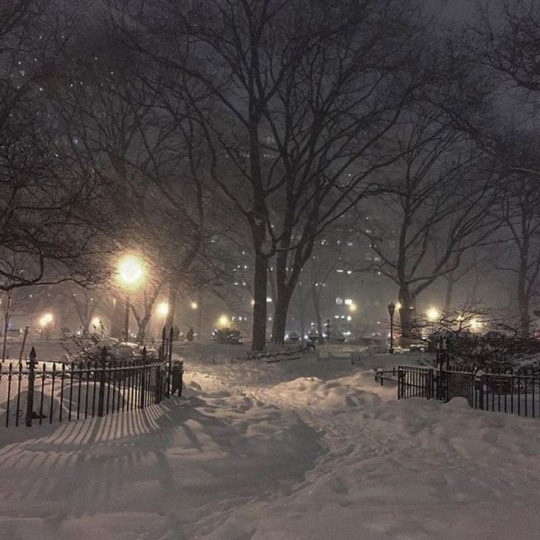
1. Choose your transparents and the scenery.
2. Put your character in the scenery! Anywhere
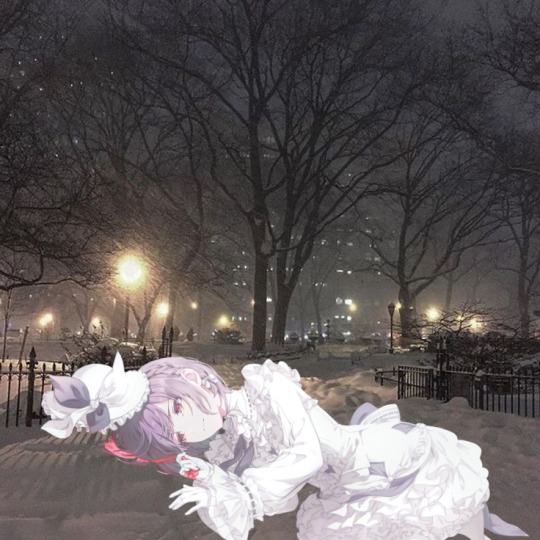
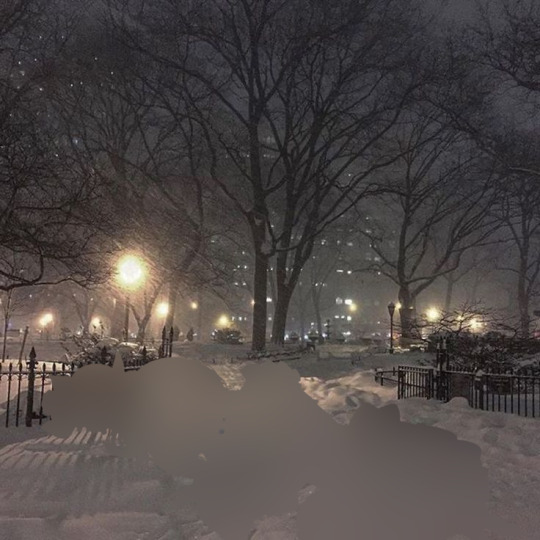
3. Clone the layer, move the layer to 3 then crop it

4. Go to the filter and choose the "blur lens" !

Just press it repeatedly until it looks like this!
5. Choose the hard light in the contrast section!

It will be like..
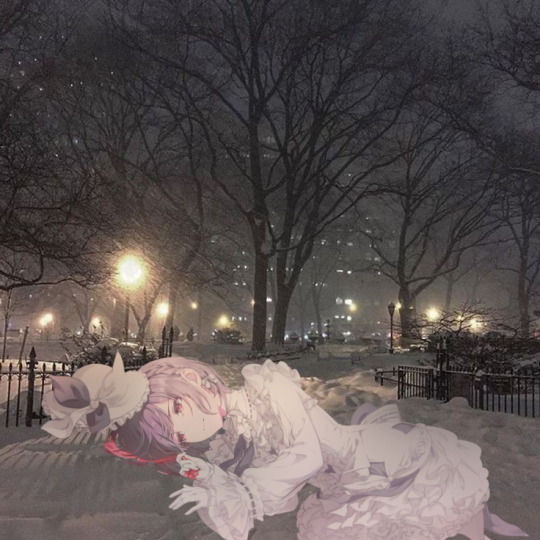
6. Choose the 60% trapezoidal airbrush! To darken

Next to the another post, it's almost 10 photos💔
#tutorial#transparents#ena shinonome#shinonome ena#25 ji nightcord de#pjsk x rl#pjsk x real life#project sekai x real life#prsk x rl#prsk x real life
3 notes
·
View notes
Note
your harrow drawing gives me LIFE
AJSFJSKJDF; THANK YOU!! 😭✨ all of the positive reception on my harrow drawing (and my tangle tower stuff in general) has really warmed my heart, i really appreciate all the kind words everyone have left on it...
to properly show my appreciation, please enjoy this harrow microorganism inspired by the game's map sprites!
— credit to @whisperingrockers for harrow's design again. pls go check out her tangle tower stuff, it's all extremely good.
#i love the game's lil map sprites so i had to make one for harrow#if anyone wants a tutorial on how i did the boil effect just let me know and i'll try to explain it in another post#applying the effect itself wasn't too hard but i had some trouble w/ the file size (which was mostly my fault bc the gif was way too long)#i also couldn't get the transparency to not look weird so that's why she's just. standing in the void#BUT YEAH. thank you again to everyone for being so kind it really means a lot!!#detective grimoire#tangle tower#harrow hawkshaw#🎨 : mj draws#asks#tw gif warning
62 notes
·
View notes
Text
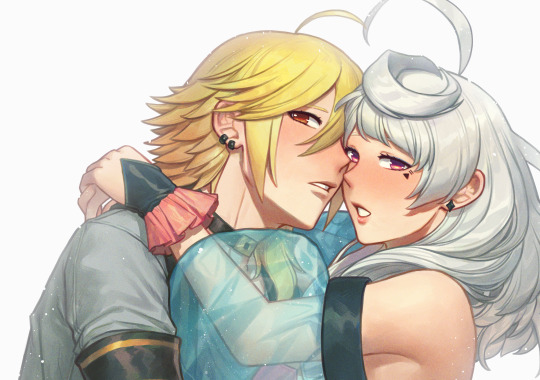
Happy New Year!
This was finished back in 2023, in the 31 to be exact, since I didn't want to drag this WIP any longer.
Colored it in the last few days of the year since the original lineart for this was in my WIPs for a few months.
Rather than coloring everything in the layer for each color like how it looks with the bases I painted everything over in a folder.
Some colors would go on top of each other and then I'd just adjust it painting over a bit more.
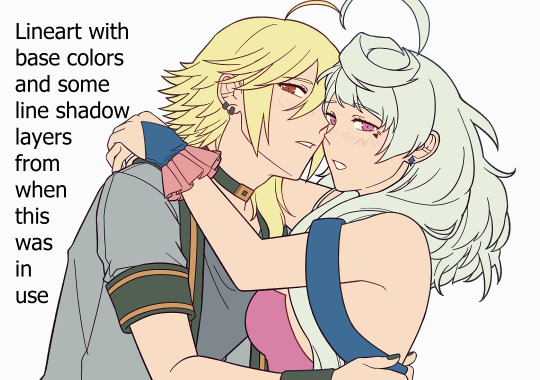
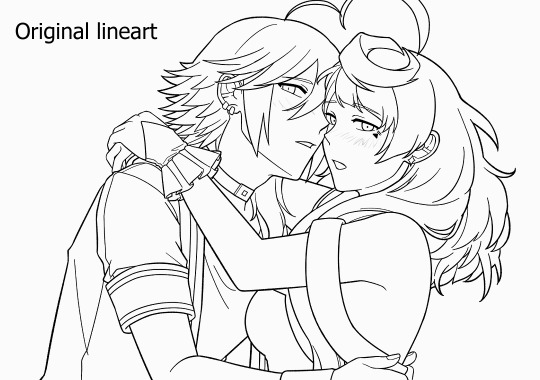
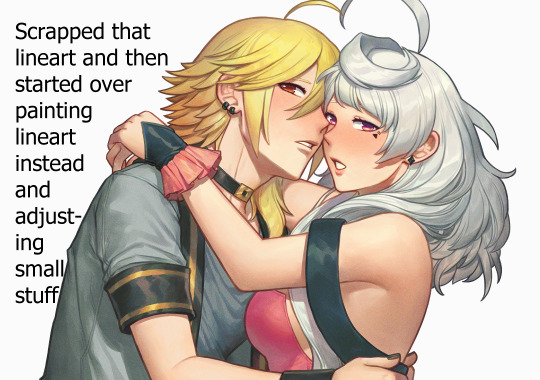
Lineart that isn't used here since it was 100% scrapped 😅
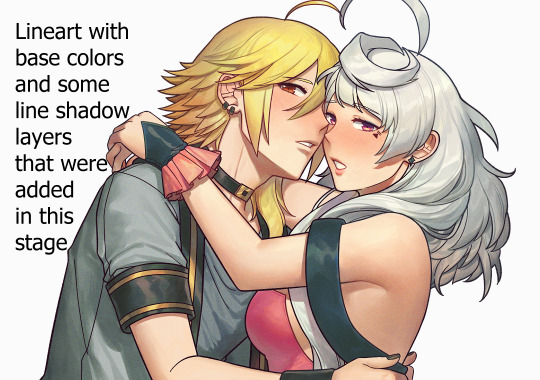
Turns out that while I was moving to start shading it I noticed it would look way better if I drew lines over instead of using what I had done and it turned out way better like that.
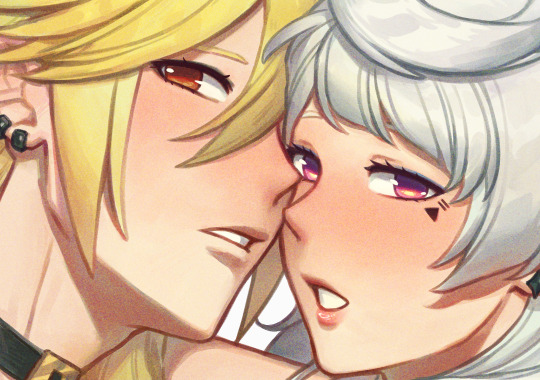
Coloring this was somewhat quick compared to other artworks that drag on for many weeks or months. Either way I really like how this came out, the progress here was kinda weird but the end result was still good. Here are a few more detail shots (some zoomed out).
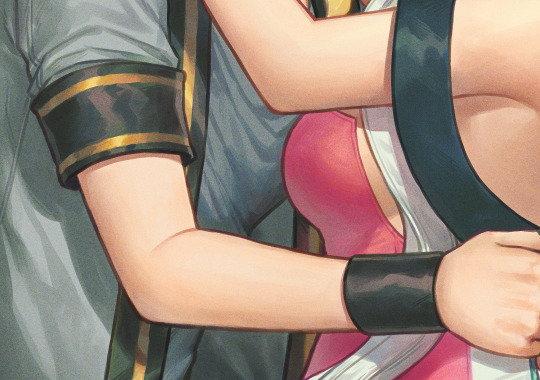

#hiomaika#yohioloid#vocaloid maika#maika vocaloid#btw this is obviously NOT any type of tutorial. i'm only commenting on how the progress for this was since it was kinda weird.#maika's transparent coat thing parts were painted over but in another folder that was above everything else.#feel free to remove my commentary if you want to reblog
34 notes
·
View notes
Text
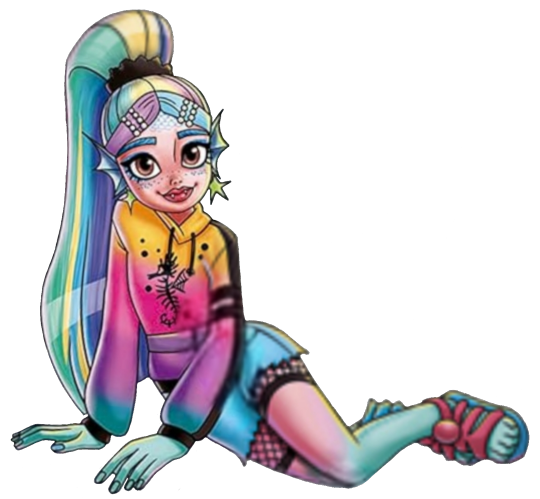
Behind the scenes of how i got the g3 lagoona sitting version of the artwork

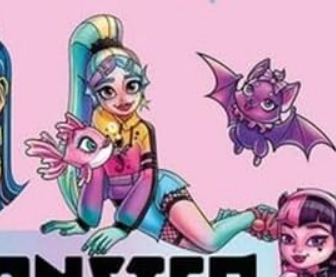
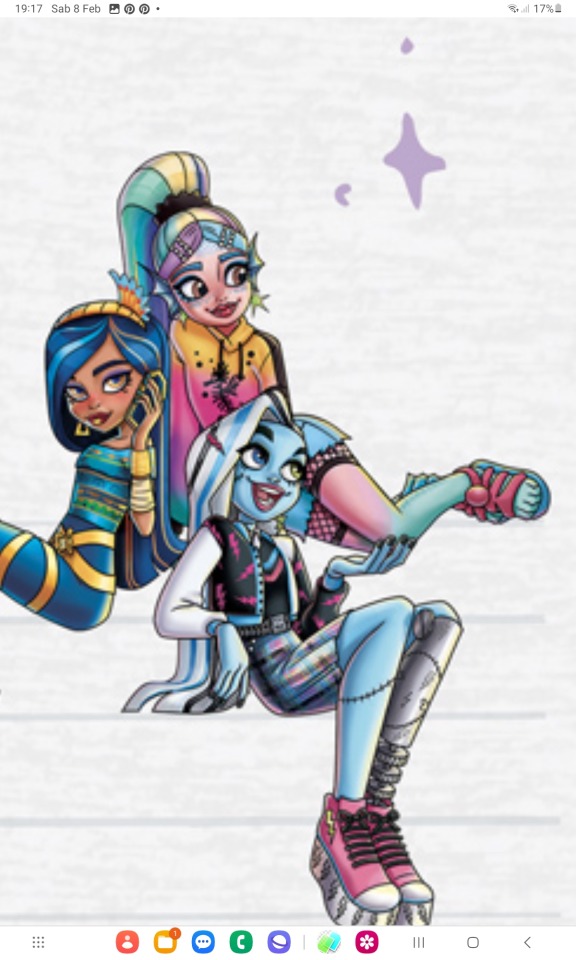
Sources for the pics:
Puzzle
Table Cloth
Coloring Book
I ovelapped them to each other on PicsArt and erased the bg with PhotoLayers, and these were the results ::)

6 notes
·
View notes