#bookpressing
Text

September is National Sewing Month.
Book conservators have always bound books to extend their lives. Our preservation staff at Harvard Library still do! Here, a woman sits by a book press, sewing leaves with thread to make a book block that could then be bound with a more durable material such as leather on a binding board.
Untitled (woman seated at book press, sewing leaves of book, labeled Mrs. H. C. Taylor)
Wright, S. E., active mid-19th to early-20th century
Gelatin silver print on card.
15.9 x 10.8 cm (6 1/4 x 4 1/4 in.)
American
1895-1907
Harvard Fine Arts Library, Special Collections
HOLLIS number: FAL13341
#NationalSewingMonth#BookPress#SewingBook#Sewing#SpecialCollections#Preservation#Conservation#BookBinding#HarvardFineArtsLibrary#Fineartslibrary#Harvard#HarvardLibrary
42 notes
·
View notes
Text
Every time I make a book I'm like this is the worst thing I've ever made with my hands it's awful I can never show this to anyone and then I take it out of the book press and it's like oh this is actually the best thing anyone has ever made
#the bookpress is a magic transformation device i have concluded#I'm actually very excited to share this book i think it's very cool#i put it back in the press for a bit longer but i will take some photos tomorrow#honestly it's not the best book I've ever made but considering it was mostly experiment it's pretty nice#bookbinding
27 notes
·
View notes
Text

taking book press literally today
#I do not own a proper bookpress yet#so this should be enough to press the sheets for a small notebook#bookbinding#me#about me#[indistinct chatter]
10 notes
·
View notes
Text
Time to stop futzing around on ebay and making origami fish, get up and have dinner and a tidy round ready for tomorrow's sewing
#i missed out on the last bookpress for 40 quid#and this one is a press and a punching cradle/awl guide for so-far £45#!!!!#an hour an some left waugh
2 notes
·
View notes
Text
For the record, I want to turn my copy of The Conlanger's Lexipedia into a hardcover book, because I've had the thing for about half a year and it's so, so damaged already... I know I keep taking it places but Still....
#Also while the book is very cool and useful the cover is really ugly so I could also make it actually look nice#And using some inks and a makeshift bookpress I could dye the sides of the book to cover up the tea stains#just make it look like an old book instead#but with the fabric store closing down it makes the project just.... so much more difficult.....#I'm home alone now I could actually be dealing with all this stuff#but now I won't be able to get the materials in time#and I sure as hell don't see my mum allowing me to use our kitchen to dye fabric lol
7 notes
·
View notes
Text
Book Review: Our Wives Under the Sea by Julia Armfield
This story left me with a strange, lingering feeling — a mix of emotions that’s hard to put into words. When my book club picked it up at the end of last year, it was met with mixed reactions. Most members didn’t enjoy it, with only a couple finding things to appreciate for different reasons. Now, having read it myself, I understand where both the likes and dislikes come from. I’m eager to share…

View On WordPress
#blogger#bookpress#bookreader#bookreview#bookreviewer#books#bookworm#bookworm basics#read more books#review#reviewer#wordpress#write more#writer#writers life
0 notes
Text
...I bought purple hair dye today
#it's the first time I bough actual permanent dye#not gonna use it until I'm back#but it actually says that it works on dark brown hair#which most dyes uhhh don't#and I'm definitely not bleaching my hair#I used to use non-permanent red dye#but it has been some years#like#at least 8#so#weekend might be busy with bookpress building and hair dying
1 note
·
View note
Text
"Musical Chairs: A Bow by Blow Adventure" by James Mitchell
An Amazing Personal Journey to Master Musical Instruments
#books #bookreview #reading #readerviews
Musical Chairs: A Bow by Blow Adventure
James MitchellBookPress Publishing (2023)ISBN: 978-1947305656Reviewed by Tammy Ruggles for Reader Views (12/2023)
“Musical Chairs: A Bow by Blow Adventure” by James Mitchell, is a self-help journey of one man’s quest to become skilled in every musical instrument in the orchestra. That would be a feat in itself, but this gentleman was 76 years old at the…

View On WordPress
#A Bow by Blow Adventure#Book Review#BookPress Publishing#James Mitchell#Musical Chairs#Reader Views
0 notes
Text
sad...
Every time you don’t come to me when I need you, it damages me a little bit more. Every time you are not there when am breaking, it breaks me a little more. Every time I need you and you are busy with something unimportant, it hurts me a little more. And instead of telling you how much it hurts me I keep thinking that I should just accept as I’ve always been accepting everything in my life. I…

View On WordPress
#alone#bloodink#bookpress#depressed#greyink#ifonly#ink#inkedgrey#loneliness#miss#missing#poet#sad#writer#writerofwordpress
0 notes
Text
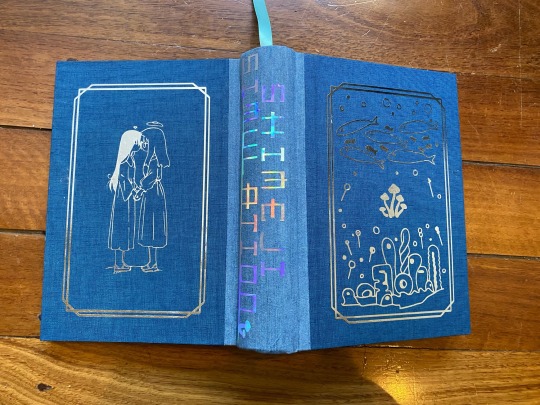


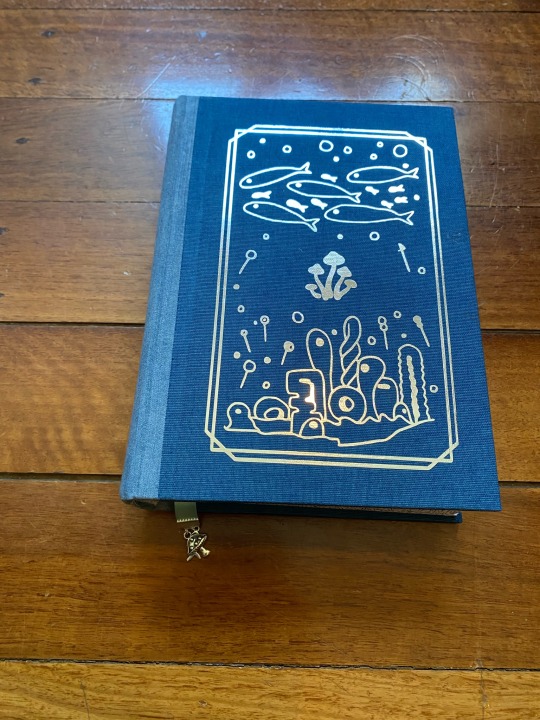


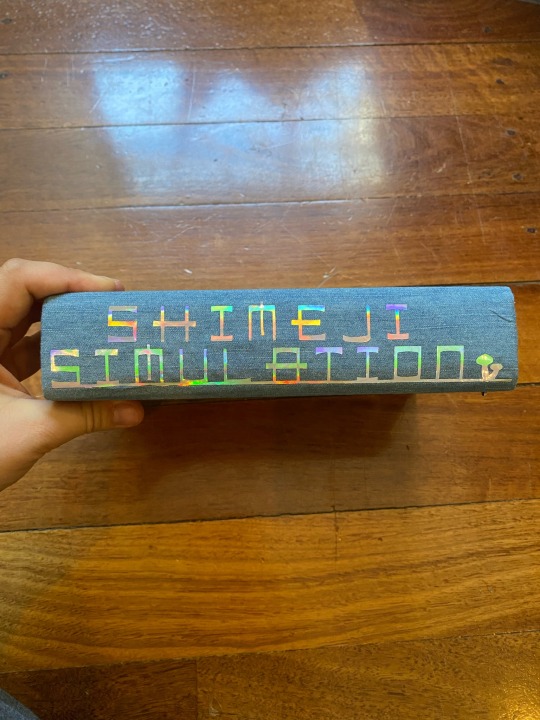
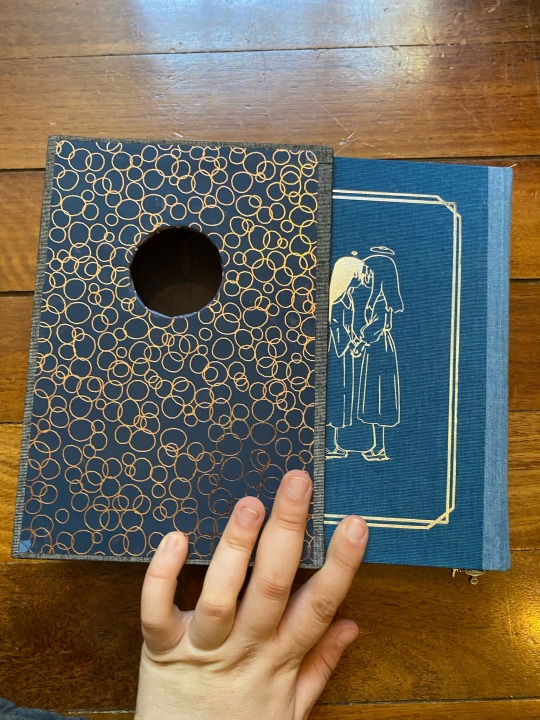
One-volume binding of Shimeji Simulation, one of my favorite mangas of all time. Folio size, Polar Duo, metallic silver HTV + case (with a little hole so you can see the girls being tender together 💙)
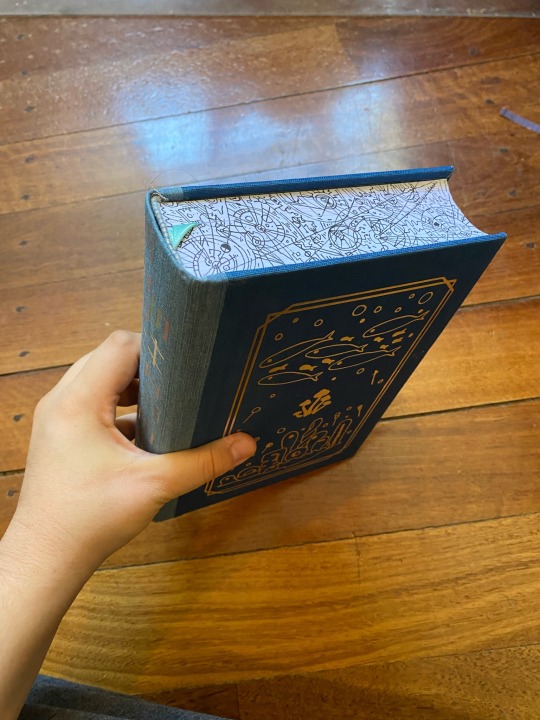
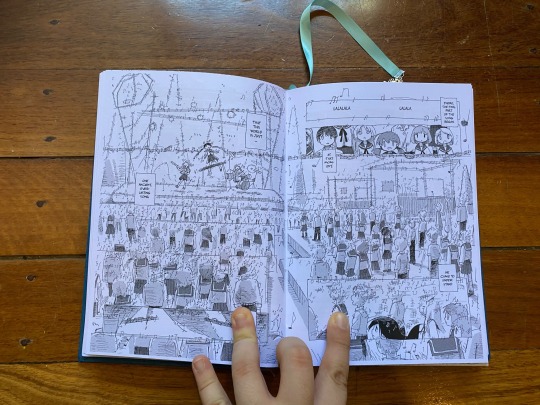
I made this one for a friend who mentioned that he'd be interested in reading the manga, but preferred to read manga in physical form. There's no licensed English translation OR print run of this, so I decided to make my own - I downloaded the Orchesc/a/ns translation/scan on MangaDex, compiled it all into a single volume, and reversed the PDF page order before imposing it into signature-form, so it can be read right-to-left, as intended! The edge art is hand-drawn by me, meant to mimic those geometric doodles that show up throughout the story. Hand-sewn headbands, to pull it together! And a little mushroom + fish charm bookmark, because OBVIOUSLY!
Fun fact: this is the first book I've ever bound that's been too chunky to fit in my home guillotine. It was nearly too big for my bookpress, too - but only nearly.
#shimeji simulation#bookbinding#my books#perfectly normal books#i could not tell you if this counts as fanbinding or not.#if nothing else this is a wholehearted rec for this manga: please go read it! it rules
606 notes
·
View notes
Text
Red, White & Royal Blue Rebind


[ID: Eight pictures of a hand-bound rebind of the book "Red, White & Royal Blue." The first shows the cover, which has been bound in light gray bookcloth and is decorated to look like a suit with a union jack tie. There are two cardstock buttons, one that says "Vote Claremont" and the other that says "History, huh?" On the right side, the title "Red, White and Royal Blue" is painted on in red, white, and blue paint respectively. On the left side, the author name "Casey McQuiston" is painted on in white paint.
The second shows the spine, covered also in gray bookcloth. It has the title "Red, White and Royal Blue" painted on in red, white, and blue paint respectively and the author name "Casey McQuiston" painted on in white paint.
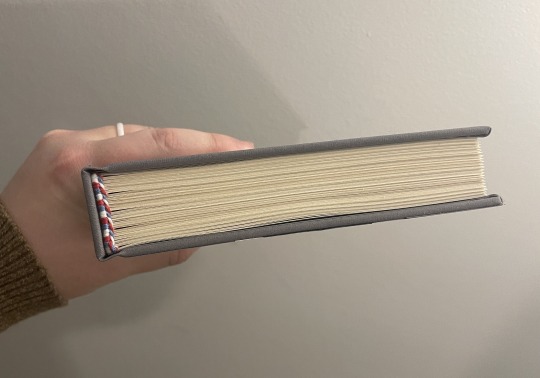
The third shows the book from the top so the headbands, sewn with red, white, and blue thread, can be seen.
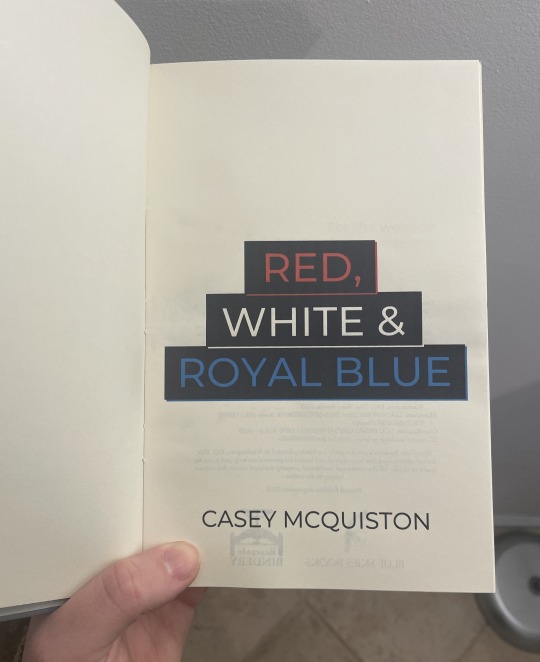
The fourth shows the title page of the book, which has the title "Red, White and Royal Blue" in red, white, and blue ink respectively, as well as the author name "Casey McQuiston" beneath it.
The fifth shows the colophon page (left) and dedication page (right). The colophon has details about the book, as well as the binder logo for Blue Skies Books (a bluejay) and the logo for Renegade Publishing (a bookpress). The dedication page says, "For the weirdos and the dreamers" in a sans serif font above a black and white drawing of a reflective lake with pine trees around it.
The sixth shows a chapter header page, which has a gray skyline that merges the skylines of DC and London across the top of it. The word "One" is in all caps in white on the lefthand side of the skyline, and body text is beneath it in a serif font.
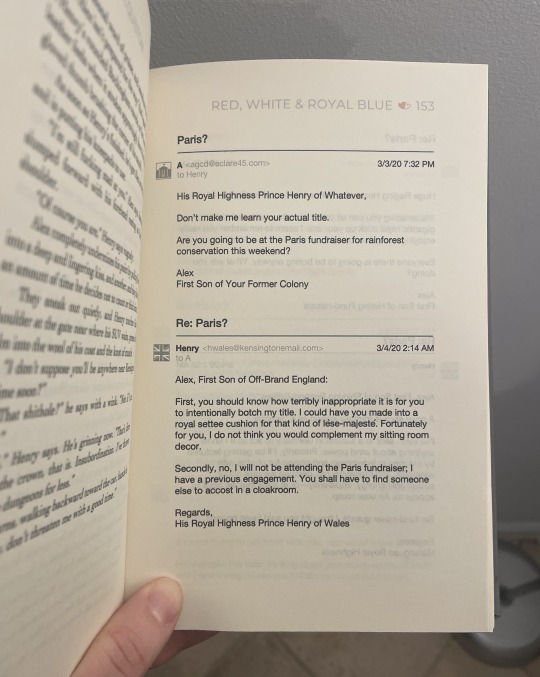
The seventh shows the inside of the book, drawing attention to the formatting of the emails throughout the book. The emails include icons for both Henry and Alex, email addresses, timestamps, and subjects.
The eighth shows the inside of the book, drawing attention to the red, white, and blue heart page divider and the handwriting fonts used within the regular body text for certain words. /End ID]
When the Red, White and Royal Blue movie came out last year, I rediscovered my love for this book and these characters and just had to do a rebind of it! This is a full rebind, so I've done the typeset myself as well as the cover. I had a delightful time coming up with the cover design (I imagine this is modeled after a theoretical Alex suit, though it could be Henry's as well!), and I had an especially fun time doing the typeset. There are so many fun formatting elements in this story, and it was great getting to put my own spin on them.
Logistics-wise, this bind uses Lumeiere fabric paint and a Silhouette-cut stencil for the words, Silhouette-cut cardstock for the decorative elements, handmade cotton bookcloth for the cover, cotton embroidery thread for the endbands, and regular Hammermill cream paper for the textblock. (Once I've saved up for it, I'm looking forward to getting some short-grain textblock paper! This is still long grain.) The body font is Cochin and the title font is Montserrat.
And finally: my bind versus my trade paperback copy!
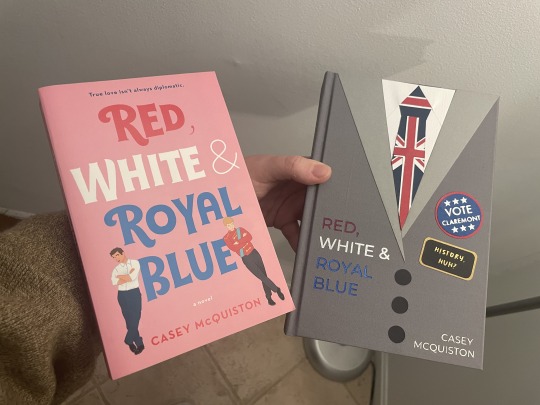
[ID: A picture of the hand-bound version of "Red, White and Royal Blue" from above held next to the mass-produced paperback version of the same book. They are made in different styles with different color schemes, but both have a fun and slightly whimsical appearance to them. /End ID]
179 notes
·
View notes
Text
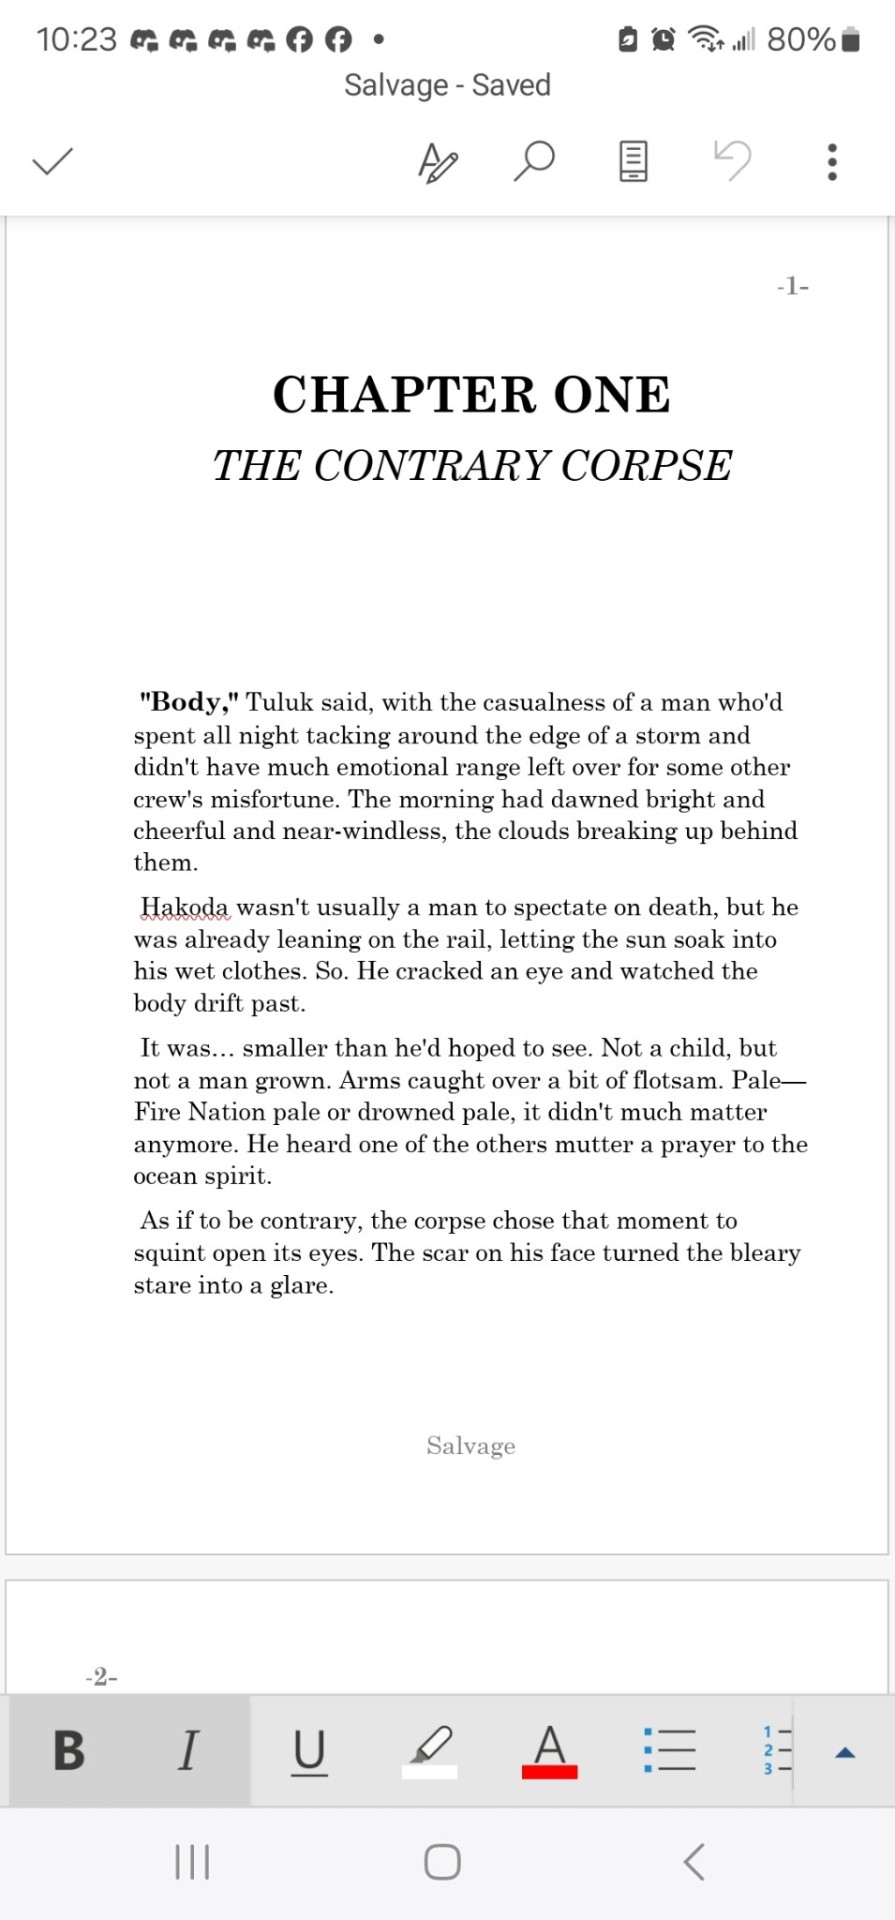
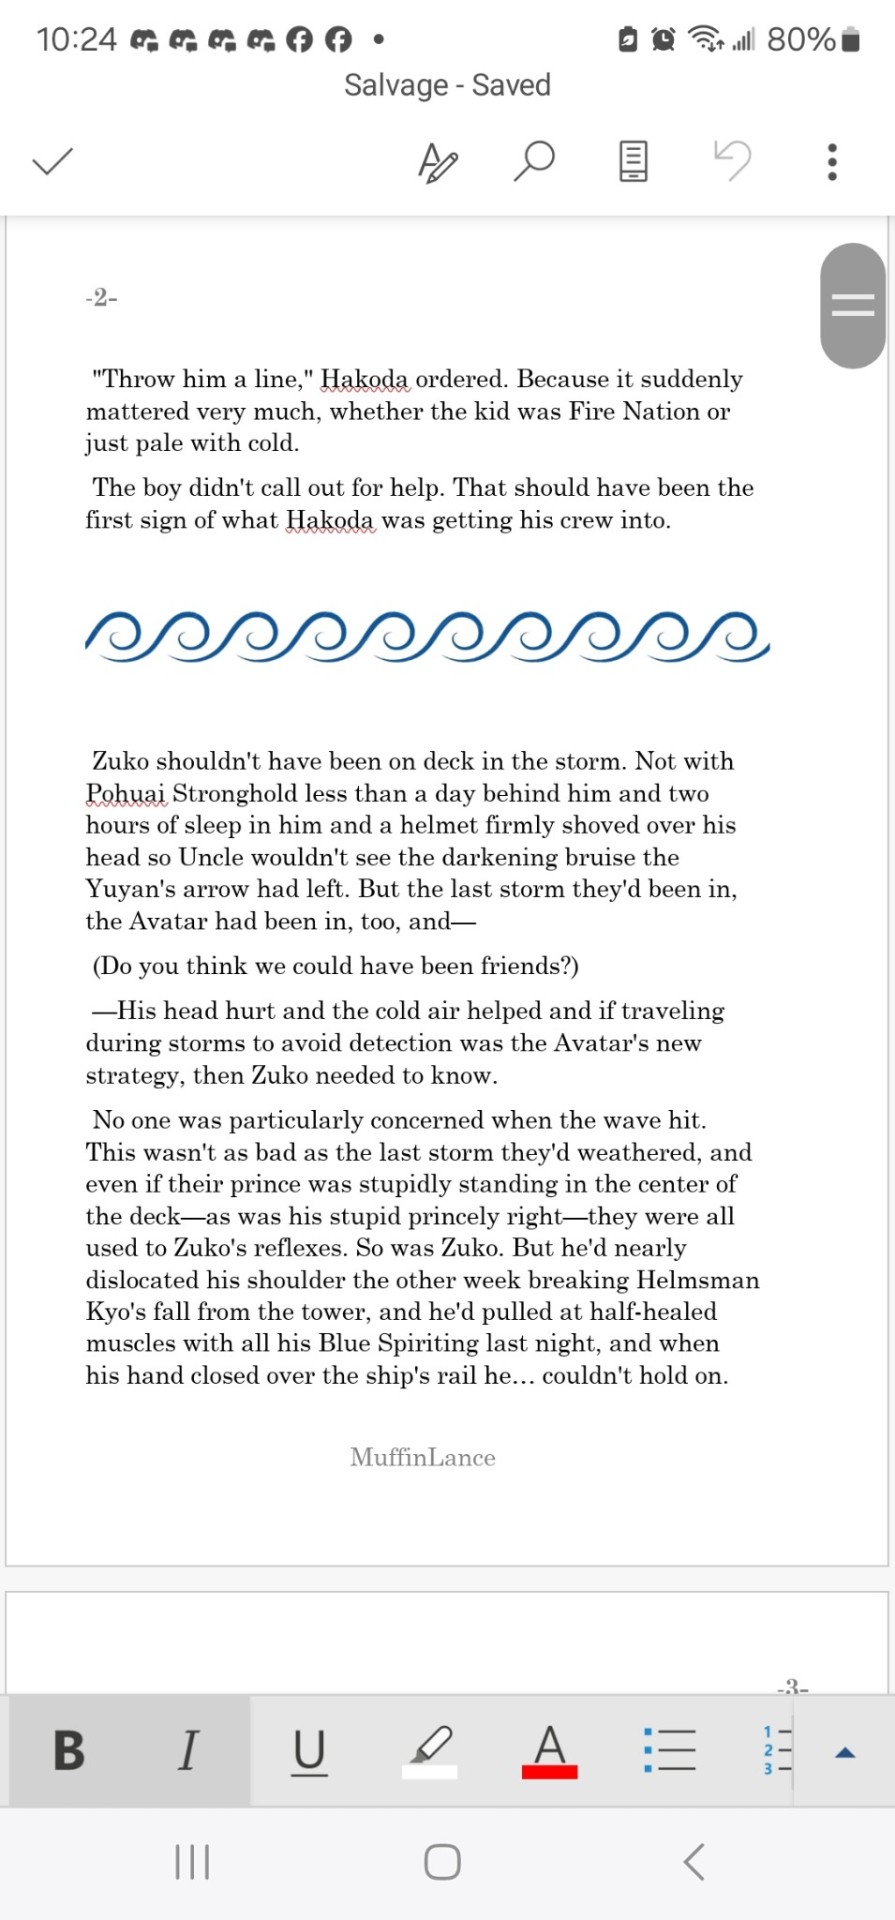
So... @muffinlance wrote a really awesome story. I read a post from a point in time, though I truly do not remember when since it seems like I've been working on this project forever, saying that she gives blanket permission for people to print and bind the story into a book (I think there was an also addendum saying that they do not give permission to be sold, since selling fic is illegal). This fic has had total control over my whole brain since it was sent to me (@creatorofthemind I believe it was you, so thank you forever for tuning me into it) back during the days of like chapter six or seven.
So here I am now, sharing this amazing journey of my first ever bookbinding adventure. Further reading below.
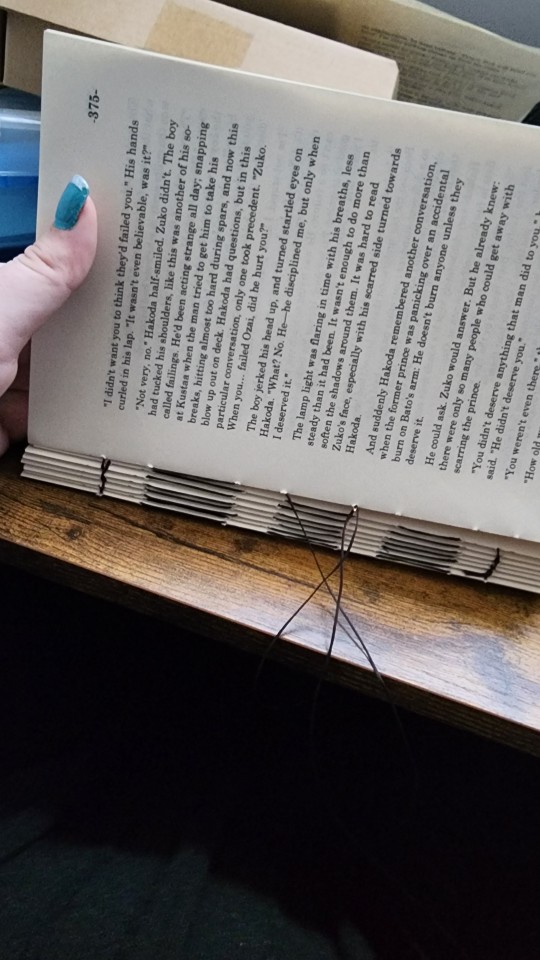
So to give you an idea of what's going on, this is a fanfiction about Zuko (Avatar the Last Airbender) (animated show version, the LA show did not exist yet and we do not speak of the movie) being adopted by Hakoda, Father of Katara and Zuko. (This might have also been what kicked off the Give Zuko A Parent craze, but don't fact check me.)
Overall, the characters from the show stick very well to the cannon versions, but where MuffinLance really shines is in the rich backstories and fleshed out feeling of all the non cannon elements. Especially the background characters. I would argue that the writing in this peice of fanwork could easily rival the cannon show at many points of comparison.
Now that you have context, we can get into the actual process.
To start, I used this guide to figure out where to even begin, and fount the included resource list to also be quite helpful. I cannot for the LIFE OF ME figure out where I found the template I used for the front matter and such, but it must be somewhere and I will link to it when I inevitably come across it again.
Then I began to typeset. This step took... a long time. I worked in chunks from about September of 2022 to late March of 2024. I would get a big section done, sometimes even the entire thing, but then find I hated the way I had done it and give up for months at a time. Such is the life of ADHD and flitting interest in projects I suppose.
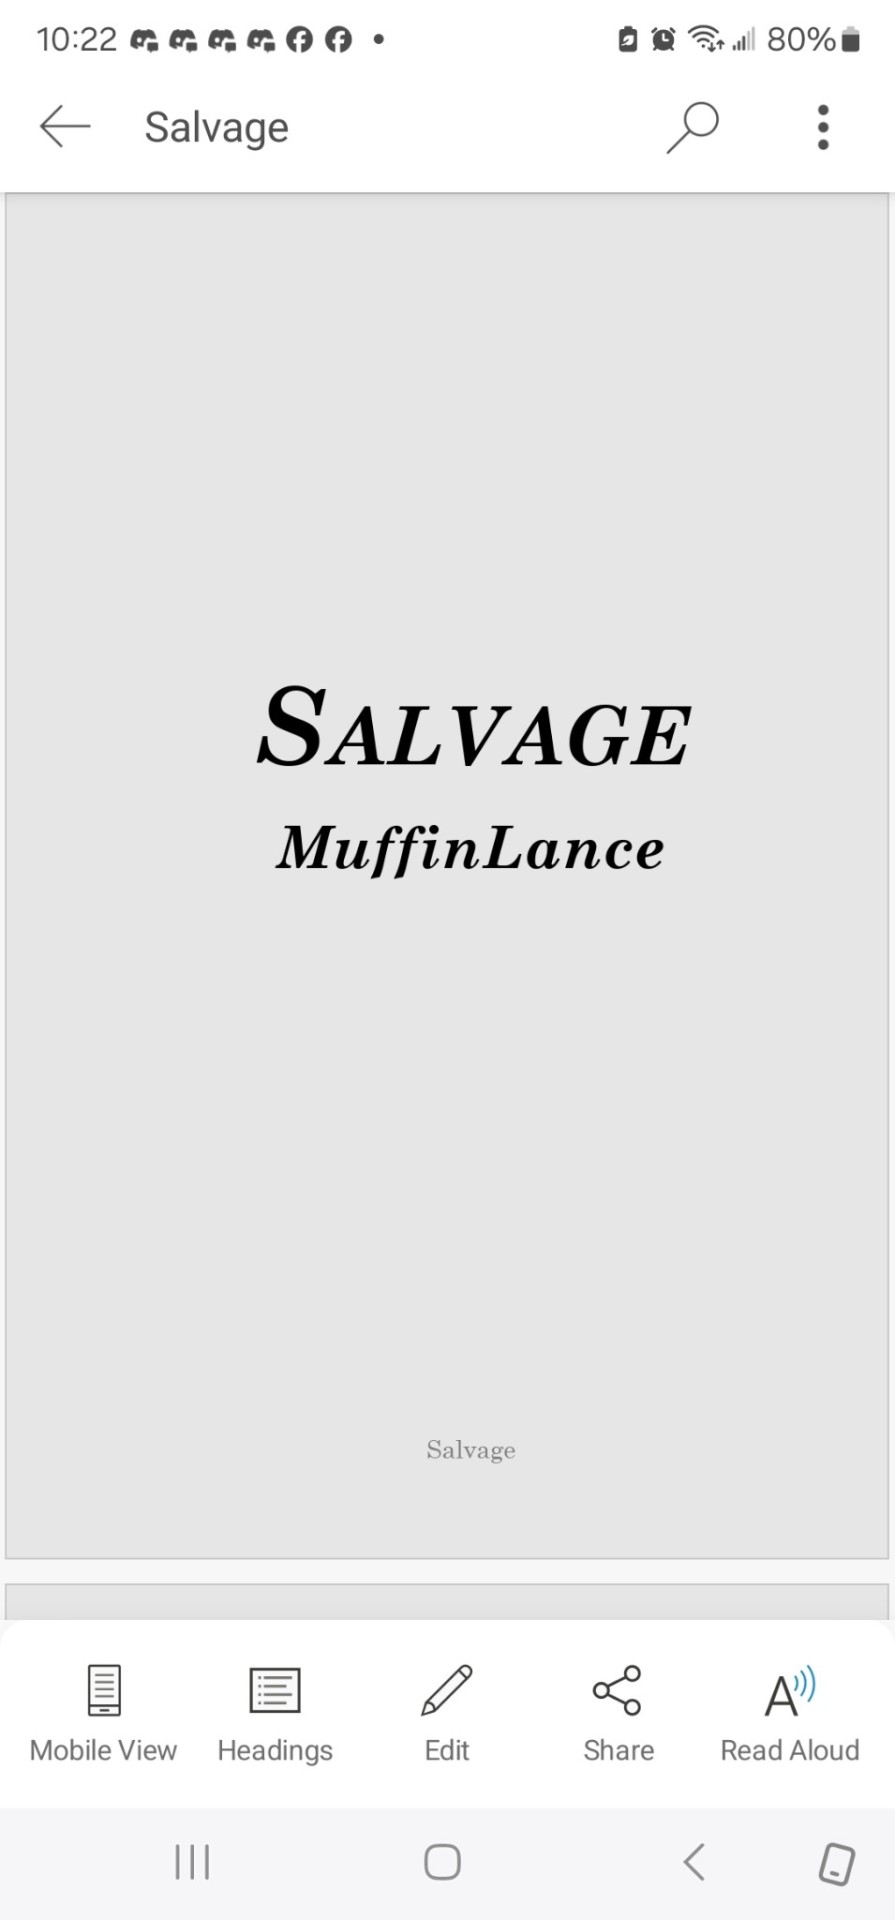
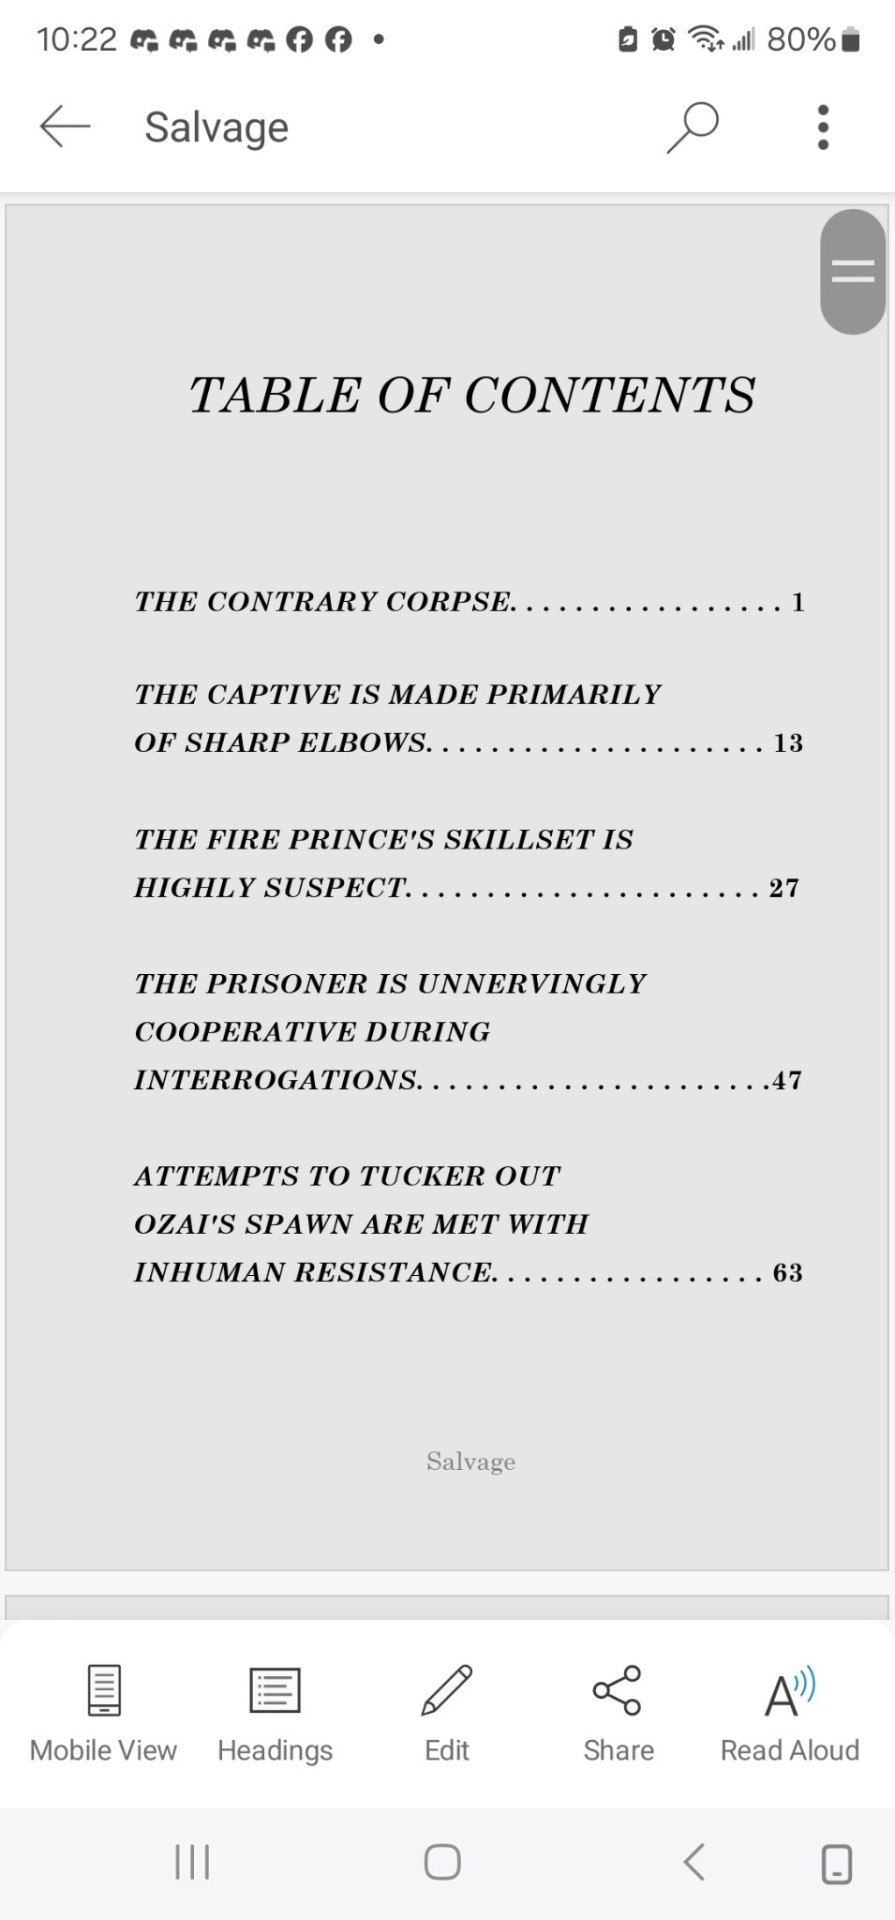
And then finally, step one was done, and I was left with pages on a word document that look like this. (And do please let me know if you want the link to the document. It was so much work, and I would love to not be the only one to use it.)
Next step was printing out this beast. Ended up being about eight pages of front matter, and about 630 pages of body text.
That I printed wrong.
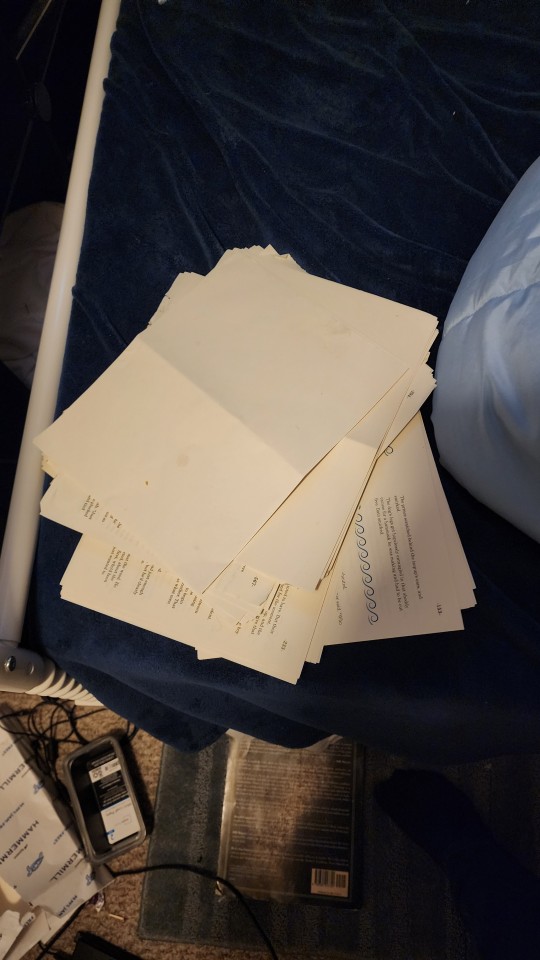
Twice.
Before finally getting it right. And then not getting a picture of it, because I finished at 4 am and had work at 7, and am also an idiot.
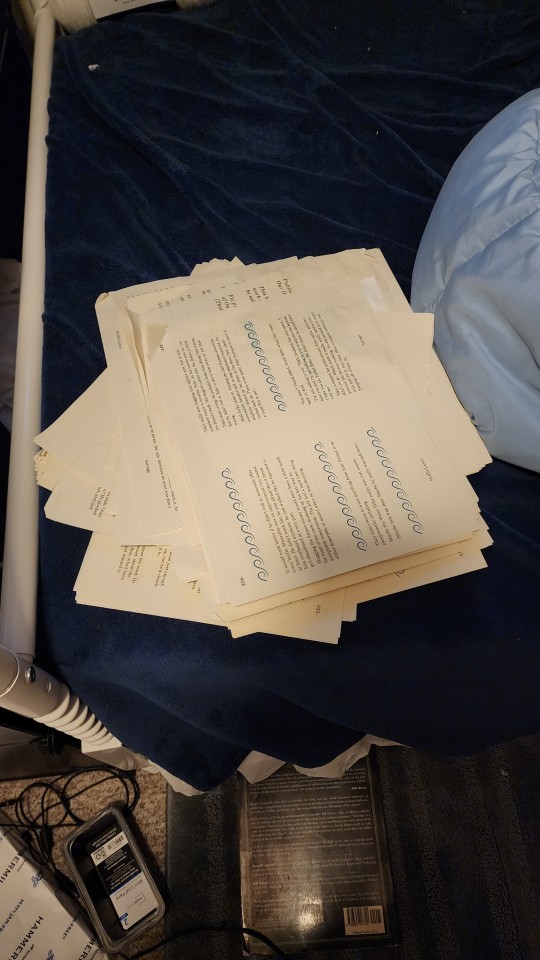
Then I simply stitched along, putting everything together into a beautiful text block.
And came up with a design for the cover.
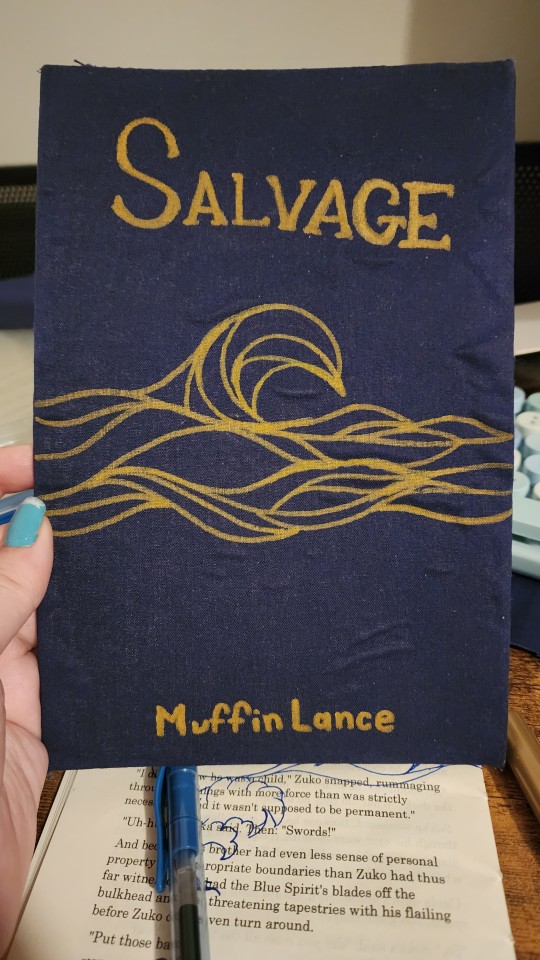
Yes the glue did end up lumpy. Ignore it.
Yes I did have to sketch out the design onto a scraped page several times before I figured out what I was doing. Ignore that too.
The cover design does wrap around the entire cover. No I did not get a picture before I glued the thing down. See again: I'm an idiot. And just... massively impatient.
Finally, we get to the stage of gluing. Behold, my bookpress.
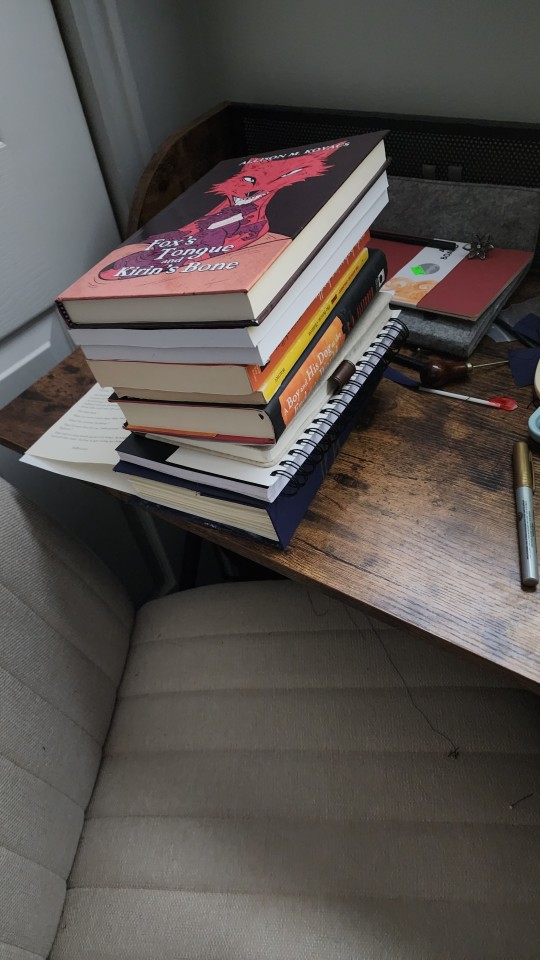
Of course, topped with Madam MuffinLances own actual professional-people book, Fox's Tounge and Kirin's Bone. It is Excelent. Here is the LINK so you can go and support this amazing author with the real-monies as well as the internet-kudos.
Then, once everything is glued together, one must give the book its "gilt" edges.
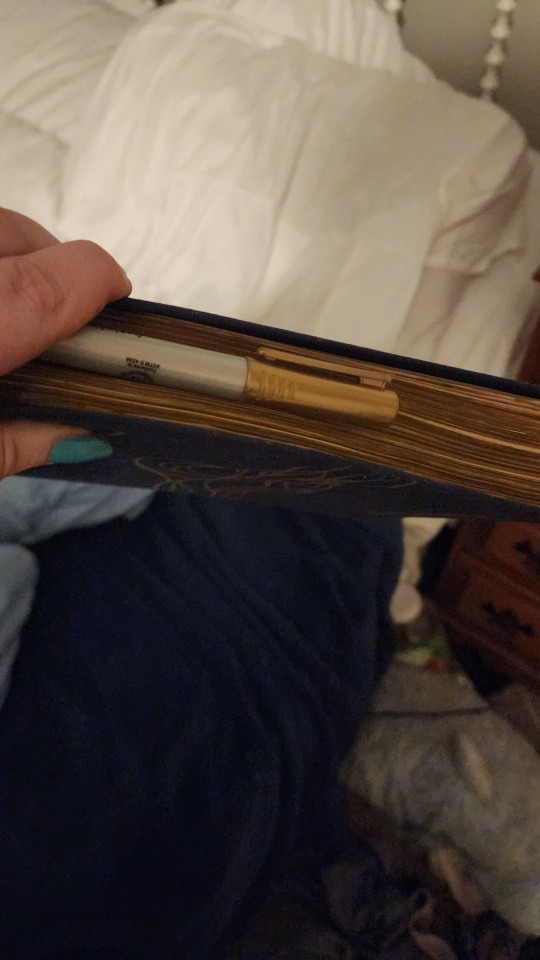
#atla#salvage#bookbinding#fanbinding#muffinlance#I'm a really big fan of this story and the characters ok?#They're really fun and I love them.
141 notes
·
View notes
Text
Let's Bind That Fic
Or my attempts at ficbinding.
So because I am a literal child and can't wait for anything, I got this project rolling.
I started with typesetting Book I of JoO to the best of my ability and turning that typeset version into pdf - 652 pages total.
Then, since I can't force my household printer to do so much heavy lifting, and I for sure wasn't going to explain to the clerk what and how to print, I ran my pdf through jpdf tweak - a pdf editor that shuffled pages into signatures.
I had to use my brother PC for that though because my laptop noped out four times.
In the end however I had the pdf and then a hefty stack of paper. Then I put the pages into signatures to make sure I didn't mess up and lost money:
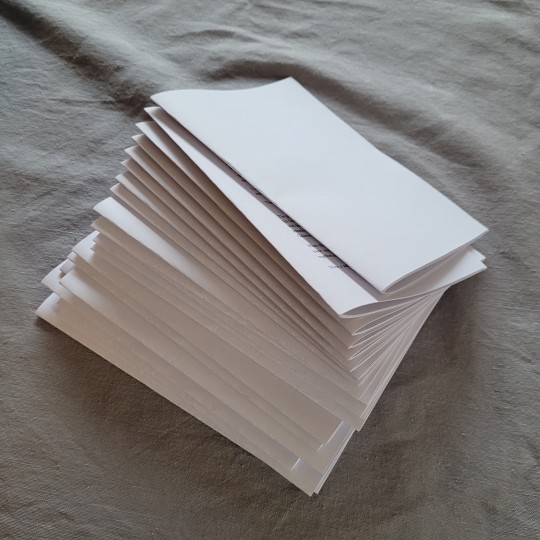
Fortunately I didn't. Everything fits- well the last signature is smaller but it folder in order and I really didn't want to put in some extra empty pages at the end given the thickness of the book.
Once I made sure every page is in order I used my wooden slicker to use and gave each page a hard crease. Afterward they looked slightly less hefty:

Finally since I do not have a bookpress, I employed some of my heftier books to the task of pressing it the rest of the way.

I'm gona leave it like this until tomorrow. Then we will see about marking holes and stitiching. I think I'm going to use a thin leatherworking thread. It's strong and already waxed so it should hold the textblock nicely.
30 notes
·
View notes
Text
Updates in bookbinding:
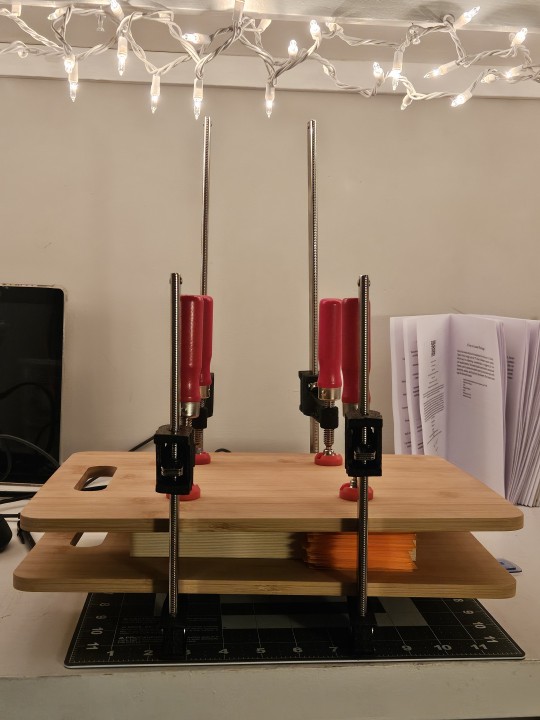
BOOKPRESS!!! yes it's kind of bad bc it's 2 $5 cutting boards from walmart and some screw c-clamps but im EXCITED to have smth better than. a large stack of books piled on top of each other.
currently being pressed is Scared to Live (But I'm Scared to Die) by @major816 bc its what i managed to get to the printing stage first! I'm gonna be sewing tomorrow since I'm only working a half-day so wish me luck with that :')
and for printing stage... well...

let's say I've had quite a time figuring that out
something something my printer was only like $40 and among the things it lacks, including the ability to actually do printing on both sides automatically (I could cry)(actually I did cry), i have also learned it likes to do scaling when printing in booklet :) which is why I've been having such a difficult time with the huge margins and tiny fonts and printing 2789 signatures trying to fix the issue as you can see above :)
with Scared to Live, I did the typeset for it which meant I had a lot of ability to edit the original document in order to fix the issues presented by my printer, which meant ultimately there were only ~6-7 test prints to fix it.
Even In Another Time by @irregularcollapse however. well. she did the typeset herself and shared it and i have spent so much time staring at it bc it's so pretty and i adore it. however that meant I only had the pdf version and pdf is infamous for being basically uneditable. which has been fun.
outside of staring listless at my computer, I also got help from my dad, and then help from a family friend who does printing semi-professionally (among other things), and we Still Didn't Kniw What To Do. eventually I caved and got the adobe free trial and FINALLY I fixed the issue. So yay! EIAT is next to be printed, possibly tomorrow or over the weekend :)
now i need to find a place to recycle paper. bc I have So Much.
#also need to look for a place to trim the edges bc quite frankly i dont think ill be able to without fucking up my nice paper#which i am Unwilling to do#also phlegmatuc when you see this i know i couldve asked you and we mightve been able to work it out#but aside from the many pages of paper and ink and the much frustration i mostly wanted to figure it out#in case i run into the same issue again later when i cant just ask the person who made the typeset!! and i did figure it out so im happy :)#tho idl what ill do about having to pay for adobe.... maybe ill just pay for like. a month at a time when i have to fjsjjf#or ill just try and make more of my own typsets. we'll see.#anywho#<3#shh ac#adventures in bookbinding#big post but also! big updates and im happy and proud#also also i acknowledge that a LOT of binders - especially early on - have book presses like this so im happy with it
11 notes
·
View notes
Text


Inviting loud middle-of-the-night disasters into my home with my '"'bookpress'"'
#yes it is at an angle ♡ yes there is metal at the top ♡#if this doesn't compress it's going to be thicker than a h*rry p*tter book#which is not necessarily bad. but potentially avoidable
10 notes
·
View notes
Text
Materials and Tools!
These are the materials and needed to create your own books, or just the ones I use. I will include alternatives that have worked for me as well.
Paper. This one is self-explanatory because you need paper to make a book. However, if you are not printing your own books, you could use other materials for an artsy touch. Generally, I use regular 11" x 8.25" copier paper because I simply got used to it.
A ruler. Crucial to measure and mark out places to make holes, and really, you need one for most things bookbinding.
Pencils. You absolutely need pencils. Marking out places to make holes and generally, you should just have a pencil on you.
A bone folder. These are just tools that provide a clean folded edge. Now, it does not necessarily have to be a bone folder. Truthfully, I have used the edge of a die, a butterknife, or just my fingernails before I got my own, and they worked as well as I needed them to. If you are making a book with signatures (a section of paper folded to make a unit), something to fold paper crisply is extremely useful.
A printer or access to a printer. Not really a material, but worth mentioning. This only applies if you are making a book with printed words or images in it.
Glue. PVA glue is what some bookbinders use, but Elmer's school glue works perfectly fine.
A large metal needle. This is for sewing the signatures together. I use a regular sewing needle that I bent so it is easier to maneuver, but preferably you should use one with a larger eye and a stronger build. Sewing needles can prove to be too flimsy and annoying.
Waxed thread. I use a roll of Japanese waxed thread that I happen to have in my home. However, a thick sewing thread or any strong enough thread can work. You can buy it pre-waxed, or wax it yourself, but I prefer the former.
An awl. Or, something similar to poke holes through 12-24 sheets of paper. For a while, I used a thumbtack and I found it worked really well.
A corkboard. Not strictly necessary, but especially useful as a surface to poke holes through paper into without damaging what is underneath.
Scissors. You have to cut a lot of string and occasionally paper throughout this ordeal.
A boxcutter. Not necessary, but helpful if you need to straighten out paper edges.
A paper trimmer, or access to one. I know my school has one and I used it often to trim some of the edges of my paper. It works more efficiently than a boxcutter for this matter, but having perfectly aligned edges of pages is difficult and often unnecessary, to be perfectly frank.
Cutting mat. A need especially if you're using the boxcutter as a tool.
Paintbrushes. I like having them in multiple sizes for convenience. They are mainly used for brushing glue onto the spine of your freshly made textblock, or used as intended to paint handmade hardcovers. (I used my finger to apply glue on the spine actually. A lot. It does work if you need it to.)
Fabric. You can use this to cover your book's cover. You might want to use a different texture, style, or color for the spine of the book.
Chipboard. I use this to make the two covers of the book, and also the spine. Basically, it's sturdy, compressed wood pulp. I use a 2mm or 80pt thickness.
Cardstock or construction paper. This is used for the inner part of the cover, covering the edges of the outside fabric. Can also be used as the backing material for the spine.
A bookpress. Again, not strictly a "material" but a tool. A real bookpress is two strong pieces of wood, connected on four corners by screws that you turn down to press the texblock of a book to lay flatter. Honestly, I do not have one of these. There are multiple tutorials on how to make them (Here and Here), but I use a bunch of very heavy books to lay flat on top of my pages.
If you have any other suggestions or recommendations, feel free to share in the comments or reblogs!
#materials#tools#bookbinding#bookmaking#bookbinding materials#book binding#ficbinding#fanbinding#arts and crafts#binding books#making books#books
4 notes
·
View notes
Last Seen Blogs

sissyslut-chloe
Sissy Chloe

dongfarmer
youre tacky and i hate you

jayandkayhoes
Jay & Kay
ladylichhangar
Dusty art hangar

musicaindepegt
MI Radio GT