#how to take pose references
Note
Im an artist trying to take my own pose references for some difficult art, any advice on how to do it right?
Oh gosh I've been meaning to do a big post about this and I will at some point but for now here's the basic basics:
decent lighting - doesn't even have to be 'good' just decent. I used to use light through a slider door, directional will help show the forms. If windows aren't an option some directional lamps could help.
I do form fitting lightly colored clothing because I find it easiest to see what I need. Biking shorts, sports bras, fitted tanks, yoga pants, etc.
Contrasting solid colored backdrop - in my oldest photos this was a blue sheet hung behind me with thumbtacks. Make sure it contrasts both your skin tone and the clothing so you don't wash out anything.
Timer for your camera - most people will use cell phones which are all pretty good enough these days for ref. I know Android cameras have an option to open you hand and close it to set off the remote timer so check what your phone can do. Worst case set the timer and run back if there's not a remote setting. I did this for YEARS. :')
if you want a 'straight on' look with no foreshortening or perspective then you want the camera probably about 6ft away from you and as vertical as possible. Get fancy with boxes and books to prop it up if you need to.
The lens should be around or just above belly button height to eliminate foreshortening. If you WANT foreshortening just mess with the angle and placement of the lens. If you have a wide angle lens that can do some really cool stuff with low and high perspective.
Don't forget your face. Getting the pose is a nice start but future you will appreciate it if you can get a little into character with your expression too.
Okay I think that's all the very basics and I hope this helps! Obv if you have a friend, sibling, parent, roommate, s/o, whatever around they can help you get any very specific angle the way you need it.
I hope you make great refs!!! Happy posing, happy drawing! 🕺🏻📸

266 notes
·
View notes
Text
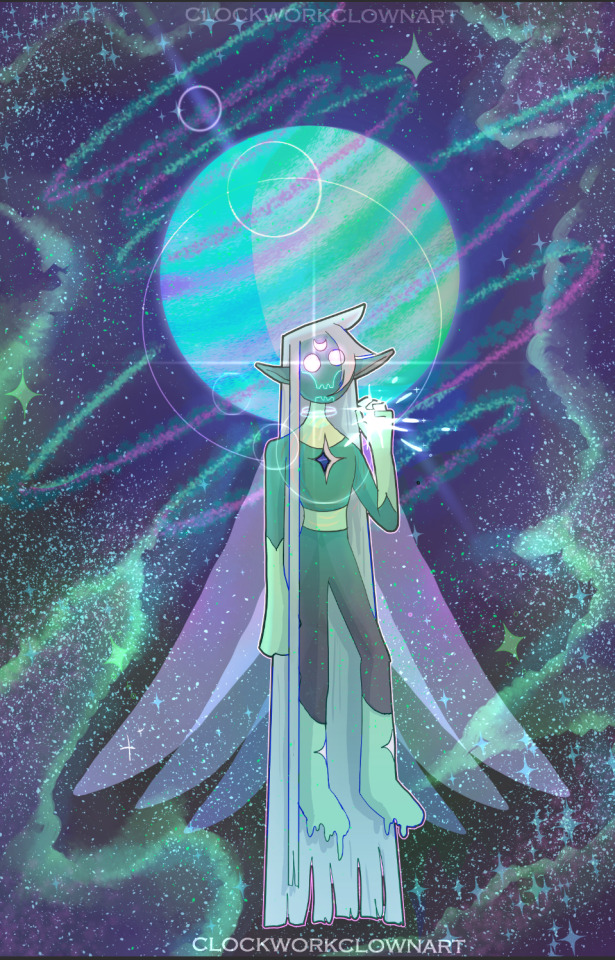
Day 6 - Immortal AU - #DannyMay2024
so i was thinking, "who else becomes an immortal space themed monarch?" ~ if your immediate thought was "sailor moon", you are so right, i realy admire that about you 💚
#dannymay2024#danny phantom#danny fenton#clockworkclownart#this was technicaly inspired by the character of neo queen serenity but i dont think i should put this in her tag#tbf this is more of a character fusion#i realy like how the long hair came out#its giving me a bit of the iconic “fire core au” vibe which wasnt on purpose but that au lives in my head rent free at all times#i dont like how his legs are posed#but i was already 40 layers in when i thought it so it wasnt worth going back#im still laughing when i sent the initial sketch to my partner i said “wow i cant wait to draw something simple” ahaha#also if you are wondering where day 5 went#i do want to draw “nails” but the idea i have would take a bit more investigation and effort than im willing to do right now#also other days are interest me more at the moment#so if i feel like it later i will come back to it#the more you comment and tag the more power i gain to continue this challenge#looking back at my references i think i was a coward to not put him in a dress#please DO NOT REPOST MY ART THANKS
432 notes
·
View notes
Text
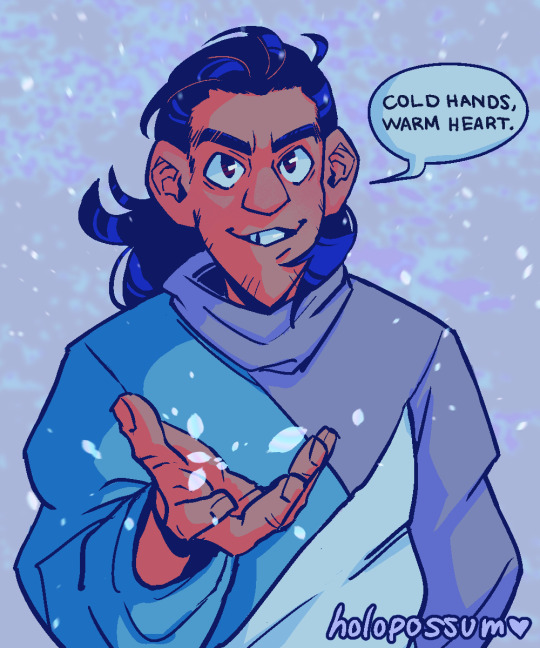
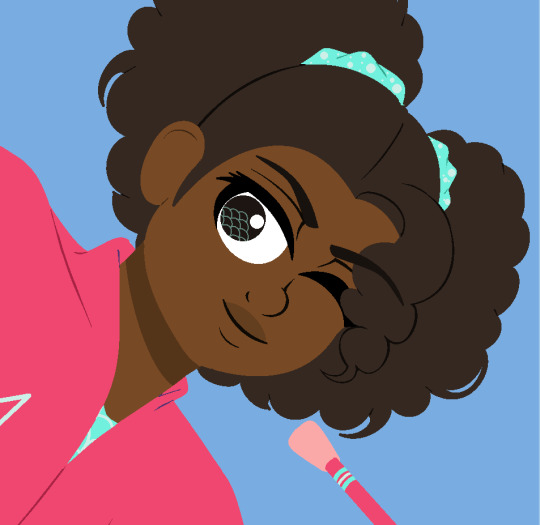
Snow day, hooray! So magical and new!~ 💗
#rottmnt#rise of the teenage mutant ninja turtles#rise of the tmnt#rise casey jr#casey jones jr#casey jr#*makes one good art for the month then scuttles away*#look i KNOW it's like 2 months early for this don't yell at me#it wasn't originally winter themed but here we are#i want Casey Jr to also have a snow day :3#also he's wearing one of my favorite winter shirts c:#he should be more bundled up but you know how teen boys are#if you're wondering if the pose is a vague reference to 'let's take ibuprofen together'#yes it is#anyway had a blast drawing this#holopossums
1K notes
·
View notes
Text
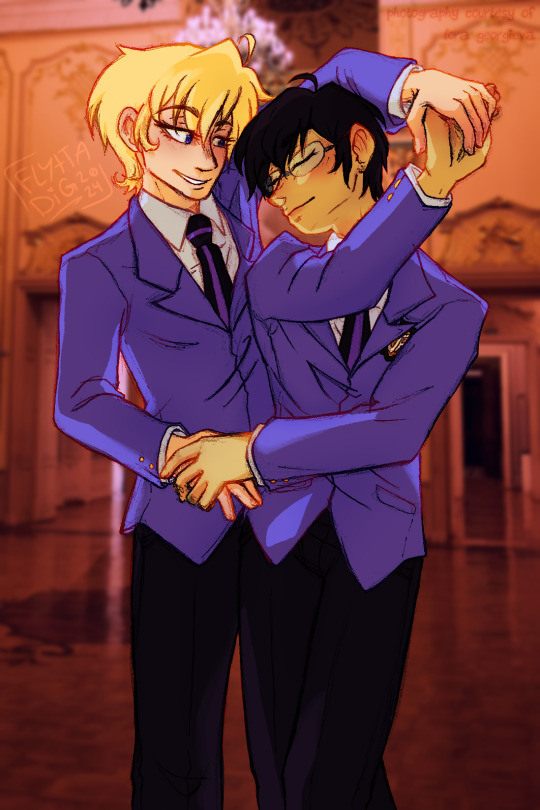
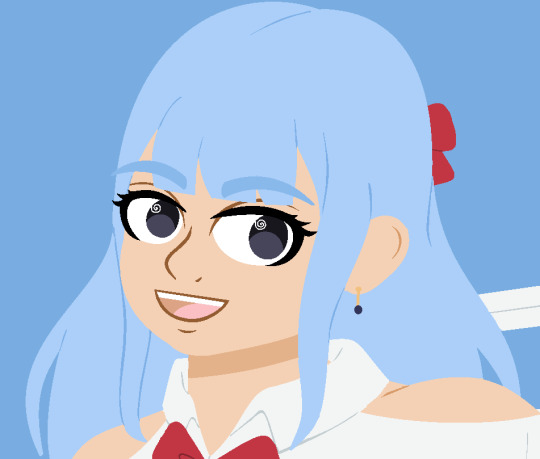
its kyouya ootori appreciation hours
[photography courtesy of @lorageorge on unsplash.]
#ouran high school host club#tamaki suoh#kyouya ootori#tamakyo#tamakyou#ohshc#fanart#kyoya ootori#reference used#mixed media#pencil#clip studio#this is what i was working on before my computer transfer took 3 months. gurl take it from me im tired of worrying about it.#it was just a pose study that i got a little involved with. which is how a lot of things happen now lol
158 notes
·
View notes
Note
Hi, how did you learn to draw Steve's physique?
Ohh what a complicated thing to answer...
When it comes to how I learned to draw anything, it's hard to say anything too specific since it's always a culmination of many years of assorted study and practice... but I can try to do my best to explain some of the biggest things that helped me learn, some tips I keep in mind, and maybe at least some places to start/delve further.
(just a little disclaimer it's not like my drawings here are going to be 100% medically accurate.. they're just to illustrate concepts!)
The main thing about learning various physiques is understanding anatomy. Which feels obvious, but I don't mean proportions; these are important, but perhaps more important is understanding the skeleton and how it moves and learning where muscles connect to bones and where fat grows on the body. When you understand how these function on a more mechanical level, depicting form and movement in a way that feels natural comes in tow.
For instance, understanding things like the pronation and supination of the radius and ulna, as well as the fact that muscles can ONLY contract or relax, will help you understand a bit better which muscles will be flexed and which will not while someone moves. It's inherent to the positioning based on the structural makeup of the body... It's not like you NEED to memorize all the muscles and bones, of course, but understanding and gaining at least a passive familiarity with the concepts really helps.

In tandem with this concept is the way parts of the body flow into eachother. Muscles ALWAYS come in groups because they can only contract. Whatever muscle is there to lift something, there is a muscle on the other side to pull that bone back down. What this results in is a series of straight edges next to curves, which gives us a lot of really lovely "s curves" and dents and folds and so on and so forth just naturally occurring.


I would suggest at least learning the "bony landmarks", which are bones (usually) visible on the surface of the body. things like the iliac crest, the great trochanter, the 7th vertabrae, the acromion process... These can be used to help you understand the parts of the body as angles and relationships, rather than trying to remember lengths and sizes, which vary immensely... (since you asked about steve, he can be our model... also study these on your own don't just take my word for it haha, these are the ones I personally keep in mind)

I've done the same thing with body hair... learning where it grows and in which directions... It helps me make up variations without needing reference, because I have a set of rules I can follow.
The biggest thing that helped me understand all this on a much deeper level was my ecorche course. I sculpted this guy. We started by sculpting the entire skeleton to understand the bones, and then we added muscles on top. Not every single muscle, of course, but the "artistic muscles" AKA the ones which directly affect the surface of the body. Doing this let us see where muscles connect, because we would make a shape, put it on the bone where it actually goes, and then you get to see how other muscles overlap that.
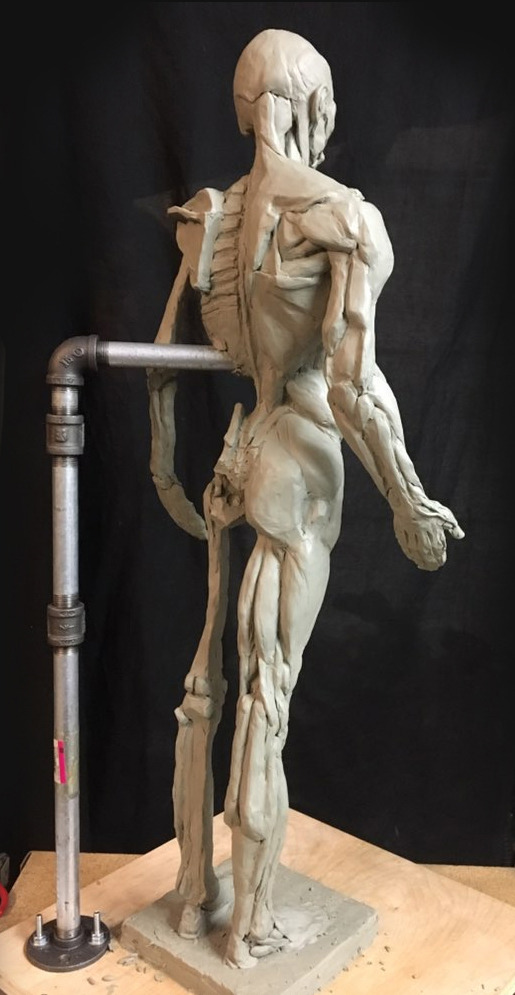

This helped me, perhaps, more than anything else. But I also didn't just start with this course, I had been drawing for years before I even took it. I had been in school for years before I took it. Not that I think it wouldn't be helpful to someone just starting out, but I do think that the more you know going in, the better an in-depth course like this will help you and stick with you. Classes are also expensive, though so I'm not really like... recommending you pay potentially thousands of dollars to take one... But it did help me a lot, personally.
I also, of course, have done many figure, gesture, and master studies...

These just help you quickly gain a stronger understanding of generalized anatomy, and gives you real life examples of and practice with of how people move and balance.
What all this does when combined, is gives me a very solid ability to depict movement and form in a way that feels relatively natural from my subconscious without the need for reference.
The rest of how I've learned to draw his physique is honestly mostly just stylization. I understand the body, and this is how I am depicting it for his level of musculature.

And as I move into depicting him in other ways, either moving in comics or in animation, realistically rendered, or extra stylized, these concepts inform every step of that process for me! When he keeps the same/similar relationships between parts, he gets to still look like himself.
It ALSO really helps when putting clothes on, because the way cloth falls and bunches and lifts is all directly related to the form it is on... So the more you understand that form, the more you can depict clothing and movement in a way that feels natural.

This is all, of course, true when I draw anyone, you asked about Steve so I'm trying to mostly show with him! But because I'm just drawing from raw information of general anatomy rather than trying to study one body type at a time, it allows a lot more "give," I think!

Like, here's most of the cast from TTA so far... actually, they're not as varied as I thought they were nevermind LMAO ignore this part
But, it also makes monster and alien design much easier! It's a lot easier to come up with non-human anatomy when I understand human anatomy, because I can manipulate the knowledge I have...
There is infinite more to study in the world of anatomy... The complexity of the human body goes extremely deep. For our purposes as artists, we need only depict a fraction of it, but more information rarely hurts the process.
I'm sure there's something in here that's wrong on a technical level, I'm mostly going off of memory. But that's kind of my point - I understand enough generally and conceptually that when I am missing something and need to find reference for it, I understand what I'm looking at. It's much easier than trying to learn AND draw at the same time.
I hope even one thing in here helped you! Sorry it's so long.
#asks#somewhereinasgard#anatomy#art tips#anatomy tips#don't like... take my word as gospel OF COURSE#I am sure there's like one thing or more in here that's like. genuinely wrong#but whatever#anyways. I love steve LMFAO#I was thinking about zagan a lot too in this one tbh LMAOOOO cause he's got a similar body type#and when I just did that action animation of him#and people were like how the fuck did you do this so fast#I sort of have been realizing all this knowledge I have about anatomy#and how much easier it makes my life pretty much every single step of the way.#those action poses did not need reference.#I almost never need reference for drawing people#unless its like... realism. but I mean in my comics or animations#when the arm is coming towards the camera I know what's going on in the arm and what the form of it ACTUALLY is so I can properly draw it#there's no guesswork. I know what I'm doing.#which makes it so that when I'm depicting someone like flipping all around or whatever#I just know what the body looks like. how it moves. how it balances. etc.#I would say it comes naturally to me but it doesnt.#it is subconscious at this point#but it is very extremely studied#not a damn bit of this came out of nowhere LOL#ok anyways this was a really fun ask#I got extremely carried away I am so sorry#this is like my biggest artistic passion I LOVE anatomy SO much#I love drawing muscles#I love the technical feelings that happens in my brain when I draw an arm moving and figure out how the muscles are engaged
67 notes
·
View notes
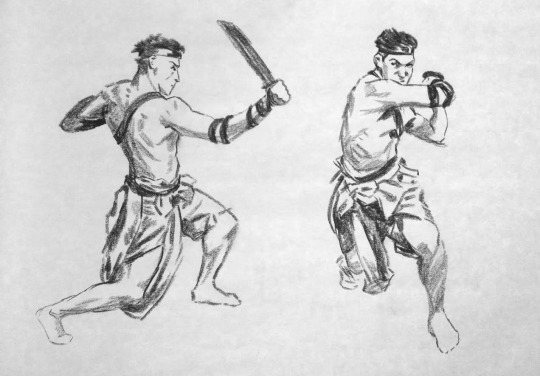
Note
Please draw demo doing the “my eyes are looking at you” thing with his fingers at medic but when he points at his own eyes he holds up one finger and he points four fingers at medic
My guy won't get uber for a very, very, long, time․
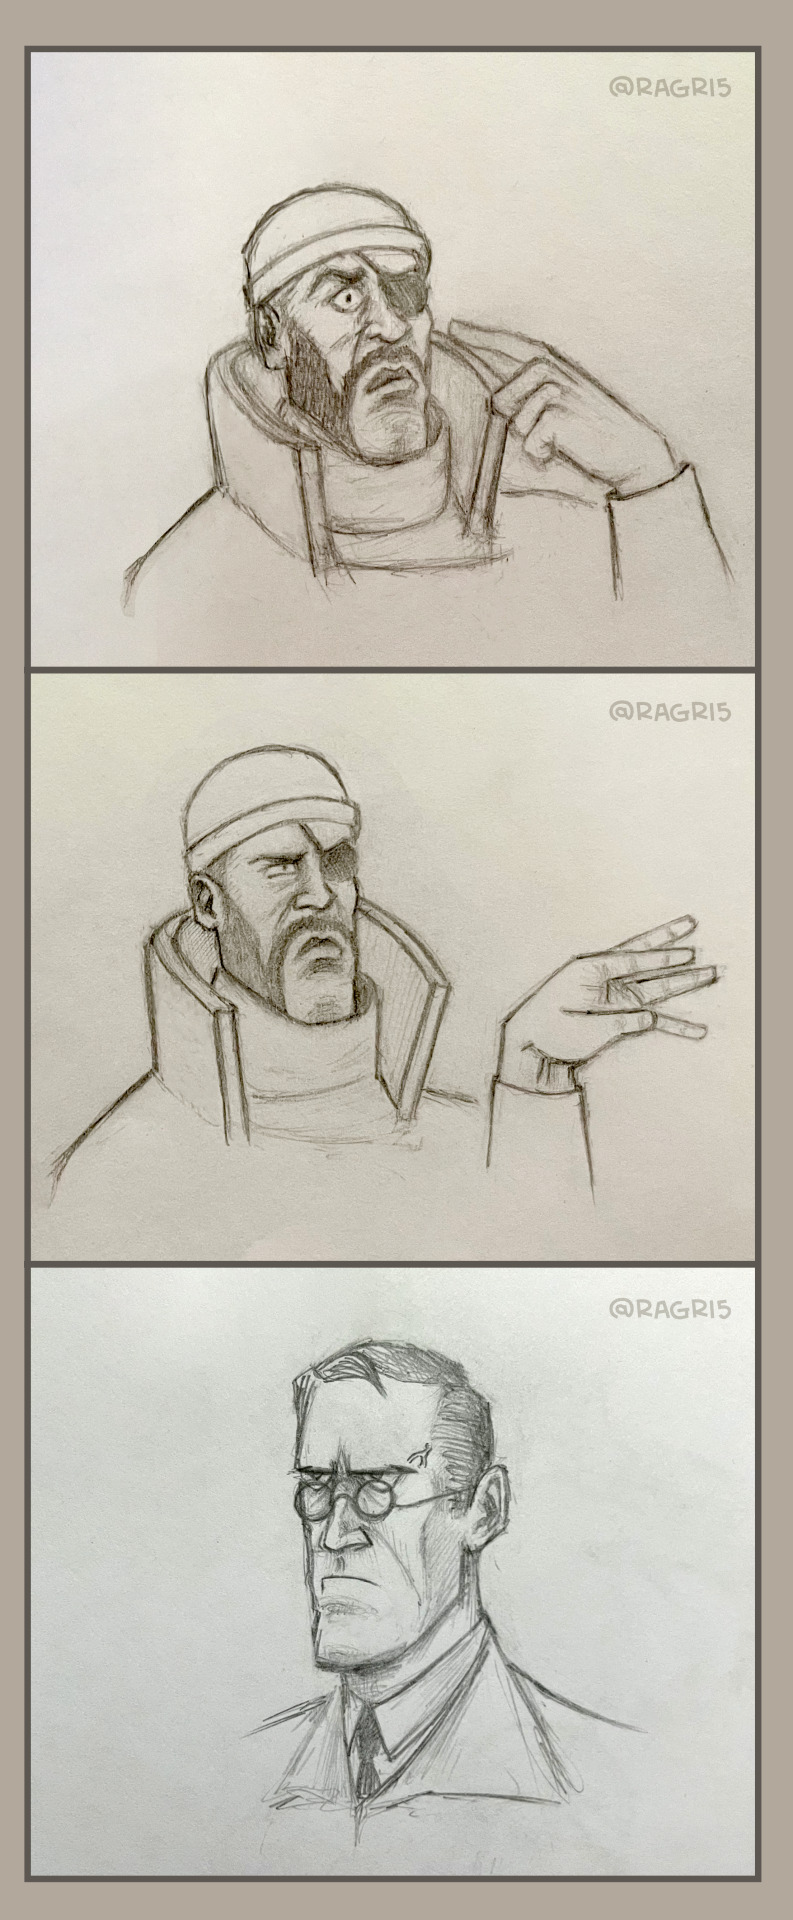
#Very funny and challenging suggestion anon!#sorry to take so long#been trying to get that picture in my head#also couldn't get how to draw Demo's hand pose to show all four fingers properly#in the end I snapped my own hand in that pose to make a reference lol#Also this my be my best demo sketch lol#and best mad Medic ahah#thanks for coming to my Ted talk lmao#tf2 medic#tf2 demoman#tf2 comic#ask and you shall be answered!#tf2 fanart#traditional#traditional sketch
114 notes
·
View notes
Text
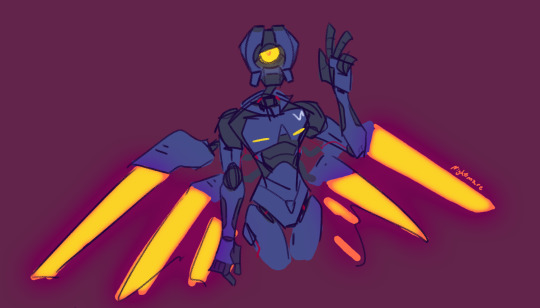
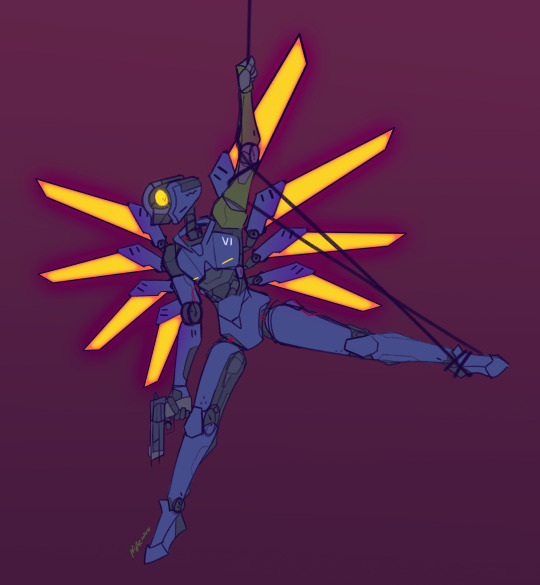
alright these are my OFFICIAL first time drawing V1 sketches
#art tag#ultrakill#v1 ultrakill#these are sketches i Promise iknow the glow effects are fancy but they take literally 30 secs to do in photoshop#the second image i got from a random pose generator#i wasnt even thinking of drawing v1 but i got the pose and was like oh ok cool#since it was a from reference drawing the posings a bit stiff#i didn't push it enough but whatever#also i would of loved to give it the extra arms cuz i love how that looks but it would have been hard :(#shout out to people who do that it fucking rocks
127 notes
·
View notes
Note
Can I get some Human anatomy tips ? I'd Google it but I like hearing from fellow cartoony artists. If you have no tips or anything u can just ignore me :)
All you gotta do to achieve good humans with accurate anatomy in your art is to only draw Canadians in the winter

Jokes aside, honestly just practice. There’s no quick and easy trick to do good anatomy, you have to put in the time. Study references, do billions of figure drawings, look at skeletons, bone structures, muscle and fat formations etc.
Dont just practice drawing people standing in the pick your character/sims stance. Draw ‘em walking, playing an instrument, playing a sport, (yoga is a good one for more complex pose practice).
Bear in mind this is coming from an art major, so I probably have snobbish opinions about the « right » way to draw lmao.
And if all else fails, just draw Canadians in winter.
#I don’t really have any good tips#Just practice until you loose all sanity you can’t feel your wrist and it’s 4am#That’s when you know you’re a proper artist /j#Do traditional art for a lot of your practice btw#Digital art is fun#but if you really want to be on that art grind#Then no cheating lol#That means no zooming in#No layers#No « reverse » tool#And no easy digital references#Draw real people!#Quick figure drawings are very fun#Just tell someone to strike a pose and see how much you can draw in one minute#Try not to take ur pencil off ur paper at all for that#Aim for continual line drawing#It will help u in the future#AND NO ERASING IN THAT EXERSISE#Okay maybe I do have advice actually lol#It will translate better than you expect into digital cartoon art trust me
18 notes
·
View notes
Text

Paperweight
#This is going to haunt my dreams now isn't it#I broke down crying at least 5 times while making this#Be glad that you only have to look at this for 5 seconds. I had to for hours.#“Take a picture of yourself in this pose so it will go faster” (delusional)#Why did I even make this oh my gosh#I tried my best off of the reference I had. If you find a page that has a better quality image don't share it with me#He's so scary#And don't ask about the lighting source. I don't know where it is#How do you shade metal anyways#Anyways glad this thought is out of my mind now#I can't wait to secretly put him in the background of my drawings#reigen arataka#mob psycho 100#mp100#eudikart
103 notes
·
View notes
Text
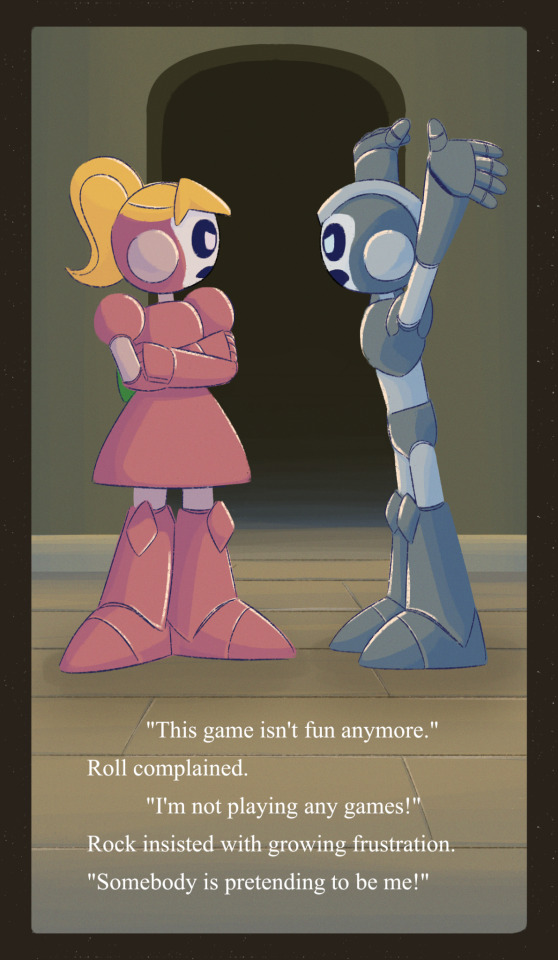
What's going on 🤔
#megaman#mega man#roll light#my art#mmstorybook au#<- gonna use that tag for this stuff now#this little page isnt part of anything in particular#i mean it is part of a bigger hypothetical project but for now im just figuring things out#ignore the static poses and junk writing i just need a reference for how long it would take to draw a page#recently ive been really thinking hard about what i want for this au and i think im getting somewhere...slowly#very slowly...#btw the hypothetical story this is from is called 'imposter in light labs' which is what copy was made for#silly guy sneaks into your house pretending to be you and causes strife in your family. what a goofball.
97 notes
·
View notes
Text
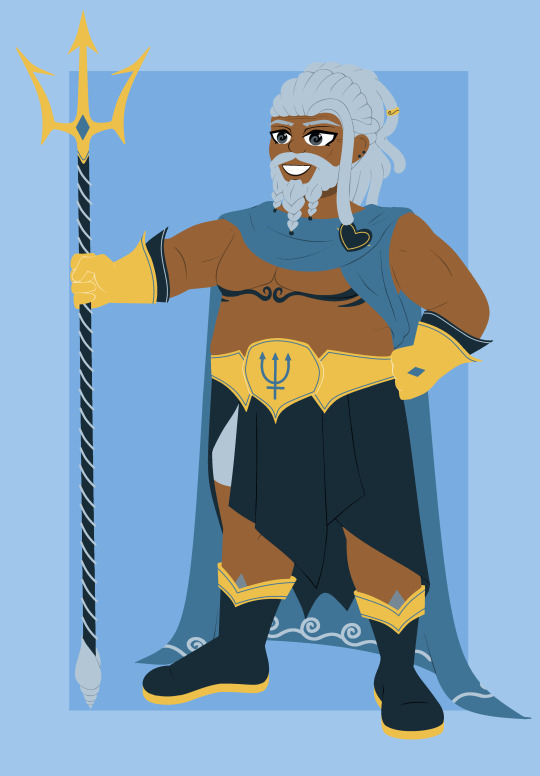

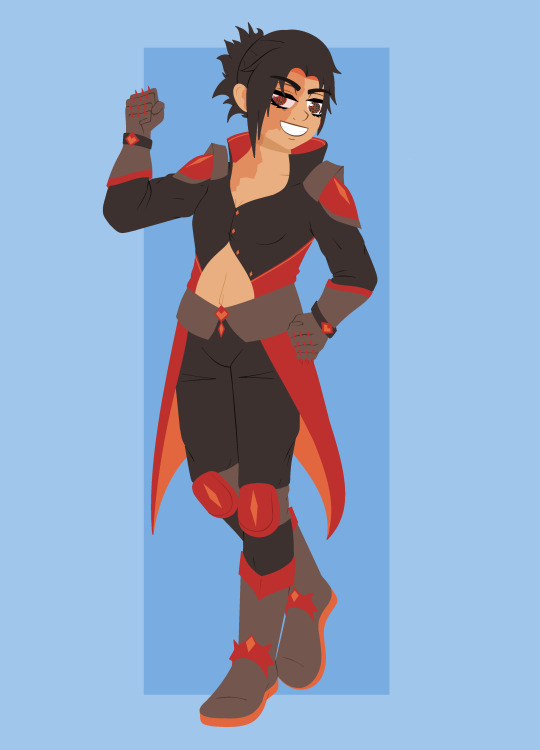

WOW I FINALLY FINISHED THIS SET. There were a lot of things I wanted to get right for them so I took some extra time but hopefully it was worth it! The guild for this set is Cobalt Heart- a guild with focus on maritime missions, lead by (of course) guildmaster Neptune. There was no other planet I could've picked for his namesake lol. They're the guild I jokingly call the most jockish, but some moreso than others. I really do hope I did all the characters justice, but if you wanna know more about the individual members, it's under the cut as usual!
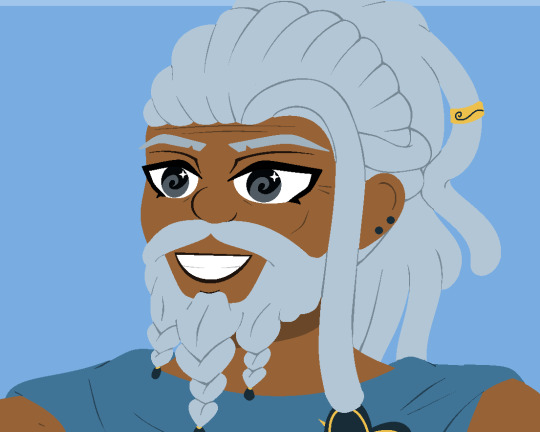
Name: Neptune
Name Origin: The planet named for the god of the ocean
Pronouns: He/him
Age: 52
Guild rank: Guildmaster
Weapon: Trident
Ethos (Power): Ocean wave (Control over water- stronger with sea water)
Flaw power is based on: Originally based on his overly relaxed go-with-the-flow nature, but since becoming a father and guildmaster he's matured, and his power grew from simple wave control to more powerful control over the ocean's water. Waves aren't always peaceful, but he's become someone who understands their power and the responsibility needed for it.
Notes: If it's unclear, the marks on his chest are meant to be top surgery tattoos, but in cool wave shapes!
Name: Triton
Name Origin: Neptune's moon, aptly named for his son
Pronouns: He/they
Age: 24
Guild rank: 4 star
Weapon: Twin sai
Ethos (Power): Ocean breath (Underwater breathing as well as other aquatic adaptions)
Flaw power is based on: His ardent wanderlust, especially in regards to the ocean. They literally cannot leave it alone despite any possible better reasoning, which is when it becomes a problem.
Notes: Was his other parent a mermaid or did they just do the fish thing on their own? The world may never know.
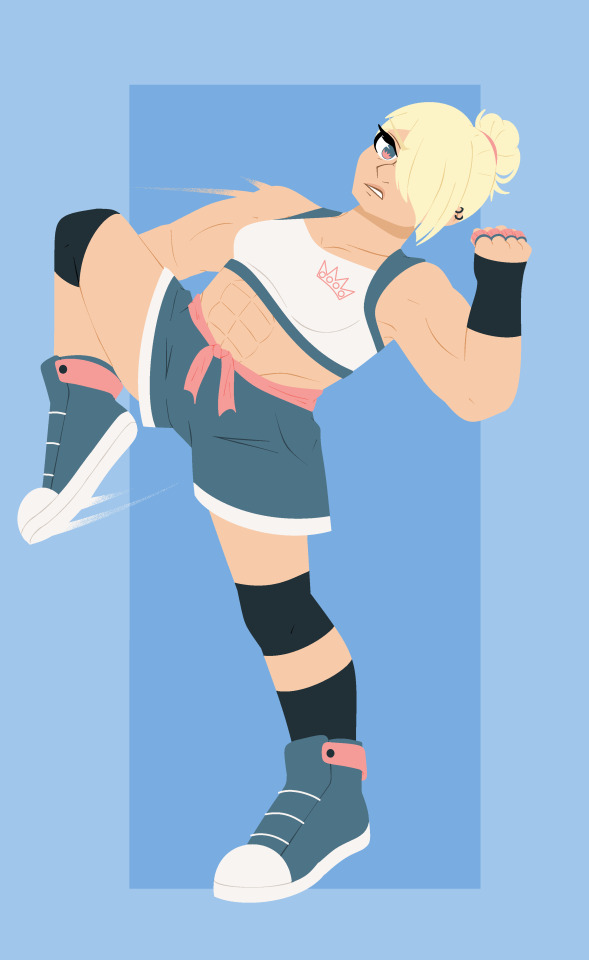
Name: Otrera
Name Origin: A trojan asteroid named after the queen of the Amazons
Pronouns: She/her
Age: 32
Guild rank: 5 star
Weapon: Brass knickles
Ethos (Power): Preflexes (Hightened reflexes)
Flaw power is based on: Her overly-guarded and cagey nature.
Notes: But her brass knuckles are pink so its quirky when she knocks your teeth out.
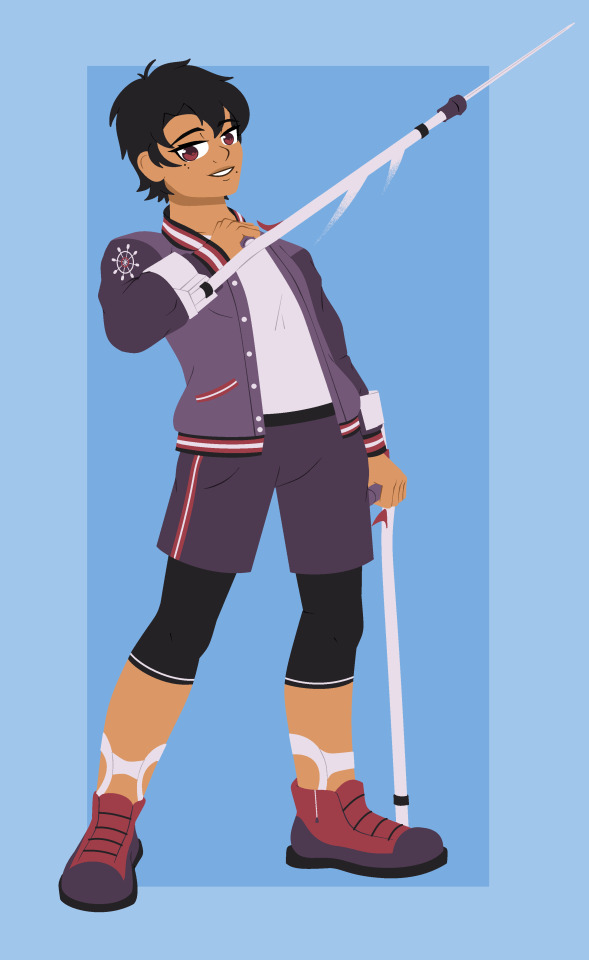
Name: Naos
Name Origin: A star whose name means "ship"
Pronouns: He/him
Age: 21
Guild rank: 3 star
Weapon: Modified crutches
Ethos (Power): Helm (He can change the direction of inanimate objects. It's not limited to projectiles, he can change the direction of objects while they're in someone's hand too.)
Flaw power is based on: His avoidant tenancies, especially where more serious responsibility is concerned.
Notes: Honestly? Joined the guild to boost his playboy status.
Name: Aitne
Name Origin: One of Jupiter's moons, named after the personification of Mount Etna, a stratovolcano
Pronouns: They/them
Age: 27
Guild rank: 4 star
Weapon: Spiked gauntlets and armor
Ethos (Power): Molten Core (Lava manipulation)
Flaw power is based on: Their brash and destructive nature.
Notes: Likes all their food to be charred.
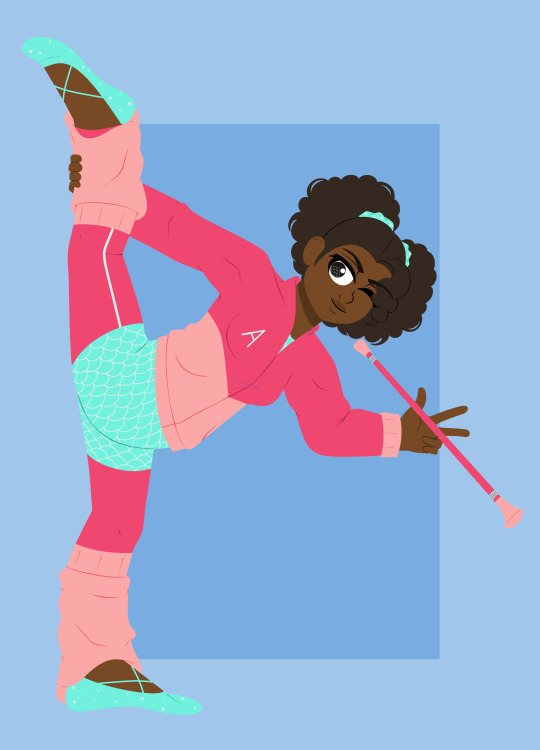
Name: Ariel
Name Origin: A moon or Uranus, named after an air spirit!
Pronouns: She/her
Age: 16
Guild rank: 2 star
Weapon: Baton
Ethos (Power): Harmony (Perfect balance on anything)
Flaw power is based on: Her own difficulty maintaining emotional balance under stress
Notes: She's a gymnast! And even though I didn't make the character named "Ariel" a mermaid, you can still see a scale pattern in her leotard!
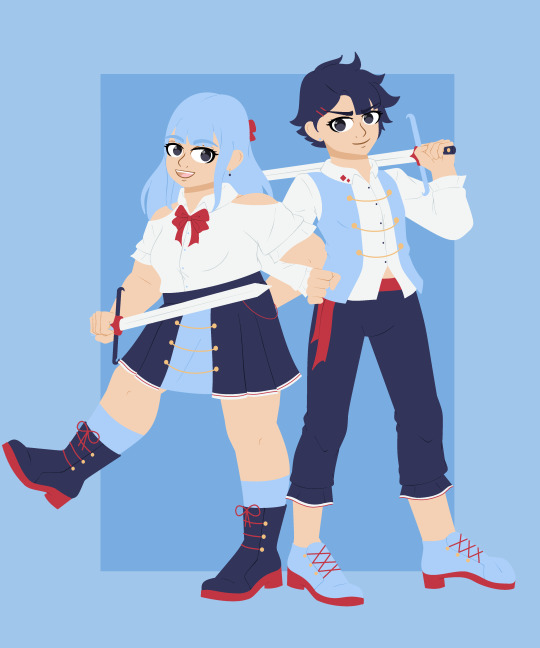
Name: Maru
Name Origin: A white dwarf whose name means "Sky." It's orbited by the planet Ahra.
Pronouns: She/her
Age: 18
Guild rank: 3 star
Weapon: Claymore sword
Ethos (Power): Sky walking (She is capable of interacting with air as if it were a tangible object, creating leverage for herself to walk and balance on as if it were solid)
Flaw power is based on: Her somewhat vain tendency to place herself above others
Notes: Complete and utterly confident she's the cooler twin
Name: Ahra
Name Origin: A exoplanet whose name means "Ocean." It orbits the star Maru.
Pronouns: She/her
Age: 18
Guild rank: 3 star
Weapon: Claymore sword
Ethos (Power): Wave riding (Creation and control of tidal waves to ride on, as if she was surfing them with no board. But she does have to be on them.)
Flaw power is based on: Her arrogance and recklessness
Notes: Completely and utterly convinced she's the cooler twin.

Name: Pipoltr/Pip
Name Origin: A star named for "a bright and beautiful butterfly."
Pronouns: Whatever really?
Age: 8
Guild rank: 1 star
Weapon: Giant lollipop
Ethos (Power): None yet!
Flaw power is based on: N/A. This doesn't mean they're flawless, but until their power develops they're really just here to go on fun little adventures.
Notes: This child hangs around with sailors all day long. The words they know....
#finn's ocs#finn's art#oc references#FINALLY POSTING THIS SET#there was a bit of a delay bc i wanted to make sure i got the crutches w naos right#i ended up not making just the crutches a weapon but like. with modifications based on a real self defense item i found#but slightly different for both fantasy reasons and also i think its patented lol#his pose is also based on a real self defense w crutches video that my friend sent me (hiiii thank you for that once more btw <3)#so like hes very much in motion here. thats not how he usually stands w the crutches lol he usually like. uses them as crutches lol#the little trigger on them is what releases and returns the blade in them btw#also as for the rest of the group! i think neptune is absolutely the most fitting of his namesake out of all the guildmasters#i mean they all have aspects of it but he's fully embraced it. despite what i said abt him growing into responsibility and all#hes still such a chill nice guy. just in general. it would take a lot to get him angry (and if you did the sea is NOT peaceful!)#and in a lot of ways triton is like how he was when he was younger. responsibilities dont matter he needs to go to the challengers deep NOW#also the reason i picked twin sai to be his weapon is bc i didnt wanna do a trident twice. even tho like thats kind of the typical motif#but sai are like. also a 3 pronged weapon. so i felt it kept the energy. but smaller and 2 of them#omg speaking of weapons i completely accidentally added a trans flag to ariel's baton design lol. but i left it in why not#i had such a hard time w her colors bc i wanted her to be flashy but also to make the leotard mermaid esque#also for it to not be too revealing. like leda (from the lunar flare set) can have an exposing leotard tutu sure but shes an adult#and i wanted to give ariel more of like an 80s home gym workouts vibe. with the legwarmers and scrunchies lol#and the twins!!! i wanted to make them samey but differeny. in a way i havent done w matching outfits before#bc the actual shapes of the clothes are very different but the colors totally match!#plus the twins are fraternal. i feel like thats obvious what w their different hair colors but there are more subtle things#like slightly different eyes. the height and weight differences arent part of that tho bc that can happen to any twins even identical#otrera i also had a lot of fun with. especially the blonde hair in an emo bang with like a pink sporty outfit#the crown logo references her namesake being a queen too!#she really was fun tho bc shes just no nonsense trusts nothing but her gut. and shes meant to be like an MMA type#aitne was also super fun but a bit tricky to make it clear that their eye is half lidded from the burns and not just like a drawing mistake#but i think i made it clear! its important bc their vision is also impaired on that side#and the burns themselves were most likely an accident on their end. remember they're brash and destructive. even to themself!
42 notes
·
View notes
Text


Some unposted/unfinished Watts n eater drawings I did a while back in preparation
@anti-wizard-council
#you might find that the second image will be used as a pose reference for a painting soon#i like the angle#eater draws#sketches#also i didn't like how i tried to draw Eater's body in the final one. so don't take it as a canon body ref
30 notes
·
View notes
Text
It you liked my Napoleonic au, here is some Fernando from it :)
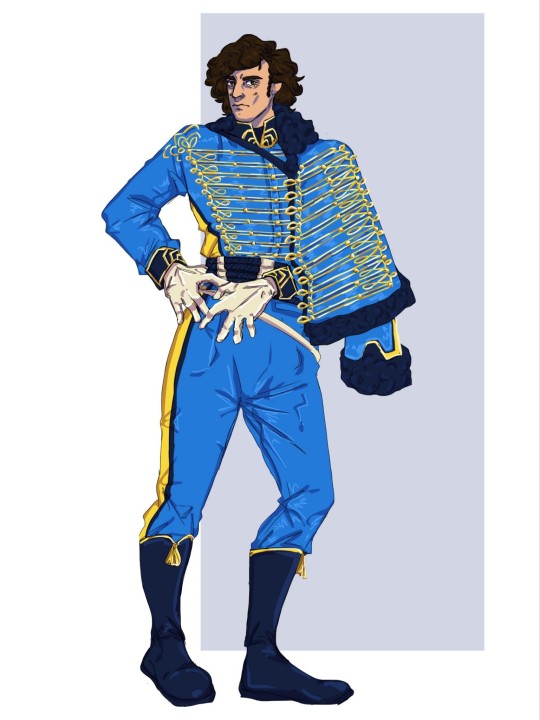

Under the cut: process
him face:
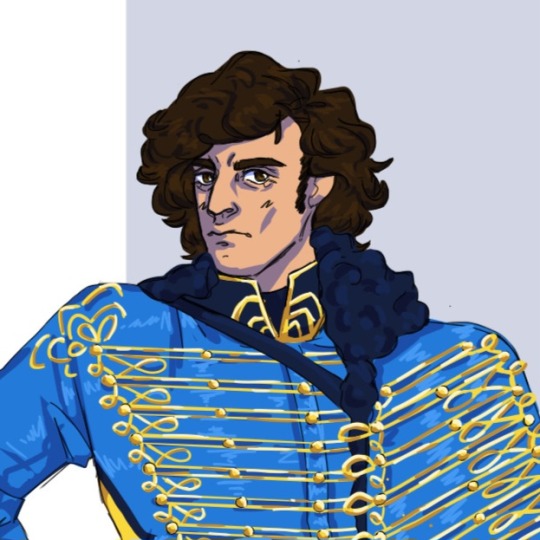

(I absolutely had to draw his Theee Musketeers look, that's honestly why I did a Ferrari alt)
I mentioned earlier how every time I opened the drawing, I'd just completely change it. Here's what I meant:

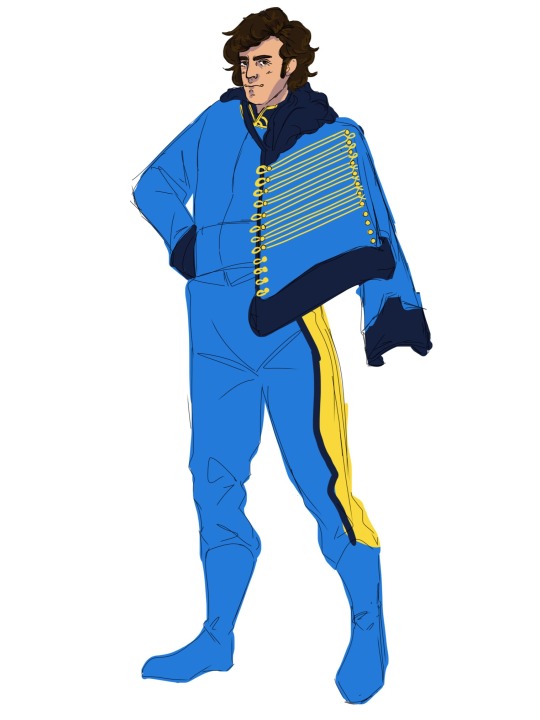
The Renault suit really lends itself to the Hussar uniform! Also the Ferrari one is kinda stunted a bit comparatively bcs I accidently drew over the Renault one so I had to recover the backlog and was afraid to touch it any further LOL
#do you ever think about how Fernando's F1 career has lasted longer than the entirety of the Napoleonic era?#because now I do.#I was thinking about how team changes would work/fit in and then realized Nando's career is longer than that whole era 💀#ah unfortunately no history ramble this time(the hussar stuff was my thesis LMAO)#but yeah i have been thinking about how his career would align with the different kingdoms#ex. 2007 mclaren would just be him being a double agent since the uk and france are enemies atp#every time i draw Napoleonic stuff i always listen to: 1812 Overture and Viva La Vida. every time. without fail.#lmao on the third/final revision you can see how much taking a ref pic of myself for the pose helped me#its generally very difficult for me to use random pics as reference#ig irs bcs its not *exactly* what i want so i prefer to make my own :)#this is kinda based off how i kept randomly standing bcs my back hurt but instead here it is slay#im especially glad tho that i went back to redo his face/hair bcs the earlier draft isnt even really in my art style so#f1#formula 1#formula one#fernando alonso#fa14#catie.art.#f1 fanart#formula 1 fanart#f1 art#formula 1 art#i accidentally posted this even tho i meant to queue it so i had to redo all of this UGH#hussar au
34 notes
·
View notes
Photo
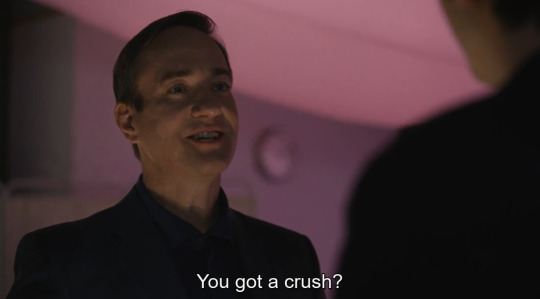
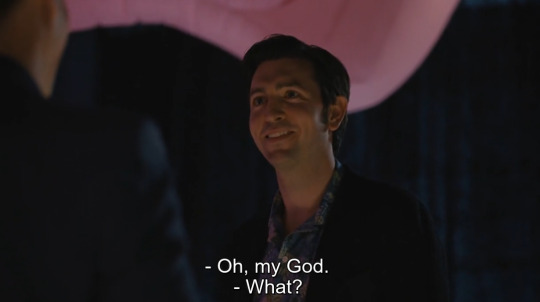

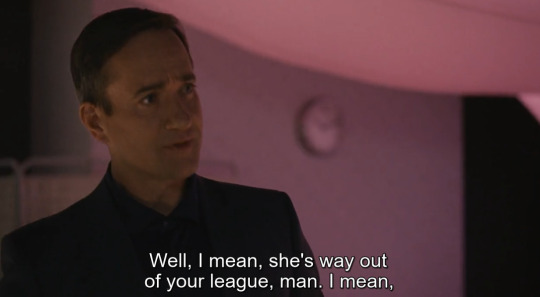

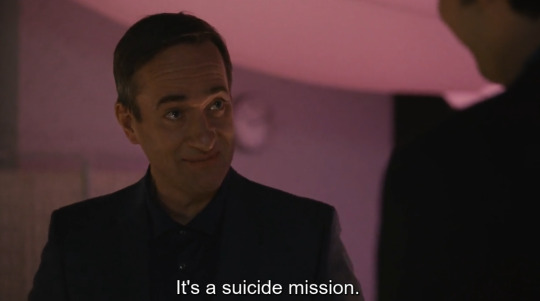

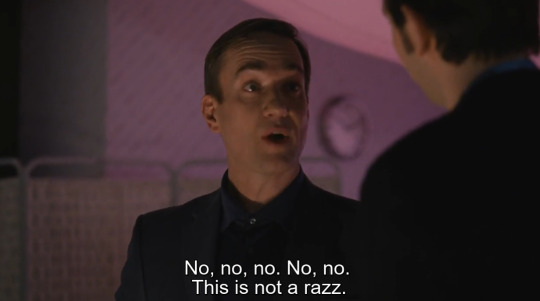


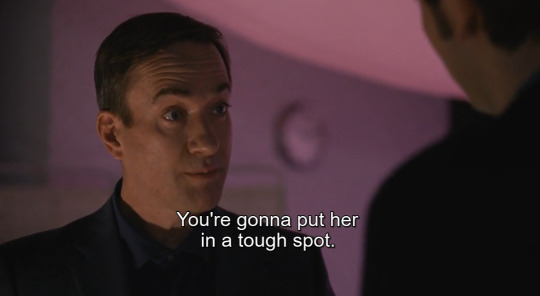
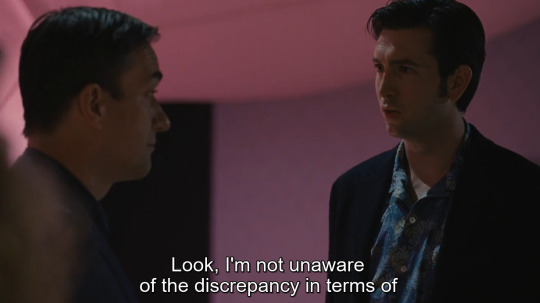


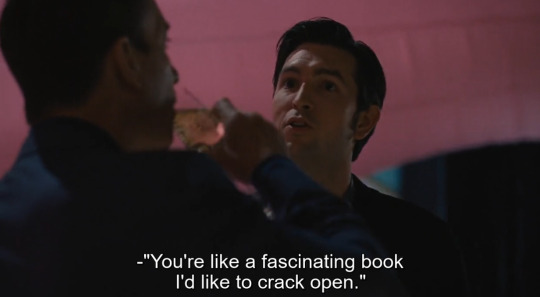

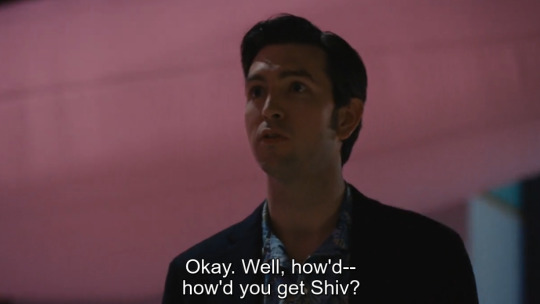
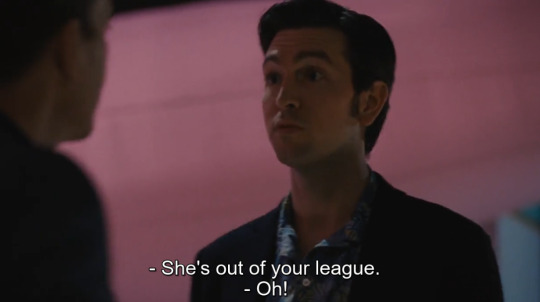

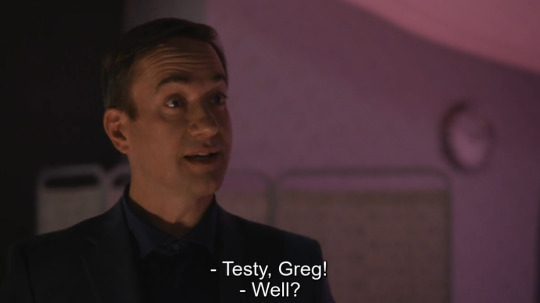
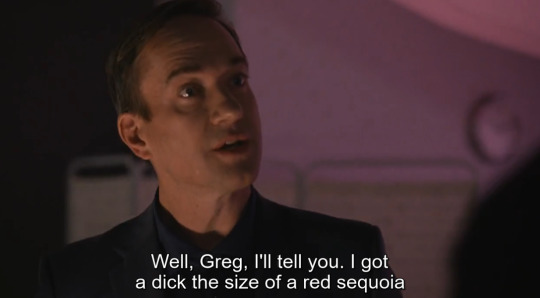
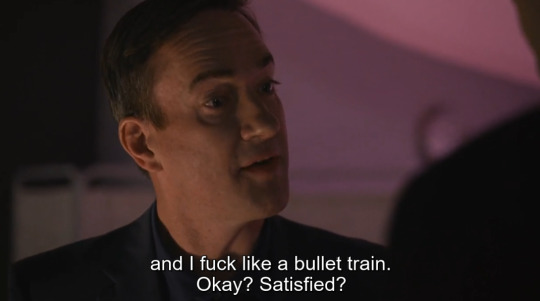
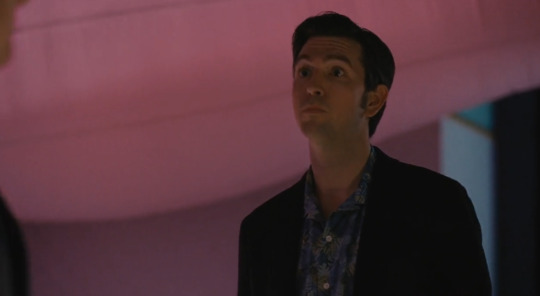
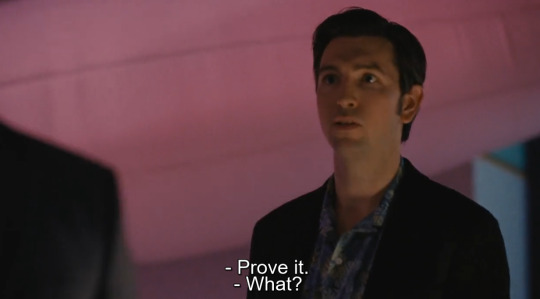
oh they fr had bitchnasty sex after this
#tomgreg#I CANT BREATHE HAHAHAaaaaaaaaaaaaaaaa oh wow. ohhhhhhh wow. oh wow. hahahahahaaaaaaaaaa wow.#GREG REALLY SAID: YOU WANNA FUCK ME SO BAD IT MAKES YOU LOOK STUPID.#the way tom goes OHHHhhhh at greg getting bold is Exactly the same tone me and my gf use with each other. just. you know. for reference.#BUT GREG'S LITTLE HEAD GESTURE BEFORE HE SAID PROVE IT LIKE HE REALLY MEANS IT?????? I GOTTA GO#also i'm sorry but they both read so fucking gay to me like so gay. esp greg in this moment. his line for comfry is so like.#it's so. like you just wouldn't do that. i think. if you were straight. I DONT KNOW I JUST FEEL A KINDRED SPIRIT IN HIM I GUESS.#''she seems like a nice.... person'' GIRL WHAT KIND OF ANSWER IS THAT AND THE PAUSE BEFORE PERSON I KNOW WHAT YOU ARE.#i know what you both are.#like. fuck what else can i say about this scene. they're insane i guess????#oh btw i know for a fact tom thinks greg is the most beautiful weird ass creature he's ever seen#like you know a sea creature that's kinda weird that you'd find at the bottom of the ocean that you see in an aquarium#and you're like wow!! that's odd! but.... so beautiful#like that's greg to tom. yet he's like SHES SO PRETTY AND YOU'RE SO GROSS HAHAHA#like. i see what you're doing you fucking avocado you're like oh don't bother going after her bc you're sweet and she might actually say yes#she might like you for what i like you for and y'all might hook up and i can't be having that!!!#like he's so transparent lmfao.#how do i know tom thinks greg is beautiful?? well who else do you say would be fit to take over from your beautiful wife if she died#ALSO tom is just surprised that greg bit back he's not even like. angry? idk i feel like if anyone else said that they'd be#family guy on the floor pose#about shiv being out of his league i mean#HE EVEN LOOKED AT GREGS MOUTH WHEN HE DID THAT LMFAOOO HE THOUGHT THAT WAS HOT#GOD I HATE HIM HAHAaaaaaaahh#AND AFTER GREG SAYS PROVE IT IT JUST CUTS OFF?!??! DID YALL GO FUCK IN THE BATHROOM IM MDDDWDWKDW#ALSO IF YOU LOOK AT PREV POST/WHAT HAPPENED PREVIOUSLY. THEY TOUCHED EACH OTHER LIGHTLY DIDNT EVEN HUG.#and as i said it felt sort of like ''i don't wanna spoil your outfit we can do that later anyway when we fuck raw''#then you get this. and the cut off. so like. come on what the fuck am i supposed to think. just ignore it??#ALSO sorry. sorry. BUT TOMS FACE DURING IT ALL HES LIKE 20 YEARS YOUNGER!!!!!!! AAARRAHgh#ALSO!!!! sorry. sorry. sorry. but why are the colours the bisexual flag in the bg. why. for what reason.#tom keeps looking at gregs mouth all throughout talking about how he fucks. so fuck him. prove it pussy.
40 notes
·
View notes
Note
Helloo! I freaking love your edits and wanted to ask you how you edit the lighting, it's fantastic 😱 expecially in your black Madonna post, I'd love to hear about your process :D
HI! OF COURSE! (Also thank you!) 💜 Omg I had a lot of fun with that particular post! From what I can remember, the room I built was lit with one orange light on the floor. I like to utilize relight with reshade and I have like a mini tutorial over here! One thing that I wanted to correct myself on (I’ll probably edit into that post as well) is the load order of reshade and I typically notice, it looks more muddy depending on whether or not it’s below or above a LUT but sometimes the muddiness of relight can work with a photo. oKOKO but anyways back to this edit. I used lightroom in reshade to cool down the photo because it started out warm. I really like orange lighting as a base in the sims because it doesn’t flashbomb my sims but it still adds enough lighting for me. I also find that I can adjust tone of the whole photo a lot more easily with orange i comparison to other lights. Then I started to add in lighting from relight, I picked out the colors blue, green, magenta and orange. On Atlas’s side I leaned towards orange, green and magenta while on Taryn I lit her with blue and green. However because she’s standing closer to the camera while Atlas is a bit further back, the blue on her face collides with the other three colors giving it an almost cyan, whimsical appearance. So the original photo of this was heavily contrasted, sort of neutral/hint of cool tones but when I pulled it into photoshop after adjustments (shadows/more highlights/hair wispies/cropping) I went into camera raw filter and colorgraded the shadows to pull more greens. I’m not sure if I touched highlights or midtones tho! Final step was adding in some scratches, film dust (the contrast helps so it doesn’t get too hazy when adding an overlay) and sharpened it! I’d like to do like a breakdown of how I edit or even a speed edit just to show the process! It’s always ever changing as I try to learn new things or certain photos require different steps. Funnily enough, I was leaning really heavy toward like… The Haunted Mansion in color scheme for this photoset HAHAHA and I think it worked really well here! I hope you enjoyed reading my yapathon LOL and thank you for asking! 💜💙💚
#also fun fact that photo was the first pose i created without a reference except for the book i had to take a picture of how to hold a book#asks#tutorial
2 notes
·
View notes
Text

As promised, the bigger picture of my proper redesign!! Included some of my more au-ish headcanons that weren't included in the prior drawing, but I'm working on a larger story regarding the nature of Equestrian magic + specifically how the Alicorns as a separate species work :]
if anyone is interested in a larger lore dump post, pls lmk!
#coffin calls#mlp fim#mlp g4#twilight sparkle#mlp au#art reference#I had a lot of fun drawing this and properly getting to nail down some of the funkier design elements I like to add for my horses#for example: twilight overall has the slimmer body shape of a unicorn but hasn't learned how to take care of her#recently acquired pegasus fluff yet!#I also tried to make her wings a bit more stunted looking compared to celestia or lunas#(there'll be redesigns of them coming. sometime soon as well asdpohfi)#also pardon the odd pose I had a shape in mind I wanted but also needed their full body in the reference
11 notes
·
View notes
Last Seen Blogs

kazuya1129-blog
Kazuya Iwakawa

panicked-bisexual4
SUcker
sweetergual
ራሀል


dailymaroc-blog
Dailymaroc.com