#*tut
Text
Everyone asked for it, so here it is :)
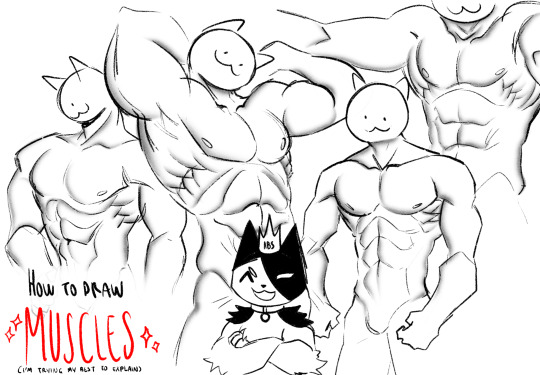


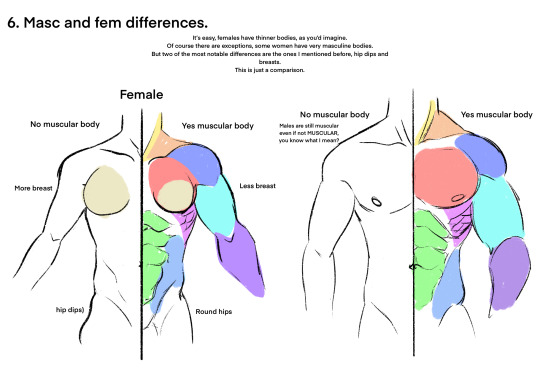
hope it helps!
#art#my art#art tutorial#anatomy#anatomy art#anatomy tutorial#art tips#art reference#anatomy tips#tutorial#art tut#tut#muscle anatomy#muscular anatomy#muscular anatomy tips#muscular anatomy tutorial#muscles tutorial#gato
5K notes
·
View notes
Note
Fav art tips?
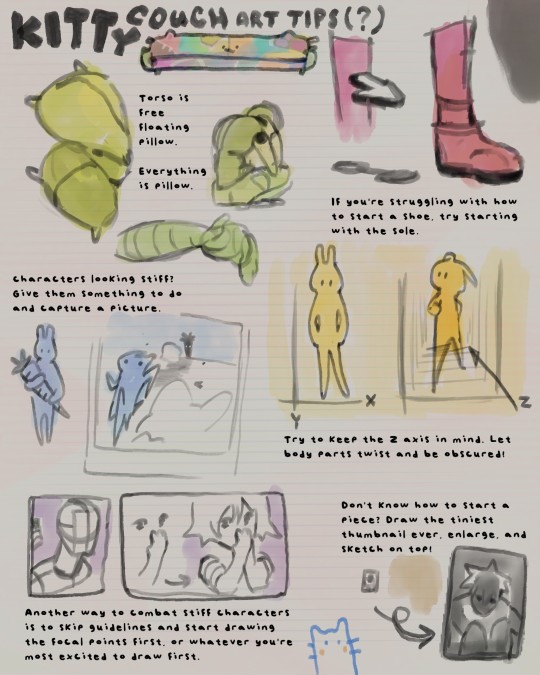
These're some of my general art / drawing tips!
✎⁾⁾ ◞
Just incase text is hard to read:
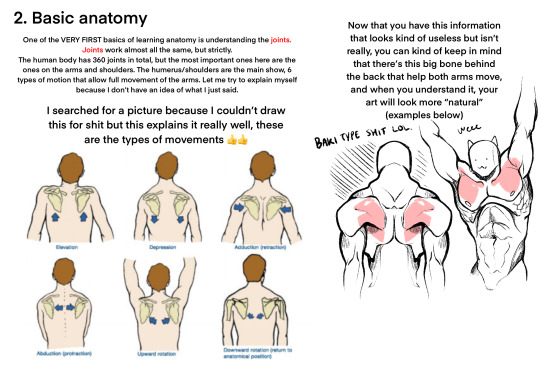
1) torso is free-floating pillow. Everything is pillow. (soft, flexible anatomy)
2) if you're struggling with how to start a shoe, try outlining the sole first.
3) characters looking stiff? Give them something to do and take a snapshot mid-action.
4) try to keep z-axis in mind! Let body parts twist and be obscured.
5) another way to combat stiff characters is to skip the guidelines and start drawing the focal points first... or whatever you're most excited to draw first.
6) don't know how to start a piece? Draw the tiniest thumbnail ever, enlarge, and sketch on top!
#hi sorry this ask has definitely been collecting dust#art help#art tutorial#art ref#art tips#how to draw#how to art#tut#ref
151 notes
·
View notes
Text
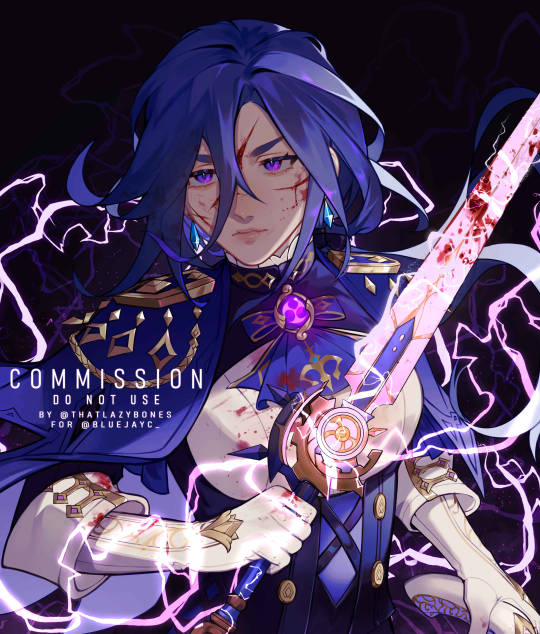
Clorinde comm for @/bluejayc_ on Twitter! 💜
#clorinde#art#my art#illustration#fanart#digital art#genshin impact#commissions open#art commissions#commissioned art#I'm so in love with this comm#TuT
831 notes
·
View notes
Text


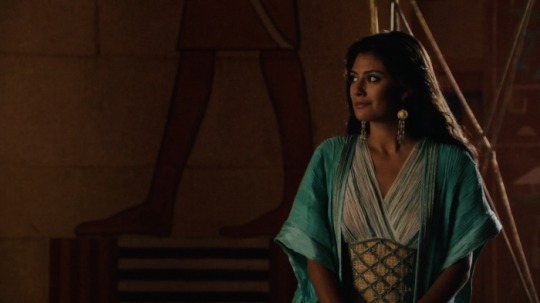
Sibylla Deen as Ankhesenamun
Tut (2015) Episode 2
#tut 2015#tut#ankhesenamun#sibylla deen#stuff:mine#perioddramaedit#perioddramasource#perioddramagif#gifshistorical#tutedit
266 notes
·
View notes
Text
Cleo de nile g3 🥺🥺🥺✨


#aqui también lxs posteo y nimoderrimo 💅💅✨#monster high g3#cleo de nile g3#frankie stein g3#mh g3#watzie#tut#las mascotitas 🥺♥️♥️♥️
730 notes
·
View notes
Text
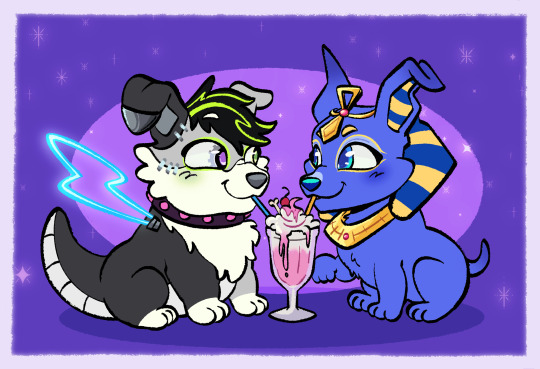
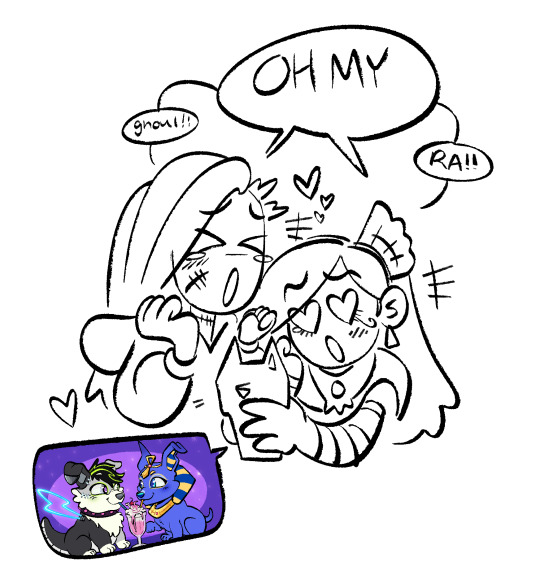
if lady and the tramp were based
BONUS: Clankie Live Reaction
453 notes
·
View notes
Note
hey big vro
question: what do you do to add a gif to your graphics
:3c < hi dude ! I mostly use ezgif for graphics BUT !!!!
for layouts I use photopea , example :


What I like to do is open photopea < pick a gif from my hoard < upload graphic < then click OPEN to upload the gif in a separate file in photopea’s editor < drag the gif and stretch it little < then move it to the spot you want the gif to move and groove
video … to show you :

The result !!!!!!!! Idk how to clip gifs in photo pea just yet but I’ll learn eventually :3c
#rentry#tut#tutorial#ignore how it’s a different frame#THE HEADER WAS TOO BIG GOR MY PHONE#PHOTOPEA KEPT CRASHING#hope this helps
50 notes
·
View notes
Note
Anon here!! How did you make the heart graphic for the power rentry?

hi!! i’ll put it under the cut since there’s quite a few steps. lmk if you need a more specific tutorial or images for any of the steps!!

1) finding the base
find the shaping mask you wanna use. you can look up “shaping mask png” or “mask png” on pinterest to find some. this is the one i used:

2) removing the background
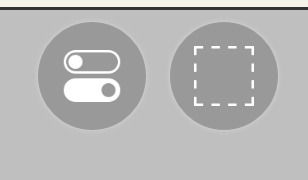
to remove the background, use the selection layer in ibis paint x. to find this layer, go to the layers panel and it should be the one all the way at the top. it is titled “selection layer.” to remove the white background, select the bucket tool and select the white background. it should turn blue. then switch from the selection layer to the layer you’re removing the background from. look at the top middle of the screen. there should be a square composed of dotted lines that looks like this:
click on it and select “cut.” this will remove the white background. click on it again and select “remove selection area.” now you’re ready to continue!
3) creating a cleaner base layer
you might want to do this if you plan to add a stroke, as once the background is removed from the mask, it tends to leave some remnants behind. this makes the stroke look choppy and pixelated. to do this, take the paint bucket tool on a new, blank layer, and fill in the black part of the base with black. then, delete the base layer underneath the new layer. the hearts will become transparent (to see this better, change the canvas from white to transparent in the layer menu) and the base will hold its shape. you can also remove the hearts in the previous step, but this tackles two birds with one stone and (in my opinion) looks cleaner.
4) filtering manga panels
to make the manga panels pink, i looked up “pink manga polarr code.” pretty much any one will do, but this is the one i used:
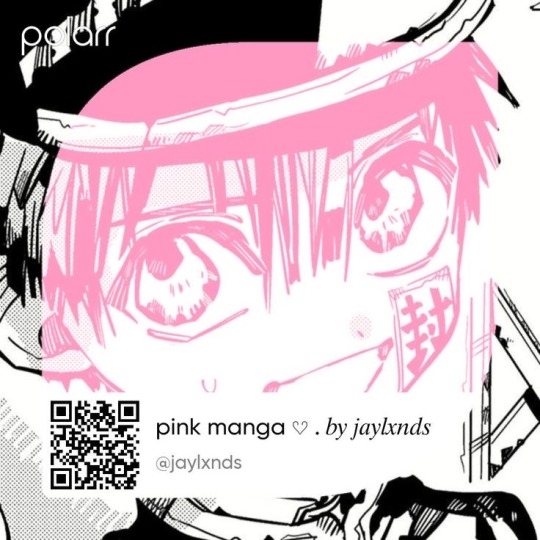
for the rest of this step, you’ll need the app polarr. once you get the app, go to the edit section of the menu on the bottom. click “open photos” and insert the manga panels you wish to change the colors of. then, click “filters” and “import filter.” from there, click “import qr code” and click on the filter in your gallery. the filter will go into polarr, and you can just click instant export or you can save it and then export it. it’s up to you.
5) masking the panels
import the images you just filtered into your canvas. now we’ll use a clipping layer to have them take the shape of the base. click on the image layer you want to do this with, and then hit the clipping option in the layer menu. this will have it take the shape of the base.
6) coloring the hearts
now we’ll add a new blank layer atop the clipping layers. i color picked the pink color from the image, and then used the bucket tool to fill in each of the hearts.
7) adding the extra pngs
for this step i used the sticker option in picsart and a transparent canvas to collect the pngs. i believe i looked up “pink png” in the search bar, but i’m not sure. then i imported them into the ibis paint x project and positioned them where i wanted them to go. download transparent pngs of the project (one of each image you added). toggle the eyes on and off so that you can save the different versions (not individual layers. i just mean if you added two manga panels, make sure you get one with one manga panel and one with the other).
8) creating the gif
search up ezgif animated gif maker. it should be the first option that comes up. for this, i typically switch to “manually ordered upload” opposed to “alphabetically ordered opload” (the default) so i have more control over the order of the images in the gif. once you upload them into the site and you get to the editing menu, set the delay time to 100 and click the box that says crossfade frames.
andddd you’re done!!! i hope this was somewhat comprehensible and i didn’t miss any steps xD
177 notes
·
View notes
Text
The new Stardew updates are super cool and all, but when is my boyfriend Harvey gonna stop asking me if Maru needs sunscreen on her shoulders
62 notes
·
View notes
Text

PERIOD DRAMA APPRECIATION WEEK 2024!
day two: favorite characters (1/2)
ankhesenamun played by sibylla deen in tut
livia drusilla played by kasia smutniak in domina
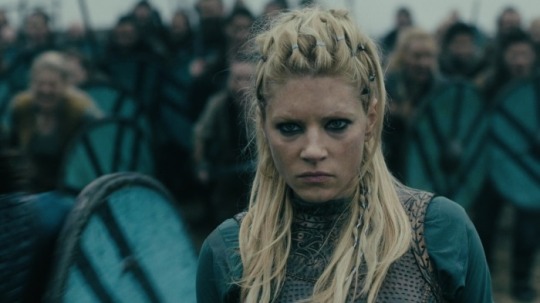
lagertha played by katheryn winnick in vikings
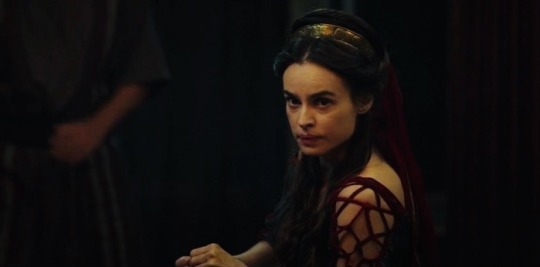
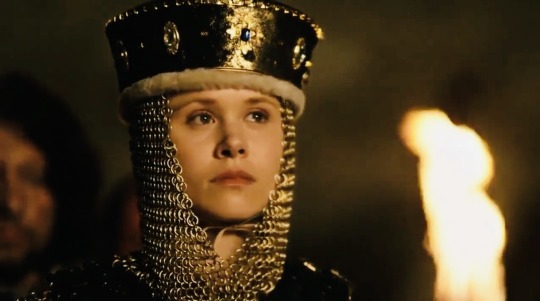
morgan pendragon played by eva green in camelot
empress matilda played by alison pill in pillars of the earth
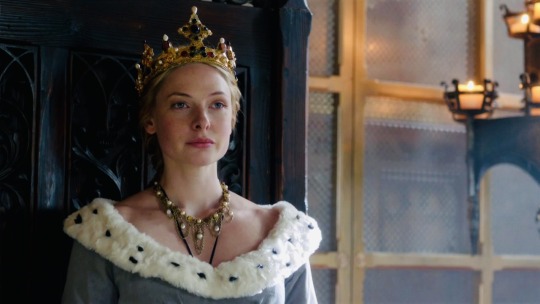
elizabeth woodville played by rebecca ferguson in the white queen
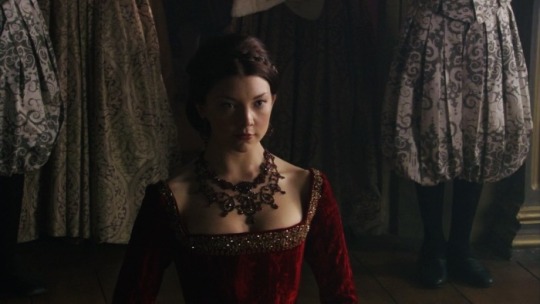
anne boleyn played by natalie dormer in the tudors
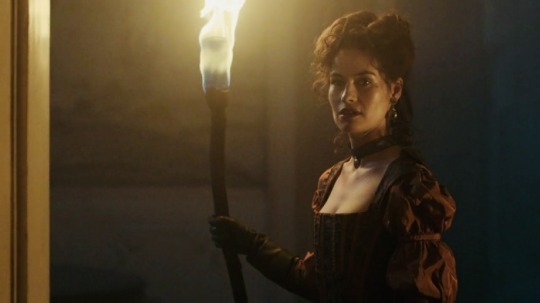
milady de winter played by maimie mccoy in the musketeers
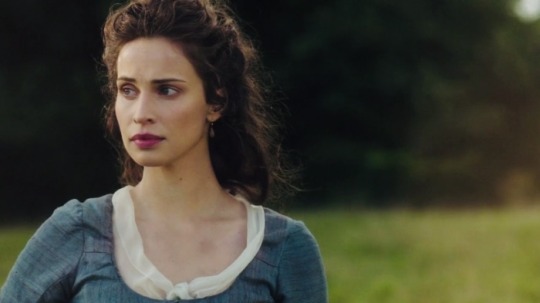
elizabeth chynoweth played by heida reed in poldark
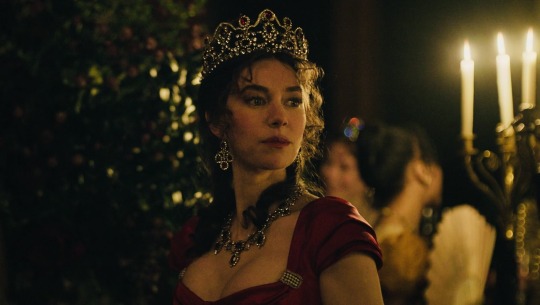
josephine de beauharnais played by vanessa kirby in napoleon
#perioddramaappreciation24#perioddramaappreciationweek24#perioddramasource#perioddramaedit#perioddrama#the white queen#tut#domina mgm+#vikings#camelot starz#pillars of the earth#the tudors#the musketeers#poldark#napoleon 2023
50 notes
·
View notes
Text
Schon okay, dass es nie okay war.
-Zate - Es tut fast nicht weh
62 notes
·
View notes
Text
A shading with folders hack
that no one asked for~
please google if your art program allows you to use:
folders
set folders to multiply/layer modes
i am using PT SAI but if your art program utilises folders and layer modes, it should work for you as well!

Here is my drawing. The top folder is labelled "shading" and the bottom folder is my art! inside of it is my colouring layers and my lineart. Because I colour my lineart, I need my shading to clip to the lines AND the colour so the lineart doesn't end up too bright or mismatched from the colour after shading.
of course, there's many techniques, but this is my solution to this (and it could be used for a lot of other things~)

In PTS, I can clip folders to layers or other folders, and set the folder to multiply (in other programs it could be called dodge, burn, or shade, etc. you can always use whatever mode you prefer for shading, and mine is multiply!)

inside of my shading folder i pick my base colour for the shading. personally, i start with the darkest, and this layer is for all shaded areas with no direct light. so if you plan on having bounce light, don't do that in this step! (i use an erasing method for my shading so it tends to look pretty dramatic haha)

this layer is my bounce highlights, i use a lighter colour than my base, usually with more saturation to make it look tasty yumyum. the layer is clipped to the shading layer INSIDE the multiply folder. this means it acts as if clipped to the layer below it, but ALSO clipped to the art folder. this way it won't go outside of the layer below it, AND it won't go outside of the folder it's clipped to.

this step i use a third colour that stands out from the other 2, to put on the edges of my base shading layer. i use this cuz it looks cute but also cuz im obsessed with lighting that's reminiscent of sunsets or the like:

i couldn't be bothered to find a better image so you get this very strong example that has a tonne of bouncelight in blue. The orange part here is what i am referring to.

after that you can clip luminosity on top of the multiply folder which is clipped to the art folder, so the lumi layer will be technically clipped to the art folder! (folderception~). whenever you have multiple layers clipped on top of each other, they will always clip to the layer the first one is clipped to.
i know folders can be confusing and it's hard for me to explain, but if you try it out you'll figure it out for sure!! it's very easy to use once you got it, and it makes the possibilities endless~ mostly. hopefully, this explains it well enough!
#my art#long post#tut#tutorial#i dont like calling it that cuz people think if u make a tutorial u should be 100% expert who knows everything ever and it makes me nervous#but also who cares#text
45 notes
·
View notes
Text


Sibylla Deen as Ankhesenamun
Tut (2015) Episode 2
#tut#tut 2015#ankhesenamun#sibylla deen#stuff:mine#perioddramaedit#perioddramagif#perioddramasource#gifshistorical#tutedit
69 notes
·
View notes
Note
how do you make high quality gifs?? 😭
I use EZgif if you’re talking abt how I make my layouts, the actual gifs I use I steal from google.
in case you want to know how to add high quality gifs and keep ‘em high quality, here ya go :)
I go on EZGIF and go to effects

after that go to add overlay, upload the gif you want, then use this

to input what you what the gif to be on(make sure where you want the gif to go has a transparent bg kinda like this)

then you click the generate image button, and it’ll load the overlay with the gif under it, then you can save it :) you might need to change the size of the gif to fit the overlay, to do that you just go to ‘resize’ or ‘crop’

(I feel like I over explained this but even if this isn’t what you meant at least it’s here for ppl who need it 😭)
20 notes
·
View notes
Text
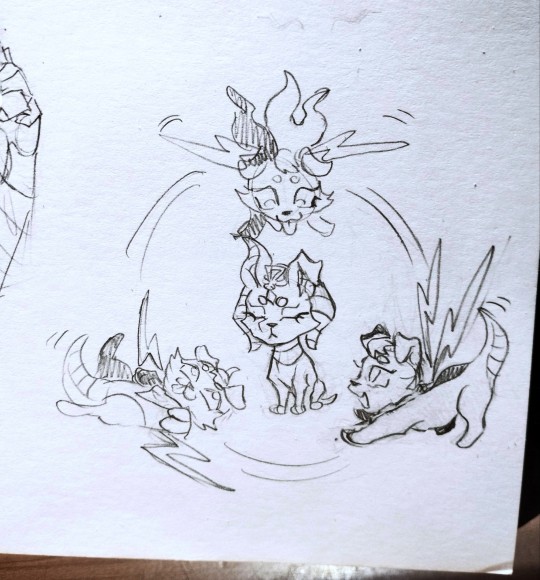
Tut (they/them) - !! love this OC/para they're so cute and pretty and adorable - Kitt
#kitt's art#tut#my ocs#oc#ocs#oc art#para#para art#demon#demon oc#original charater art#original character#original art#original artwork#art#artwork#drawing#illustrator#illustration
50 notes
·
View notes
Text

Sibylla Deen as Ankhe in Tut (TV Mini-Series, 2015).
168 notes
·
View notes
Last Seen Blogs

7positions
KatKat

kellofdevils
bow before me

ihatemyself---iwannadie
you'll never hate me as much as I hate me

syteline-csi
Infor SyteLine/CSI ERP Implementation

wowelectricals
Untitled