#Animation Software for windows
Explore tagged Tumblr posts
Visit Tumblr Blog
Explore Tumblr blogs with no restrictions, modern design and the best experience.
Last Seen Tumblr Blogs


Fun Fact
Tumblr has 4 main sources of revenue.
Text
#whiteboard animation software free#free whiteboard animation software#whiteboard animation software for beginners 2023#whiteboard animation software#free whiteboard animation#whiteboard animation software for mac#whiteboard animation free#whiteboard animation software for kids#Whiteboard animation software for beginners#free animation software for kids#free animation software#Animation Software for Mac#Animation Software for Kids#Animation Software for windows#Animation Software for pc#Animation Software online
0 notes
Text

fight flight freeze
#soc art#retro aesthetic#hare#rabbit#snow#winter#artists on tumblr#extinct software#macromedia flash 2#windows 95#lots of animals here lately#nothing huge just some weekly class work#sketch
804 notes
·
View notes
Text
On a semi related note the more I am subjected to Microsoft products the more I become convinced that the reason so many people these days believe themselves to be “bad with computers” is that the programs they are forced to use in their professional life are utterly incomprehensible to ANY rational human being and they are (rightfully enough) extrapolating out that this is just how computers are. They aren't!!! In their quest to remove all the “scary” details from their poor fragile end users Microsoft have created an ecosystem that behaves completely erratically and unpredictably and is by definition unknowable. Things just happen. Then they stop happening. Nothing ever announces why or how. Just a thousand vague and useless popups that may or may not be there tomorrow. I PROMISE computers are actually extremely simple and logical beasts.
#brain.txt#the biggest barrier to widespread linux adoption is the fear of learning something new and i get it i really do#when youre at zero knowledge and dont even know where to begin its completely overwhelming and so much easier to stick with what you know#but the problem is no one ever really knows windows#youre sharing your room with a wild animal#you believe you know its mannerisms well enough to know when it is hungry and what it likes and dislikes but one day it might lash out#and there will be no way of ever knowing why#with open source software the only barrier to knowledge is how far you want your own curiosity to carry you at present#and yeah! ill readily admit!! theres plenty of components of my system i dont know too much about right now#but i feel inherently less lost and helpless knowing that the information is out there and i am actually capable of reading it#instead of someone actively obfuscating all possible attempts at understanding and also constantly changing everything from under me#(i have never owned a mac in my life so idk whats going on over there but my general impression seems to be that mac at least gets the whole#walled garden thing right in the sense that it is a cohesive and functional experience despite being extremely locked in. which i have more#respect for as a solution i am not interested in but i can see the appeal of rather than the FUCKING DISASTER microsoft has unleashed)
59 notes
·
View notes
Text

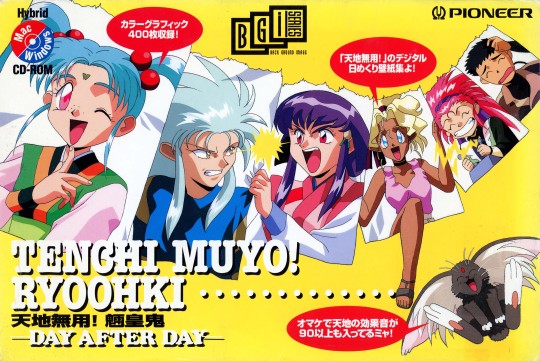
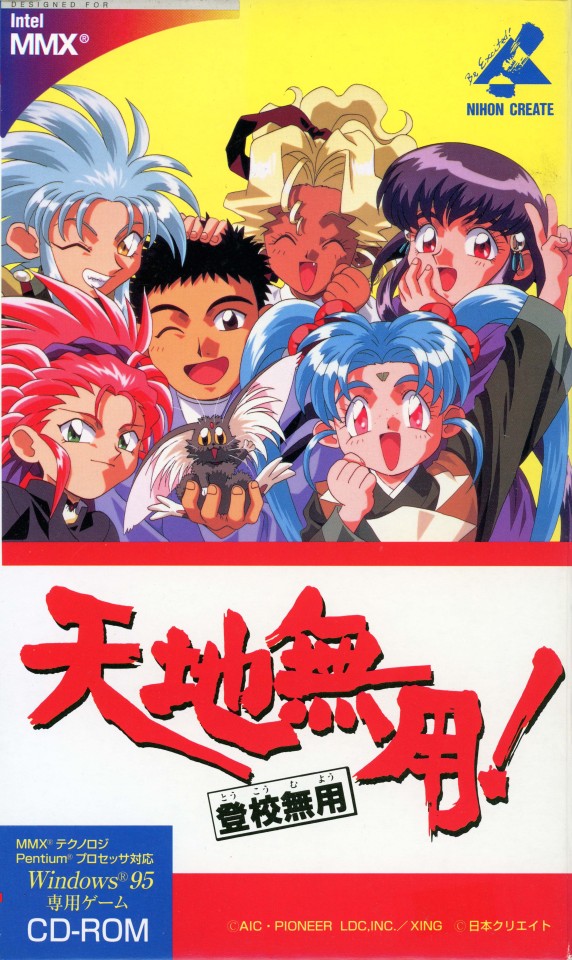


Did you know that Tenchi Muyo! had computer releases? Well now you can experience Tenchi Muyo! on your PC like it's 1996! Tenchiforum has uploaded the full CD iso and scans of various Tenchi PC releases for all of you to enjoy!
Tenchi Muyo! Ryo-Ohki Gokuraku: Archive.org
Tenchi Muyo! Ryo-Ohki Gokuraku 2: Archive.org
Tenchi Muyo! in Love Gokuraku: Archive.org
Tenchi Muyo! Ryo-Ohki - Day After Day -: Archive.org
Tenchi Muyo! Toko Muyo!: Archive.org
Tenchi Muyo! Solitaire: Archive.org
Tenchi Muyo! GXP Digital Accessories ~Part 1~: Archive.org
#tenchi muyo#tenchiforum#90's anime#ryoko#tenchi universe#天地無用#tenchi muyo in love#achika#tenchi masaki#tenchi muyo ryo-ohki#gokuraku#90s software#windows95#windows 3.1#windows 98
192 notes
·
View notes
Text
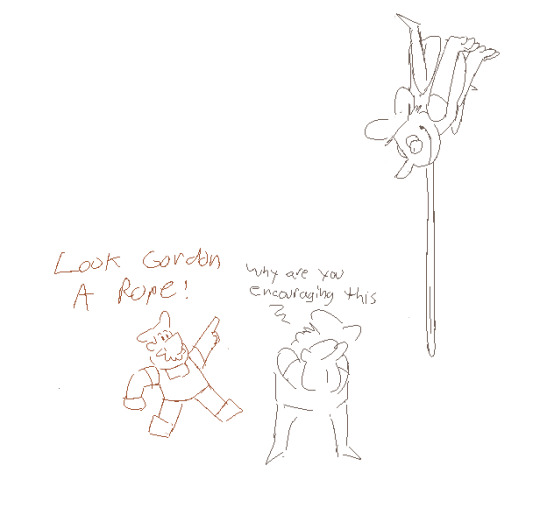
I PRESENT TO YOU: THIS MESS
this uhh took way longer than i thought it would to make but. i was determined. i haven't animated much before so, i hope it turned out well hehe 😅
based on this thing courtesy of @beatcroc (..... forgive me for this bro)
#LISTEN I GOT THAT DAMN QUOTE STUCK IN MY HEAD FOR DAYS AFTER THAT POST SO. I KNEW WHAT I HAD TO DO.#TAKE THE MOST OF WHAT MY SHODDY PIXEL ART ANIMATION SKILLS CAN OFFER 👍👍👍#the quality is kinda garbage because. the only video editing software i have is Windows Movie Maker. forgive me.#my art#pizza tower#pizza tower gustavo#pizza tower fake peppino#* IMPLIED fake peppino but. he's there. even if the only part of him that's showing is. Tongue.#gus will be fine though. don't worry about it ;)#now then. to work on like 5 other things i should've been doing instead of this. buhbye for now!!!
258 notes
·
View notes
Text
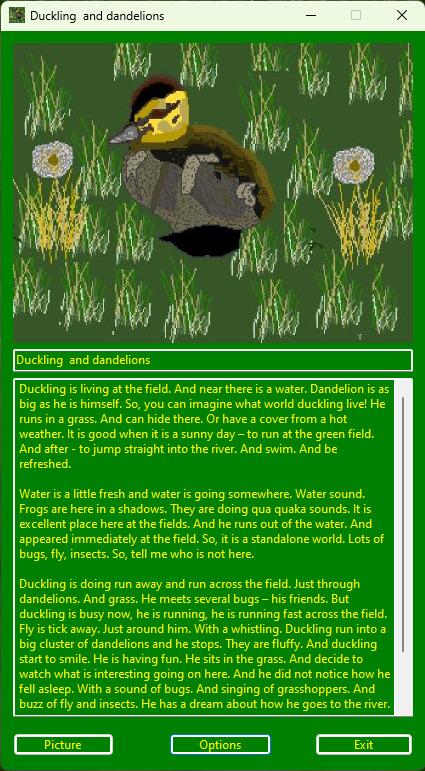
Kind Animals Little Cards – version 0.1 Duckling and dandelions
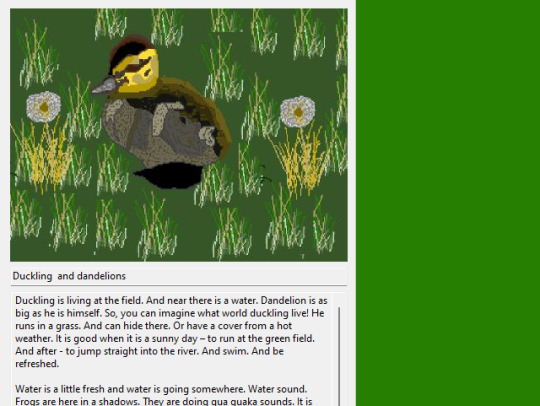
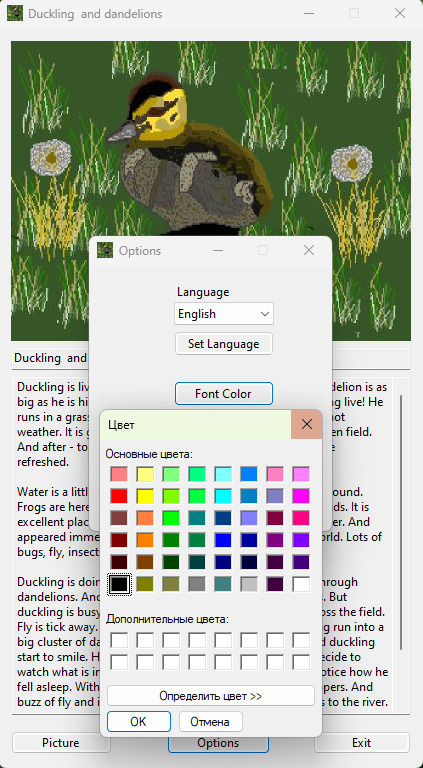
This is a little cards with little animals. Here they are good and kind little animals. It is such a funny thing! Little card with little animal – it is small program. When you open program – and, there, it is little picture and story. Little picture with little animal and story about little animal! There is minimum of settings. As a text color and background color, select language (Russian, English). For positive! Little program for positive!
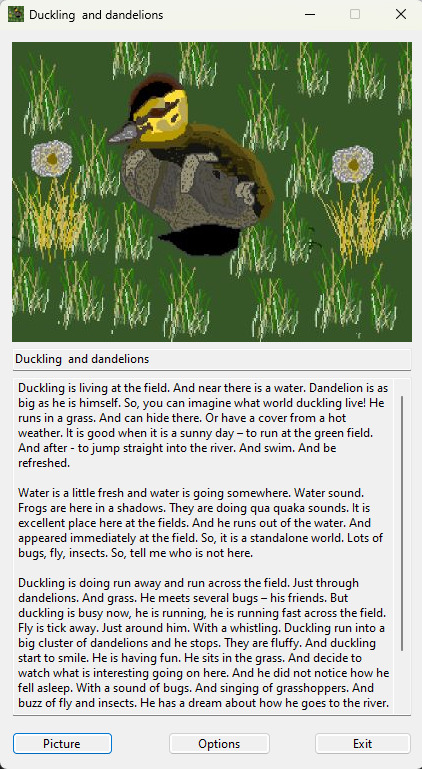
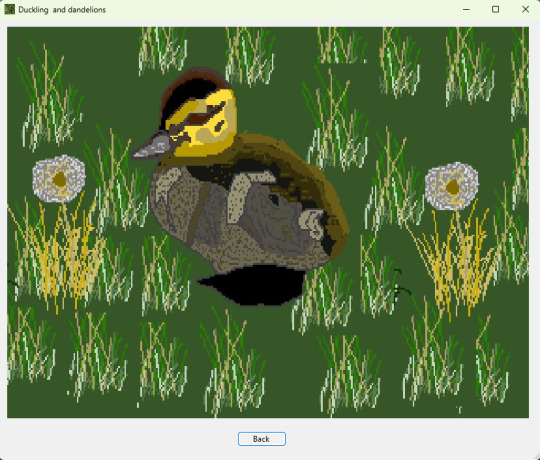
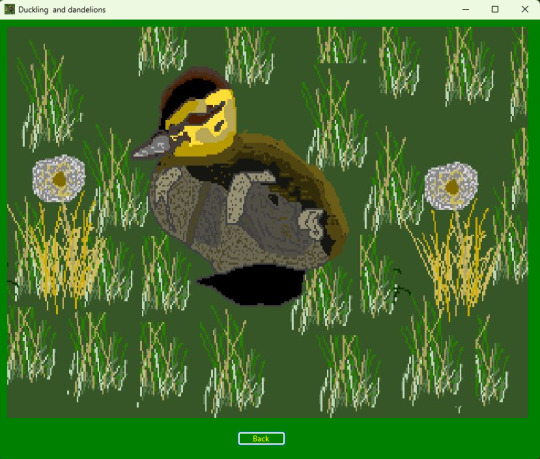
Now, it is, only, one little card. It has a name – “Duckling and Dandelion”. So, looking at this little card, you can remember summer! So, what a duckling is drawn there! He has so big fun and interesting for him! And, around him – there are dandelions! Beautiful! Maybe, it is everything somewhere at the countryside. Next, duckling will go to swim!
youtube
So, as idea, these little cards – it is for positive! Such a small programs. Maybe, later, it will be something more. So, it is, so, early version, for now. Picture itself, it was drawn a long time ago. And, a story, it was so long time ago. To have some apply of these things into something - I invent such theme with little cards. So, I am, something like, write articles, stories and make drawings – to apply all of these in my projects. So, this time has come for drawing with name – “Duckling and Dandelions”.
First time, I try GitHub for make release at this place. And, this is version 0.1. So, it is early version. But, more or less, it is a complete version. With terms of idea itself, that whole first little card is done! Duckling and dandelion. Little card has a version 1.0. And project Kind animals little cards – it has a starting point, it start this road from this point!

It is ok to remember summer! Countryside! Field and dandelions! And, there, someplace, he runs – duckling! Let`s sit and remember a summer! And, watch at first little card. With good and kind animals! So, it is a summer at the picture. And everything was so sunny. And good day or morning. What will do duckling? Eat little grass? Or, just, go by the grass. So, look at the little card, read story and make a dreams. Remember summer and countryside! Summer and duckling. What a good start.
This project has such a fun idea. As, someone can say, it is for a reason - to make things interesting! And no need to make them lost – little pictures and stories about good and kind animals! Duckling speaks – quack-quack!
Little cards with little animals! It is always funny! When it is a summer at the streets and not summer too! Little animals, ducklings. They are doing their own things. They have their own stories. These little cards give you for a moment – one eye to see what little animals are doing there! Well, you, always, does not see them, as a casual thing. You are, also, are busy with your own things.
And, so, for little animals there – in a grass, in a little river – it is their own world. There, they have their own things to do, and, this way, they spent their daytime. To run to the little river, to watch the grass. To sleep. So, lots of things for little animals under the little sun, for every day! Or get in a hide from the little rain in the shadows of the bush. Lots-lots of something, little animals are doing! They are funny and kind! Good and kind! And funny, full of joy!
So, simply for read a little, about little animals. At the little evening. To drink a tea. Or day. Morning. While, it is a bright sun behind the window. Or in winter to remember about good and kind animals. In winter – they, all of them, are just, go to a sleep! Until little grass starts to grow again, and it is become warm! Now, you know, what little animals are doing, and you remember about them, all the time!
It will be a summer again! And, again, little animals will appear in a field. They will run here and there, again, and, they will do lots of their things. They will have lots of things to do again. And, again, it will be thousands of stories! And, little animals will jump and have fun. To sleep in a grass.

So, for a long time, I want to do something about my friends – good and kind little animals. To remember about them. So, let`s start with duckling and his favorite place – dandelions in a field. There are lots of them in that place. Quack-quack! And, go to another dandelion. Look at this one. And, go to next one. There are lots of them here! How lots of dandelions are in the field! Quack-quack!
So, I have this ability – and send a hello – to all my friends – good and kind animals! And, I wait for a new countryside season to see all of them! They are, just, in spring will awake from a sleep after the winter. And they start, again, to run and do lots-lots of anything! Ahead, it will be a new summer, in the end!
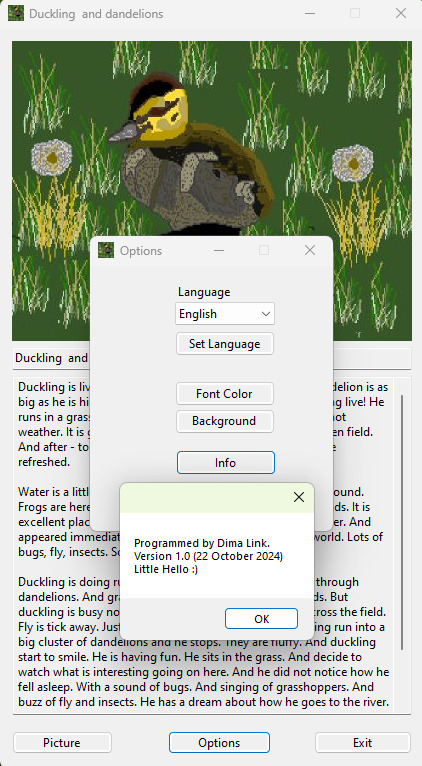
Dima Link is making retro videogames, apps, a little of music, write stories, and some retro more.
WEBSITE: http://www.dimalink.tv-games.ru/home_eng.html ITCHIO: https://dimalink.itch.io/
TUMBLR: https://dimalink.tumblr.com/ BLOGGER: https://dimalinkeng.blogspot.com/ MASTODON: https://mastodon.social/@DimaLink
#visual basic#vba#software#application#program#retro programming#kind animals#little animals#duckling#dandelion#summer#village#countryside#friends#funny#good#kind#windows#joke#grass#field#story#picture#drawing#retro soft#sunny#Youtube
11 notes
·
View notes
Text
youtube
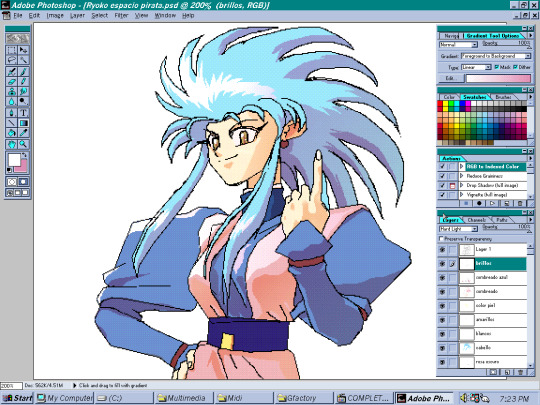
It's raining outside. Your family is watching TV and the computer is free. You open up the image editing software your dad recently installed and want to copy that space pirate girl you saw in your favorite weeaboo magazine. It's a bit hard to draw with the mouse and the loading times of that Pentium MMX processor, but you're happy.
Study of Ryoko Hakubi, from the anime Tenchi Muyo!, Done in Adobe Photoshop 4.0.1 on Windows 95
#ryoko hakubi#tenchi muyo#anime and manga#retro anime#90s anime#fanart#study#photoshop 4#adobe photoshop#adobe photoshop 4#retro software#windows 95#Youtube
14 notes
·
View notes
Text
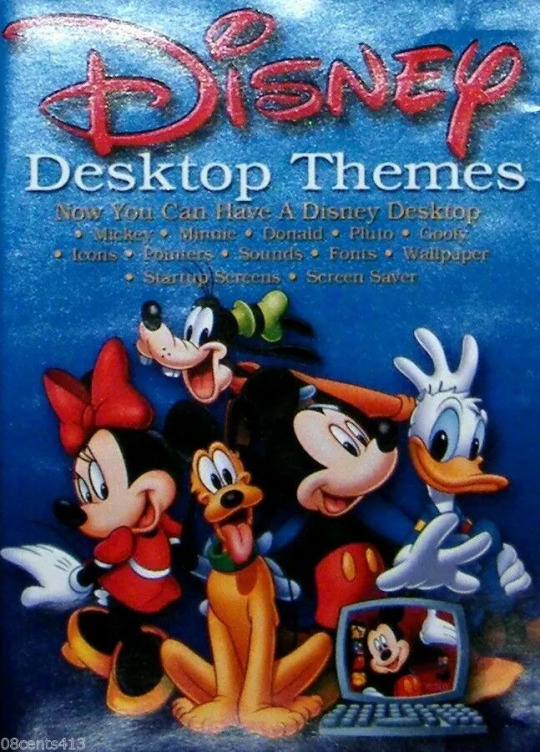
#disney#walt disney#nostalgia#animation#vintage#90s#2000's#windows#pc#mickey mouse#minnie mouse#pluto#goofy#donald duck#software#box#desktop themes
14 notes
·
View notes
Text
I really like that when I was looking up if there was a way to check if my hard drive was about to explode and die or something I repeatedly saw comments recommending the same software to check it with, and also that software is one that the main version it shows you on the download page is one with an anime girl on it (none of the comments mentioned this)

Like there was a version without images but also 2 other anime girl ones. I'm really glad this exists in the world
#I wish it was possible to make a career of drawing mascots for otherwise completely utilitarian software. There aren't enough of these.#Not even just anime girls. We need Clippy back. We need the dog from Windows search.
4 notes
·
View notes
Text
youtube
FOSS IS LOVE
FOSS IS LIFE
#da vinci resolve#toon boom animation#reaper audio#free open source software#foss = free open source software now and forever#Adobe and Microsoft suck#Linux#linux mint#james lee#James Lee animation#nox animation#YouTube animation#how i broke up with adobe#adobe premiere pro#microsoft windows#Youtube
4 notes
·
View notes
Text
#animation software free#free animation software for Windows#free animation software for mac#free animation software for Android
3 notes
·
View notes
Text
#free animation software for pc#free animation software for mac#free animation software#Animation Software for Mac#Animation Software for Kids#Animation Software for beginners 2023#Animation Software for windows#Animation Software for android#Animation Software for iOS#Free Animation Software
0 notes
Text


#dooby3d#bro the modeler needs an award idc what it is they just need one#THE RIGGER TOO? bro what tech wizards made this i need to know everything they do#the dolley cam setups to autoplay on cutaways#there is so much to unpack its genuinely uber professional level work on a SOLO artist#i get the background and everything else but to sync obs so perfectly with all of the other hard/software needed to run this is more than#90% of local broadcast networks in the US. Hololive really did fund the future Yagoo thanks for this frfr#to be fair critically in ur5 the bg could be better animated but idk what this is running through#most likely vrchat adjacent programs so worlds need to be crafted locally so a gif could perhaps be better? idk not my job#OH THEYRE SET TO MAIN KEYBOARD THATS CRAZY#ITS WINDOWS 11 BRO PLUS IN A BLANK BOARD TO MAP KEYS
3 notes
·
View notes
Text
I JUST REMEMBERED THAT UGLY PPG ANIMATIC I MADE WITH BRING ME TO LIFE BY EVANESCENCE WHEN I WAS 8 YO WITH PAINT *LAUGHS TO NOT TO CRY*
#earthkinous'#post#endless echoes#yeh I was a pain kid#i mean paint kid#that paint of windows#in my times we didn't use that flipaclip to make ugly and cringe animations#we used our little spare time to learn the art of drawing with a mouse and we either figured out how to use a video editor software#or we just recorded the screen with the drawings and put the music in the background (the later one is optional)
0 notes
Text
Come to Linux! We have...
Mascot: official Version
Mascot: Unofficial Transgender Furry Fox Version
More Desktop options than you can imagine
More Distribution options than you can Imagine.
More people willing to fight God for Half a Bagel over their preferred combination of Distribution and Desktop you can imagine.
The most uwu transfemmes and femboys you can imagine, all of them wearing Thigh Highs.
Mad Computer Scientists who could be dangerous if given access to a traffic light.
Everyone's favourite Fennoswedish Dad.
The Homeless guy who insists on using ONLY free software and defending Jeffery Epstein, and he's just done compiling the latest builds.
Pewdiepie for some fucking reason.
Arch Users.
Arch Users who insist on telling newbies to use Arch as their first Distro.
Sane people telling said newbies not to do that and just try Linux Mint first.
Men who look like the comic book guy.
People in developing countries doing absolutely great things with low spec tech.
People who skin their desktops to look like the OS they used when they were a child.
Tiling Window Manager users with anime wallpapers who post of /r/unixporn
Fans of Federated Social Media.
People who insist on using the Terminal for everything.
Ubuntu users who insist it's "still good".
Debian users will defend the release schedule with their dying breath.
People think the Cosmic Desktop is the Second Coming.
KDE Plasma Users.
Gnome Users.
People who think the government is watching them.
People who know the government is watching them.
The Majority of Webservers.
Literal Hackers.
People who really love conferences.
756 notes
·
View notes
Text
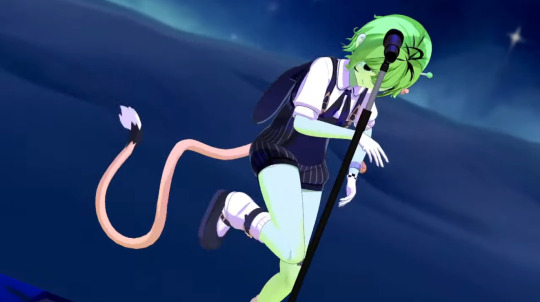
As a 5th-Semester Animation Student, I am surprised at how little I actually yell about the animation of this Show.
You guys-
You guys have no idea the actual genius of 9 Story Entertainment and BrownBag Films (The Production and Animation Studio for the Wild Kratts Episodes)
First of all. This is not traditional 2D animation.
This is Cut-Out Animation, also known as 2D Rigged Animation or Puppet Animation. Other shows you might be familiar with that use this technique are Bluey, Hilda, Rick and Morty, or the Big Hero 6 TV Show. There are more but these came to my mind first.
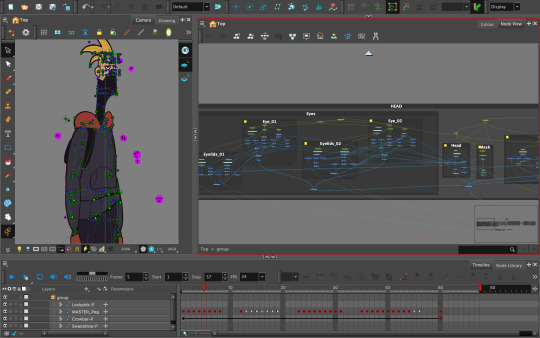
Cut Out Animation can be very limiting, because you work with 2D sprites in a 3D environment almost. The Tech Artists, sometimes called Character Builders, are the ones that take the design of the characters and creatures and build a 2D skeleton of sorts, putting bones inside of the png drawing and allowing it to move. It might sound easy, but trust me when I say it is a tiring process and the node-view is horrifying, haha.
I don't know if people would care for an actual deep-dive into the animation of the show, because believe me, I can talk a lot about it, as someone who is familiar with the animation technique, the technical/character building aspects of it, as well as someone who has actually access to the Software the Animation Studio is using to make these episodes (I kid you not when I say that I am in possession off all the tools to make my own Wild Kratts episode, minus the backgrounds because I hate doing those)
For those that care, THIS is what the animator sees before the episode gets finished, lol
Say hi to "Chad", he was part of the Shortfilm I made with some others in my third Semester at uni.

The purple plots are controllers with which you move the character around.
The green lines and dots are deformers which make the character able to bend and stretch.
Also, the thing in the right window is the beloved node view, or at least a small aspect of it. All these small squares have meaning and I won't even try to explain
While Cut Out Animation isn't my strong suit (Traditional 2D and 3D animation is) I would still be down to talk more about it if anyone cares to listen, lol. Even beyond the software capabilities, the show is actually very interesting to look at from a production standpoint and I would love to just talk more about the animation in general because let me tell you, it is much better than people give it credit for!
843 notes
·
View notes